Dinah Part Deux, 1/48th Tamiya Ki-46 Fighter

Started by Chuck A. Villanueva · 38 · 4 years ago
  • Profile Photo
    Chuck A. Villanueva said 4 years ago:

    Thanks George, I only use it when the decals are going over details that will interfere with its ability to snuggle down or wrap around a portion where it helps settle down in place. Been using it for over 40 years of modeling, really handy on stubborn decals. And it lasts a long time as I use it sparingly.

  • Profile Photo
    Chuck A. Villanueva said 4 years ago:

    Next is to work on the props. Using Red Brown to paint and Aluminum prop hub. Also the backing plate is painted Red Brown.

    The backing plate is pressed into place behind the prop blades and hub.

    The spinner is also painted Red Brown and attached to the front of the propeller

    The assembled prop is then pushed carefully into each nacelle.

    Both engine nacelles are then attached to each wing.

    Then the prop tip yellow stripes are applied.

  • Profile Photo
    George R Blair Jr said 4 years ago:

    Chuck, you are in the home stretch on this build. Looking great. I was in the garage yesterday and discovered I have one of the recon versions in the stash that I didn't remember I had. I may have to move it into the line of kits that are soon to be built.

  • Profile Photo
    Chuck A. Villanueva said 4 years ago:

    Hi George, the recon version is really a sleek looking bird. Very fast and difficult to catch. You will love how well it comes together.

  • Profile Photo
    Chuck A. Villanueva said 4 years ago:

    With the Japanese Empire GB going full tilt, so perfect timing in finally getting into the final step of this Dinah. Starting with the final flat coat being applied. Using Lifecolor flat clear. I like using this as a final finish as it dries to a very dull sheen.
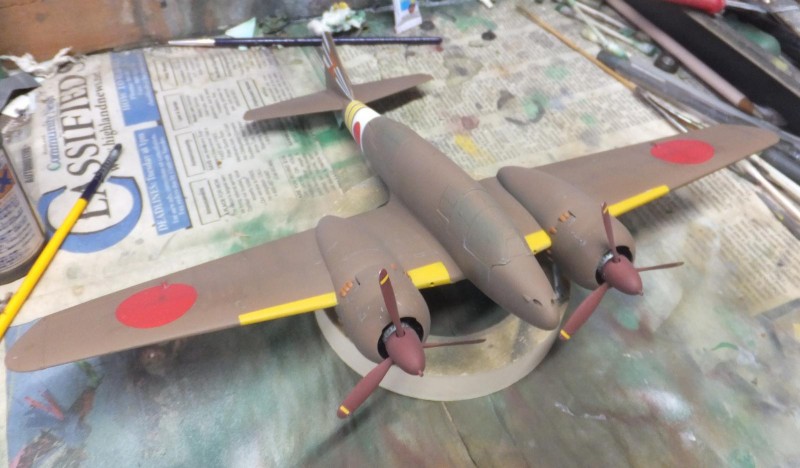
    Next unmask the clear glass panels. Somewhere I goofed and missed a gap on the RH rear part of the rear gunner compartment canopy. Don't have this issue on the Recon Dinah.

    Next to work on the wheels. These are True details resin wheels. Hubs are aluminum with the tires painted Tamiya Tire Black.

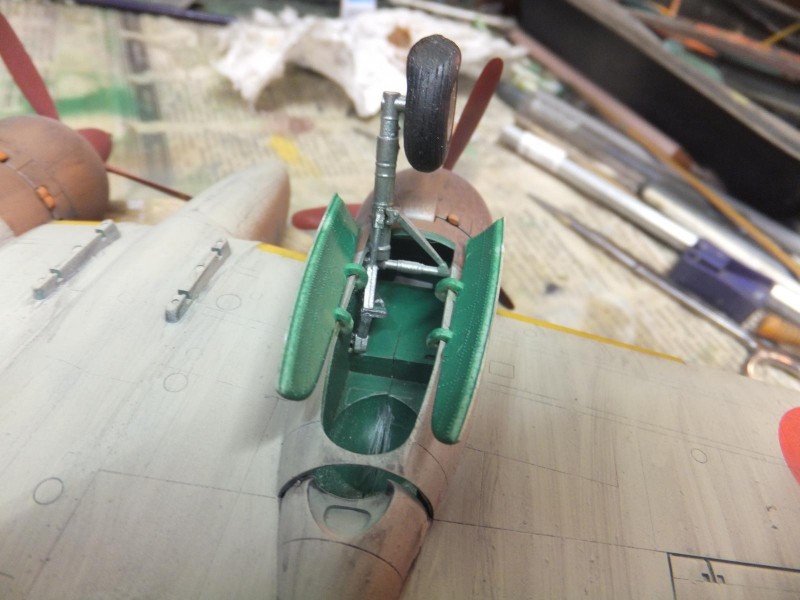
    Next to install the finished mains and tail wheel.

    The tail wheel assy is attached within the wheel well.

    Using cyano glue and attach each wheel to each strut assy. and set for an hour. Now she can stand up with all her wheels attached.

    The landing gear doors have very good contact points when installing them to each nacelle. All four are installed and fit very well.
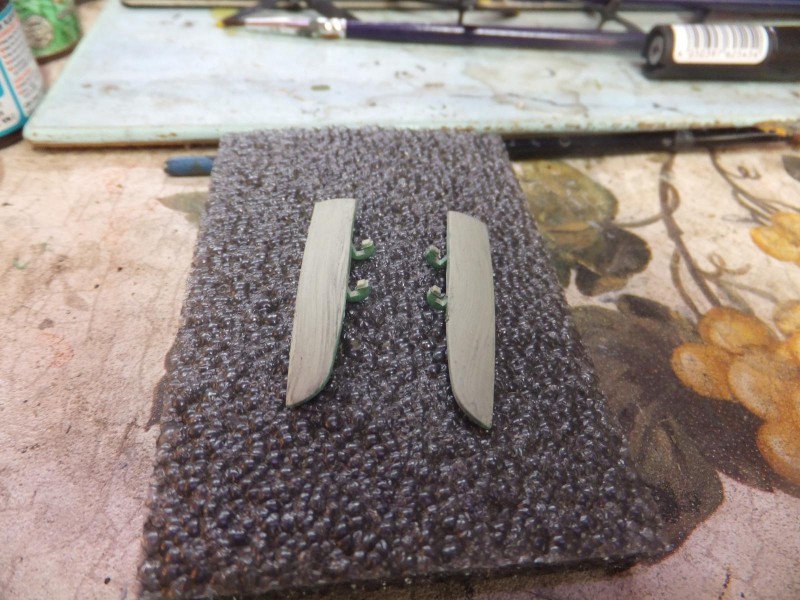
    The step is then attached to the LH side rear quarter of the fuselage just aft of the back edge of the wing.

    Next the antenna mast is placed right behind the pilots canopy

    The wing tips lamps are painted on each wingtip.

    2 bombs are attached on the hardpoints just inside of both nacelles. These were rarely carried, I just put them on to add some character.

    The cannon barrels are painted Gun metal and attached to the nose.

    And that is that she is finished.

    Hopefully I will present her this weekend.

  • Profile Photo
    Erik Gjørup said 4 years ago:

    Horray! Well done - looks great. I especially like those weighted wheels - they are just so nice.

  • Profile Photo
    Chuck A. Villanueva said 4 years ago:

    It's a detail from time to time I like to add to each kit in WWII. Not so much in the jet age as those are tires that are inflated to a high pressure and really do not bulge under weight. Check out an A-10 loaded up and notice the tires don't show weight.

  • Profile Photo
    George R Blair Jr said 4 years ago:

    Really nice job, Chuck. Tamiya models are always a fun build. Maybe the small gap on the rear canopy was on the actual airplane and Tamiya (and you) modeled it perfectly?