Hasegawa 1/48 P-38J Lightning

Started by Chuck A. Villanueva · 76 · 2 years ago
  • Profile Photo
    Spiros Pendedekas said 3 years, 2 months ago:

    It is just great to see the (now a lot bettered from Tamiya) Hasegawa Lightning to come along so nicely. Great skills, Chuck @uscusn!
    Looking forward to it.

  • Profile Photo
    Chuck A. Villanueva said 3 years, 2 months ago:

    Thanks Spiro, the experience is quite different. Tamiya just had the builder in mind, and still provided an excellent accurate P-38. Nothing wrong with the Hase kit in accuracy, it just a bit challenging to build is all. Still pricey retail wise and on Ebay it is still a 25-40 kit. Just look for a deal.

  • Profile Photo
    Chuck A. Villanueva said 2 years, 11 months ago:

    Finally a quick update. Using the Eduard's mask to apply on the canopy and windscreen.


    Really not a difficult canopy to mask using the cut and trim method with Tamiya tape. But went with the masking set anyway.

    In the end the masking set edges the framing. Tamiya tape cut in pieces filled in the areas not covered.

    Next up paint the framing Interior Green and then the overall black primer to start NMF using Vallejo Metallics.

    more to follow.

  • Profile Photo
    Spiros Pendedekas said 2 years, 11 months ago:

    Love the masking, my friend @uscusn!

  • Profile Photo
    John vd Biggelaar said 2 years, 11 months ago:

    Great masking, Chuck @uscusn
    My experience with the provided masks was very positive.
    Also first time I used pre-shaped masks.

  • Profile Photo
    George R Blair Jr said 2 years, 11 months ago:

    Good to get back to this one, Chuck (@uscusn). I almost never build a kit without using pre-made masks, especially if I build something in 1/72. Looking forward to watching the natural metal finish take shape.

  • Profile Photo
    Chuck A. Villanueva said 2 years, 9 months ago:

    Hi Spiros, really not necessary on using the masks for any P-38 as the glass on these are not so complicated. But since a set came with this kit I used it. Why not?

    John, it does make it a bit easier in ways, but really not much quicker than cutting, shaping Tamiya tape to mask it off. At least on a fighter type canopy like the P-38. Very much needed on multi paneled canopies like on the Betty and other multi-engine aircraft and all that glass.

    Hi George, yes I am leaning that way as well George, not looking forward to masking off all the glass coming up on the B-24.

  • Profile Photo
    Chuck A. Villanueva said 2 years, 9 months ago:

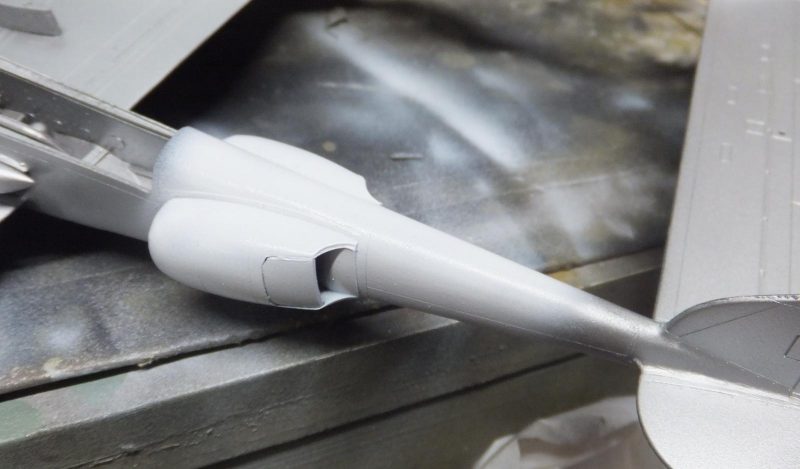
    With the interior Green already applied over the canopy and windshield frame. AK Primer Black is airbrushed over the airframe, including the doors that are still on the sprues.

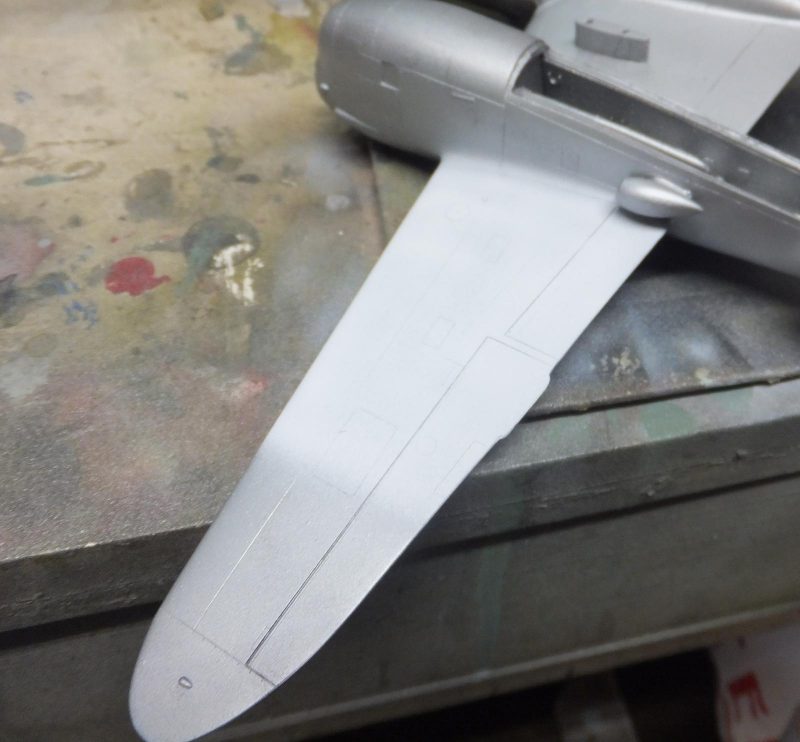
    Then while getting ahead of myself in mixing up Vallejo Chrome started to airbrush BMF. Got most of the undersides done when I realized I need to paint the D-Day stripes first and then the OD anti-glare panels. DOH! So once what was left in the bottle was used. Cleaned up and started to airbrush the white areas under the wings and booms.

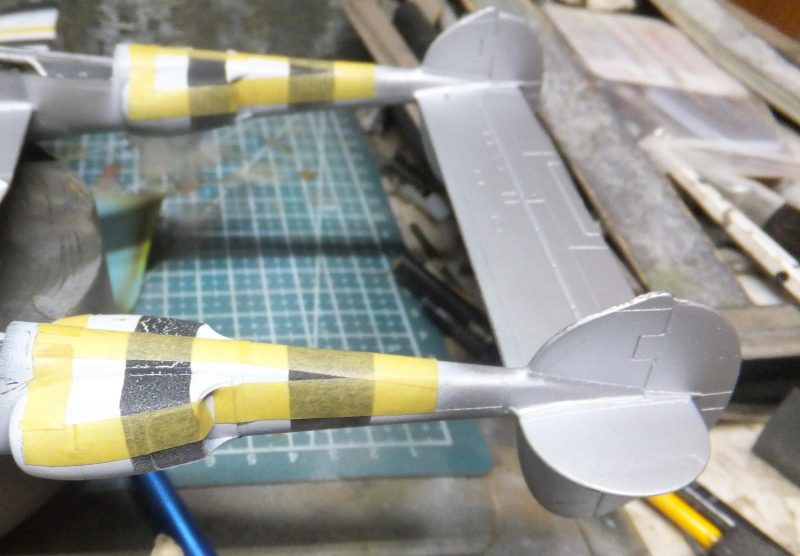
    The reason I decided to paint the white/black D-Day stripes now as these are much easier to mask off without the chance of lifting paint from removing the masks. Though there is always the risk of that happening regardless. Masking off the metal finish is more riskier if I had went ahead and painted the overall bare metal and then mask off for the stripes.

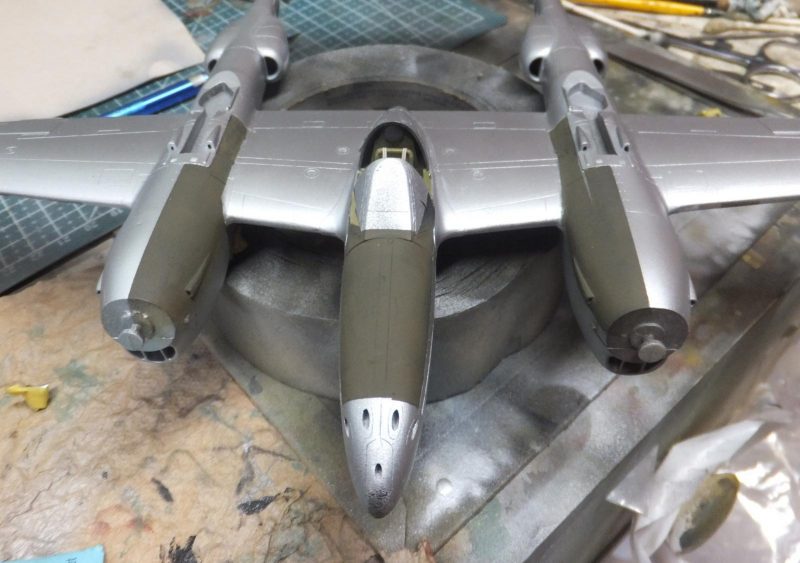
    Next the OD anti glare are painted on the nose and inside upper engine nacelle panels.
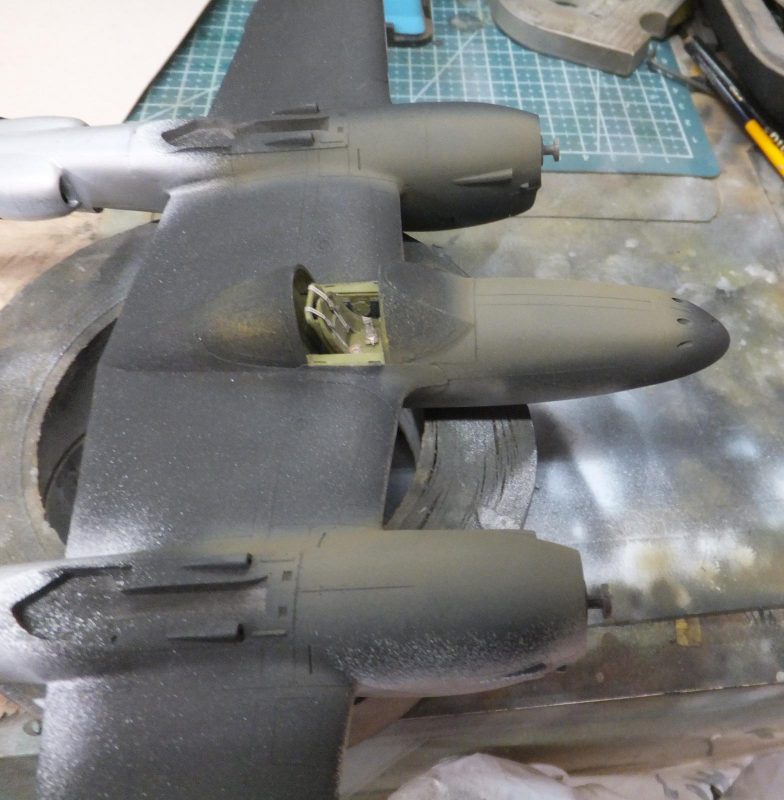
    Next to mask off the lower white panels for the black stripes. I used NATO Black to airbrush the stripes. Reason being as the call letters on the booms are black. Photos show them clearly able to read them as they partially will be on the black stripes.

    Next is to mask off the edges of the invasion stripes and the OD anti glare panels over the top side to finish applying the BMF.

    After airbrushing the metal finish. It was to carefully de mask the anti-glare panels and the D-day stripes. Carefully as not to lift up any paint off any of the masked off areas.

    The masks worked perfectly over the stripes as well.

    A coat of future is applied.

    next decal time.

    More to follow.

  • Profile Photo
    Spiros Pendedekas said 2 years, 9 months ago:

    That's some amazing paint job, my friend @uscusn! Kudos to your masking!
    About missed spots: I have stopped hating them, since they have become my best friends, always with me, practically in every paint job!
    Interesting how black interfered with white.

  • Profile Photo
    John vd Biggelaar said 2 years, 9 months ago:

    Nice results, Chuck @uscusn
    I'm also surprised how that black got cracked after applying it over white.
    Could it be some remains of tape or fingerprints causing this?

  • Profile Photo
    George R Blair Jr said 2 years, 9 months ago:

    Looks great, Chuck (@uscusn). Sometimes planning out the sequence of painting is almost as complex as building the kit. I always use pre-made canopy masks, when I can. When I use tape to mask canopies, my Exacto accuracy in the curved parts of the canopy frame leaves a lot to be desired. I think you may have had problems with the invasion stripes by spraying the flat black over gloss white. I have had the same thing happen, and I have avoided it by painted flat paint over flat paint. Gloss paint is evil. In modeling, there are 3 things I avoid which makes my life a lot simpler: I never build biplanes, I never use gloss paint, and I never build anything with invasion stripes. Looking forward to the decals.

  • Profile Photo
    Chuck A. Villanueva said 2 years, 7 months ago:

    Thanks Spiros, pretty much got the effect i wanted to achieve not so bright finish.

    Thanks John, me too, did not expect that. Or never really experienced this type of paint issue before. I have used these two different type of acrylics before. In this Tamiya Gloss White and Vallejo Nato Black.

    Hi George, so true in planning in which order to paint a particular scheme. In this case after applying the overall black coat. Next was to paint the OD anti glare panels. Easier to mask over painted sections then to mask the NMF which may peel off with the tape. I have not had any problems painting gloss coats on aircraft. I have on cars when trying to prevent orange peel. I did let the gloss white dry overnight. Then mask and paint the black. I don't really like to do invasion stripe schemes having only doing one on a P-47 previously. I just have the Tamiya Swordfish in the stash, it will be my very first attempt on building any sort of bi-plane. That will be interesting.

  • Profile Photo
    Chuck A. Villanueva said 2 years, 7 months ago:

    Decal time. This set from Print Scale.

    Decals are thin and are in register. They do perform well with Micro Sol and Micro set using their proven system of applying decals.

    The large decals such as the one on the LH side of the nose slides on easily no fuss.

    Did not encounter any silvering from any of the stencils. The decals snuggled nicely over the panels and any curves or hinges they laid on.

    I let the decals set over 24 hours before applying the clear finish to seal them.

    Started some of the weathering, leaky fuel tanks, leaks under the engines. Just a start. A bit more to

    do to give it some character.

    The masking was peeled off and thankfully none of the paint from the framing came off.

    Next up a bit more weathering and start installing the final detail bits.

    More to follow...

  • Profile Photo
    Tom Cleaver said 2 years, 7 months ago:

    It's really funny, how Eduard tells us to set the shoulder harnesses, but every WW2 seatbelt I have strapped into the harness is the opposite, so those attachments on the end are close together so the lap fastener goes through them to hook everything up. (Not a complaint, an observation for future reference)

    You've done excellent work on this and I'm sure you're now scratching your head asking yourself "Why do people say this kit's hard?" It's going to be a very nice result when you cross the finish line.

    That problem with the black paint over the white happens when the upper color is not thoroughly stirred and mixed. Of course, it's hard to tell with black if it is thoroughly stirred. After I got told how that happened, I just stir black a little longer than I think I need to and usually all is well.

  • Profile Photo
    John vd Biggelaar said 2 years, 7 months ago:

    Awesome looking decal set, Chuck @uscusn
    Never used Micro Sol before but I noticed lots of enthusiasm when using this liquid. Will definitely buy it and try as well.
    Normally I use a decal softener from Revell.