Finally I dusted off a pair of long overdue 109’s, continuing where we left off last time, almost 2 years ago @fiveten, @johnb, @eb801, @gblair, @uscusn, @lgardner, @holzhamer, @dirtylittlefokker, @gkittinger and @jamesb. (as I had to re-read my entire log to see what had happened so far, I took the liberty to mention you all as you at some point had left a comment – hope it is OK with you folks?)
Almost two years of drying time!
I re-visited the build as it had been sitting in the paintshop for a looong time, and gave it some ’75 touch-up.
The band around the rear were reduced with mottling and when that had dryed it was time for some decals.
First decals added
-
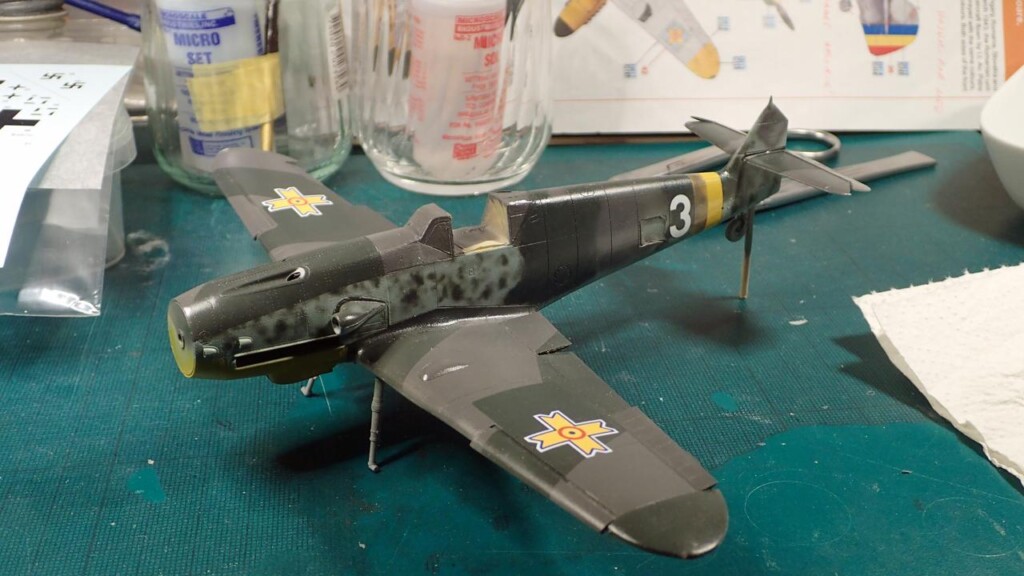
1. new mottle!
2. knock-over safety glass
-
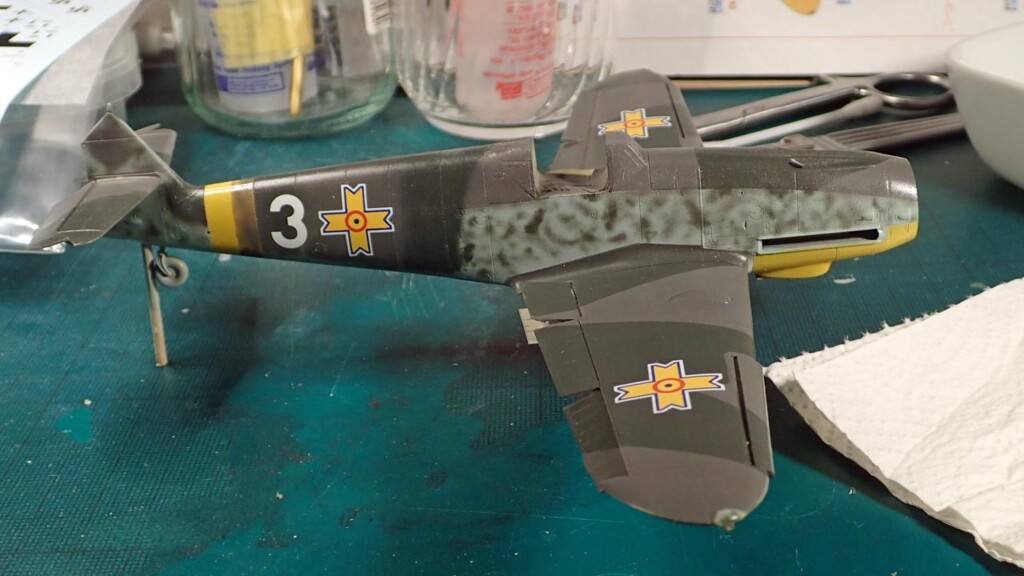
1. Pushed-back positioning of the tailwheel to add interest!
I did add decals to the wing bottom first, and as it looked like it was OK, I decided to just go ahead and add decals.
Some trouble with them as they did not fully sink in everywhere
-

1. floating decal
2. Orange-peel texture will be adressed by varnish after decals
-
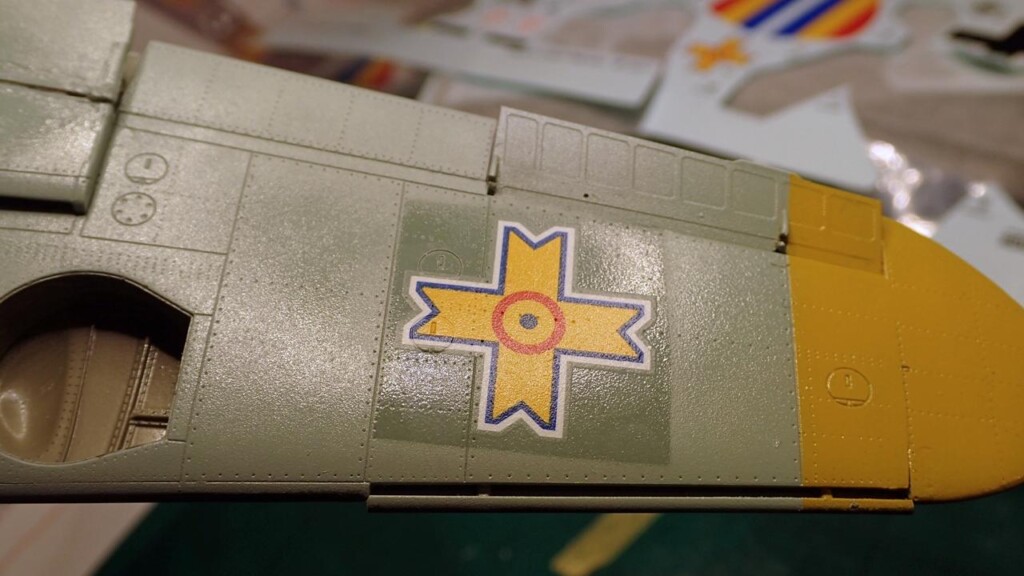
1. Sinks nicely in some places
I will re-soak them in sol a few times and then probably run a cocktailstick over the offending parts.
Hopefully I shall be able to make more progress before another 2 years passes? Tune in again later and check