Time for another update!
Preparing for Primer
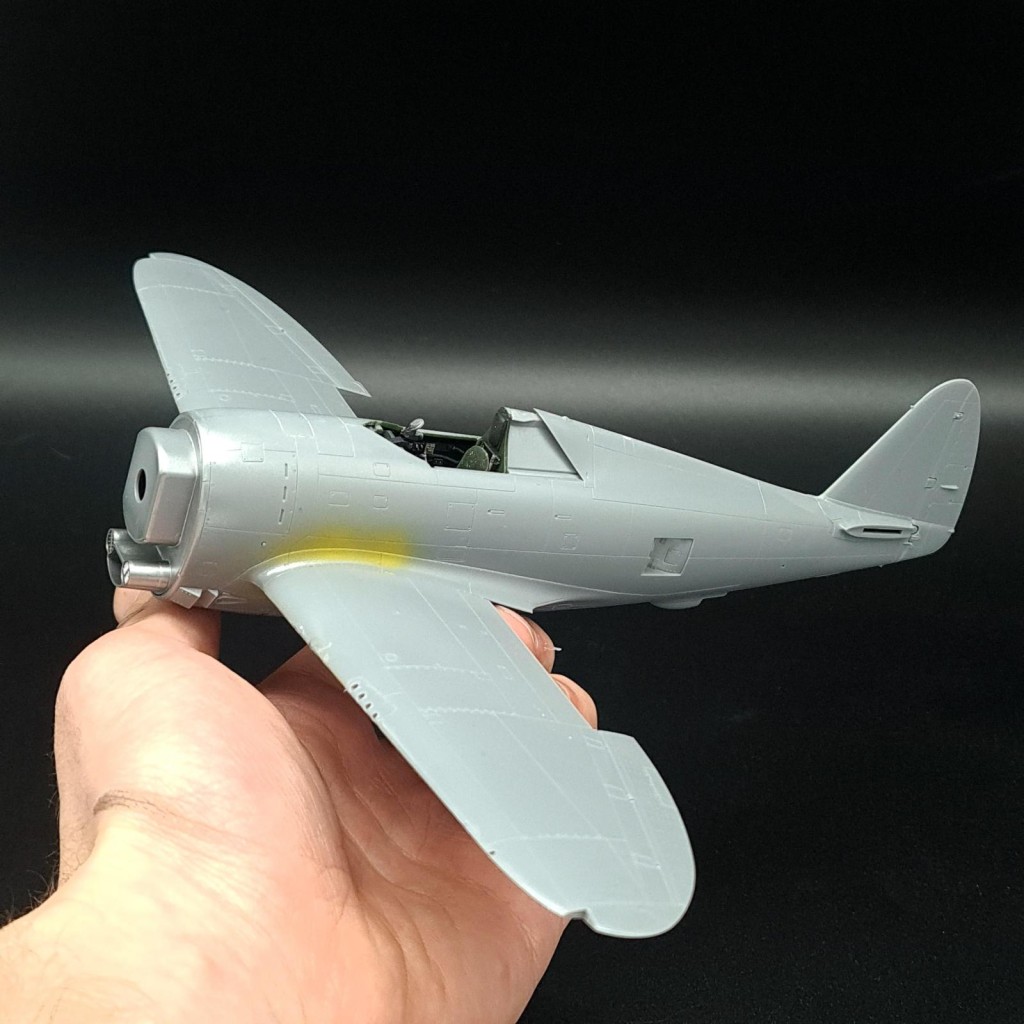
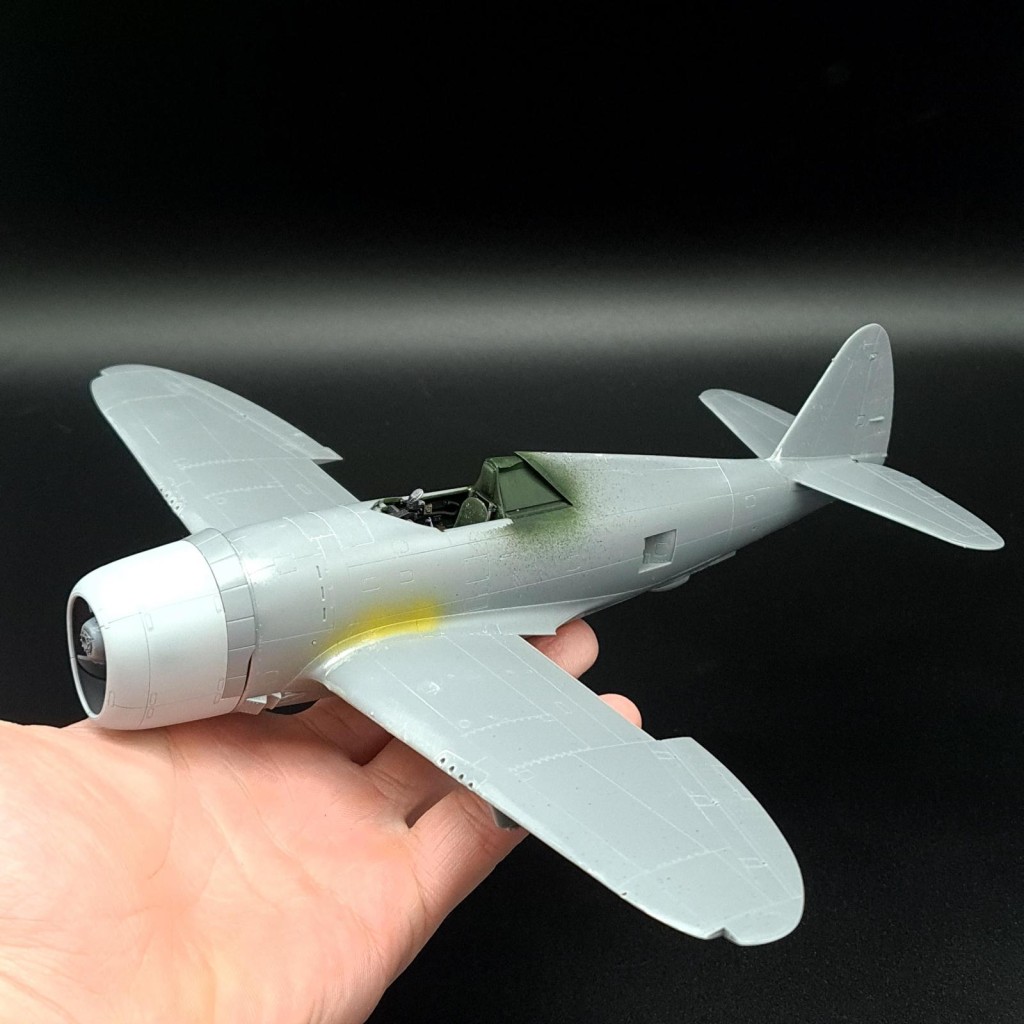
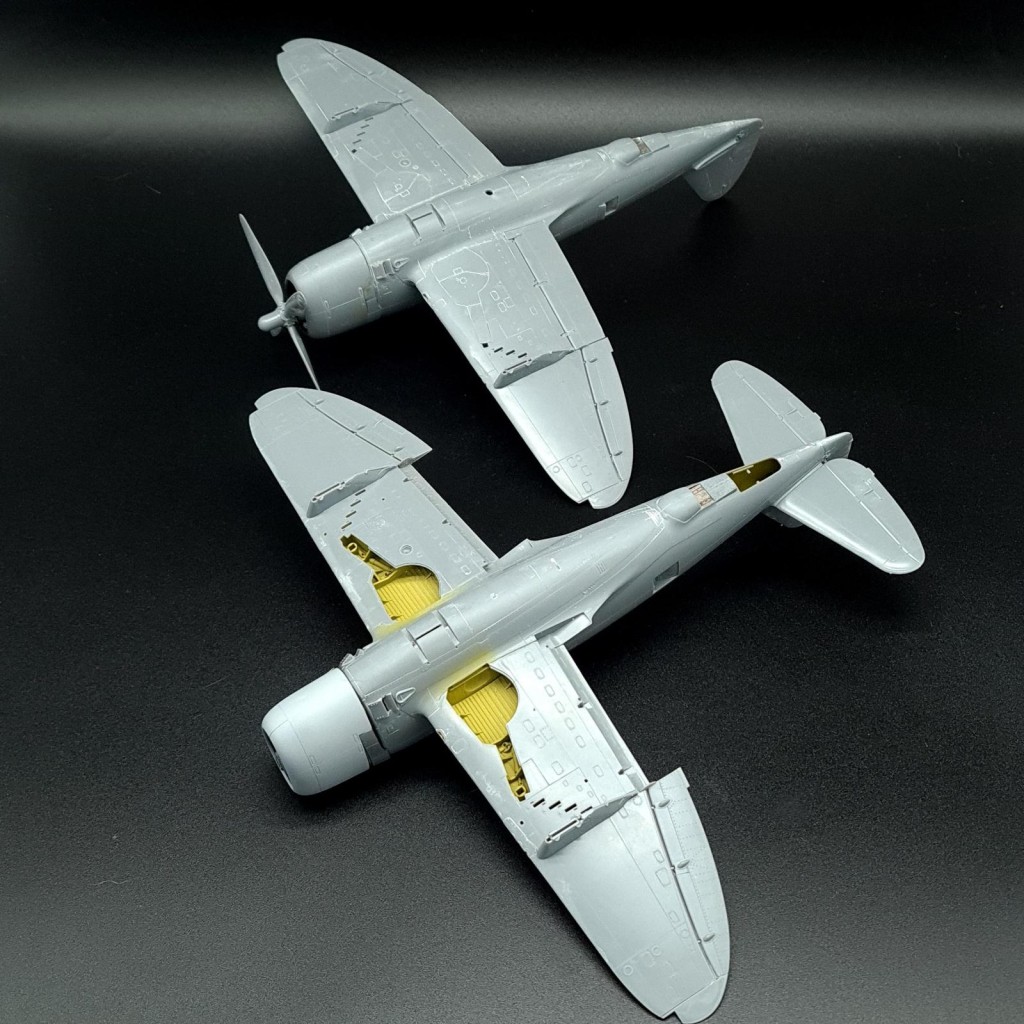
Since the fuselages were put together the next logical step was on the wings. These went together without too much issue, though the insert gun panels never seem to work perfectly on any model. Regardless, the wings were added to the fuselage without too much hassle. A small gap could be seen in some areas but overall it was a very solid fit, the biggest issue was on the underside of the wheels up Thunderbolt, in hindsight it would have been better to put the wheel cover that is closest to the fuselage in once the wings were together to try and balance out the gaps evenly, but with some putty things have been mostly sorted for now.
-

Flaps on the flaps up bubbletop have also been added, I found the fit of these to be questionable. I must state that I mean questionable in terms of Tamiya, which still means a good fit compared to most kits, either way I can't help but feel they just don't quite want to go in. I also added the turbocharger outlet doors on the in flight one, the US markings were painted both inside the door and outside so you'd always see a full star which naturally isn't an issue for an RAF aircraft so I just stuck them on in the open position, I will likely put them in the open position on the razorback too as it seems most photos of P-47s on the ground have them open.
-

On the subject of weaponry, I opened up the holes and added the wing racks that could hold either bombs or drop tanks. These would be painted in the underside colour so I added them here now, I also opened up holes for the M8 114mm rockets on the Razorback. I will give the RAF Thunderbolt a pair of bombs, I was considering a centreline drop tank or bomb but I haven't actually been able to find a photo with this, the USAAF Razorback will likely get the M8 Bazookas and a 500lb bomb on each wing, with a 108gal fuel tank on the underside as this squadron was unsurprisingly very active in the ground attack role after D-Day.
-

To make life plenty more easier, I'll add the canopies prior to painting. For the bubbletop this means painting up our resin pilot who is now feeling grey with primer, for both of them the clear parts have been dunked in some pledge floor polish to give them some shine and are currently drying. This is a step I haven't bothered to do in a while but the last few kits have all had issues with some sort of 'ghosting' on the inside of the canopy and I'm hoping returning to this method may solve this. The razorback will be painted with an open canopy, but the fit of the canopy seems quite good so a very minimal amount of PVA should keep it in place whilst I paint and can allow the canopy to be simply removed with the tiniest amount of force when it's all done.
-

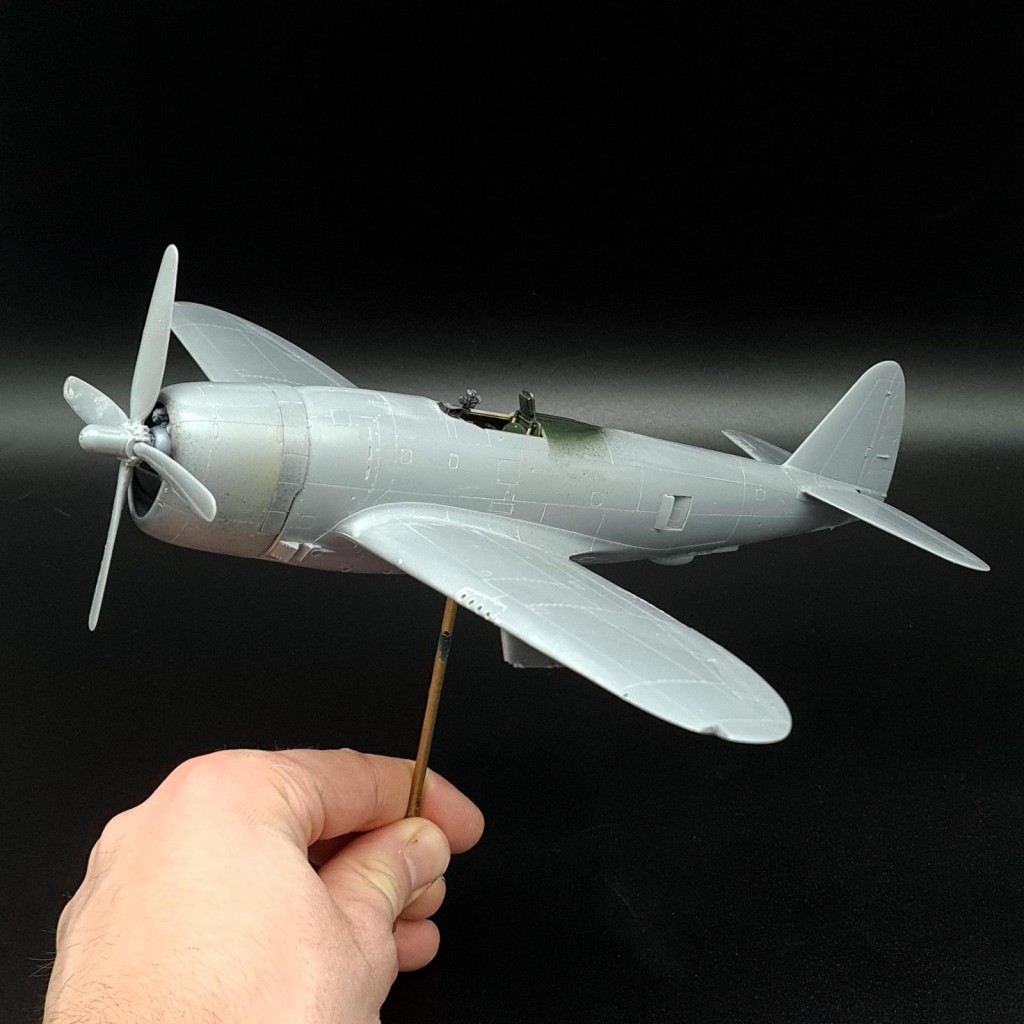
I also got round to building the propellers, for those unaware the choice of propellers in these kits is approximately 4 different options. The P-47 went through many different propellers, and many were changed as the years went on, but I think I chose the correct propellers for the job based on the photo of 'Jungle Queen' and a photo of 'Snafu', a P-47 from the same squadron and time.
At the moment the elevators are just pushed in for the photos, it'll be easier to paint the models without them in and the fit is good enough that they can just be glued on after painting. The engine on the bubbletop has been glued on, but the razorback has not. I will try to paint the checkerboard on hence why it's the only bit primed at the moment, but if that fails the bubbletop kit luckily includes a marking option from the same Duxford squadron which means I do have checkerboard decals to fall back on if it doesn't turn out fantastic.
Finally, here's some photos of the P-47 with flaps up and down, and the 3 join tabs which are changed to let you choose.
2 additional images. Click to enlarge.