Tamiya RNZAF F4U-1D Corsair, 1/48

Started by Chuck A. Villanueva · 75 · 2 years ago
  • Profile Photo
    Spiros Pendedekas said 3 years, 2 months ago:

    Love the progress as well, my friend @uscusn!
    Instrument panel looks super!

  • Profile Photo
    John vd Biggelaar said 3 years, 2 months ago:

    Very nice and detailed panel, Chuck.
    The provided PE looks beautiful.

  • Profile Photo
    Carl Smoot said 3 years, 2 months ago:

    Excellent Chuck. I still need t purchase one of these while they are still available. I too built the Otaki kit many many years ago. Not a bad kit at the time but I would like to try something a little newer. Thanks for sharing.

  • Profile Photo
    Chuck A. Villanueva said 3 years, 1 month ago:

    Thanks Eric, the Testors cement dries really clear. The white is some excess paint for the clear film provided for the side panel.

  • Profile Photo
    Chuck A. Villanueva said 3 years, 1 month ago:

    Thanks Spiros and John much better than the decal provided. Decals for the most part in my opinion just don't do well in this scale.

  • Profile Photo
    Chuck A. Villanueva said 3 years, 1 month ago:

    This session is to complete the interior/cockpit.


    The foot troughs are inserted in place into the forward bulkhead.

    Next the control stick is carefully installed.

    Then finally the front and rear bulkhead assy's are attached in place.

    The cockpit assy is then attached to the RH side fuselage half.

    Next the fuselage halves are mated. Cockpit is aligned properly for an excellent fit.

    The rear fuselage plug inserts are prepared and the installed just aft of the cockpit.

    Now to start work on the lower center fuselage inner wing panel. The interior section is painted Mission Models Interior Green.

    First to drill out the holes for the hardpoints.

    The lower window brace is prepped and installed.

    Next to assemble the gear well inserts.

    The wheel insert is installed and the upper inner wing panel is attached as well.

    Next is to complete the lower section and then install. More to follow.

  • Profile Photo
    John vd Biggelaar said 3 years, 1 month ago:

    That is some very nice progress on the interior, Chuck.
    Nice to see this in a step by step explenation.
    Looking good.

  • Profile Photo
    Erik Gjørup said 3 years, 1 month ago:

    That was one massive update - great progress. The tub looks very busy and the PE makes for a nice addition on this one. Good to have the fuselage on a dolly to move it around 🙂

  • Profile Photo
    Spiros Pendedekas said 3 years, 1 month ago:

    Love your progress, too, my friend @uscusn!
    A classic Tamiya kit, built in excellency, is always a joy to follow!

  • Profile Photo
    Chuck A. Villanueva said 3 years, 1 month ago:

    Thanks John, step by step process to show as much as possible. Notate any hiccups along the way, so far it is all falling into place.
    Eric, yes once the interior is finished it starts to get along rather quickly.
    Spiros, still the best Corsair in this scale. Have the Hobby Boss F4U-5 waiting in the wings.
    This session will install the center fuselage inner wing assy to the fuselage.


    The fit here is very good and will require very little clean up at the rear fuselage to wing join.

    Next to install the horizontal stabs. The fit so tight you really don't need cement. The LH side went in perfectly.

    The RH stab was tight and would not totally go all the way in and butt up to the rear section. Pushed in hard, but didn't want to bend or break it. Will just have to fill that in.

    Inner wings and stabs installed.

    Now to install the wing intakes.

    Fit is not quite perfect, just a little clean up.

    Finally to trim a piece off the wing panel in the folded position.

    Next to build the engine assy, Cowl rings and cowl...
    more to follow

  • Profile Photo
    Spiros Pendedekas said 3 years, 1 month ago:

    Nice progress, my friend @uscusn!

  • Profile Photo
    Yann Bertholet said 3 years, 1 month ago:

    Very nice and neat build Chuck. Your project is very well documented, I wish to do the same with mine. The cockpit is nicely detailed. Waiting for more updates from you! Thanks for sharing.

  • Profile Photo
    John vd Biggelaar said 3 years, 1 month ago:

    Great steps again, Chuck.
    Pity about that 'little' gap, for sure you will get that fixed.

  • Profile Photo
    David Mills said 3 years, 1 month ago:

    Nice work Chuck !

  • Profile Photo
    Chuck A. Villanueva said 3 years, 1 month ago:

    Thanks Spiros, this is one of those projects that is pleasant to build very few issues if any which is more likely my own.

    Yann, welcome my friend, thank you and will surely comply with your request for more.

    John, thanks looked at my other Tam Corsair, yes the gap on the RH stab is there. Hmmm
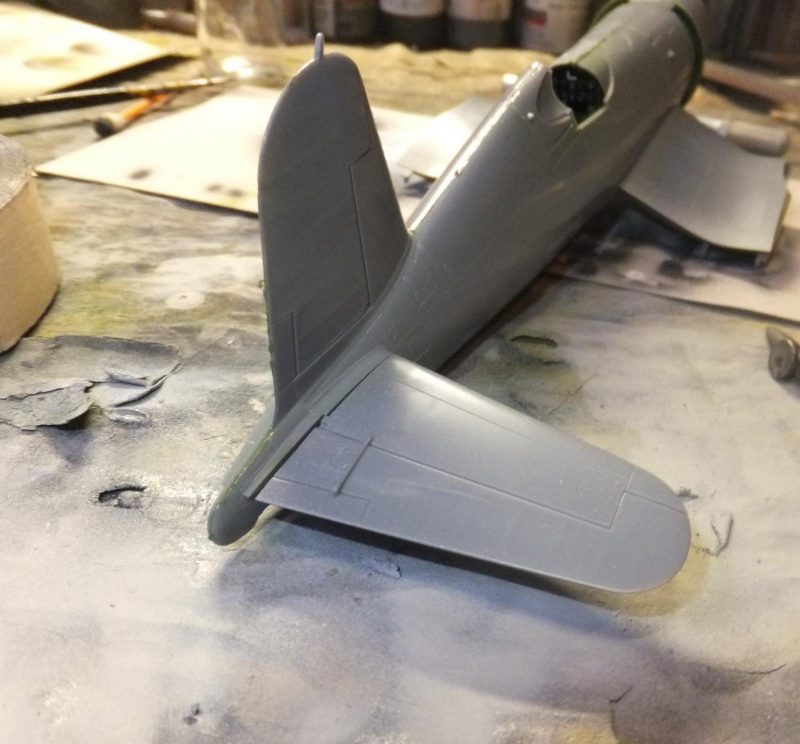
    Hi David, thanks, good to see ya.

    This session will start work on the engine.

    The Tamiya R-2800 engines are well detailed. First painted black then over sprayed with Vallejo steel.

    2 rows of cylinders and the rear firewall.

    The 3 parts are assembled.

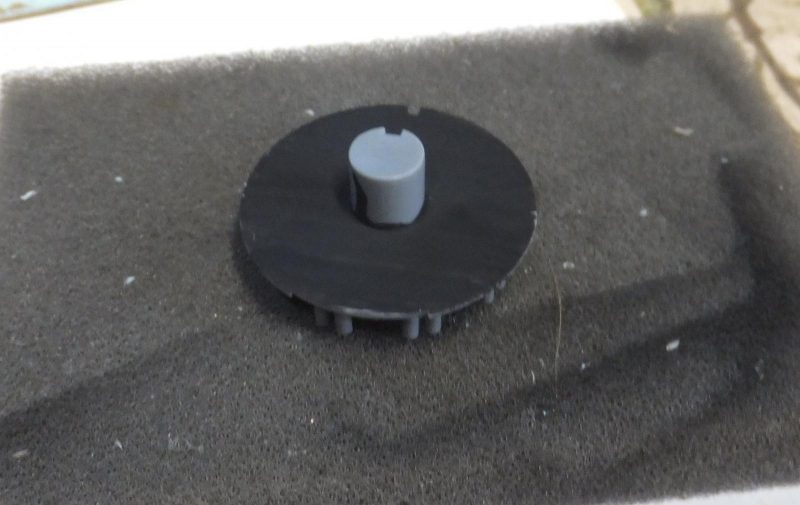
    The crank case housing is a separate part and is painted Medium Glossy Grey. (Gunze RLM75). The Magneto is painted black.

    The poly cap in inserted behind the housing and then attached to the front of the engine.

    The pushrod tubes are painted black, and the exhaust pipes are painted Gun Metal Black.

    Interior Green is painted inside of the engine cowling.

    Tamiya gives you the option for open or closed cowl flap rings, I will go with the open option and is installed to the forward nose section, then the engine assy is also attached.

    Then the cowl is slipped over the engine for a perfect fit.

    Next up is to build the flaps and outer wing panels. More to follow.