Thanks Eric, I have used Xtracolour off and on over the years, just hard to get. Love using it despite being enamel. It just lays very well when applying the paint.
George, I have been using a lot of Tamiya, Gunze and Mission Models lately in Acrylics. I do have some AK and Mig as well. And the Vallejo Metallics. I am not one too just stick to one manufacturer. Hobbyshops few and far between. So I get most of my supplies online.
Andrew, thanks Xtracolour sprays well at 50/50. paint/mineral spirits. Only drawback it takes a long time to dry. So paint it and let it sit over night before moving on.
Summer is here so the building progresses but the updates are a bit behind. Just long hot days and a bit of writers block at times. This update will focus on the special bomb and decals.
The toilet mission will have me use the very cool Brengun toilet seat and special designed rack to mount it on the pylon.
-
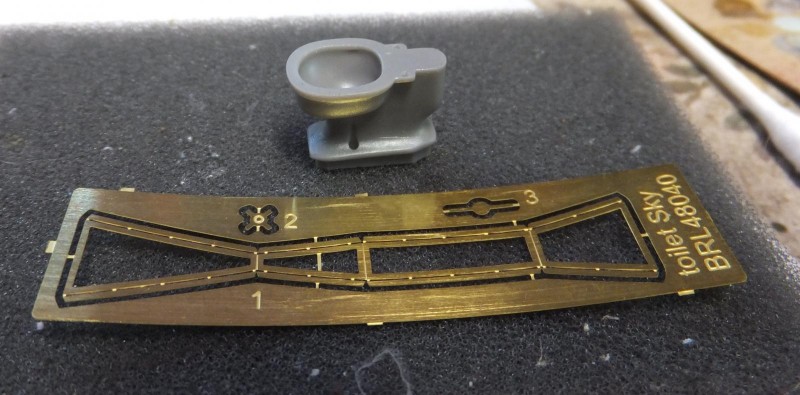
1. Brengun special toilet bomb
The only thing the set does not provide and most images of the Skyraider with this mounted on the RH outer station fails to show the tail unit also part of the weapon.
So the resin seat and tail unit will be installed once that seat is mounted into the rack. Created the tail unit by removing it from an extra bomb.
The seat is not really a white but porcelain. So I used Vallejo Ivory to show a not quite a straight white but more of a porcelain white.
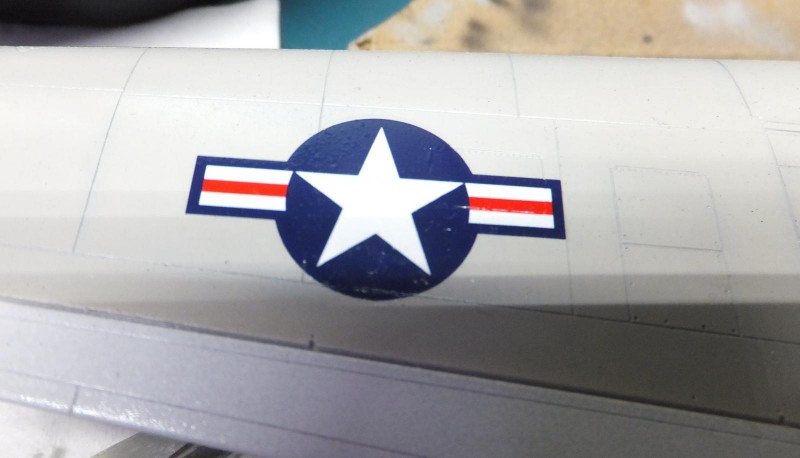
Not much underneath other than the stars and bars under the RH lower wing. Though I did put in the wrong position. It should not be in that far under the pylons.
-

1. Too far in
2. should be here
Next the markings are placed on the top of the wings. Not shown the black anti-skid panels are also applied against the fuselage.
-
1. This time correct position on top
-

1. side number and Squadron code on RH upper wing
-
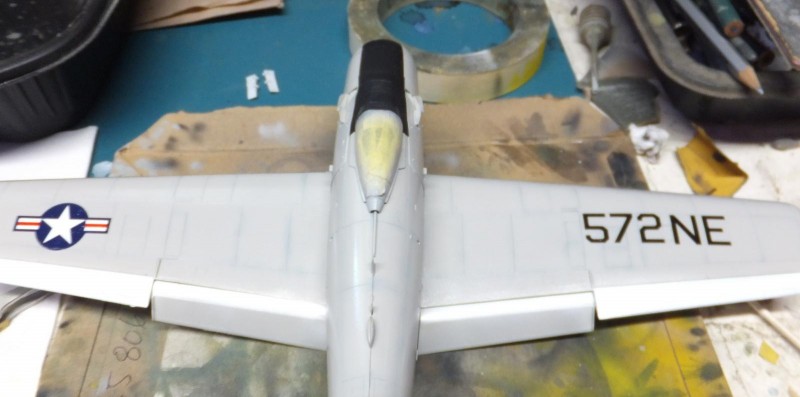
1. Not shown are the black anti skid panels inboard
Next working on the LH side of the fuselage working from tail to nose. Starting with the national markings.
I used the Tamiya decals for the side markings. They actually did well on this build.
The basic Gull Grey scheme over white Navy schemes are actually quite fun to do as times will leave some interesting colorful markings used since the mid 50's to the mid 70's. Though this particular scheme is of a line bird, still an interesting bit of an unusual moment during an actual combat mission
with the toilet bomb.
The decals performed without issue on this build. Completing the LH side of the Skyraider, using kit and the Bregun decals.
Using the Micro set system of apply decals. Some Solvaset on stubborn area such as the marking around the tail rudder to snuggle down into the hinge area.
Finally applying the markings along the RH side of the air frame. Again no issues encountered. Not much in stencils on this build so the process took 2 days, as I normally do. Go down one side and then the other side the next.
Next to take a red tip marker and edged the gear doors.
-
1. Red Sharpie marker edged the doors
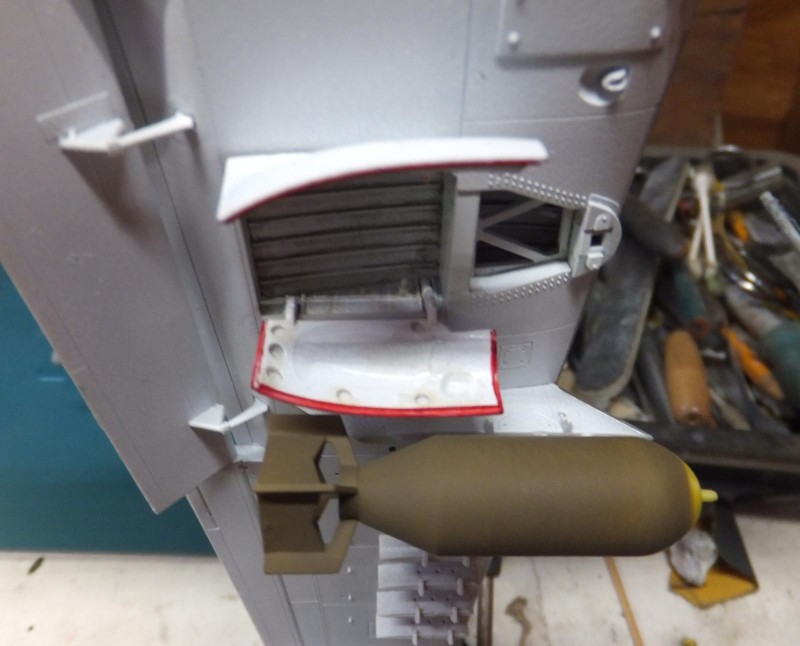
Placing the bombs on a round mount to cover the prepainted yellow nose. I airbrushed Mission Model OD. Looking at the images on that mission, no stripes were on the bombs.
-
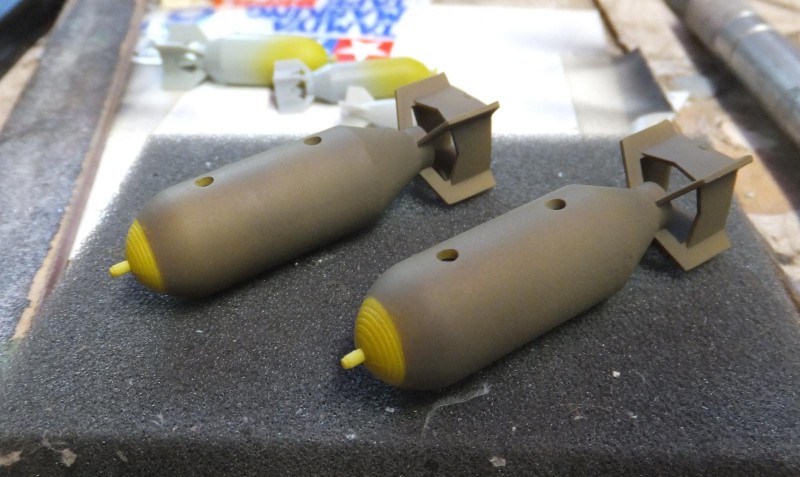
1. Mission Models Olive Drab
Next up is to dirty this one up a bit. Giving that well used everyday look on the boat in combat.
more to follow.