Converting a Typ 82E to a Typ 60
The KdF wheels arrived the other day,
and I simply had to start converting a Tamiya Type 82E to a Typ 60.
As mentioned in the pickup build the typ 60 is some 1,5mm lower in 1/48 scale (due to the reductiongear on the rear wheels – see the type 87 elsewhere in this group) and the conversion starts with sawing off the stubs
-
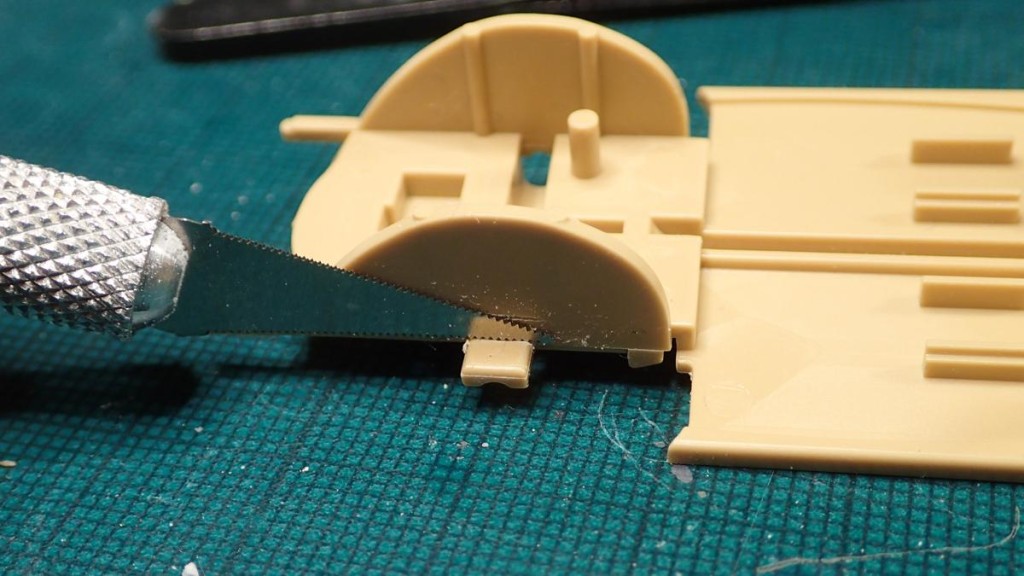
1. hauler sawblade for knife no 1
Sawing..
and relocated
-
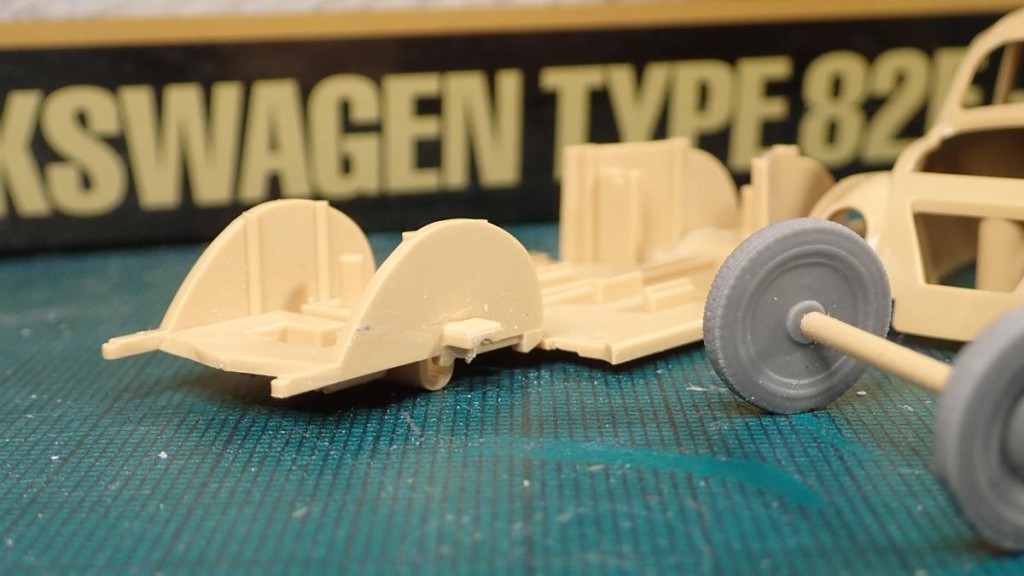
1. relocated, slot needs to be made underneath
The KdF wheels were made for me by by Djiti’s production, and I had him make 50 sets (200 wheels) as we agreed the airvent needed to be integrated into the resin, and it would look rather stupid with that located in the same position on all 4 wheels.
next I have some comparisons with the original Tamiya kit coming up, and improvements to the interior has commenced – tune in again (leave a comment and I will mention you to make sure you have the latest post)