Review: Beemax 1/20 McLaren MP4/2 1984 British GP – Kit Review
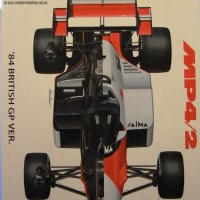
McLaren MP4/2 1984 British GP Aoshima Beemax 1/20 scale.
Kit Beemax No.03
Price £50.20 (Grand Prix Models)
To me the GP cars of this period are visually more attractive than their modern counterparts with their massively complex aerodynamics. Also a twin turbo 750hp V6 is technology I can understand, perhaps its an age thing.
Designed by John Barnard as a development of the MP4/1, the MP4/2 was the world championship winning car in 84 in the capable hands of Niki Lauda and his team mate Alain Prost.
The Kit
I'm very much a “Butterfly” modeller fluttering between different subjects as they take my fancy and I hadn't heard of Beemax before. I was very presently surprised on opening the attractive, well printed box, which apart from the paints required also had a tool list on the side, I've not seen that before.
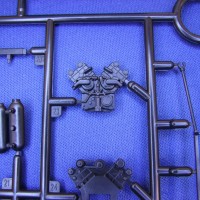
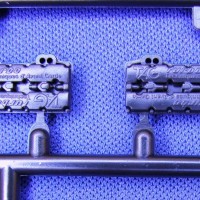
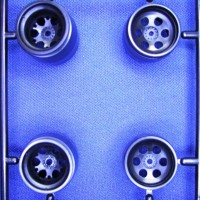
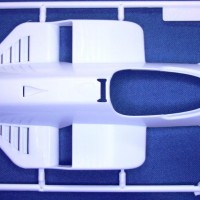
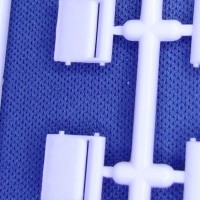
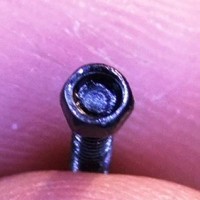
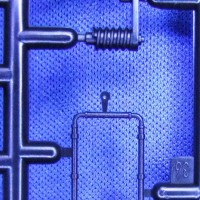
The approximately 120 parts are supplied in two colours (Black and white) on seven sprues plus one clear srue (bagged separately) and has rubber type tyres. Four bolts are also supplied to attach the wheels with a moulded tool on sprue D to tighten them. A full engine complete with turbos is supplied and the rear cowling is removable to display it.
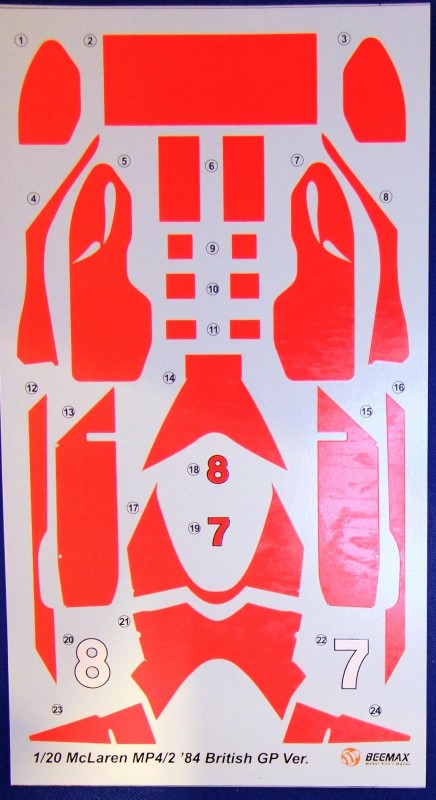
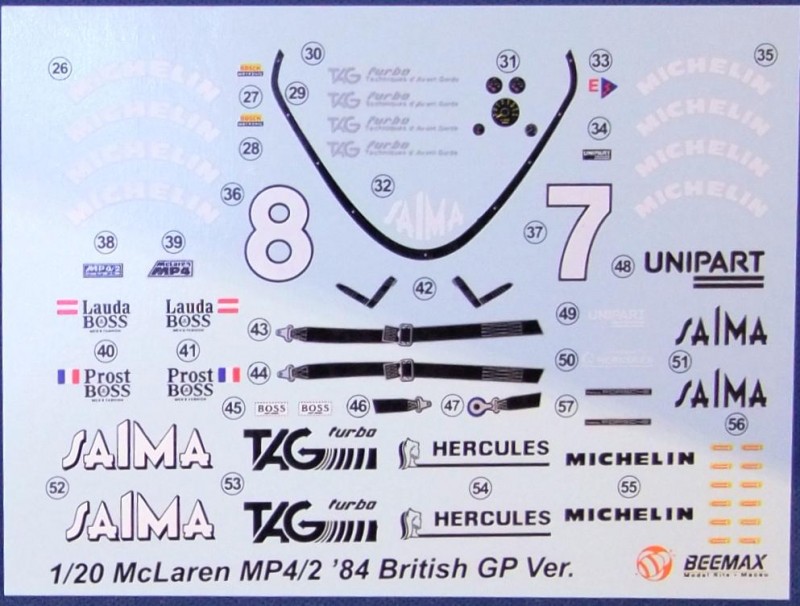
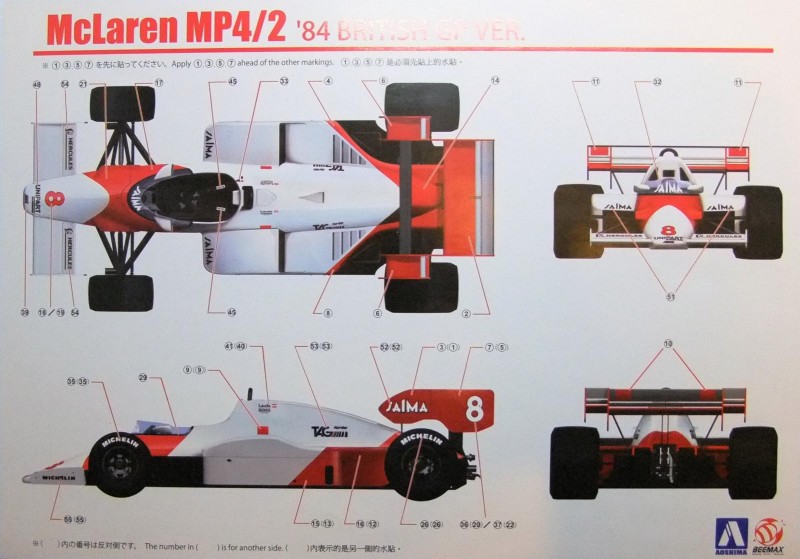
Two silk screen printed decal sheets are supplied which have perfect register and strong looking colour and allow Lauder's or Prost's cars to be built. They include temperature indicators and seat harness.
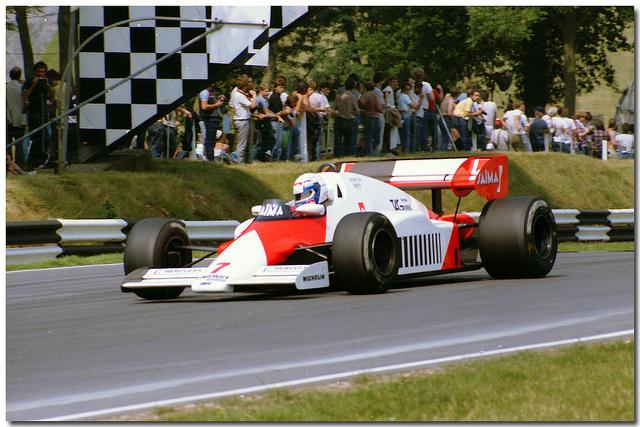
I do think that for this price etch fittings and a length of ribbon could be supplied for such a prominent detail. Also to complete the car as seen at the British GP you will need to source the vertical black stripes applied instead of the tobacco sponsorship. I imagine these could be made up from Xtra decal sheet XPS1 but it does seem like an odd omission.
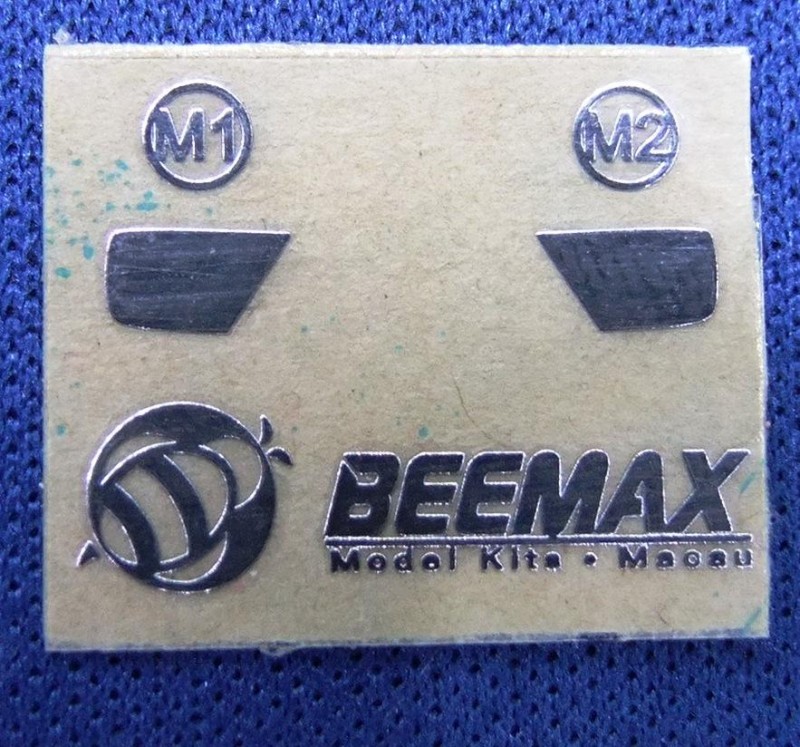
A pair of self adhesive mirror faces are also supplied on a separate sheet. It notes in the instructions that only water based top coat should be put over the decals.
First chance I get I will try some Tamiya clear (X22) thinned with Mr Colour Levelling Thinner over one and report back.
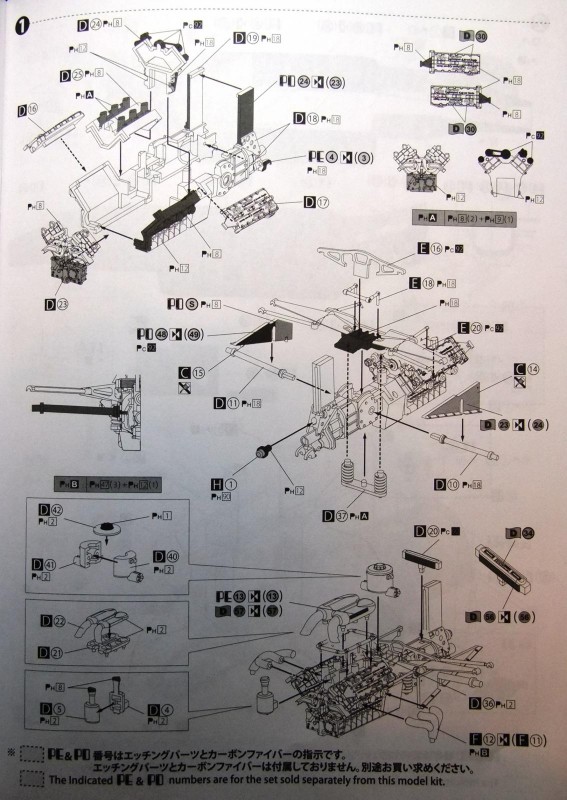
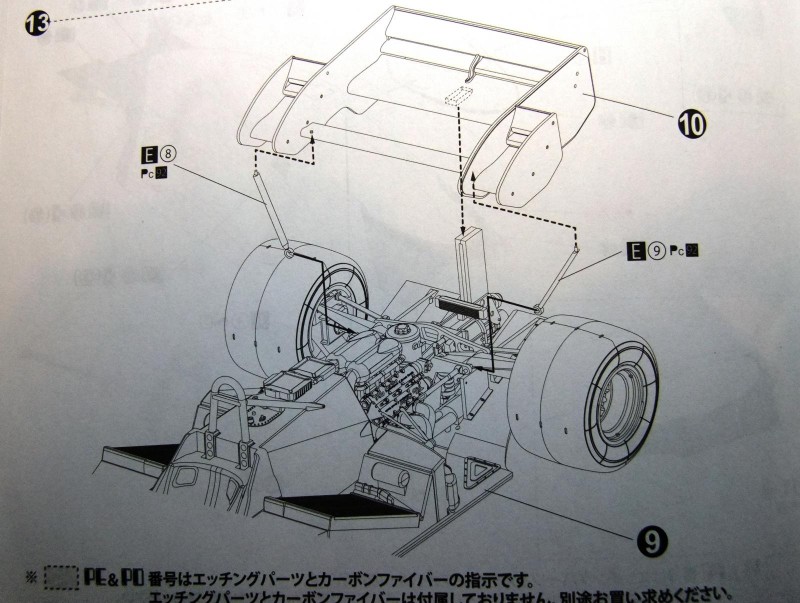
The black and white 14 step instructions are in stapled booklet form, are mostly clear and easy to follow though the logo definitions text is tiny as are some of the sub drawings, I had to get a magnifier as well as my glasses to read them. Another age related thing!
Colour call outs are also not the clearest. There are additional references to the etch and carbon decal set Beemax make for this kit which add to their complexity but are useful in avoiding any errors if you intent to go down this route. http://www.hobbycenter.pt/shop/index.php?id_product=618&controller=product&id_lang=1
The colour references are mainly for Mr Colour but the last column has Tamiya references though they aren't labelled as such. To make up for the lack of colour in the instructions there is an A4 full colour, four view decal placement sheet but only for the body .
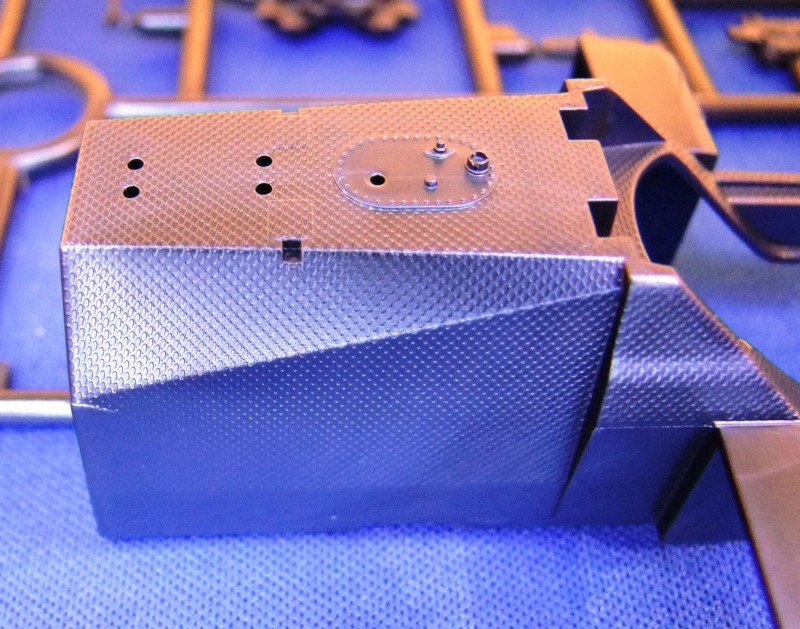
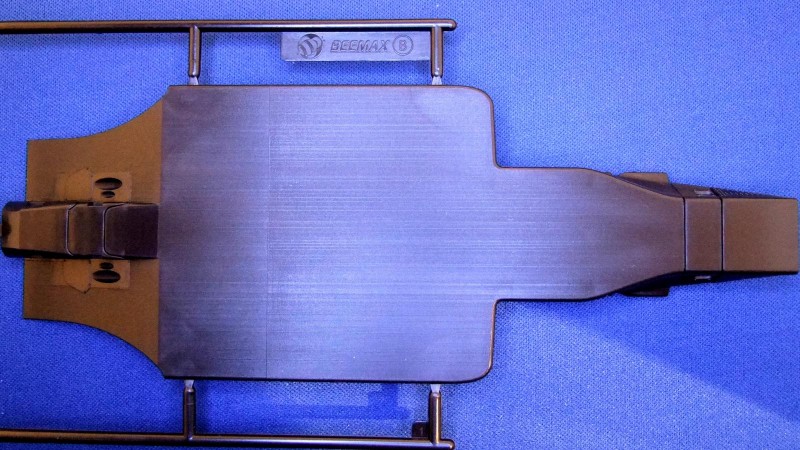
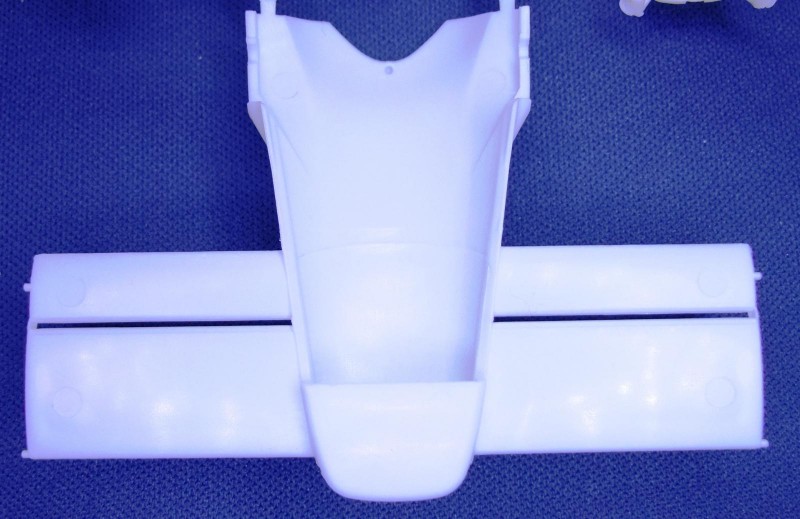
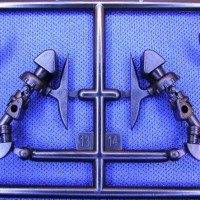
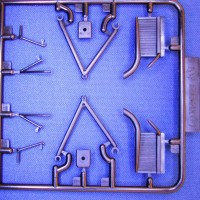
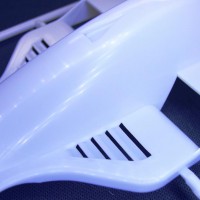
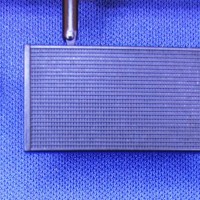
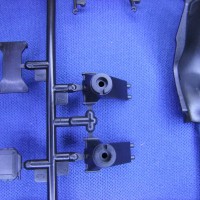
The sprues are very cleanly moulded with no flash and only fine mould separation lines. I strongly suspect that slide mould technology has been used as the monocoque has carbon weave texture moulded equally over its entire surface with no loss of definition on the vertical surfaces.
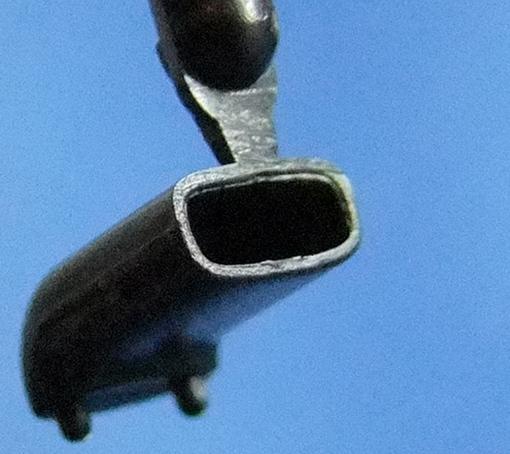
Also the one piece front brake cooling ducts have been moulded hollow as well as the exhaust outlets on the underside of the floor pan.
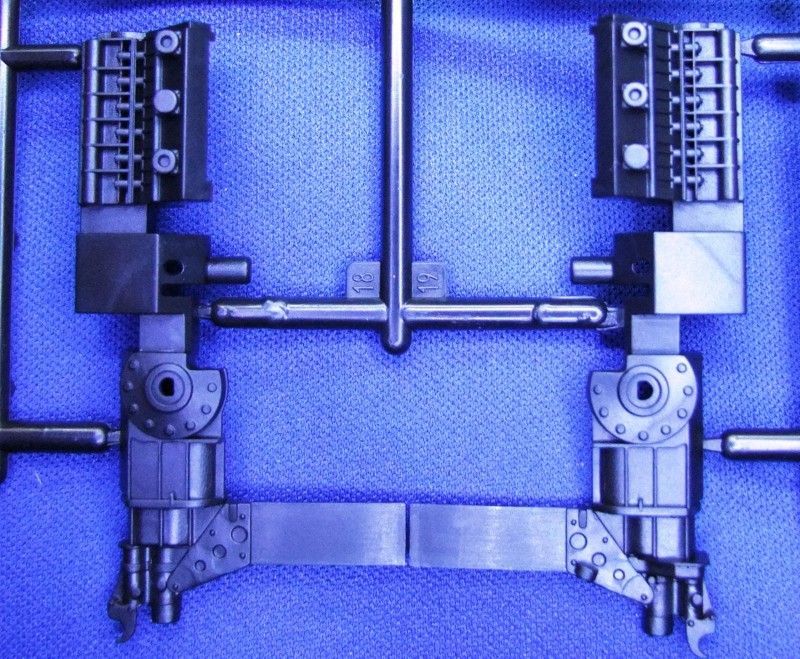
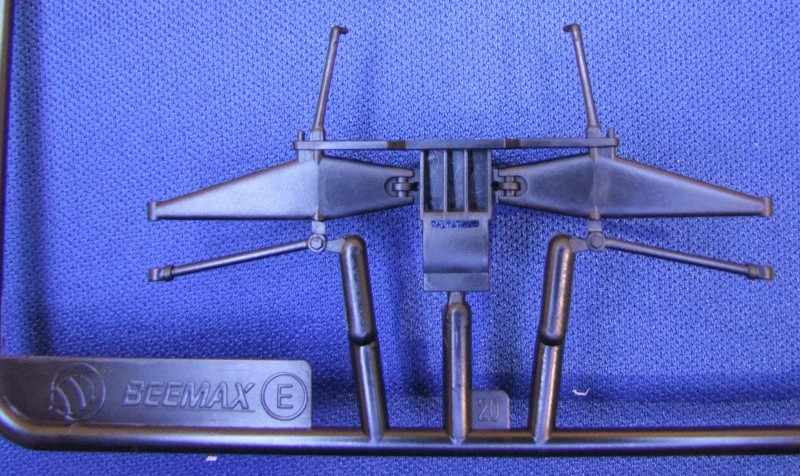
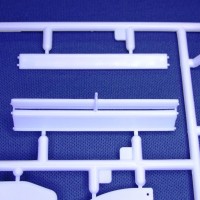
Areas where alignment and strength is critical like the upper front and rear wishbones, radiator ducting and rear centre wing support have been moulded as pairs.
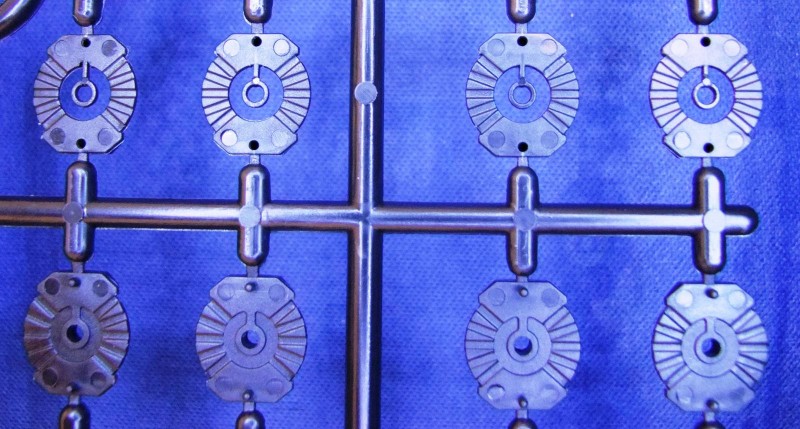
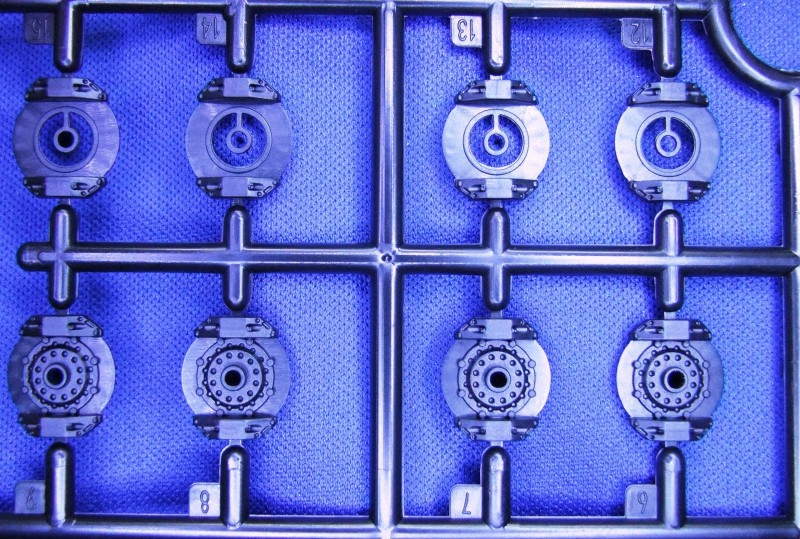
Other moulding highlights include two part brake discs which allow the open vents to be seen on the circumference, useful if you want to display the model with the wheels off and ejector pin marks that are sensibly placed. Some will inevitably require filling but they are mostly shallow.
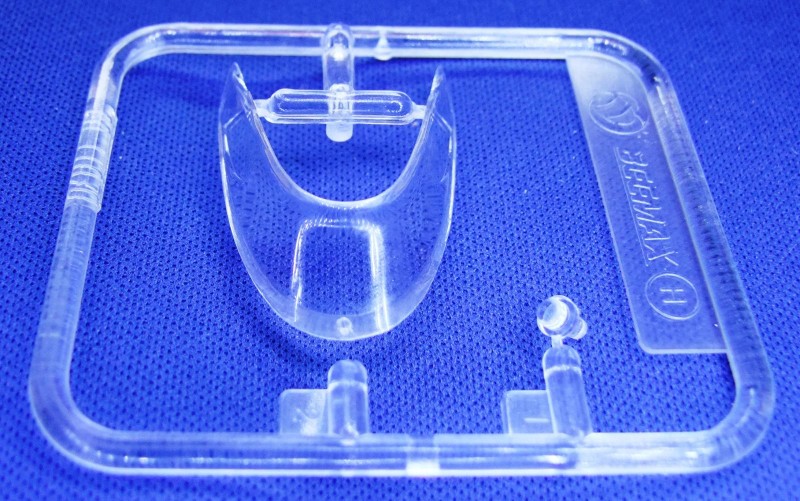
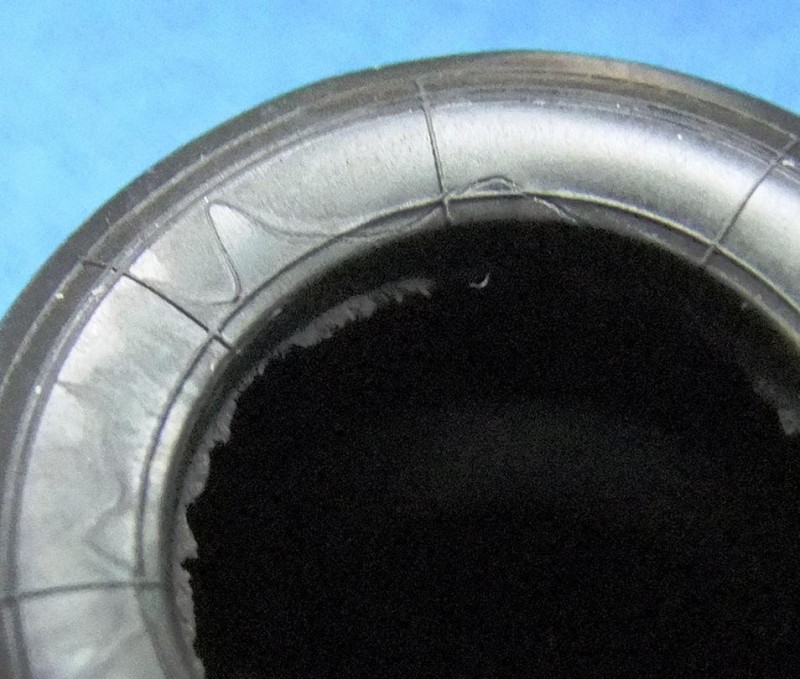
There are a couple of issues however. The otherwise beautifully clear screen had what looked like a fine vertical crack just off centre. This could be seen on both sides but not felt with a finger nail. It was removed with Micro Mesh; see photo of post polished part (The scratches are mine!).
The soft vinyl tyres also display some moulding swirls and the inevitable seam round the circumference. It would also have been good if these had their manufacturer's logos printed on them rather than having to use decals.
In conclusion.
There are 43rd scale models available of this subject, as far as I can tell this is the only 20th scale injection moulded offering. The mouldings and decals compare very favourably with the Tamiya F1 kits in my stash which I think is high praise but I feel the instructions could do with being clearer and I do wish the harness was supplied as etch. I would recommend this kit and hope to build it as soon as I get a chance.


A very comprehensive review there, Robert...looks like it'll be a beauty when completed.
Thanks Craig. I have a bench full of my latest resin Sci-Fi build otherwise I would build this finely moulded beauty. I'm very tempted to get the additional set when I do.
A very nice and to the point review Robert. The model seems very good. Hope to see it soon posted here.
Very good to read all that. Great review, many thanks, Rob.
Some remarks to the model:
As much as I am concerned, nothing compares to 1/12 as a scale for F1 models. Admittedly these end up in huge projects, but e.g. part 37, which I guess represents the shock absorbers, makes me feel that I'd like to have a steel spring here.
Secondly, I'm not a big fan of moulded carbon structure. Not even Tamiya's effort in their 1/12 F190 I really found convincing.
It creates huge effort in getting the moulds done, but at the end of the day that sort of three dimensional texture is just not the real thing. I think I'd sand it off and use decals instead.
That said, I couldn't me more excited about Beemax' effort in reproducing the F1 heroes of the 80ies. As you say, that was the last decade when cars were still cars. My eyes are fixed on their BT-52 and I'm very much looking forward to your coming build review of the MP 4/2.
Thanks for the feedback Johannes.
I agree about the springs. These would be reasonably straightforward to replace with some coiled copper wire.
As for the carbon moulded effect if my intention was to apply carbon decals I would mask it off and spray a coat of primer over it first to reduce the relief.
It's very much horses for courses. Some will be very happy with what's provided and some will want to add extra.
If I get the detail set and do a build review these are some of the thing I will do.
Rob.
Thanks for the review, Robert, Beemax should be supported for bringing us F1 kits of this era.
I agree George. It makes a refreshing change to see subjects like this in injected styrene.
Congratulations on the review and I agree with your remark about the older cars, I like the models of the 70's and 80's, more beautiful ...