Got all the sanding done - well, I thought I did...
All visible cracks filled in and sanded down with 320 and 600.
I was able to save the raised detail just behind the radome.
I wash the complete model with Windex & water using a soft tooth brush to get rid of any oils and loose putty residue.
I sprayed the oil base 'high adhere' primer and things looked great until I noticed a couple of tiny pinholes on the port side wing root - DANG! I guess the tiny holes must have had some putty residue the the holes were not noticed BEFORE the Windex wash and I missed them after the wash was finished.
I'll let the primer cure for a day or two before handling and figure how to cover the pin holes.
5 attached images. Click to enlarge.
-
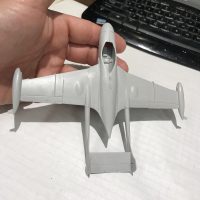
1. The 'outside' is all prepped for primer
-
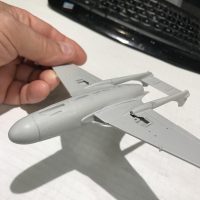
1. I guess I should have sprayed the wheel wells prior to assembly
-
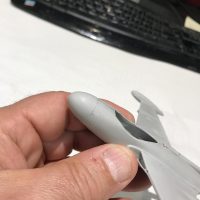
1. I got to save most of the nose detail
-
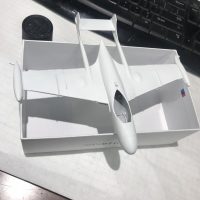
1. All primed up and ready to go!
-

1. DANG!! 2 tiny pinholes! Right at the middle of the wing root :(