This installment will have the basic assembly of the Jeep completed. Lifecolor OD was used as the basic overall color used on the Jeep.
Future was used to clear coat the Jeep and let it sit overnight.
in the meantime to weather the road wheels. Mud wash, Mig enamel wash slathered all over wheels and tire really pop the details. After going over with a damp Qtip with white spirits.
-
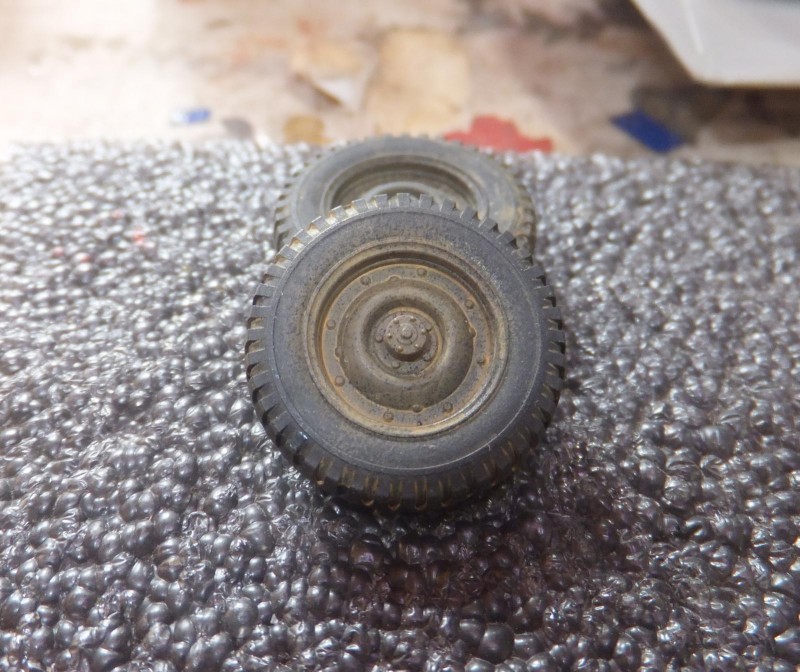
1. Tires Painted Tamiya Rubber Black
2. Mud wash
Wheels are attached, about ready to roll now with the Jeep up on all 4 wheels.
The spare is mounted up, it too with a bit of wear.
Pioneer tools painted and installed just below the drivers side of the Jeep.
After sitting overnight, It was at this time I started to apply the markings. Using decals from the kit and Tamiya was good in having extra numbers on the sheet. But I might have some remnants of wash or thinner on the brush I used to apply the decals that left a white residue on the hood.
-
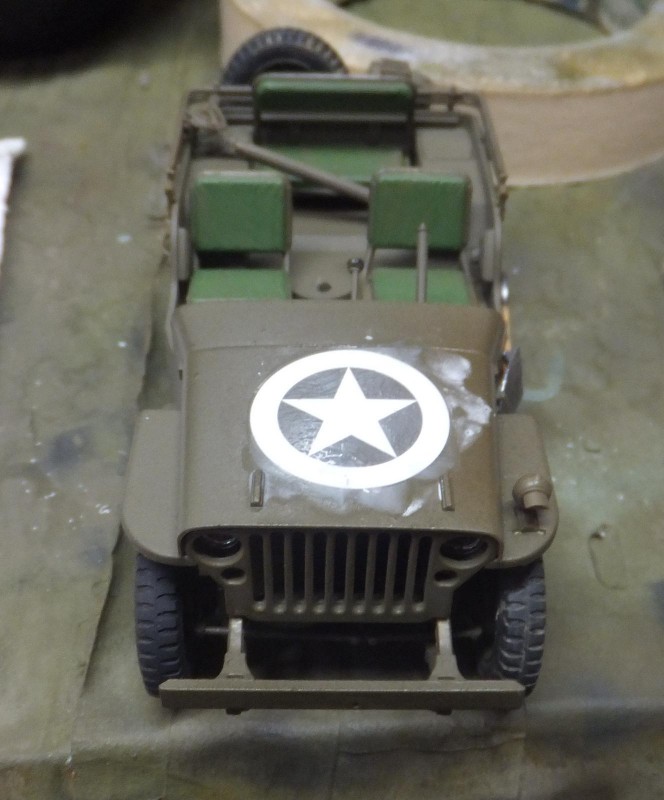
1. Something in the brush caused white residue
At first this was normal at times I have had this happen before. Then when the solution dries it clears up. Not this time.
-
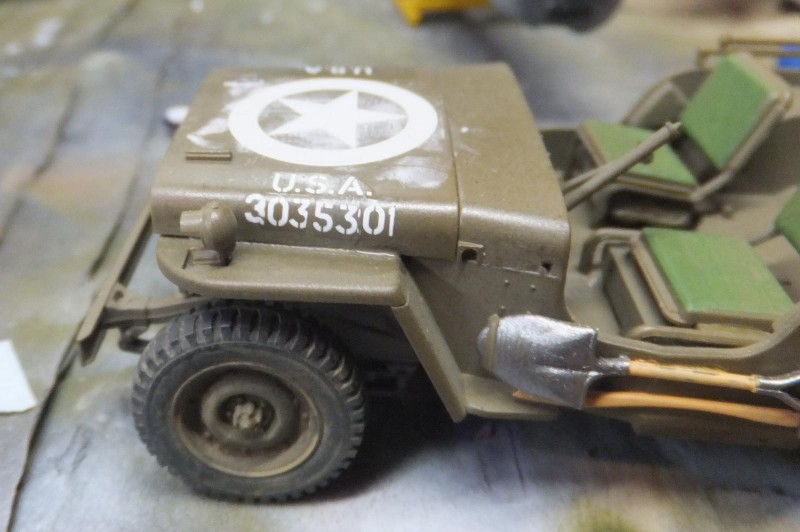
1. Serial number as used in the movie
I switched brushes and the rest of the decals went down ok, no issues. Again cobbling the numbers to match the serials used in the movie.
-
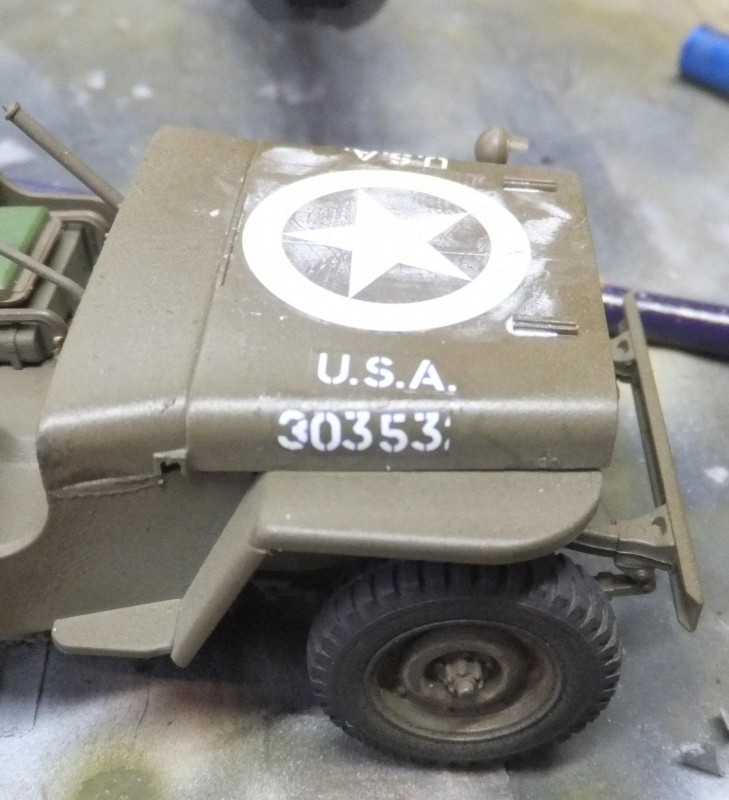
1. numbers applied one by one
-
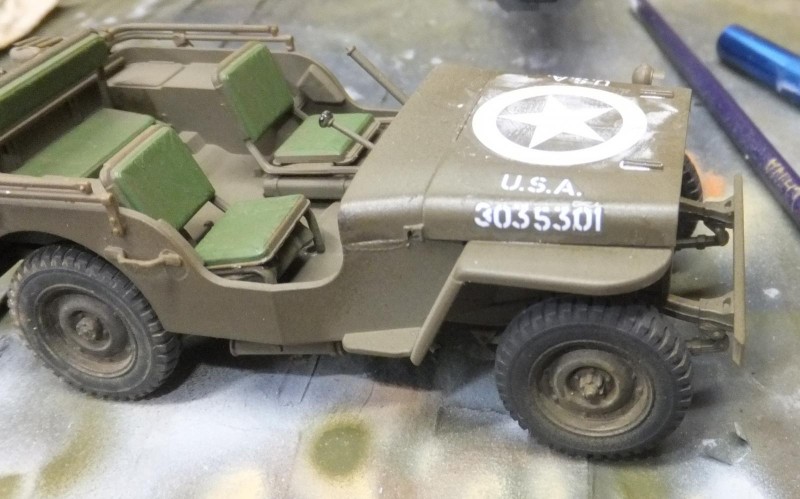
1. The white reside will be an easy fix
Lifecolor Flat clear used. To seal the decals. The windshield frame assembly is attached.
-
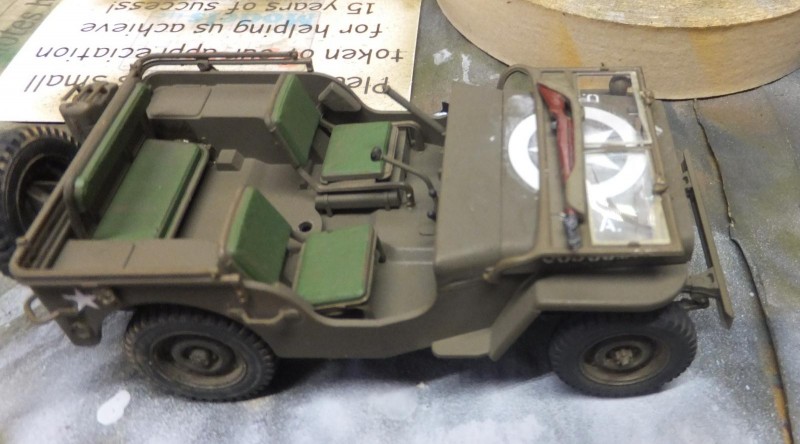
1. Windshield covers up most of the residue, will address the rest of it with the weathering process
Testors clear cement is placed into each headlamp. Great stuff to use for headlamp lenses.
The steering wheel is cleaned up and attached to the column.
Next the nicely detailed .30 cal and mount. You ever get fumble fingers when trying to be careful when assembling certain parts. I did with the gun mount.
Next the rearview mirror. Chrome pen used for the background, Testors clear for the glass.
The fender mounted lamp and guard is attached to the L/fender.
The ammo box is assembled and attached to the .30 machine gun.
Finale details, the machine is mounted up in place between just aft of the front seats.
The rear view mirror is installed. Taillight lenses are painted clear red and the data plate decals are applied over the glove box door.
The Jeep is basically done, now to add some cargo, detail and wear the seat cushions. More to follow.