Cropduster!
The one thing that can be said about ag planes is they ain't pretty. Leland Snow came close with his shark-nosed, turbine air tractor, but outside of that, ag planes are some of the ugliest airplanes that ever took to the air.
‘Course there are those 1930s Polish and French military aircraft. Still, the Ag Stearman was typically a Frankenplane. A patched-together, draft-horse with all sorts of appendages hanging off.
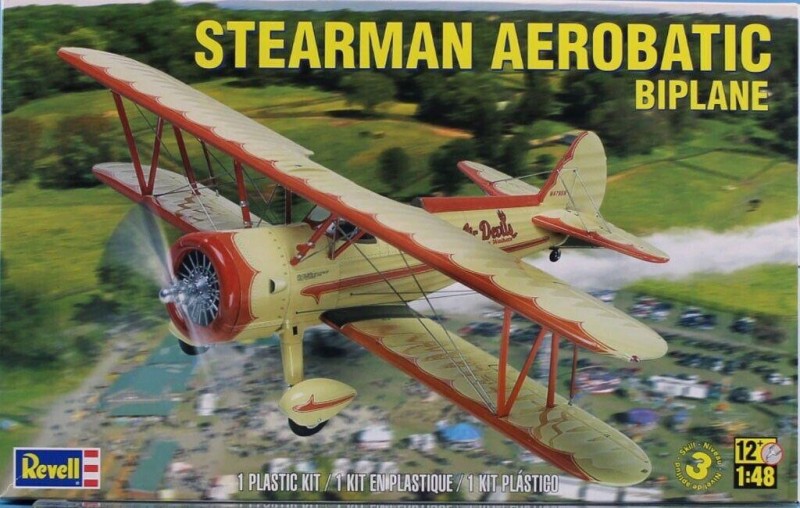
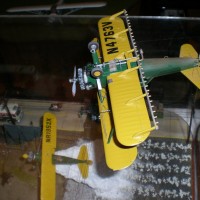
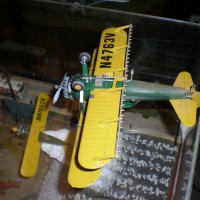
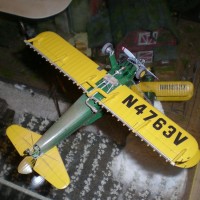
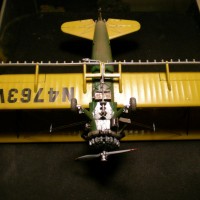
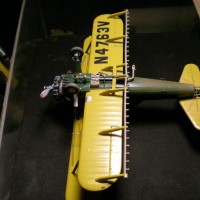
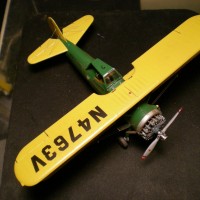
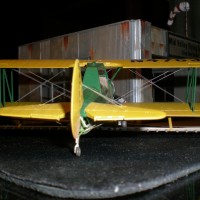
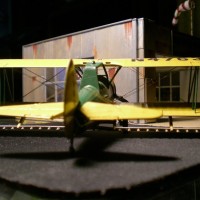
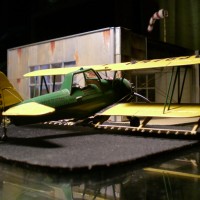
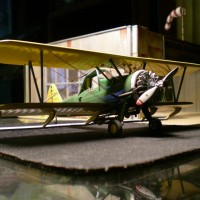
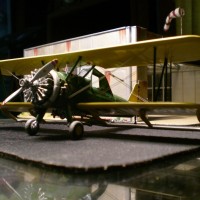
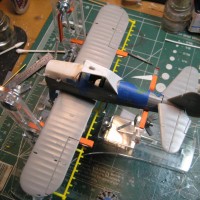
I wanted an ag plane for a 1/48 diorama, but there are so few on the market in any scale as to be virtually nonexistent. I began my ag career in a Stearman, so the recent Revell release (more recent than Lindberg) provided a natural platform for the subject. But just as in real life, one has to modify the USAAC's ubiquitous training aircraft to its never intended role of cropduster.
I was about to purchase another Revell PT-17 when I caught sight of Revell's Airshow version of the Stearman.
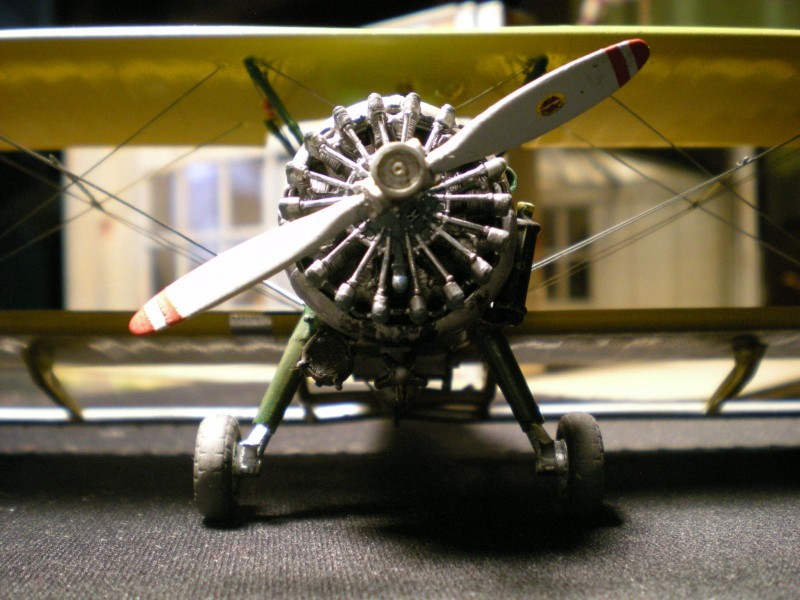
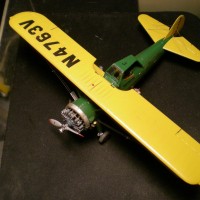
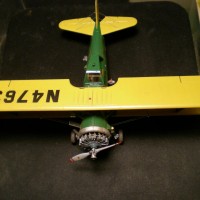
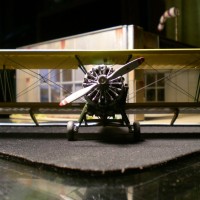
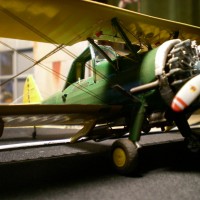
I looked no further. First off, the Airshow Stearman has a P&W 450 mounted on the nose, complete with its cylinder-ear, oil lines that drives one crazy trying to replicate even in larger scales. The P&W 450 was long a standard engine used by ag operators, as it more than doubled both the horse power and load carrying capacity of the Stearman's original 220 or 300 hp engines. The kit's propeller needs a couple of counter weights and some profiling work to give it the old Ham-standard-constant-speed look. Other than that, the kit has the basics for an ag plane, like -
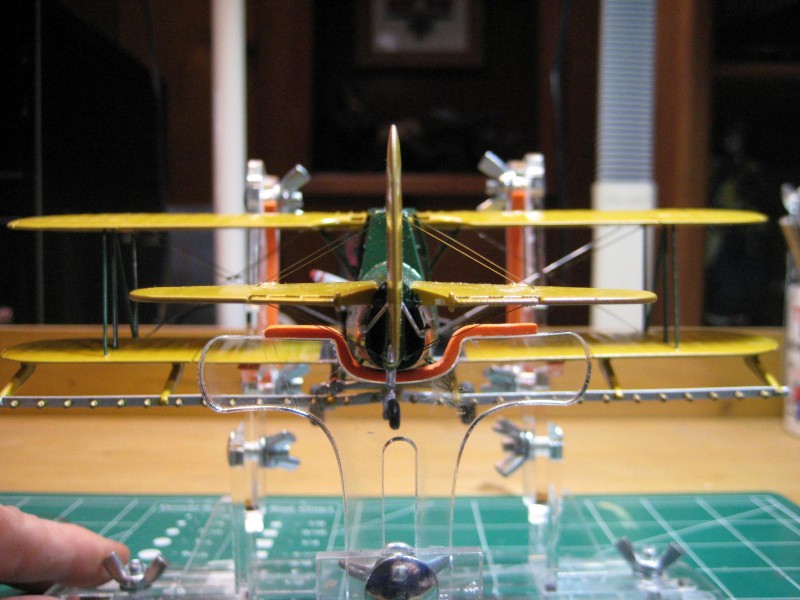
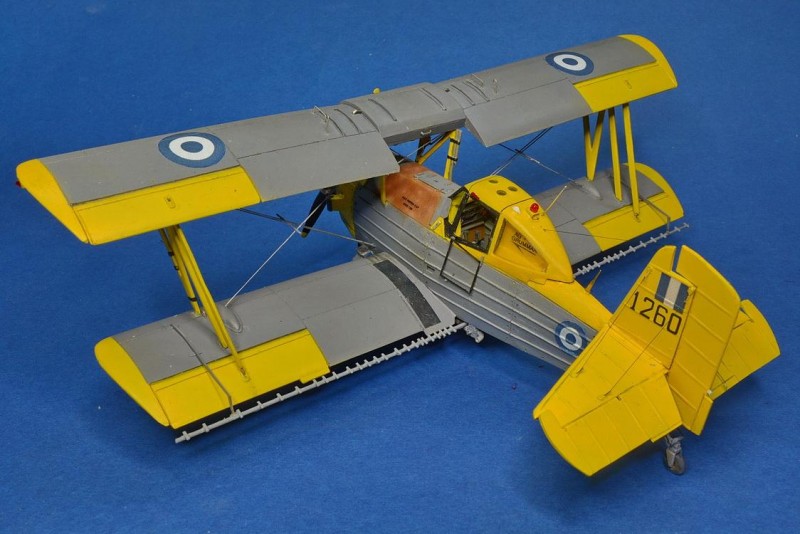
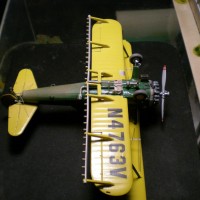
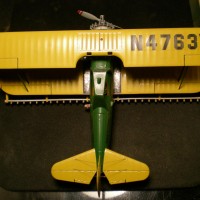
Number two, the four aileron modification sometime incorporated into the ag version of the Stearman. In fact, it is likely that the upper-wing aileron mod was developed by ag pilots to achieve better control response in the turns. Those are the included plusses of Revell's Airshow Stearman kit; the rest is up to the builder.
Another challenge for the ag plane modeler comes from the fact that ag operators like to see what is going on at a glance and therefore do not want to spend time removing access panels for inspections. Therefore, full cowlings and spinners were rarely seen and various other panels were often removed to allow an operator to continually inspect the rat's nest of wiring and tubing located behind access panels. The 450 also used a large, round, honeycomb, oil cooler usually mounted in the wind, below the starboard side of the engine. The operational ag Stearman often gave one the impression it was undergoing advanced maintenance.
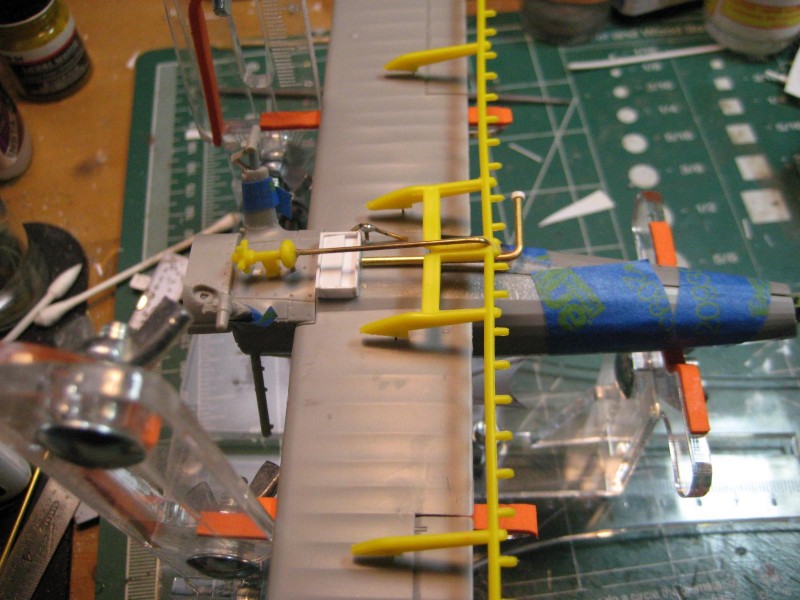
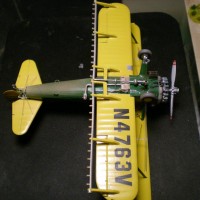
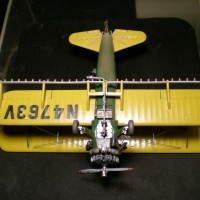
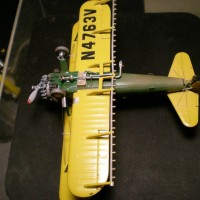
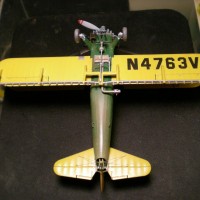
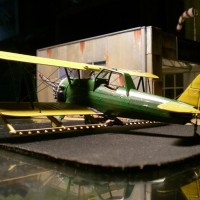
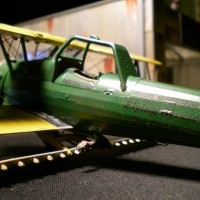
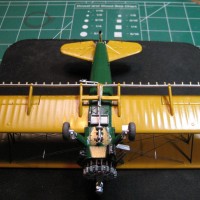
There are a number of fairly standard modifications made to ag planes, for example spray boom mounting brackets. There have been a number of novel approaches to this problem, but the standard boom bracket is mated in some manner to the wing ribs, just ahead of the ailerons. This drops the spray booms below and behind the trailing edge of the wing where they are out of the way, while allowing chemical to come a bit closer to the crops.
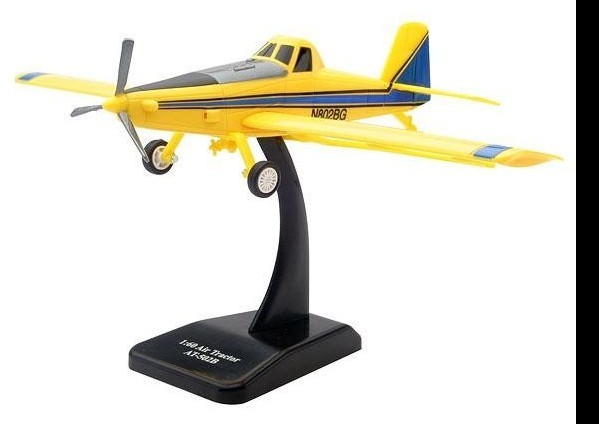
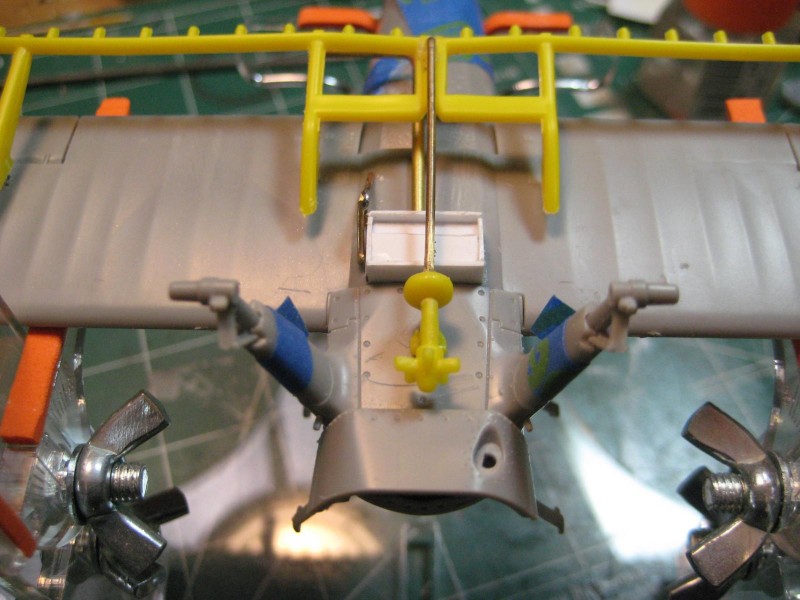
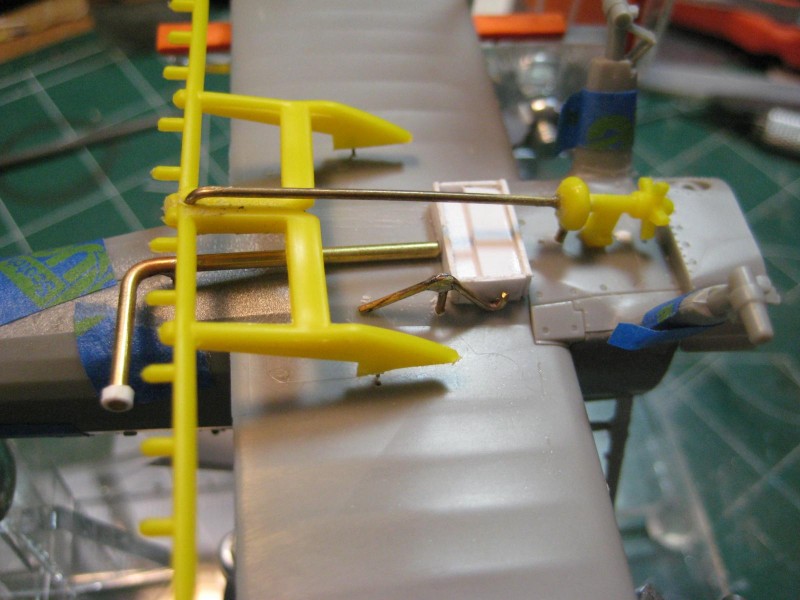
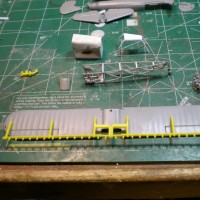
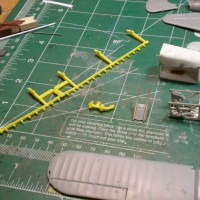
The first critical problem faced in building the ag Stearman was creating the spray booms, brackets and pump assembly. These are difficult to replicate in 1/48 scale, unless of course one wants to have them printed. I did not want to go to that extent and so found a solution in New Ray's 1/60 Air Tractor.
Oddly, the Air Tractor is also advertised as 1/48 scale, but whatever the scale, the spray booms and pump are a perfect scale fit for the Stearman. All that was needed was some extra plumbing. I carefully sawed off the six, boom-mounting brackets molded onto the wings and then disassembled the fuselage to remove the boom and pump. Of course, almost nothing is ever that simple.
The problem is New Ray's yellow plastic, flexible vinyl stuff that makes cutting, sanding, gluing and painting problematical. New Ray's flexible vinyl plastic made gluing the spray boom brackets to the Stearman wings a challenge and sanding it left fuzzies that refused to come off. While flexible, polyvinyl plastic is great for making durable kids toys, it's not so great for modelers, as most paints and adhesives will not adhere to this kind of plastic.
My answer was to drill close tolerance holes in the spray boom brackets and insert small diameter, stiff piano wire pins.
I then drilled matching holes in the lower wing to align the flexible brackets in position. I used Weld On glue (sticks firmly to everything, but allows parts to be detached later) to mount the brackets to the wing. As Weld On takes some time to dry, I used cyanoacrylate to hold the pins firmly in place on the wings until the Weld On dried. This made for a very durable installation. Painting required careful handling afterwards, as any bending of the booms would cause the paint to crack and flake.
I followed the same cautions with the pump assembly mounted under the fuselage.
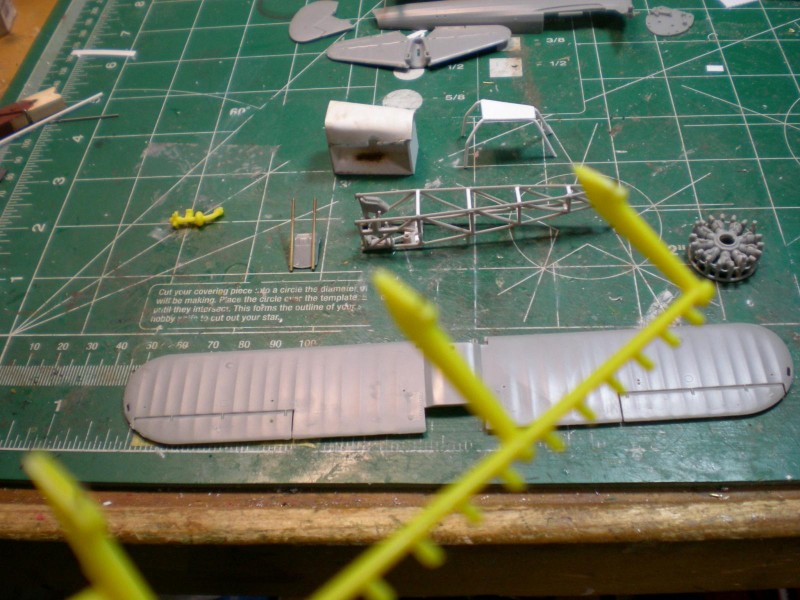
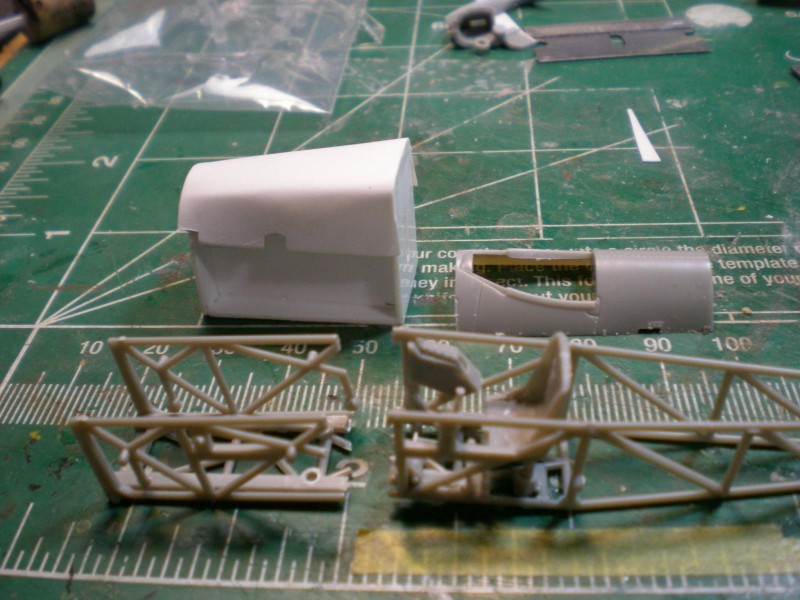
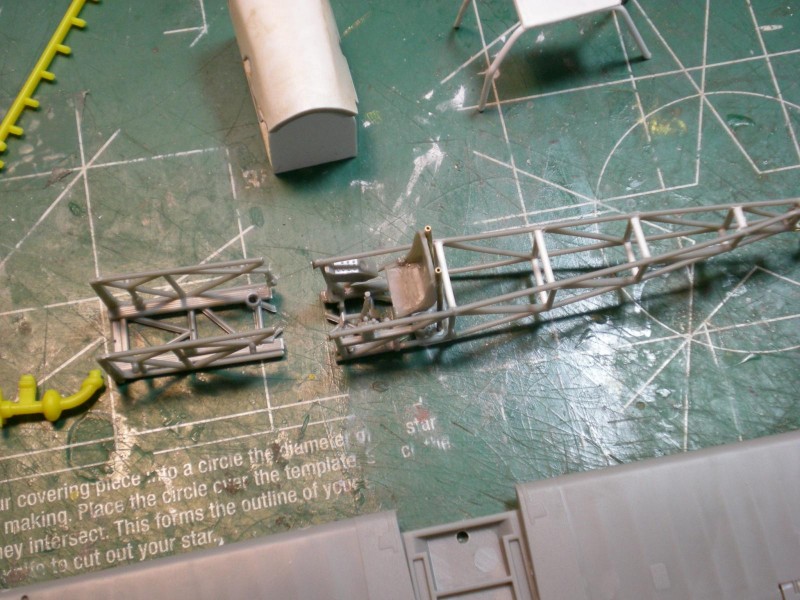
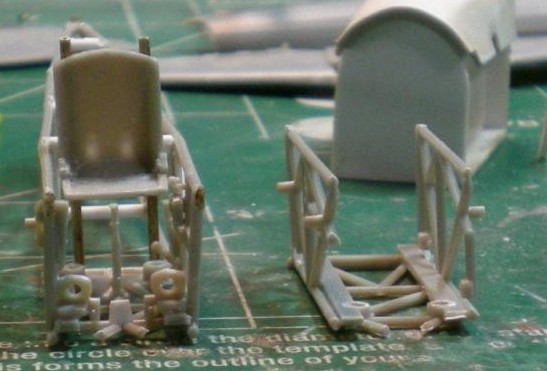
Revell's fuselage tubing is nicely done, but quite flexible as it has no upper or lower cross members. Adding those in with Evergreen rod stock of the same diameter creates a rigid frame just as it does in the real thing.
Then there is the hopper.
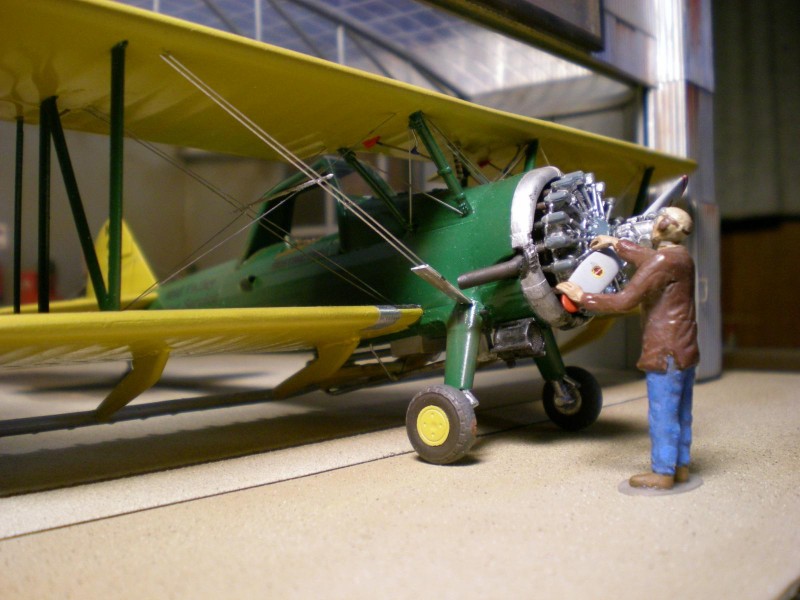
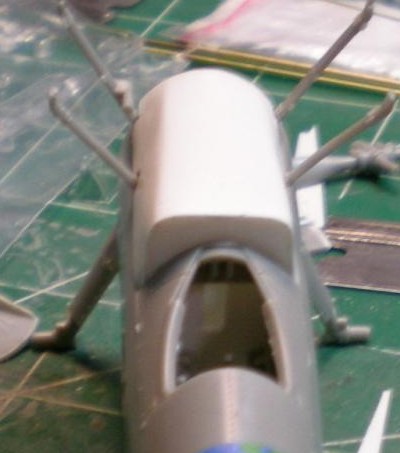
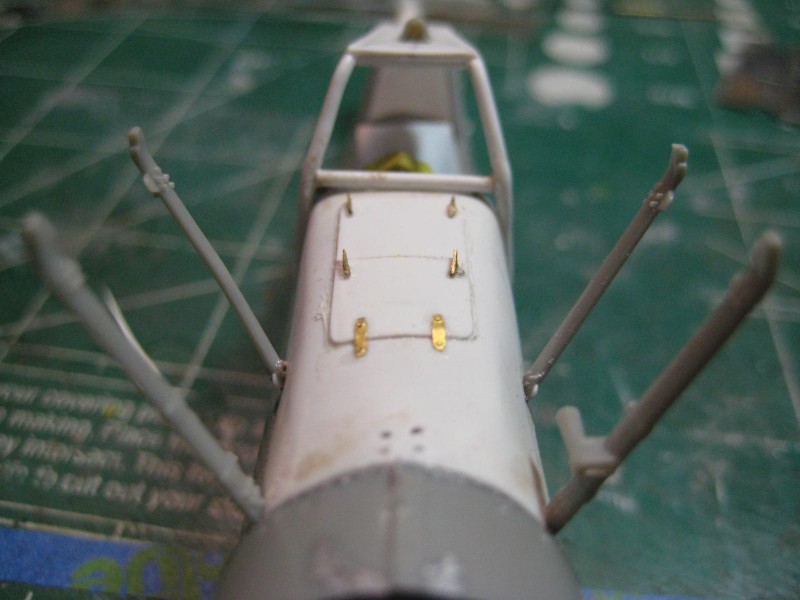
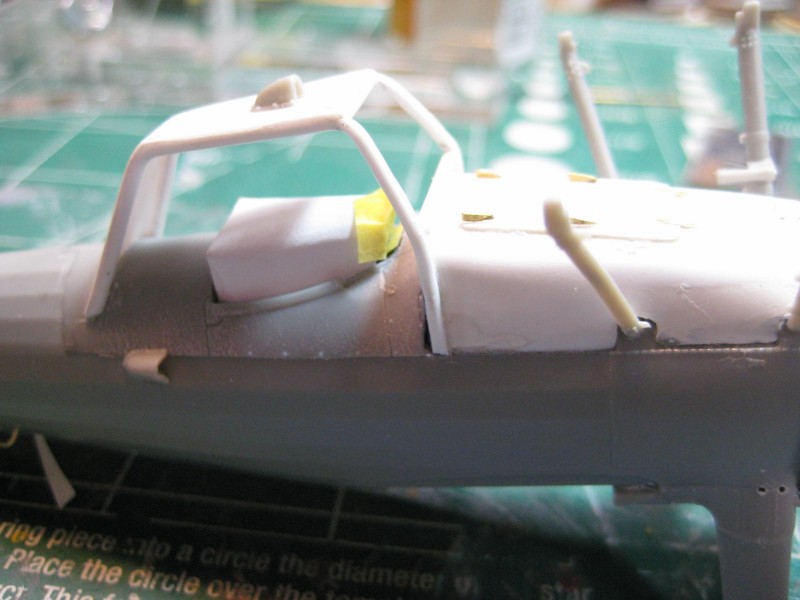
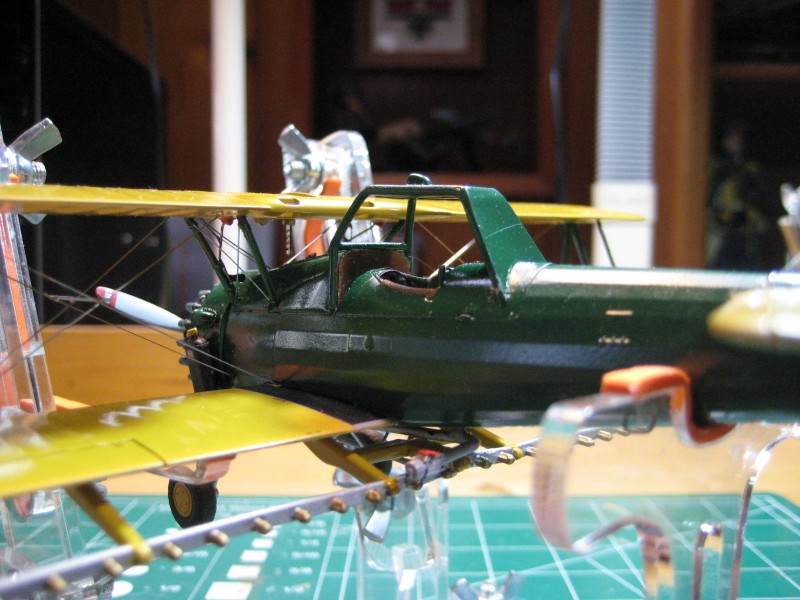
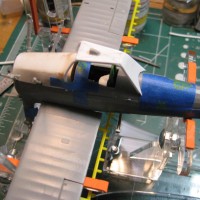
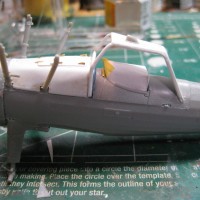
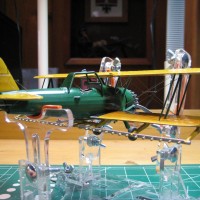
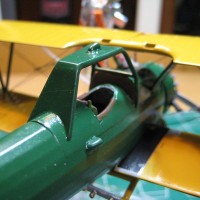
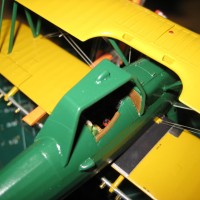
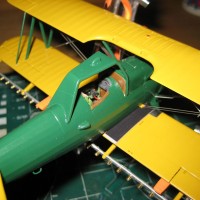
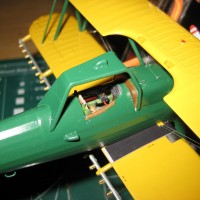
As most every modeler knows, the front cockpit of an ag Stearman is taken up by a hopper. In this case, a rather large, squared off hopper to increase the load capacity. Once again, the hopper had to be manufactured out of flat, Evergreen stock. Note the small, square window in the hopper just below the instrument panel. This is so the pilot can see how much chemical is left in the hopper. It has demarcation lines indicating gallons.
The brass on the hopper lid are the locking handles with a small vane that streamlines with the slipstream to keep them firmly locked in place. Hinges are normally piano hinges, but I used conventional door-style hinges to help clarify what is what on the hopper door.
Installing the hopper required cutting out the frame in front of the rear seat. I used the front cockpit panel as a form to mold the Evergreen hopper. This made the hopper a perfect fit to the fuselage.
I'm not sure what the small vent is for behind the cockpit on the Air Show Stearman, but it added perfectly to the clutter on an ag version's fuselage.
A scoop such as this would provide positive pressure airflow thought the rear fuselage, exiting out the uncovered tail section helping to keeping chemical from accumulating in the empennage. Several air scoops were included with the model. The one on top of the hood was mounted on the absent cowling.
The ag hopper is typically made out of relatively heavy, translucent, brown fiberglass with bi-fold hopper doors that open forward against the slipstream to assure the doors stay closed in flight. Mounted on the bottom of the hopper is the hopper “throat” with its “gate” or “dump gate.” This square opening has a hermetically sealed door that is tripped with the dump handle in the cockpit, usually just ahead and slightly below the “Money handle” that controls the spray boom's pressurized nozzles.
In an emergency, the dump gate can dump a load in split seconds, but is more commonly opened when rinsing out the hopper. The gate is also used for dry work. This is accomplished with a “spreader,” typically a large, hollow triangular affair or a wing like structure with a gap in the trailing edge that facilitates the uniform flow of rice, beans, fertilizer or whatever. The spreader is attached the bottom of the gate mouth and the dump handle is then used to control the flow. The throat and gate are made from flat, Evergreen stock.
Note the over-center gate actuating mechanism made from brass rod mounted on the side of the hopper throat. The “L” shaped pipe underneath the boom bracket is the loading pipe for liquids.
I once had a load of Pydrin insecticide dump accidentally after my boss adjusted the over-center latch on the gate mechanism to a hair trigger. The G's from dropping into the field triggered the dump gate, releasing the load four feet off the ground. The chemical bounced off the crop, enveloping the aircraft in a cloud of poisonous mist and I found myself flying blind for a split second before emerging from the dense, chemical mist. My flagger said he thought the Cat had exploded. My boss had to buy a couple of acres of crop for that mistake.
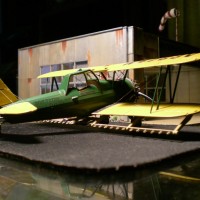
Due to the increased height of the hopper, an adjustable seat was elevated on a modified structure. In some cases the windshield would be removed and pilots would fly with helmet and goggles out in the slipstream.
Ahhh those were the days, real stick and rudder work. Later, the abbreviated “Lily Hood” came along that included not only a windshield, but sometimes doors as well. Mine even has a vent scoop mounted on top.
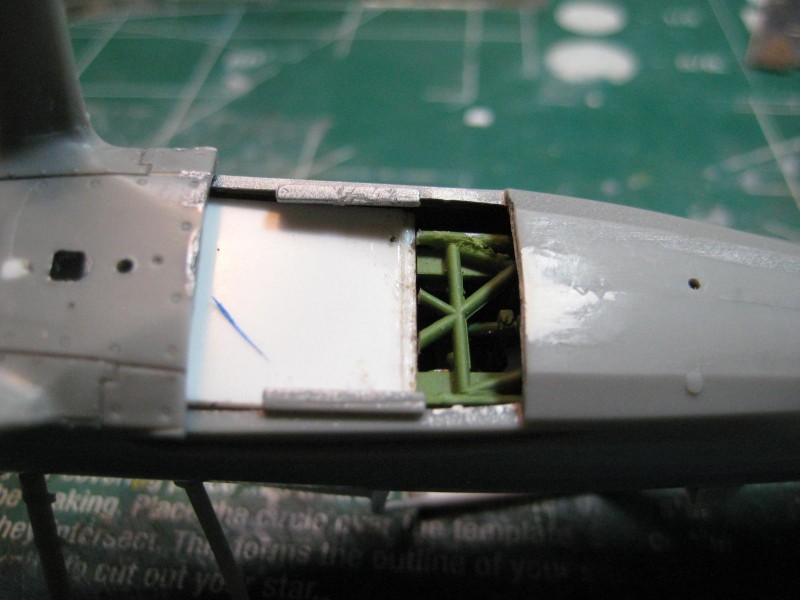
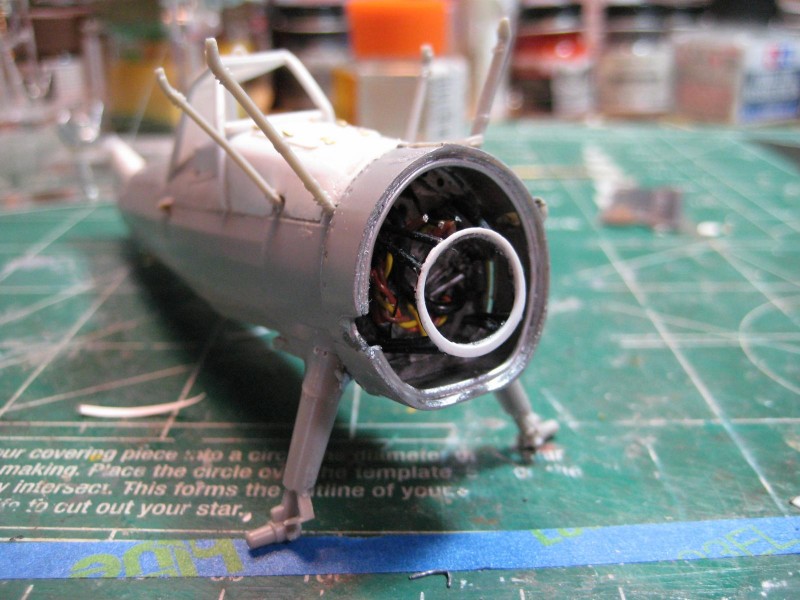
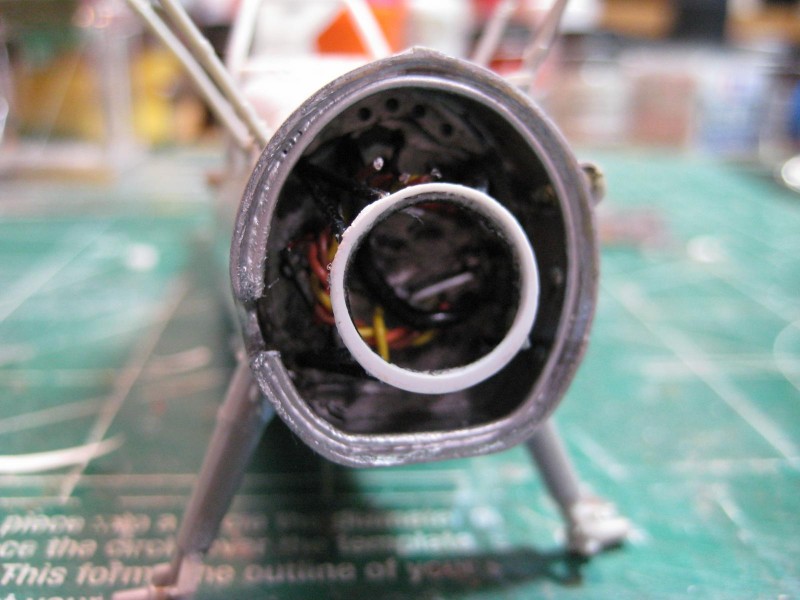
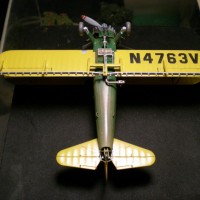
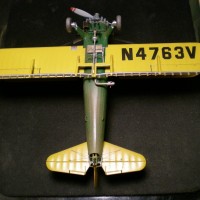
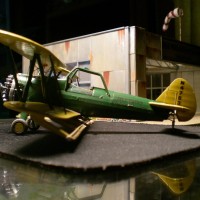
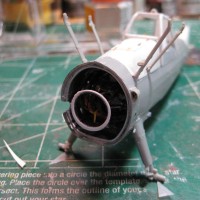
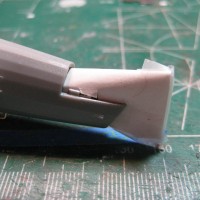
Then there is the missing tail cone. Ag operators removed the Stearman tail cone so chemicals would not accumulate inside and cause corrosion and believe me, it happens fast with the caustic chemicals used in ag work. The open structure facilitates flushing of the critical rudderpost and associated tail feather hardware, like rods and cabling.
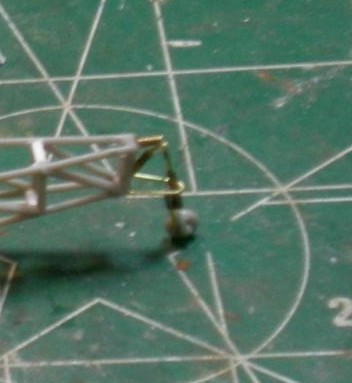
The result of this modification leaves exposed framework at the rudder termination point. Again, it is fortunate that Revell includes the necessary framework detail, however the entire tailwheel fuselage bracing must be replicated.
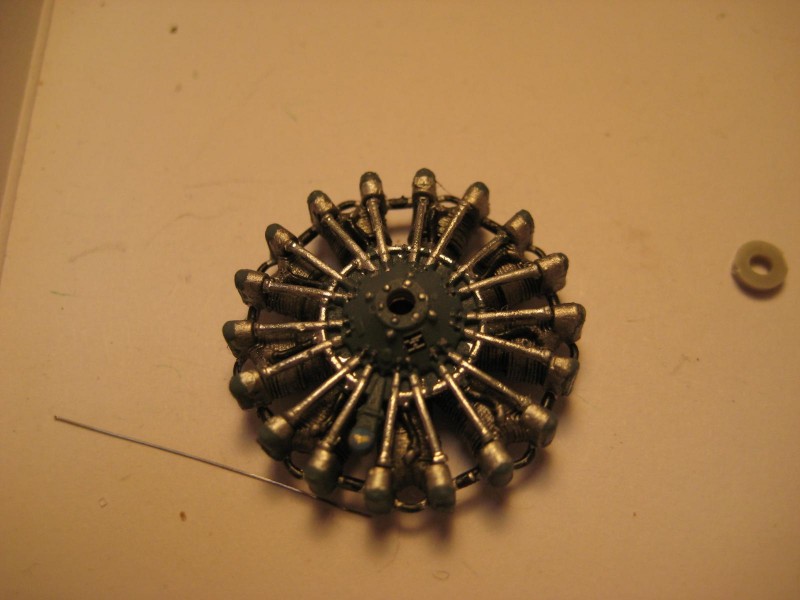
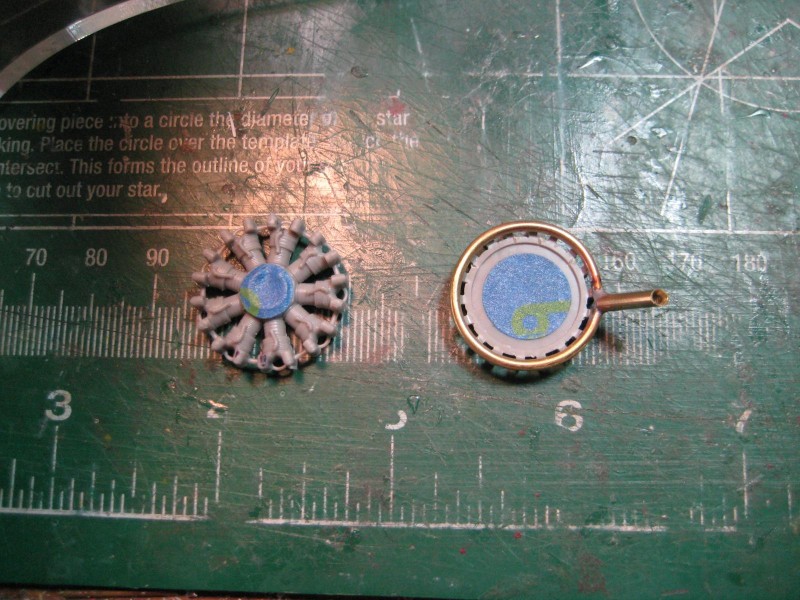
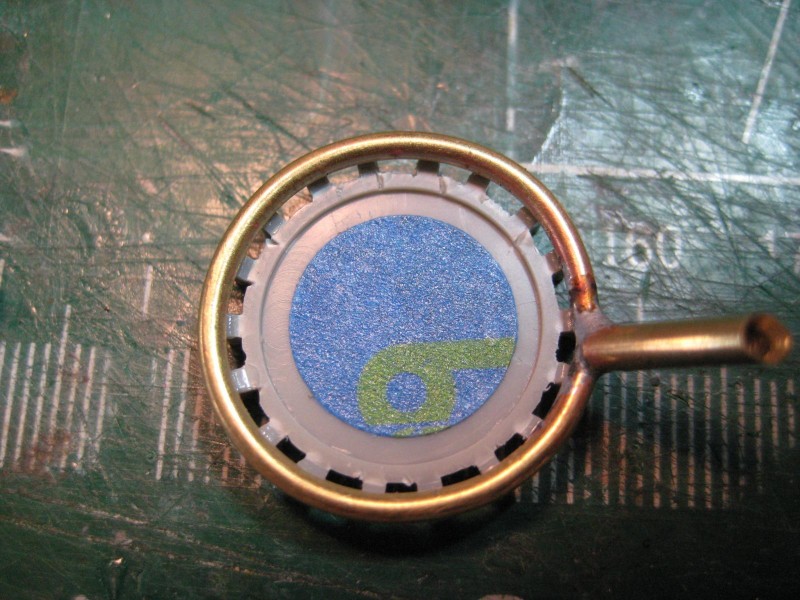
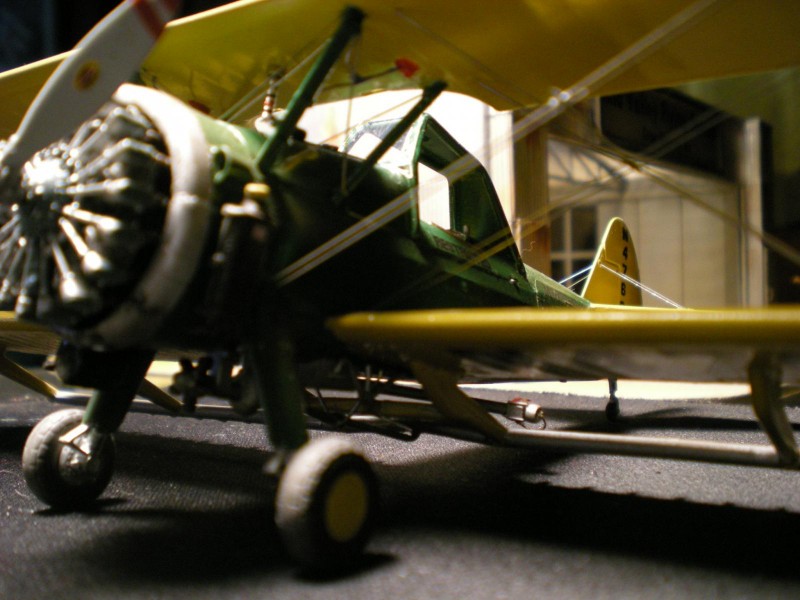
The engine was nicely done despite the fact the exhaust collector ring was virtually nonexistent, relying on an exhaust stack stub glued to the bottom of the cowling.
I cut off the plastic ring and formed one from brass rod and then took a piece of tubing and soldered on an exhaust stack, repositioning the stack to come out the starboard side of the collector ring. Note the aluminum exhaust guard and panel on the flying wires and wing.
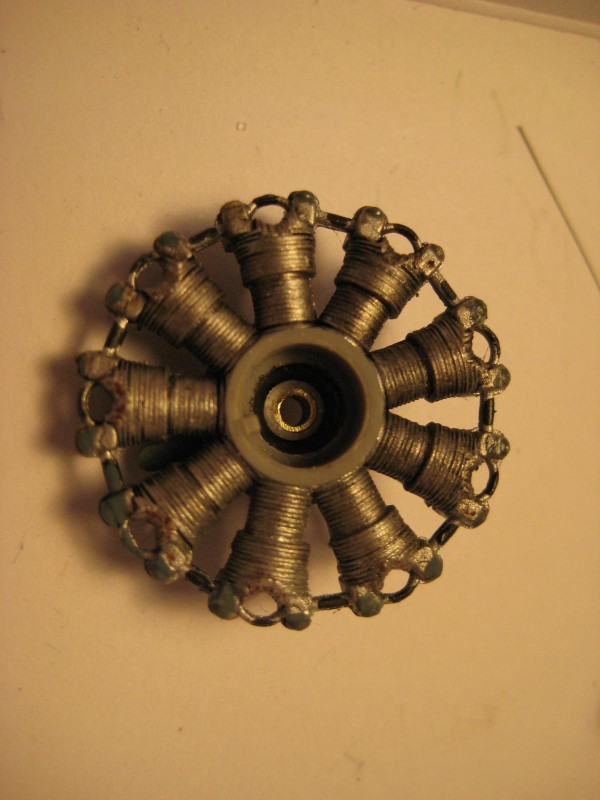
The propeller had that plastic-shaft-in-plastic-hole wobble, so, I drilled out the back of the prop shaft housing and installed a 1/8 inch piece of brass tubing to bush the prop shaft, being careful not to punch through the front of the crankcase.
I managed to run over the engine mount with my office chair, mangling the mount to an unrecognizable jumble of tiny plastic rod. However, the plastic was so flexible, I managed to restore the mount, adding a circle cut from Evergreen for stiffening. Note the wires and tubing behind the firewall. This was to clutter up the area, but it disappeared behind the engine.
There are other details like the nice oil tank mounted behind the engine. For various reasons some applicators would mount these externally, so that is what I did.
Then there is the large oil cooler with its distinctly visible honeycomb pattern. Applicators frequently mounted these outside and below the fuselage. I made one out of styrene tubing and screen. Note the original sight gage mounted on the underside of the upper wing with its fuel level markings and drain-tap.
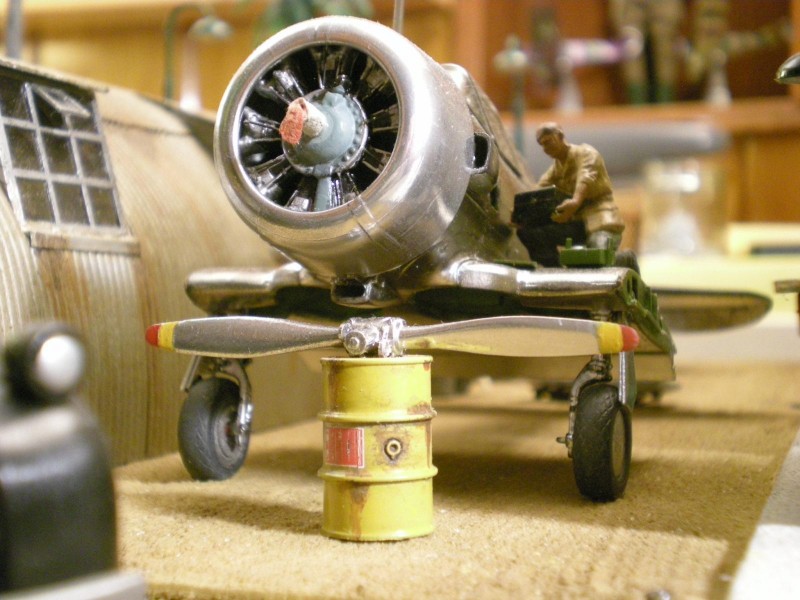
The Airshow Stearman's Hydromatic propeller was an in interesting conversion. Hamilton's counter-weight prop was pretty standard for ag planes and I never saw a Hydromantic on anything other than larger aircraft like the Twin Beech. I wanted to use a T-6 spinner that I had from my Revell racing T-6 and for this purpose, the Hydromatic would have been fine. However, while I could find the rear plate for the spinner, I could not find the spinner in the parts box. I had a nice T-6 counter-weight propeller sitting on a 55 gallon drum in the airport diorama, but although it was to scale, it looked kind of puny. The answer was to modify the kit's Hydromatic.
I filed the end of the prop dome of the Hydromatic flat and then cut small pieces of styrene rod to make the counterweights, gluing them to the sides of the prop. I then made a narrow band of flat styrene to create the distinctive, raised ridge around the end of the flattened prop hub. The addition of a 1/32 scale brass nut to simulate the molded nut on the propeller dome cap completed the Hamilton Standard counter weight propeller. It is a bit large for the scale, but that is what I wanted to highlight the distinctive propeller used on these aircraft.
It was an ugly airplane, but it did the job.
Stay tuned, next up is the Mid Valley ag hanger diorama. After that is the loading ramp diorama featuring a 1/48 scale Grumman Ag-Cat, presently en route from Greece.






Google the Delaware Agricultural Museum. The have a Stearman ag plane hanging from the ceiling. It’s wing tips are cut back. If you ever build another, this is a great reference. And the curatorial staff likely has many photos of it. Great build!
Thank you for the reference. I was unaware Delaware had any substantial crop production, much less an ag museum. I think some of the corporate farms have fields bigger than that state. Must be a short growing season.
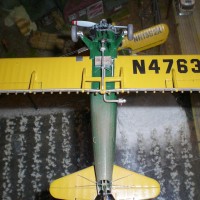
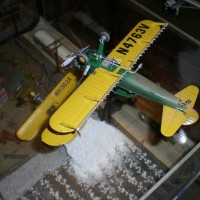
There are so many variations of the ag Stearman, one can hardly go wrong when building it in this form. This one is an amalgam of various Stearman I flew, combined with a number of different photographs. The N-number is from a Pinterest photo.
While I remember the distinct, external oil cooler, (Ag-Cat had them mounted in similar fashion) I never saw an externally mounted oil tank except in a photograph. Same with the raised, camel-humped hopper. Squared tips were typically full span wings, with equal chord ribs carried out to the end to provide additional lift from the minor added surface area.
Like the four aileron mod, clipped wings were more an airshow alteration to increase the aircraft's roll rate. Not exactly a neck-snapping maneuver in the stock Stearman. The guy that ran the ag school I attended had an all red, four aileron, clipped wing, 450 Stearman he flew in airshows. But his other aircraft were pretty much stock versions with various improvements like bigger engines, metalized fuselages and of course, spray equipment.
The one standard modification on virtually all ag Stearman was the open tail assembly. Tail cone fairings being left off for ease of cleaning and inspection.
My next ag aircraft build will be the Ag-Cat. I was going to use this Stearman for my loading ramp diorama, but decide to make one last search for an Ag-Cat. To my amazement, I discovered a guy in Greece producing a limited run, 1/48 resin kit, with struts and prop cast in bronze!
The Ag Cat is the only aircraft among Grumman's famous cat series that was never produced in plastic. Originally the Ag-Cat was going to be called the "Grasshopper," an odd choice, considering the destructive nature of the grasshopper.
'When the decision was made to authorize production, Leroy Grumman suggested marketing the aircraft under the name "The Grasshopper." However, Dick Reade suggested "Ag-Cat," following Grumman's naming tradition using the suffix "-Cat" in aircraft names (e.g., F4F Wildcat and F6F Hellcat). Mr. Grumman agreed and the Grumman G-164 became the "Ag-Cat."'
Such a fascinating sub culture of aviation history. I know someone whose father used a Fairchild PT-19 for spraying in the 50’s. I have a buddy who still uses a Beech 18 for mosquito control spraying here in Delaware. That would be a cool build!
Awesome build. I have spent a lot of time in our wheat belt and have great admiration for our AG pilots and their hardy machines.
Nice! Here's a Grumman Ag-Cat in the restoration hanger at the Cradle of Aviation museum in Long Island NY.
3 attached images. Click to enlarge.
Outstanding work as usual. Really like this!