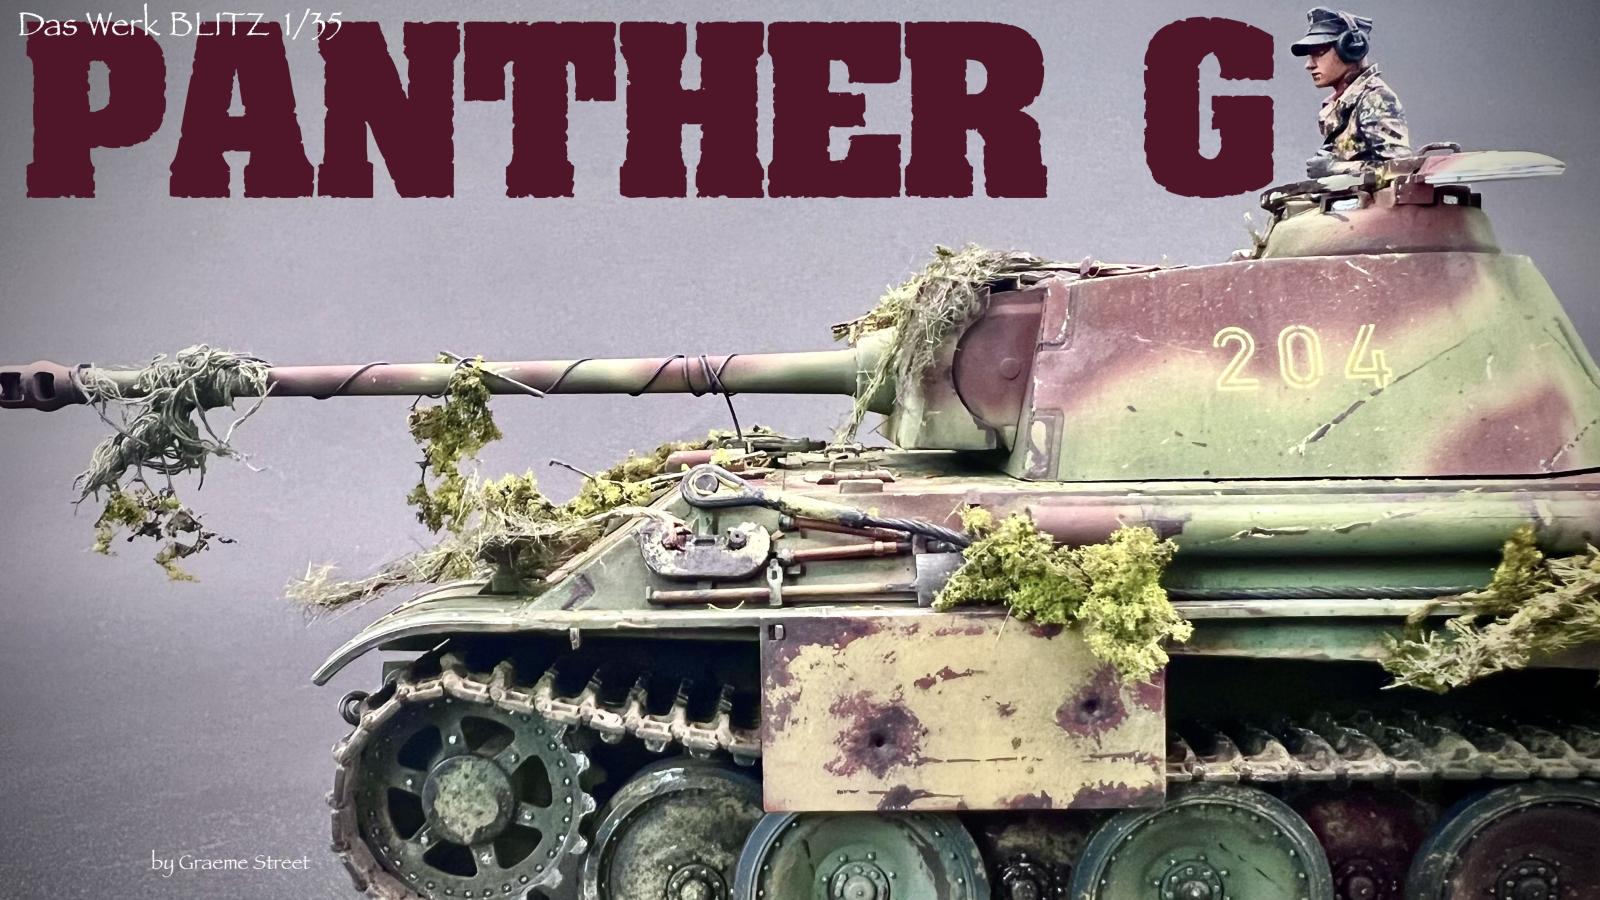
BLITZ! Panther G from Das Werk (built in 6 hrs)
I've been busy building as of late and wanted to do something quick (I hate long builds), so I thought I'd give the Das Werk BLITZ! Panther G a go.
I've built another Das Werk kit before, a Panther A in fact (one of my favorite models).
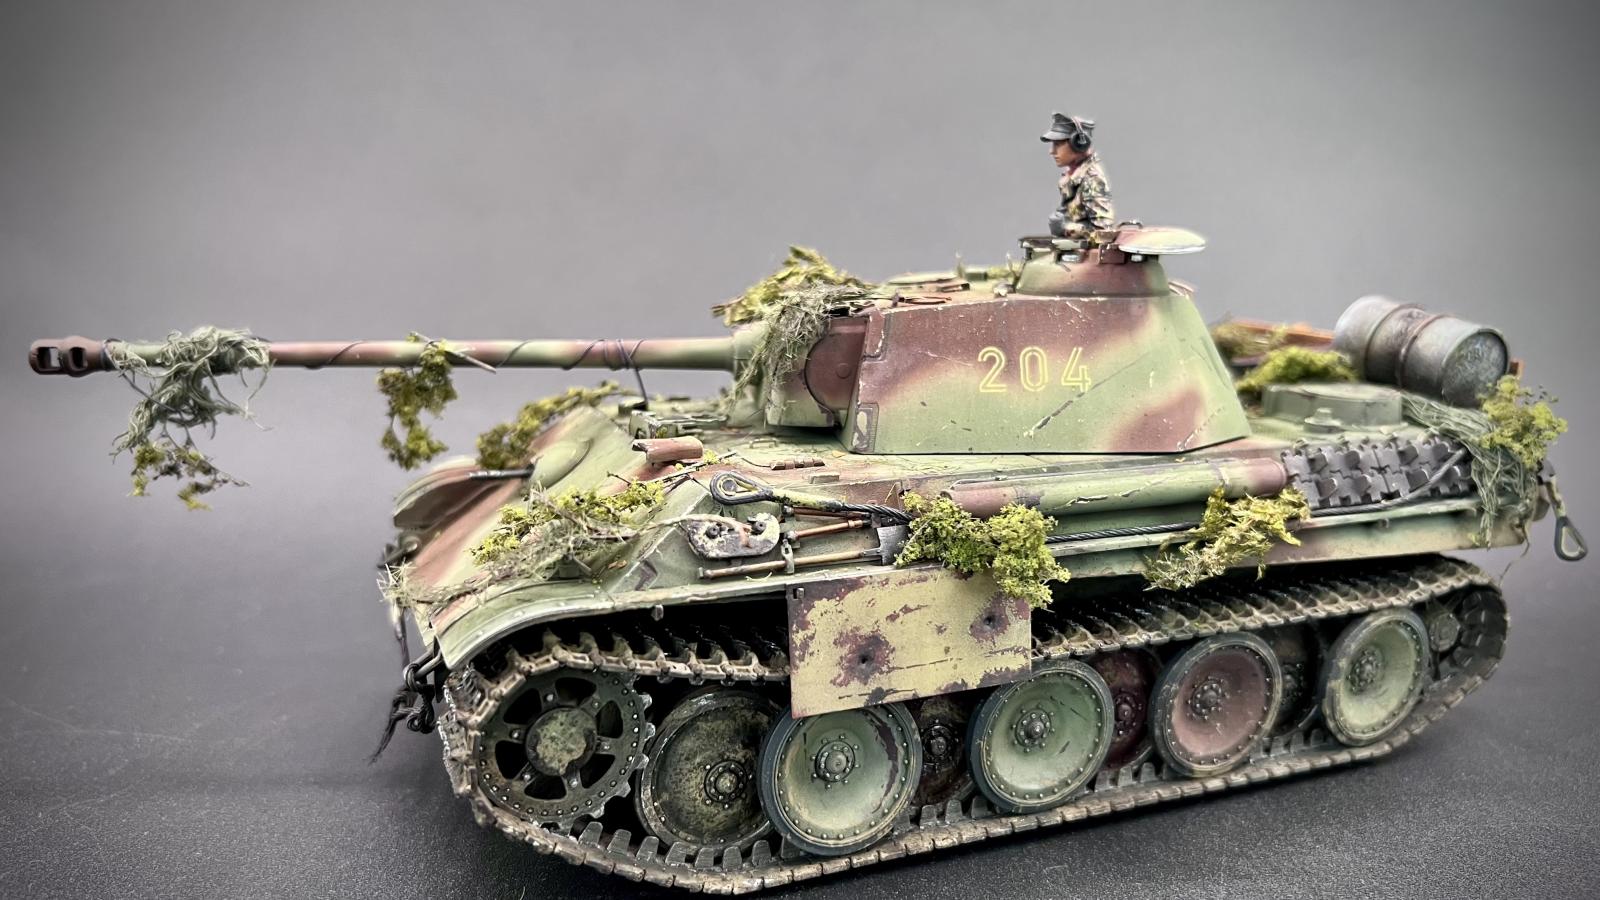
In general I have been very happy with both kits. BUT, I really like the BLITZ kit for its simplicity, detail for dollar, and the fact I could build it in about 6 hours. Granted, the detailing and customization took LOADS longer than the build, but that is typical and why I love quick builds as I know all my time needs to be focused after the build is complete. The road wheels come as four wheel modules that you layer together. I LOVE THIS! Dragon had a similar kit I've done and it makes so much more sense to me for ease of build and even painting. I simply put on the wheel modules (no glue), then built the link and length tracks with glue and made the whole track assembly ONE PIECE with all inner road wheels and track ready to pull off and paint. I am use to many times painting my models with both tracks and wheels non removable, so this was a dream to me.
Granted, there are shortcuts that Das Werk uses that limit customization, but for this build, I didn't care as any customs I wanted to make, I did on my own.
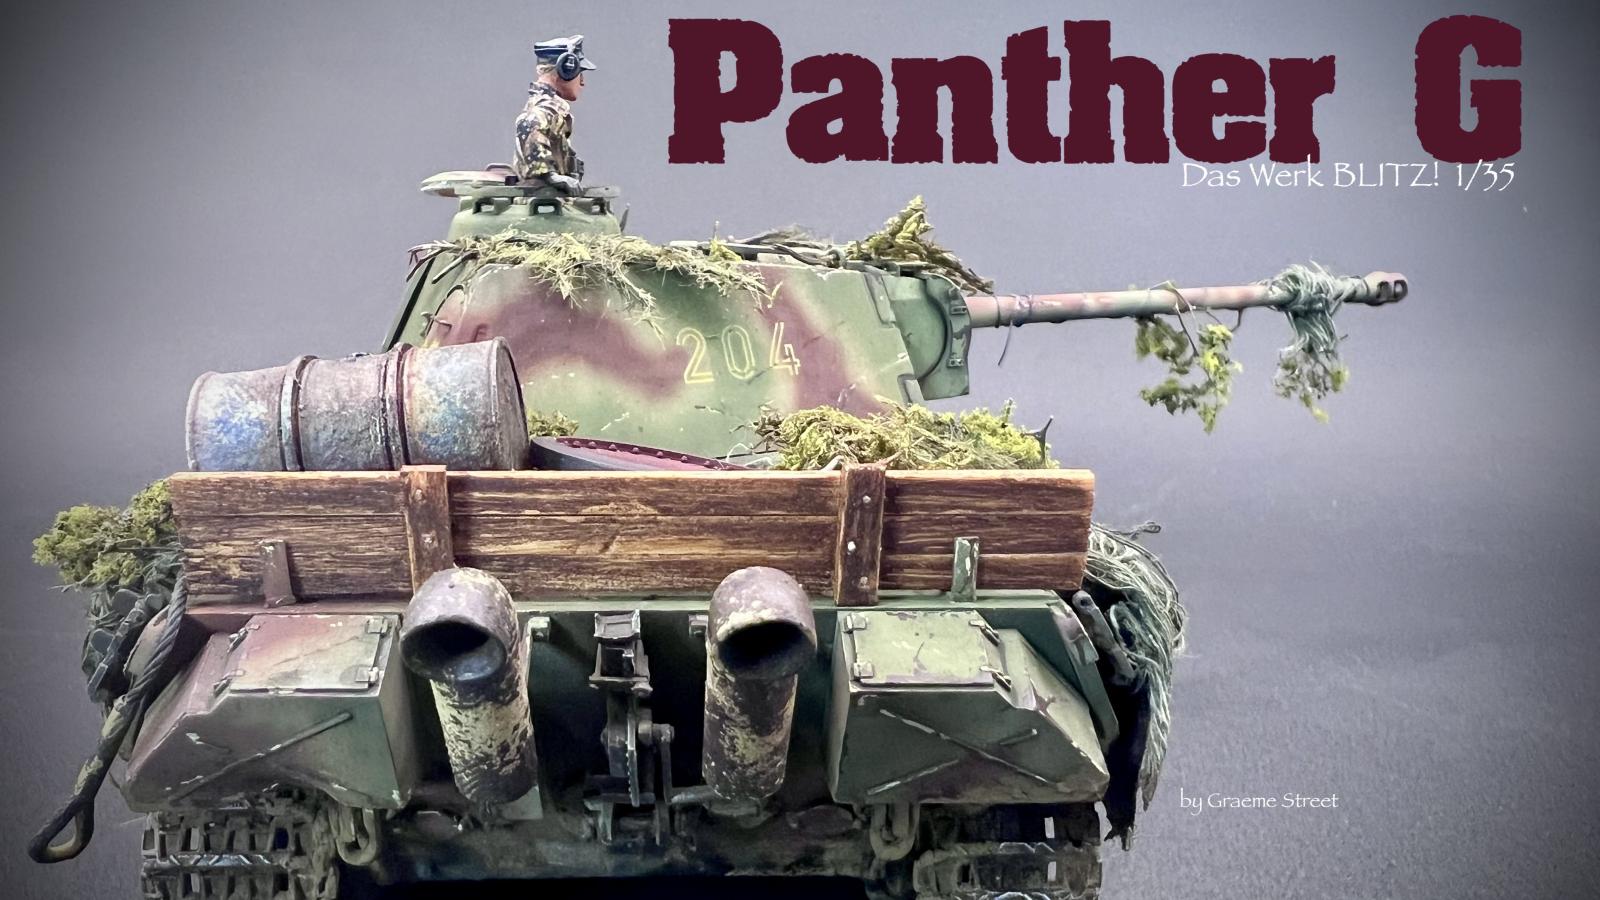
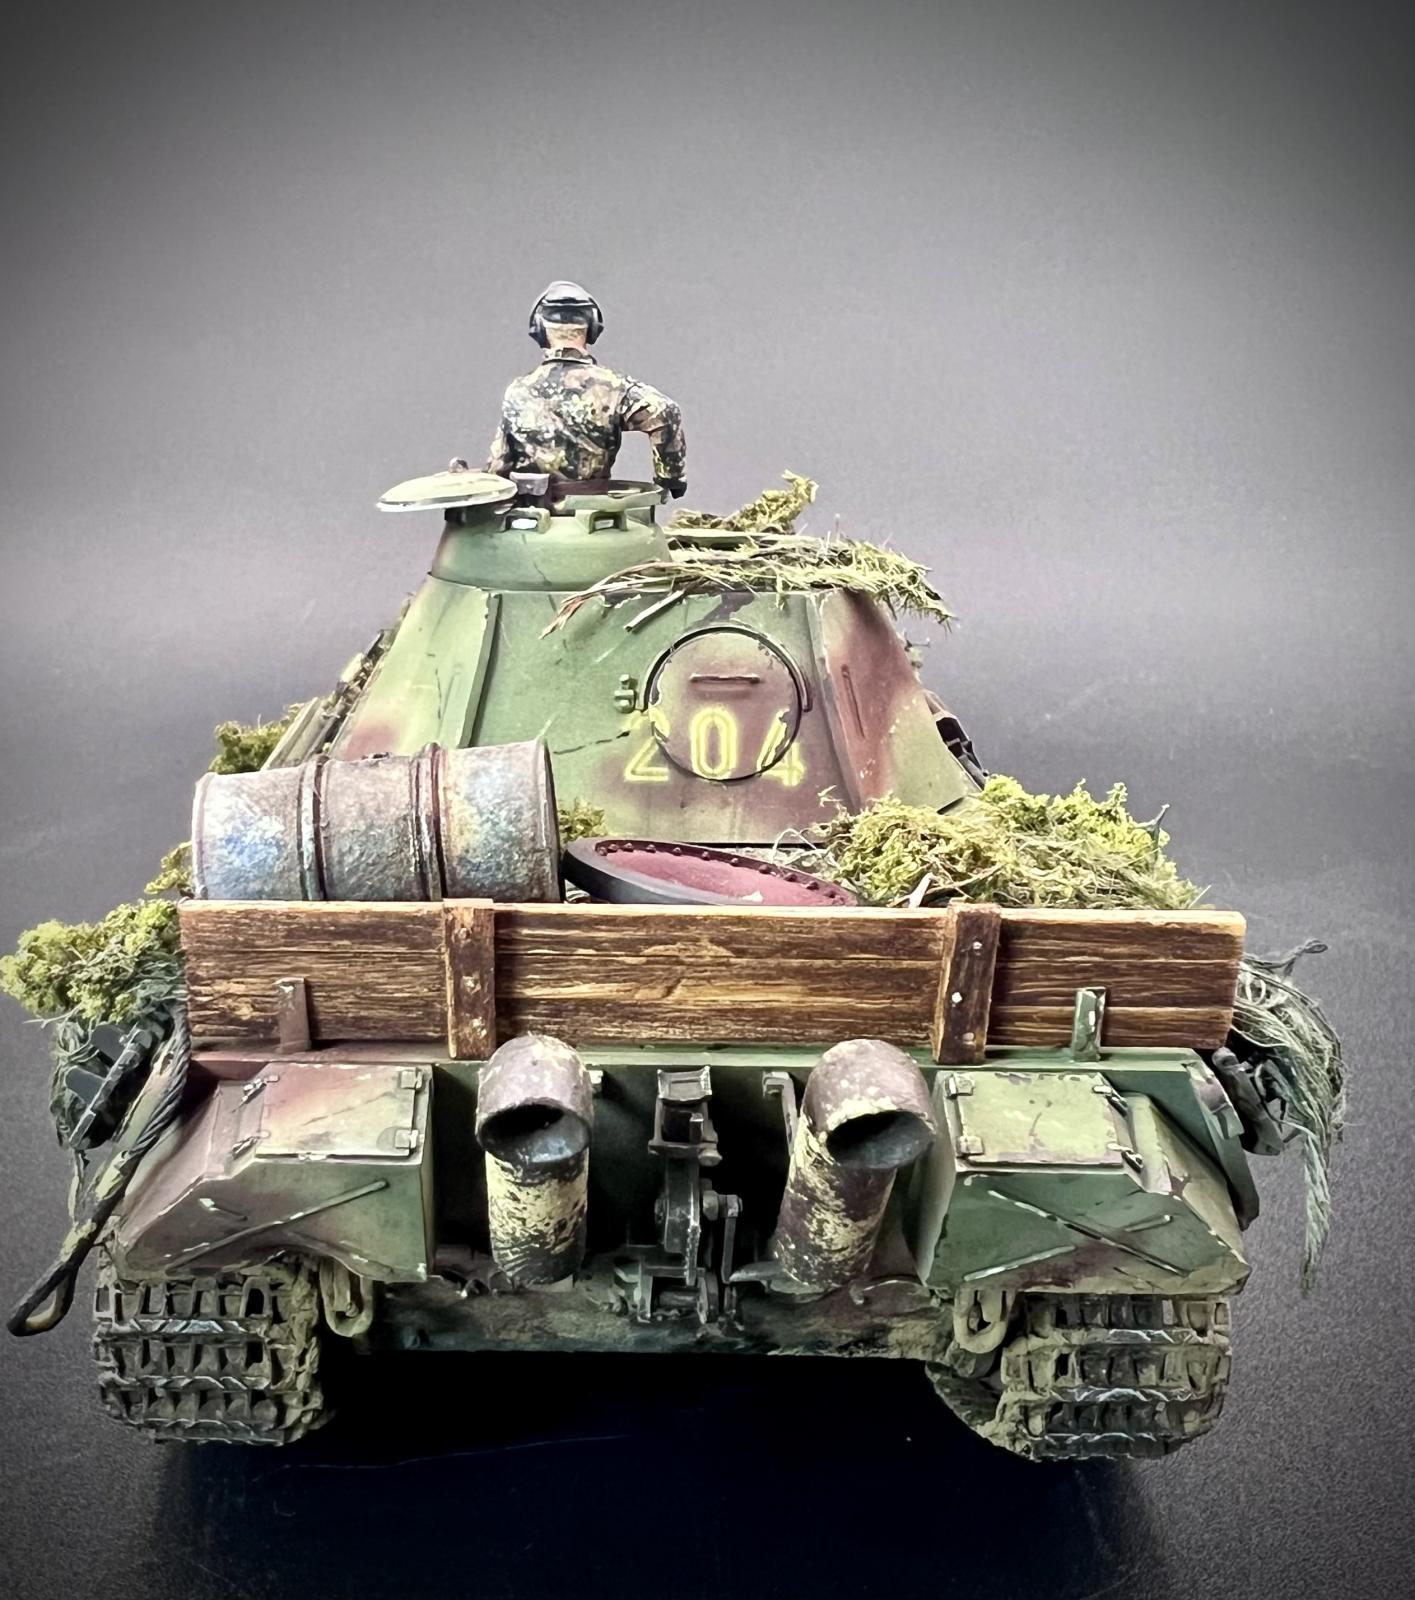
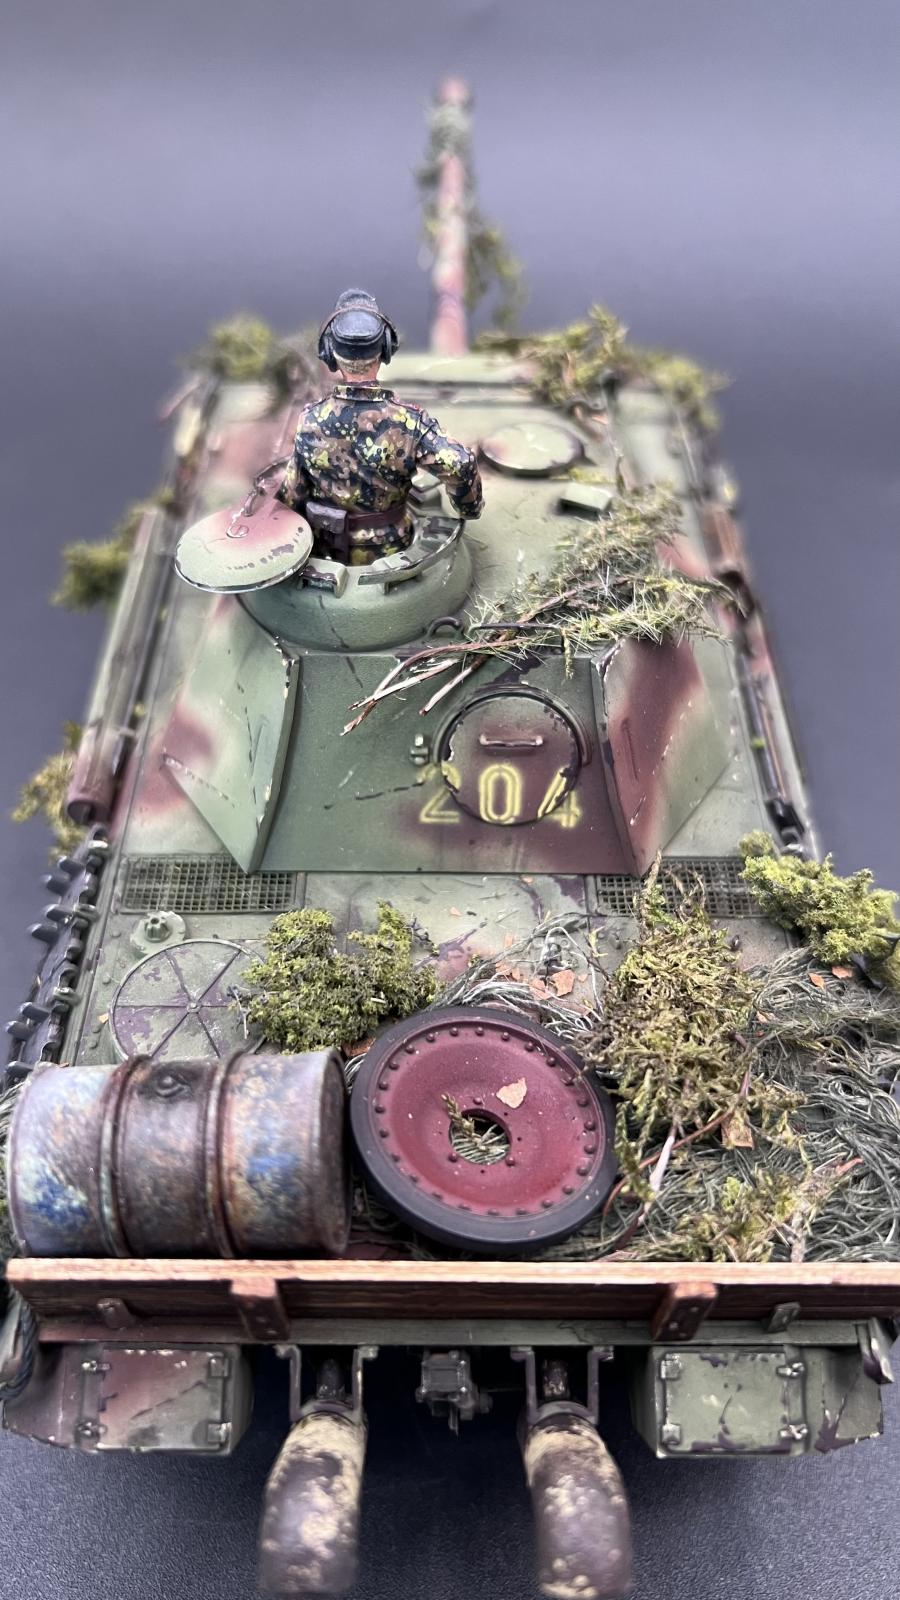
Made the wood in the back with balsa wood and used resin track links for the nails. Painted with oils. Proud of that add on.
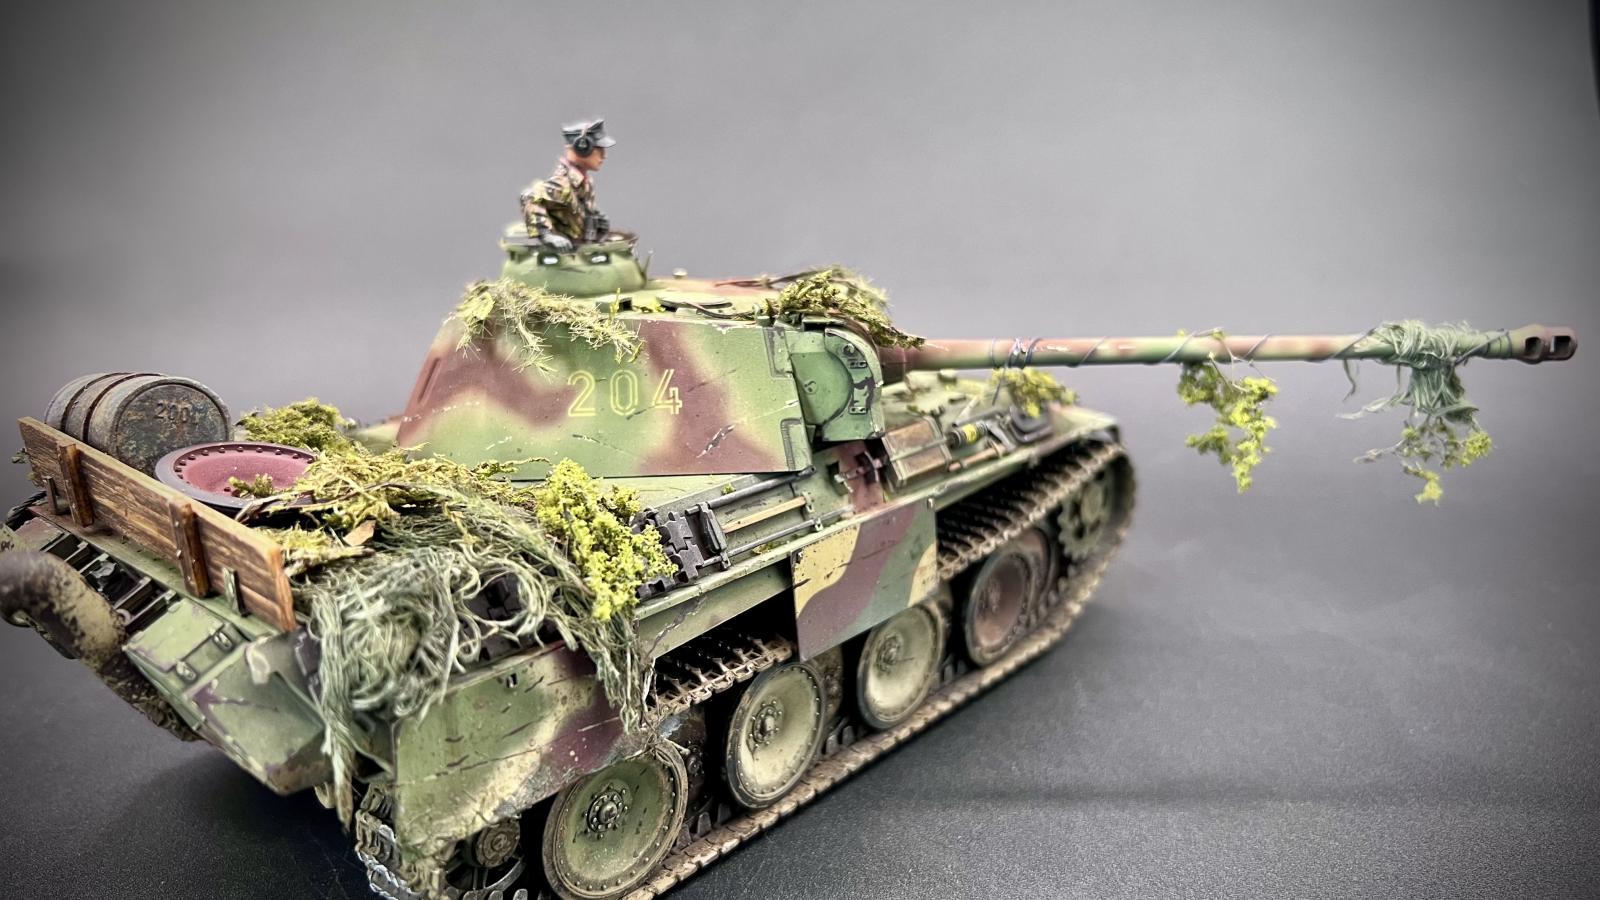
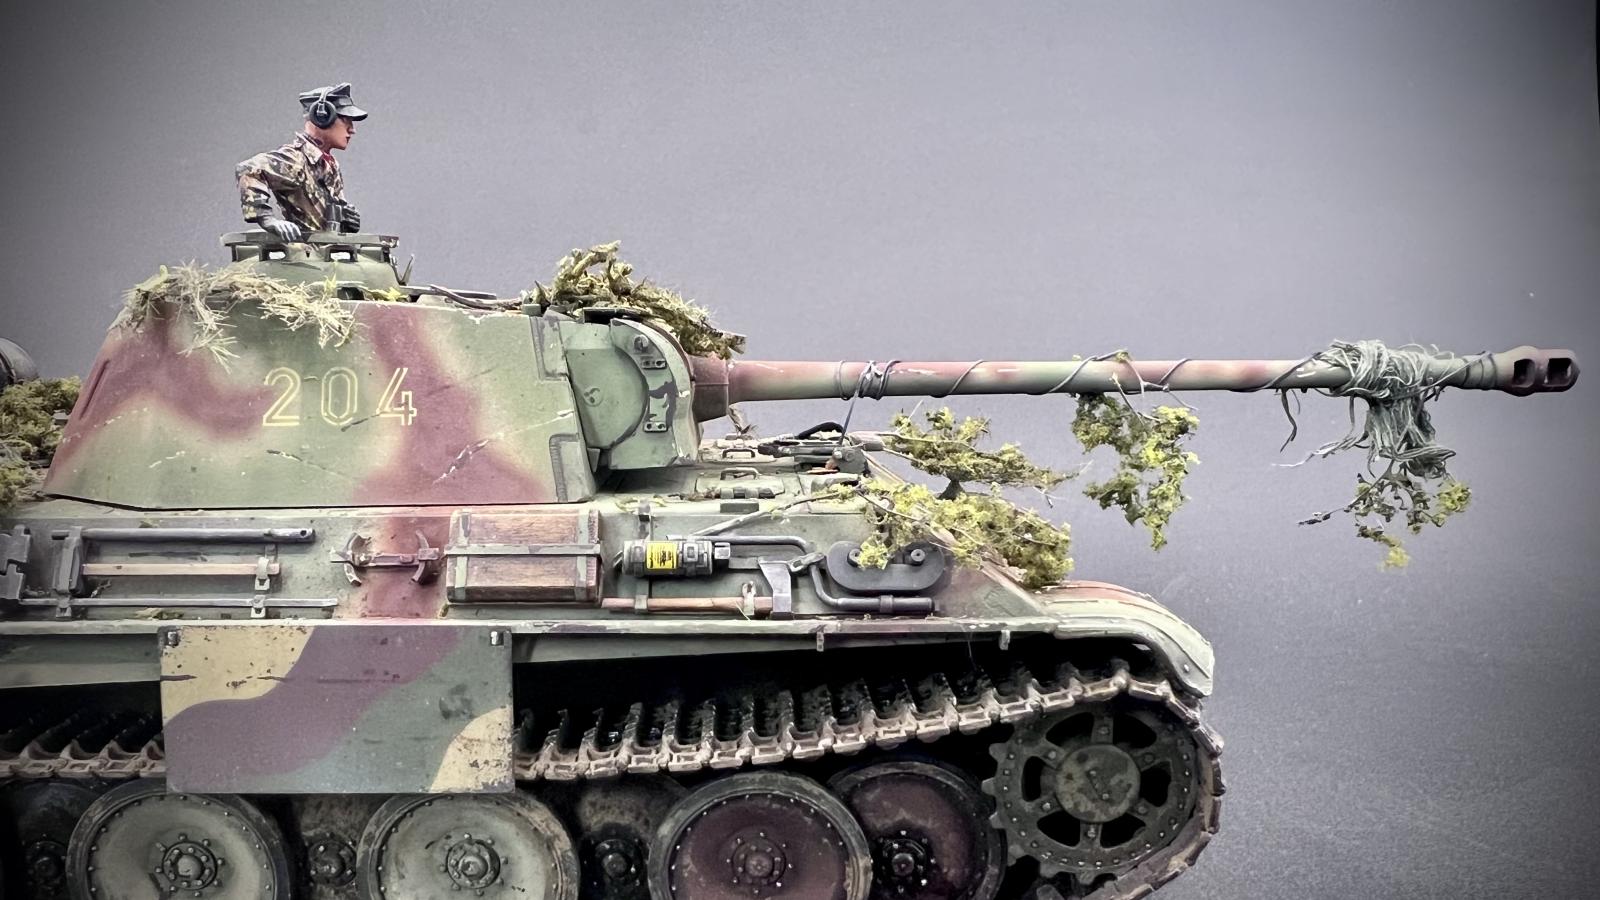
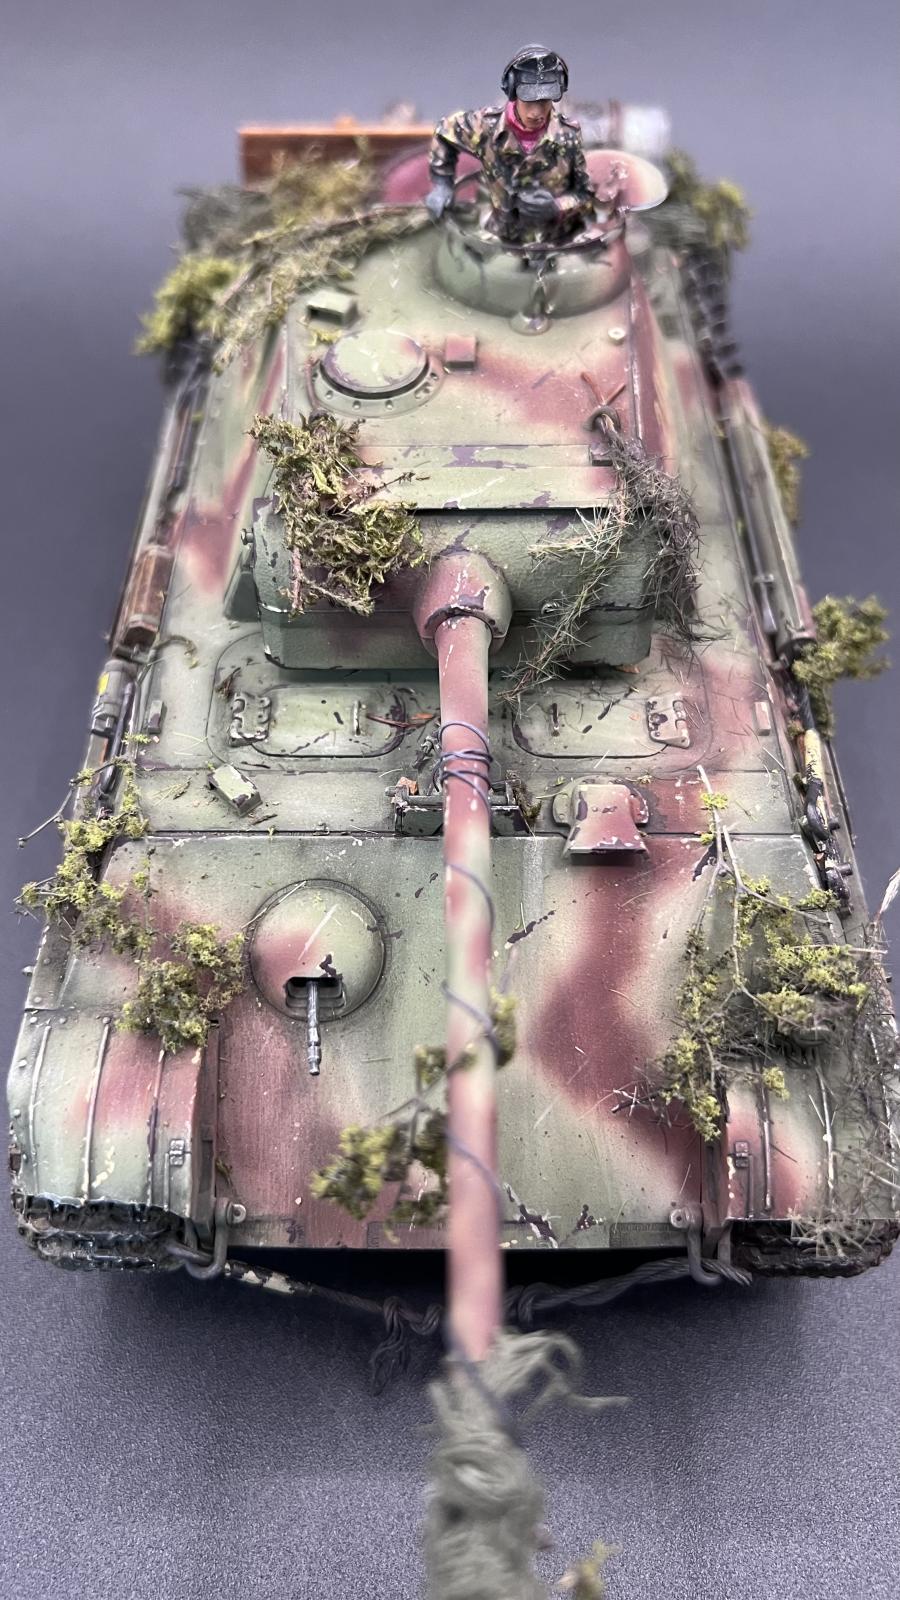
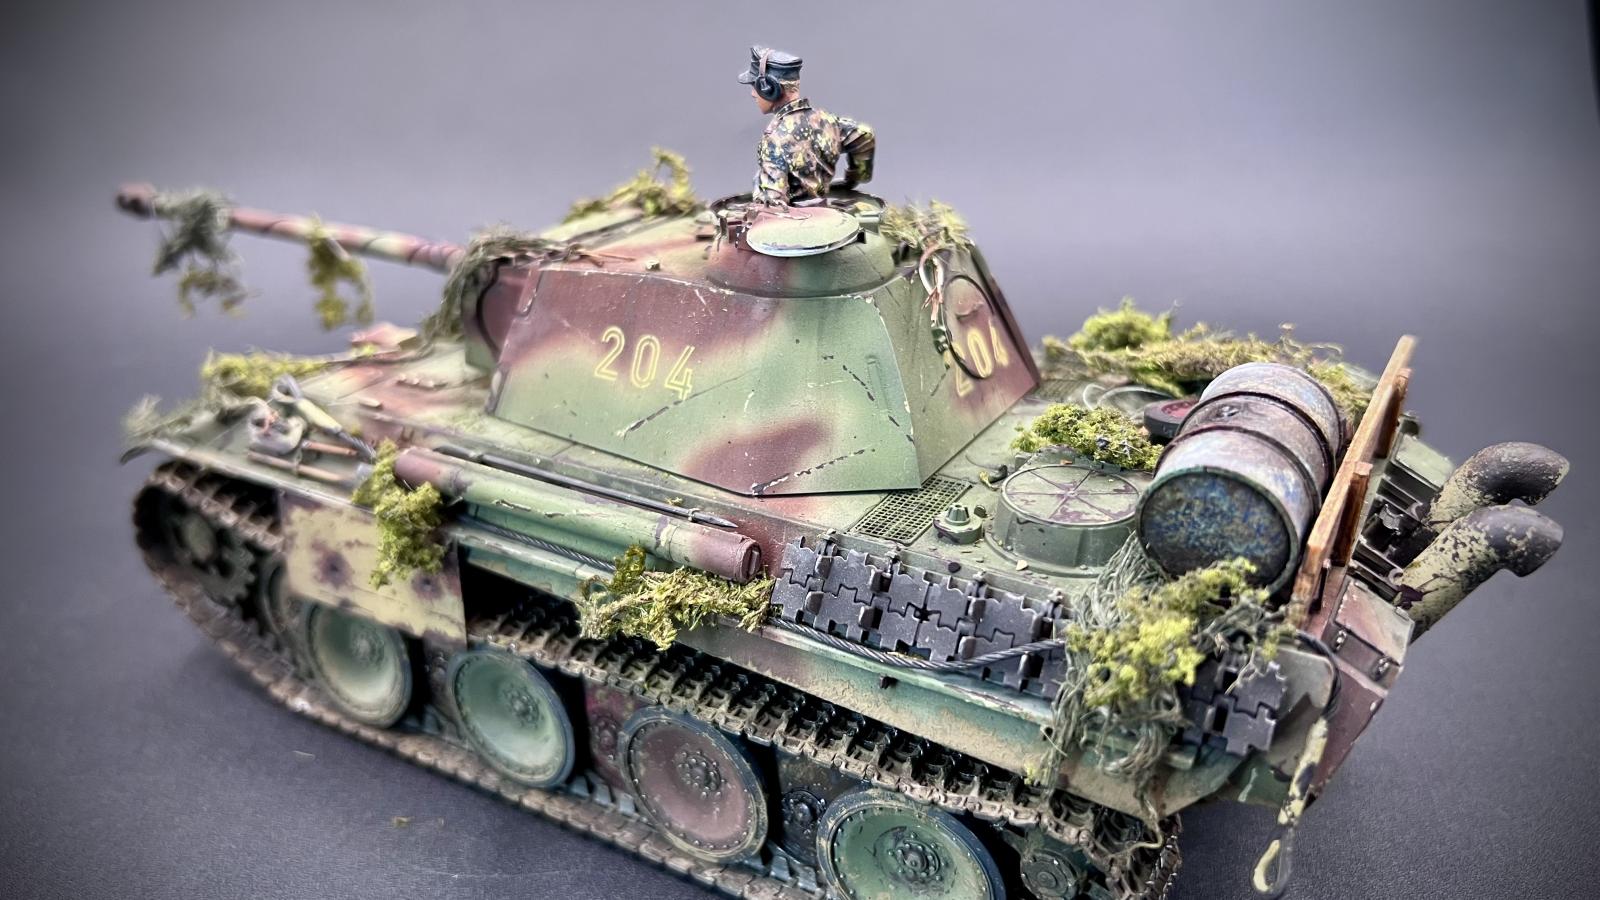
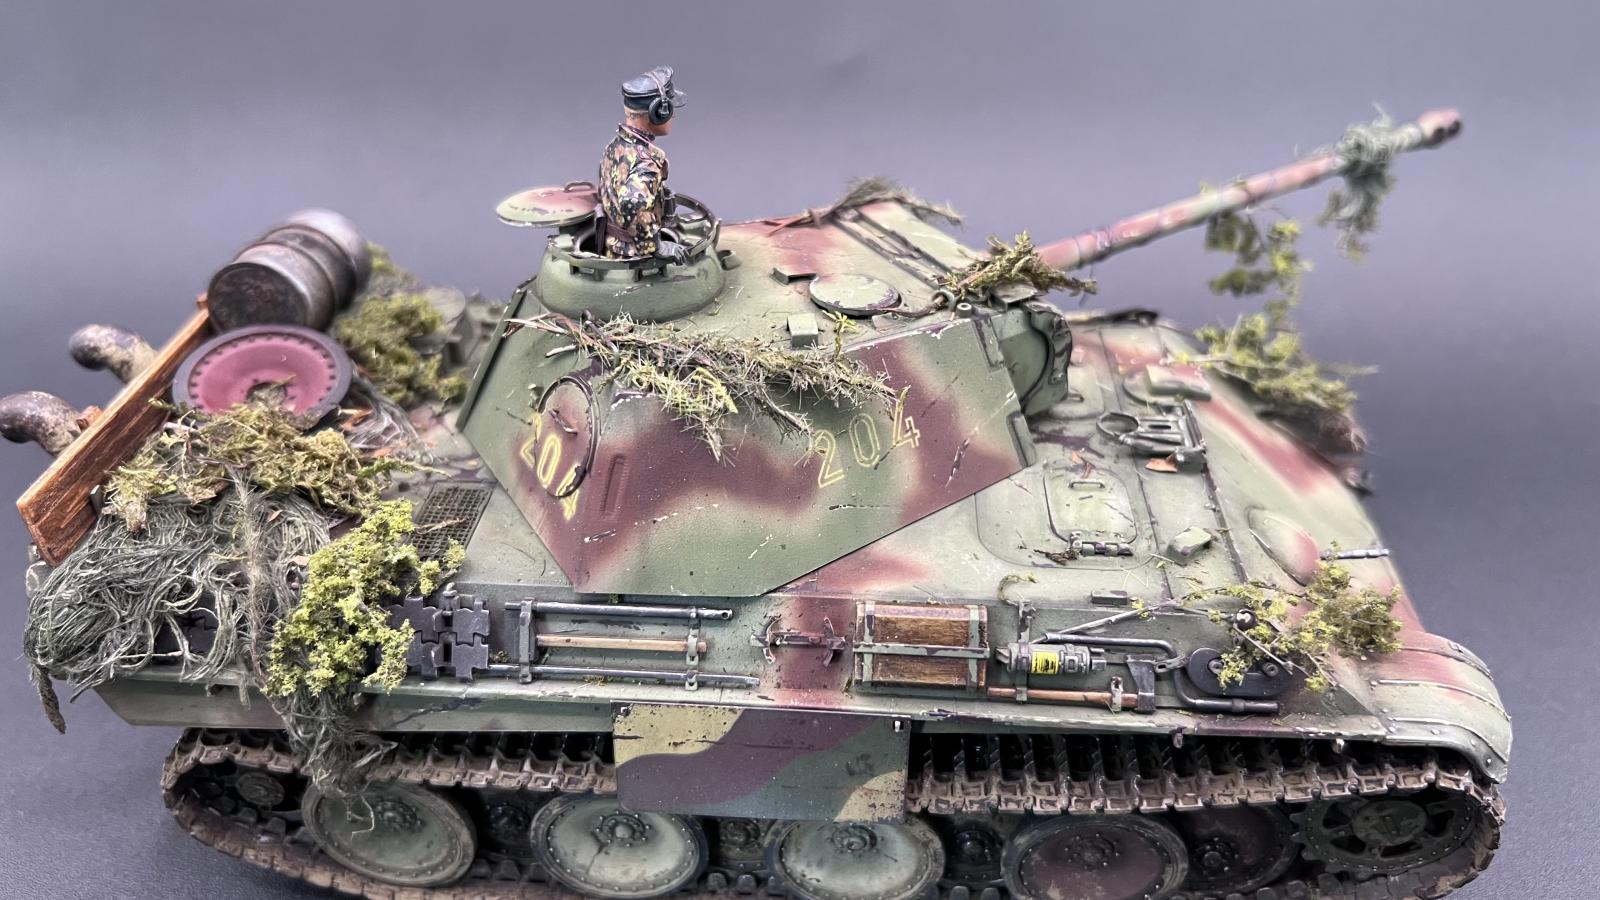
Painted it with AK real colors and Tamiya paints, as usual. I LOVE the late war camo schemes and colors for the Panther. Truth be told, I have another one I did years ago, but have yet to complete it yet as I am stumped on weathering the camo as it's tough to do. It's the much tougher MAN camo scheme that was really hard to paint and even tougher to decide how to weather. I'll get to it at some point.
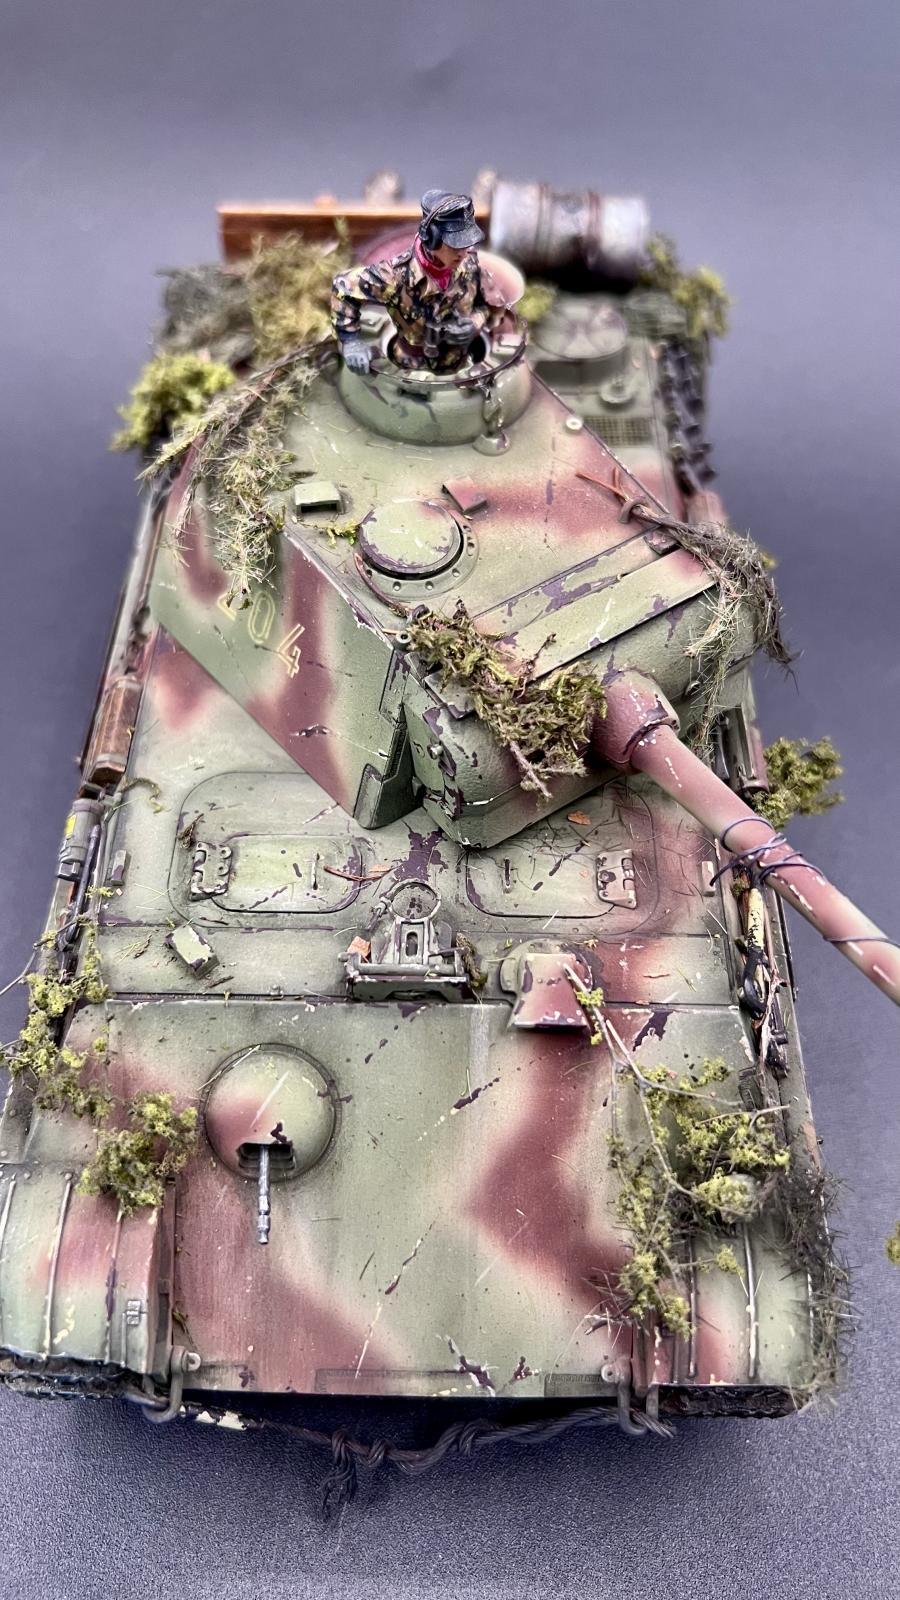
Did some chipping (maybe too much) and some basic weathering with oils and enamels, but nothing crazy. Weathering 3 tone camo can be a challenge.
DECALS. This is a tough one. I was going to put NONE on here as would be appropriate for many late war Panthers. Then I tried some decals (because I have a problem saying no) and they went on terrible! Silvering. Loads of it. Seriously, I suck at decals. No matter what the model. Hate them usually, SO... I went to something much better, BUT much more risky, STENCILS.
I LOVE PAINTED ON NUMBERS, but it's such a risk as you must get it right the first time. No second chances. Well, I guess you could repaint, but I won't do that. Anyway, they came out just as I hoped and really happy with how they enhanced the model. In my opinion anyway.
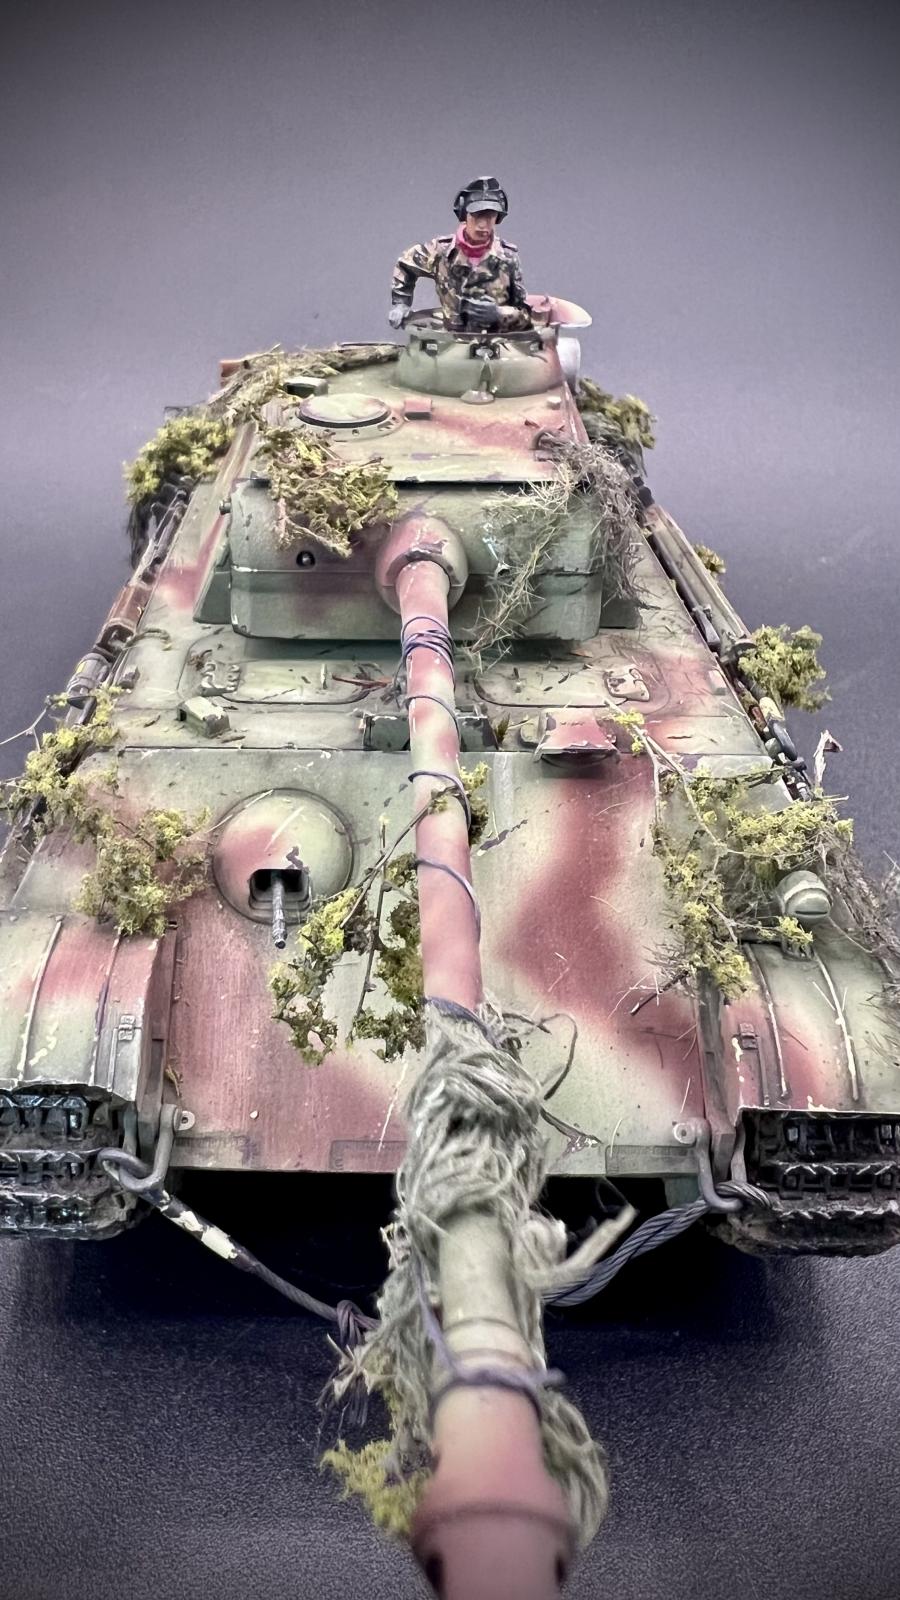
Figure is alpine and it's from a bit ago, but thought the model looked better with it so stole it from another Panther of mine to use until I decide to do another figure...which is unlikely as I suck at figures.
Well, that's it for now. Hope you enjoy the pics and please feel free to comment or criticize or let me know how foliage can be done.
Cheers,
Graeme
G’day Graeme (@graemestreet),
This is a Great build.
I’ve just started my first armour build since the ‘80s and am thinking about how to weather it.
Armour is quite different to aircraft in that respect, particularly adding things such as mud and foliage.
I guess it is hard to over do things.
I’m curious as to what you used for the dark scratch sections and how you did the foliage.
Liked very much!
Funny, I’ve been doing armor so long that I feel aircraft is the harder thing to do. With armor everything blends so much easier. Mistakes become opportunities. Anyway, the scratches are done by hand with a toothpick as my brush if you can believe that. I use brownish dark paint but I do the lighter chip/scratch first with a lighter color of the base color paint then fill some but not all of the scratches with the brown. Gives a 3D effect. Foliage is tough. This one came out ok but I worked really hard to make it work with a few different mediums. Love to find a foolproof way but now sure how yet. Glad you liked it. G
Excellent build, Graeme!
Great final result as always. I enjoy kits that go together fast so you can spend time on the finishing.
This is great. Makes me want to do another. Great paint work. .
This is really wonderful, Graeme @graemestreet
Incredibe that you did this in just six hours.
The camouflage and weathering looks perfect.
Great job, Graeme. Love the overall look.
That's just amazing modelling. And done in a seriously quick time with a fantastic finish Graeme. 👍
Excellent! Love the whole thing and all the extras you added to it. Painted on numbers and markings are the best way to go for armour. Dry transfers work too but they're not available anymore. Overall a great model! Totally impressed am I!