Tamiya Lockheed F-117 Stealth Fighter, 1/48th scale USAF

Started by Chuck A. Villanueva · 53 · 3 years ago
  • Profile Photo
    Spiros Pendedekas said 4 years, 3 months ago:

    Nice bang seat indeed @uscusn!

  • Profile Photo
    Chuck A. Villanueva said 4 years, 3 months ago:

    Tamiya provides an excellent seat out of the box. Just add the seatbelts and the various handles and it really looks even better.
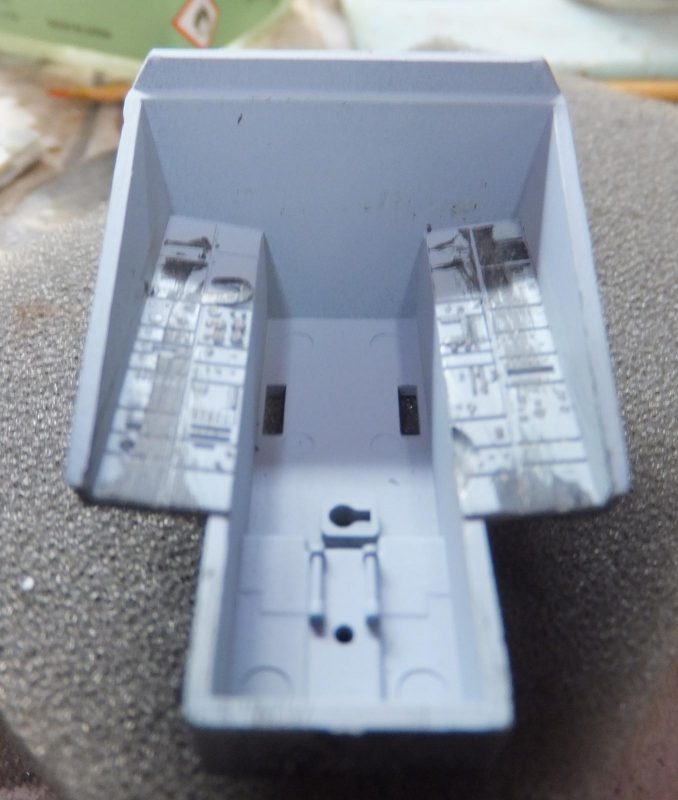
    Next to work on the cockpit. The details provided with in the kit are nice and would with detail painting stand up well. But don't have that steady hand and eye coordination any more. So with Eduard's PE enhancements is the way to go.


    Next is to remove the details and prepare to accept the new Pe panels.

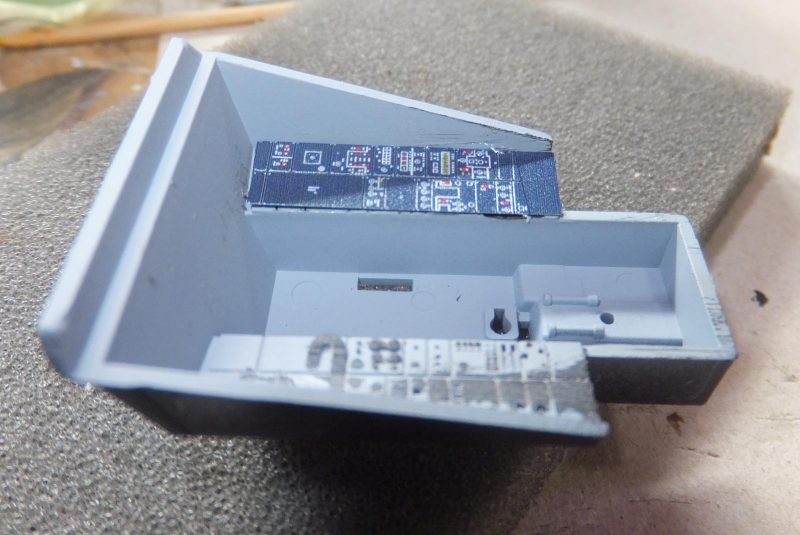
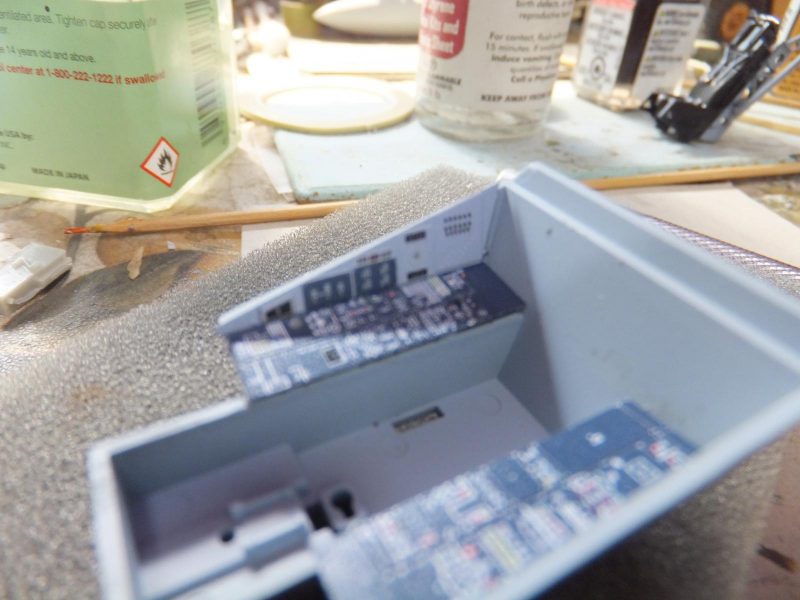
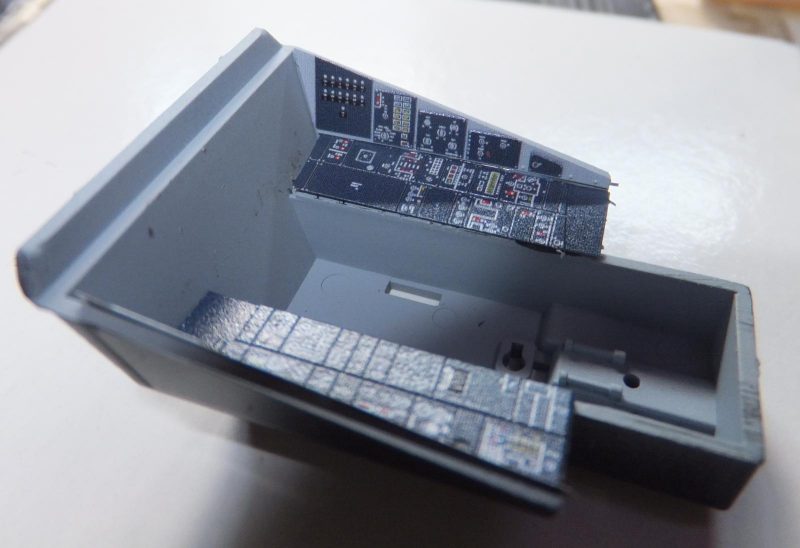
    Once the side consoles are cleaned up I place the LH and RH side console panels.

    With the PE, Eduards also supplies the upper side consoles as well. These are not in the kit or shown.

    Then I install the seat.

    Next the rudder pedals with PE covers.

    The control stick is then set in the center floor console.

    Once the stick is in place I paint the stick Grey and the grips glossy black

    Next up is to upgrade the instrument panel, more to follow.

  • Profile Photo
    Erik Gjørup said 4 years, 3 months ago:

    Apart from being a replacement for hand and eye coordination the PE parts are looking nice! And with the bang-seat installed the office is looking great.

  • Profile Photo
    Spiros Pendedekas said 4 years, 3 months ago:

    Nice job, Chuck!
    Well, OOB cockpit might be great, but the Eduard's are one level higher.
    The cockpit looks superb!

  • Profile Photo
    Chuck A. Villanueva said 4 years, 3 months ago:

    Thanks Eric and Spiros, a very busy single place cockpit, but instruments more of a digital design compared to dials and gauges. Modern cockpits have really brought about a different look within.

  • Profile Photo
    Chuck A. Villanueva said 4 years, 3 months ago:

    A quick update. Will finish the cockpit up with the all glass instrument panel.


    As usual the details are quite good on the Tamiya IP with the screens and switches provided as decals.

    Sanded the details off to apply the bits of PE enhancements.

    Carefully working from LH to the RH side with the separate panels.

    Once the panels are attached, will let it all set for an hour before placing the IP into the cockpit.

    Finally the ip fits neatly in place in the cockpit tub.

    Next prepping the upper and lower halves of the fuselage.

    more to follow...

  • Profile Photo
    Erik Gjørup said 4 years, 3 months ago:

    The PE IP looks very nice Chuck!

  • Profile Photo
    Chuck A. Villanueva said 4 years, 3 months ago:

    Thanks Eric, it does when the screens I would not be able to reproduce with paint and better than the decals.

  • Profile Photo
    Spiros Pendedekas said 4 years, 3 months ago:

    Indeed the PEs look miraculous, Chuck @uscusn!
    Wow, what a cockpit!

  • Profile Photo
    Chuck A. Villanueva said 4 years, 2 months ago:

    Thanks Spiros it does pop as you view into the cockpit. i still like the gauge and dial type IP's though. The newer all glass digital panels can be a bit bland. Even in the helo's as well.

  • Profile Photo
    Chuck A. Villanueva said 4 years, 2 months ago:

    With the cockpit finished. Next is to paint the sills gloss white before installing the cockpit tub into the upper fuselage.


    The GPS system is the prepared with a module within well is painted red.

    Next the window panel is installed in place.

    The cockpit tub is in place and the fit is excellent.

    The GPS well is next and installed in place just forward of the cockpit.

    Still working the upper fuselage. 2 tail base support brackets are inserted into the slots underneath the duck tail.

    Next is to work on the lower fuselage half, wheel and bomb bays. More to follow.

  • Profile Photo
    Erik Gjørup said 4 years, 2 months ago:

    This is bound to look good with that busy cockpit. The GPS window was new info to me! I never stop learning (hopefully) from the builds here on iModeler.

  • Profile Photo
    Spiros Pendedekas said 4 years, 2 months ago:

    That's amazing progress, Chuck. Cockpit is top! It will draw quite a bit of attention "surrounded" by this stealthy black!
    Loved the GPS construction, too!

  • Profile Photo
    Chuck A. Villanueva said 4 years, 2 months ago:

    Erik it was the technology that was so far ahead back in the early 80's. Remember the Stealth was secret for over 10 years before it was revealed that it existed. Modern in 1991.
    Thanks Spiros, these modern digital IP's are a bit different less all the gauges and dials. All screens buttons and switches.

  • Profile Photo
    Chuck A. Villanueva said 4 years, 2 months ago:

    Now to start work on the lower part of the fuselage starting with the weapons bay.

    Tamiya provides a very detailed weapons bay, and I will display this opened with the GBU's hanging on the unique trapeze type of delivery system.

    The center dividing wall of the bay is topped off or rather the lower edge of the center divider has the hinge assy for the bomb bay doors.

    The forward wall is then placed into front of the weapons bay.

    Next to assemble the bomb rails. One on each side.

    25 additional images. Click to enlarge.