Tamiya Lockheed F-117 Stealth Fighter, 1/48th scale USAF

Started by Chuck A. Villanueva · 53 · 3 years ago
  • Profile Photo
    Spiros Pendedekas said 4 years, 2 months ago:

    Though I'm not an "open bays" modeler, I definitely admit that the F-117 looks better with weapon bays open!
    And I'm sure you'll come up with a beautiful result, Chuck @uscusn!

  • Profile Photo
    Chuck A. Villanueva said 4 years, 2 months ago:

    Hi Spiros, it gives it more character. Otherwise it it quite plain at overall black scheme that is quite bland despite the unusual shape.

  • Profile Photo
    Josh Patterson said 4 years, 2 months ago:

    Hey Chuck, what do you have planned for the two tone grey decals? If you don't plan to use them I'd be interested. I'm starting Toxic Avenger tonight but would like to do the two tone grey version along with the US flag version. (Also toying with the idea of doing "Toxic Death" as it appeared sans paint excluding the graffiti.) I just wish Tamiya had thought to put the gear and bomb bay parts on the white sprues as well!

  • Profile Photo
    Chuck A. Villanueva said 4 years, 1 month ago:

    Josh, thanks and let say an early Merry Christmas.
    Now to install the main gear bays.


    Not to often we have a kit that has the wheel bay wells as separate parts. But Tamiya does and both main gear wells are removed from the sprues. With decent details within the bay. Not yet painted Gloss White.

    Each well is attached to the lower wing half, cement very and set to make sure they will never come loose over time.

    The fit is flawless also provide a more rigid lower hull with the wheel and weapons now set in place.

    Next the nose weight.

    Another ingenious approach on adding the nose weight which is provided with the kit. Bravo Tamiya! 2 brackets support the weight on each end then both are then cemented in place on the lower hull.

    Once the lower components are set. The upper lower halves are assembled and cemented in place.

    With the basic air frame finished. Time to prep for the paint process.

    More to follow.

  • Profile Photo
    Spiros Pendedekas said 4 years, 1 month ago:

    Nice progress, Chuck @uscusn!
    You are right about the separate wheel wells: not often seen. I usually glue sprue pieces circumferentially, in order to beef up the strength (taking care not t apply a lot of glue, as sink marks might arise the next day...)
    I also loved the provision for weight holding: could not be anything else than Tamiya!
    Your Nighthawk looks superb so far!

  • Profile Photo
    Erik Gjørup said 4 years, 1 month ago:

    Looks like someone had been thinking deep to come up with those solutions - great base kit I'll say. And equally great progress here Chuck.

  • Profile Photo
    Chuck A. Villanueva said 4 years, 1 month ago:

    Thanks Spiros and Erik, just Tamiya's excellent engineering in producing a great kit that will assemble the best possible way. Test pic.

    1 attached image. Click to enlarge.

  • Profile Photo
    Chuck A. Villanueva said 4 years ago:

    Some more catching up on the Stealth. With the lower hull attached to the upper fuselage. Time to add the details under and over the top.

    The lower vents are molded in white and are located between the weapons bay and main gear bays.

    Meanwhile to build the vertical tails and the movable rudders

    First assembling the base of the rudders and then attaching to rear section of the fuselage.

    The parachute cover and fuel refueling door are attached to the upper fuselage.

    Next to assemble and paint the GBU-27A Paveway III bombs.

    These are molded in white as there are 2 bombs to build.

    The forward fins are removed and attached to the head of the bomb.

    The tail fins are next up and attached to the tail unit.

    The bombs are painted Tamiya X61 Olive Drab

    Then future is painted for the clear coat. The kit decals are used for the stripe and stencil for each bomb.

    The bomb rack shackle will be attached later in the build

    Next up is to paint the gear and bomb bays Glossy White. more to follow...

  • Profile Photo
    Erik Gjørup said 4 years ago:

    Yet another productive session Chuck.

  • Profile Photo
    Spiros Pendedekas said 4 years ago:

    Great progress indeed, Chuck @uscusn!
    The Nighthawk is such a cool plane!

  • Profile Photo
    Chuck A. Villanueva said 4 years ago:

    Thanks Eric, it actually doesn't take long, despite the complexity of the aircraft itself, there isn't much in parts.
    Spiros, it does have its unique yet unusual qualities.

  • Profile Photo
    Chuck A. Villanueva said 4 years ago:

    Next up is to paint wheel and weapons bays in gloss White using Tamiya acrylic.


    Then to put aside and work on some more detail work on the airframe.

    Next is to assemble the elevons.

    I will display these in the lowered position. Though some photos show them slightly split apart, the Tam kit have them as one piece.

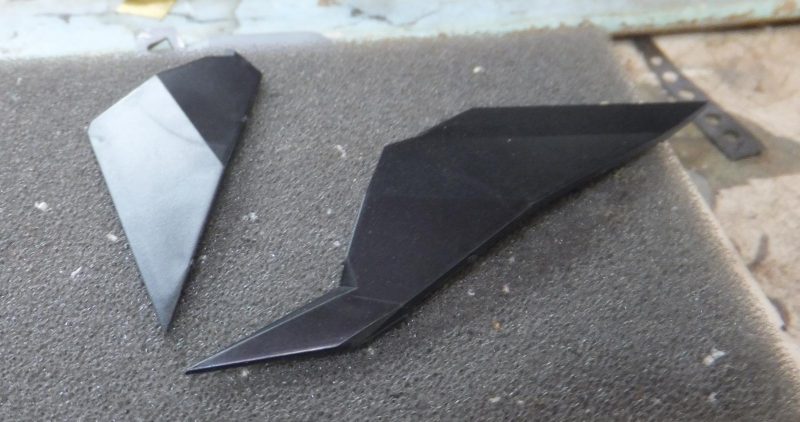
    Now to assemble the v-tail rudders.

    They are made up of 4 pieces, 2 per side.

    I will display these toed inward position.

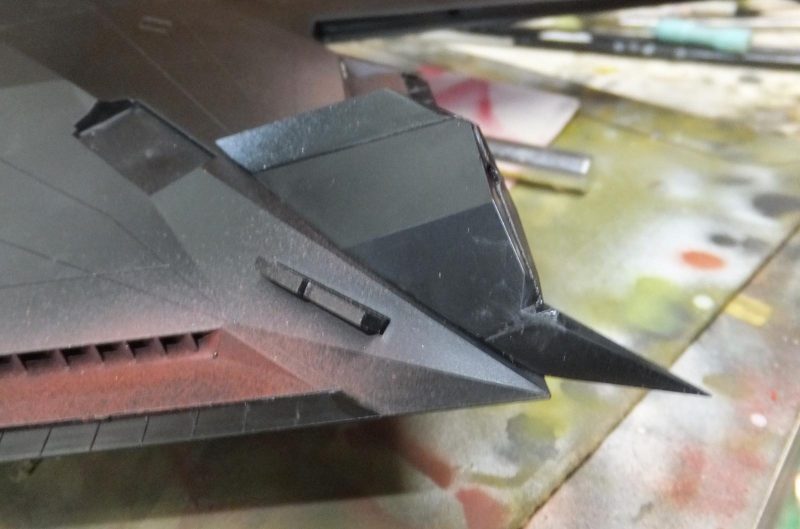
    The outer fuselage extensions are attached just outboard of the exhaust outlets.

    The canopy is removed from the sprue and temporarily set in place.

    Next up is to mask the canopy and Flir windows.
    more to follow.

    1 additional image. Click to enlarge.

  • Profile Photo
    Erik Gjørup said 4 years ago:

    I suppose the dropped flaperons and the toe-in rudders is quite normal for a parked plane without hydralic pressure. Nice touch Chuck (@uscusn)!

  • Profile Photo
    Spiros Pendedekas said 4 years ago:

    I love the posing of the moving surfaces too, Chuck!
    If I recall well, the Academy one I built in 2003, had them molded in "flying" position, resulting in an awkward posture.

  • Profile Photo
    Chuck A. Villanueva said 4 years ago:

    Yes Erik some will set that way, but most of the time you will see them parked with everything in neutral and locked.
    Spiros, seeing images of various F-117's in different parked configurations, I decided I will display it with dropped flaperons and toe in the rudders.