Tamiya provides an excellent seat out of the box. Just add the seatbelts and the various handles and it really looks even better.
Next to work on the cockpit. The details provided with in the kit are nice and would with detail painting stand up well. But don't have that steady hand and eye coordination any more. So with Eduard's PE enhancements is the way to go.
Next is to remove the details and prepare to accept the new Pe panels.
-
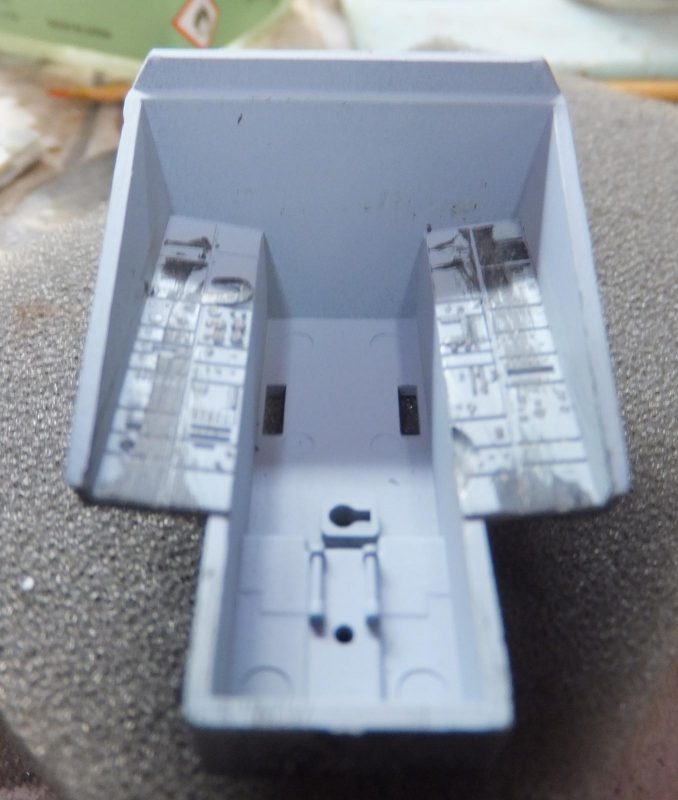
1. Details removed
2. Dk Gull Grey 36320
Once the side consoles are cleaned up I place the LH and RH side console panels.
-
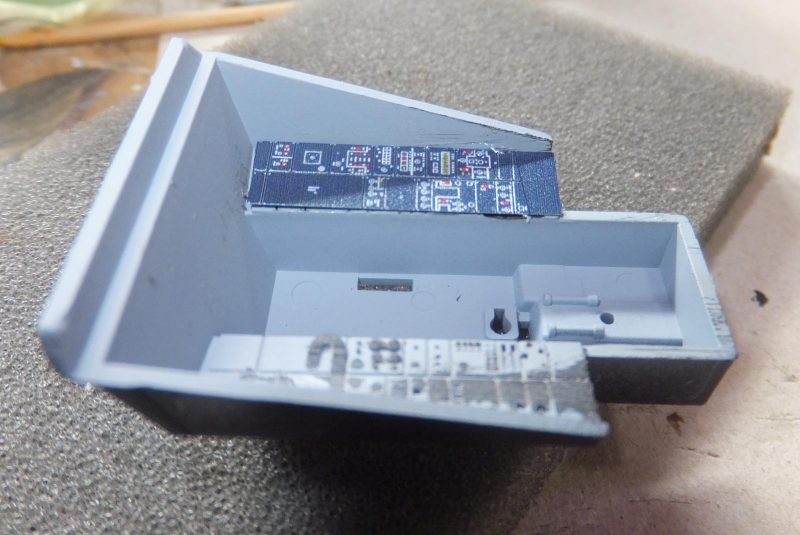
1. LH console panel applied
-
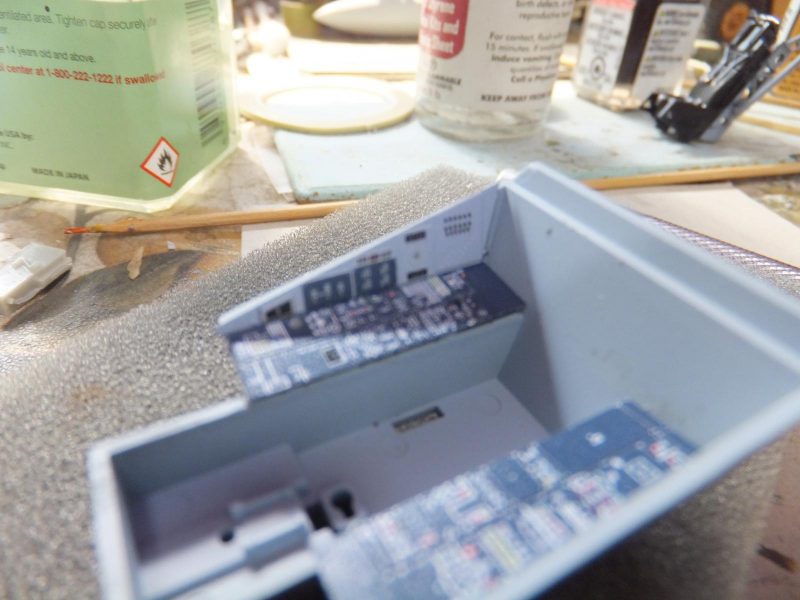
1. Rh side upper and lower consoles
With the PE, Eduards also supplies the upper side consoles as well. These are not in the kit or shown.
-
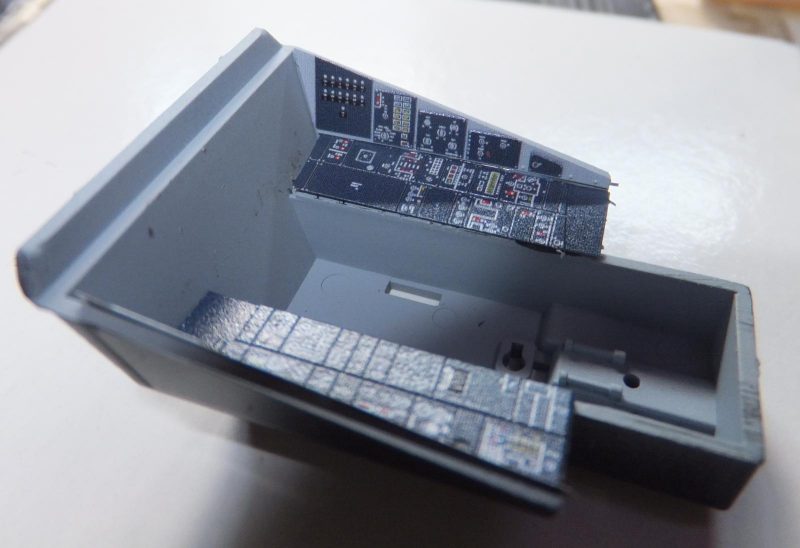
1. LH upper side console panel
Then I install the seat.
Next the rudder pedals with PE covers.
The control stick is then set in the center floor console.
Once the stick is in place I paint the stick Grey and the grips glossy black
Next up is to upgrade the instrument panel, more to follow.