Some more catching up on the Stealth. With the lower hull attached to the upper fuselage. Time to add the details under and over the top.
The lower vents are molded in white and are located between the weapons bay and main gear bays.
Meanwhile to build the vertical tails and the movable rudders
First assembling the base of the rudders and then attaching to rear section of the fuselage.
-
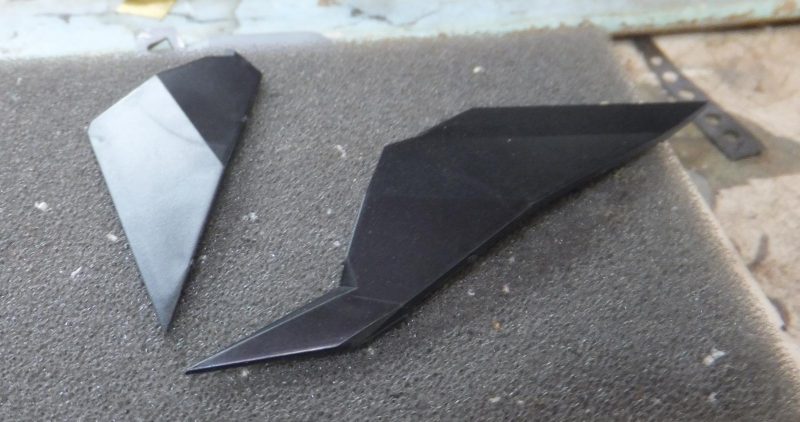
1. LH/RH lower base of the rudder
-
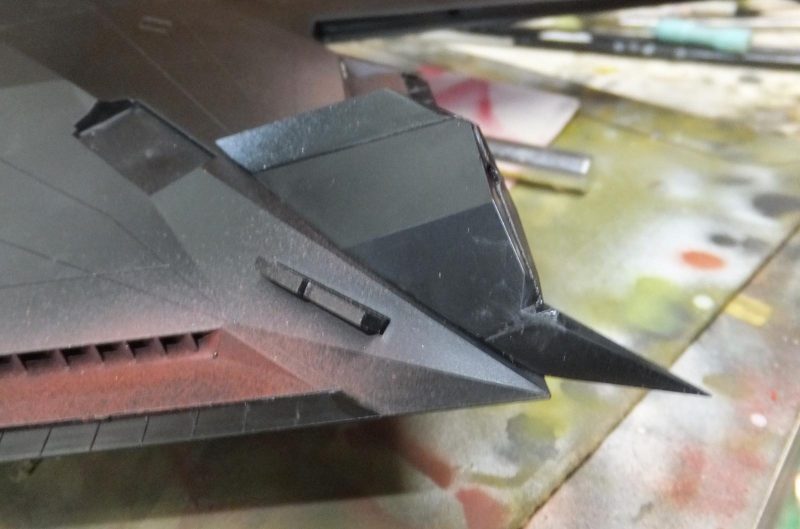
1. RH lower tail section attached
The parachute cover and fuel refueling door are attached to the upper fuselage.
Next to assemble and paint the GBU-27A Paveway III bombs.
These are molded in white as there are 2 bombs to build.
The forward fins are removed and attached to the head of the bomb.
The tail fins are next up and attached to the tail unit.
The bombs are painted Tamiya X61 Olive Drab
Then future is painted for the clear coat. The kit decals are used for the stripe and stencil for each bomb.
The bomb rack shackle will be attached later in the build
Next up is to paint the gear and bomb bays Glossy White. more to follow...