I have made just a little progress on the B-17. I thought I had some resin that would work for this kit, especially for the cockpit. All of my resin is in a bunch of boxes from the move to our new house, so I have spent the last several days going through boxes. I managed to find several things that should work, but the cockpit is still MIA. I hope to get to our storage room to go through some other boxes, so maybe I will find it there.
I managed to find some replacement pieces for the machine guns, the engines, and the engine covers. I think the engines and the machine guns will make a noticeable difference. The engine covers are quite different from the kit parts, but I don't know if I can get the resin blocks off cleanly. I may end up using the kit part, even though it is not quite right.
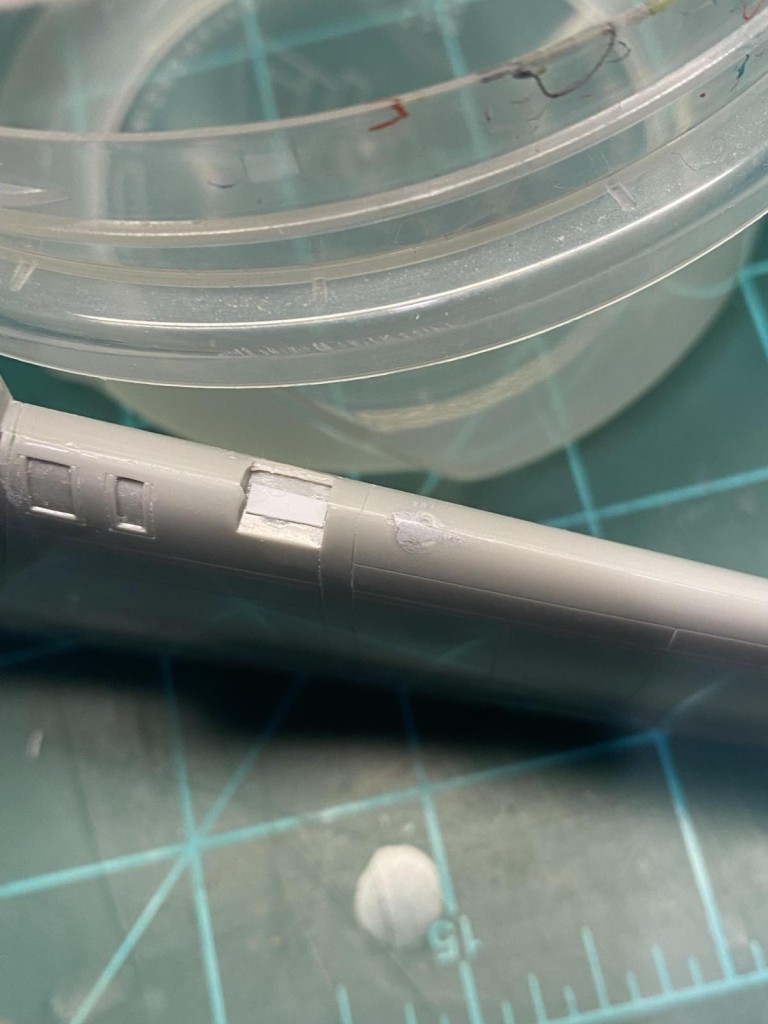
I didn't want to start on the fuselage until I see if I can find the resin cockpit, so I built the wings and the elevators. Wings went together well, with some putty work only on the engine nacelles. I did a little work in the landing light recess to cover a seam, then did some painting, and finally cemented the clear cover to the wings. I sanded the leading edges with progressively finer grit, and then did some polish work with some really fine grit. I have found a wet/dry sanding stick with four grits, from about 400 to 2000 all on one stick, at Sally's Beauty Supplies. It is sold for doing women's nails, but it works great for models, and it is handy to have all the grits on one stick. They seem to last a long time, with some of my Sally's sanding sticks lasting a year or more. I now get mine from Amazon, which is a lot more convenient for me.
-

1. Landing light recess ready for a little work.
-
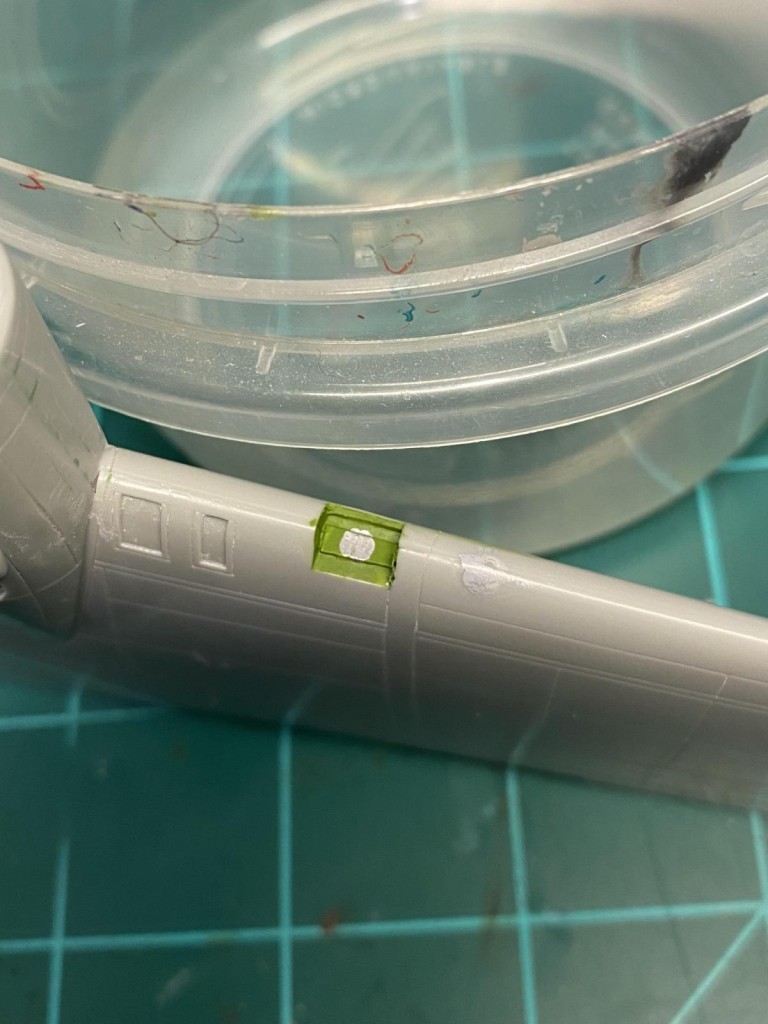
1. Thin strip of plastic covers the join-line.
-
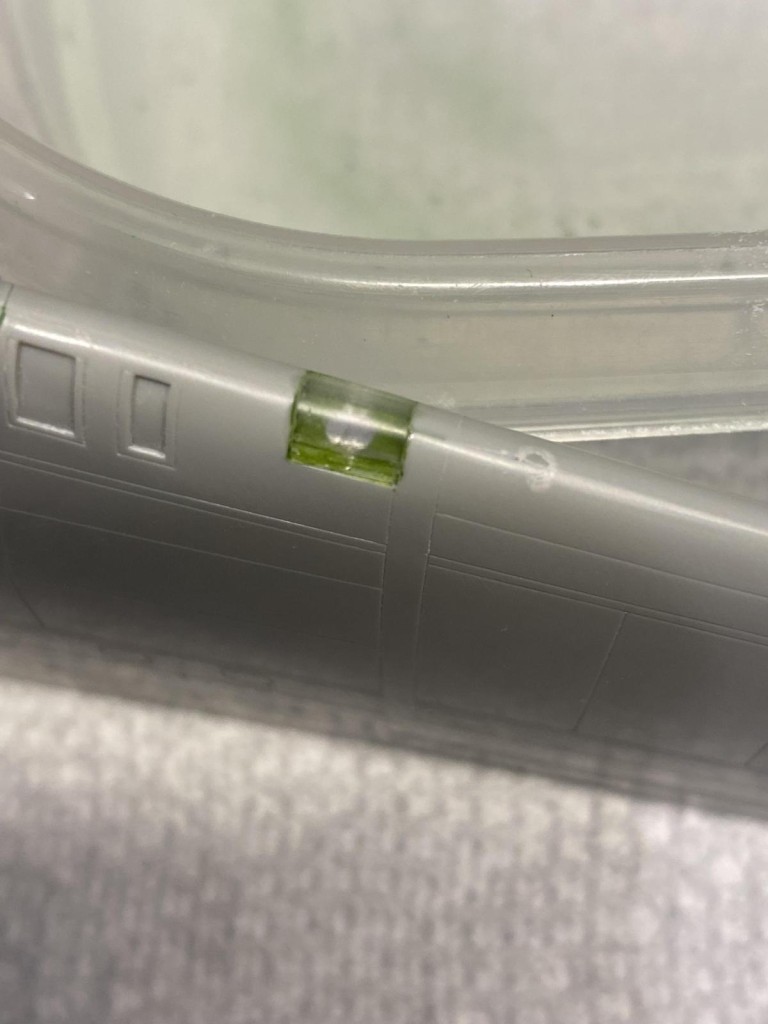
1. "Landing light" added with silver paint
-
1. Clear cover glued on and sanded to match wing curvature, then buffed back to clear. Will get some Future at the end of the build.
Hopefully I will find the cockpit soon so I can move forward with the fuselage. By the way, I wanted to check out the instructions with the KitsWorld 3D interior for this build, only to find out there are no instructions. So you need to do some guessing about where all of those little black blobs go inside the cockpit. I had never used 3D interiors before, but I found some really good videos in YouTube that will really get you going down the right path.
Cheers.
7 additional images. Click to enlarge.