Famous last words...
As common as it sounds……I have to clear some bench space, in order to start this beauty up.
I’ll do my best to happen very very soon (as the late Great Benny Hill used to say)!
Well, I could not resist the temptation this exciting GB created upon me, so, here we go...
Glued the basic cockpit elements at the tub and glued the tub at the upper fuselage half. Also glued the NLG wheel well at the lower half fuse:
-
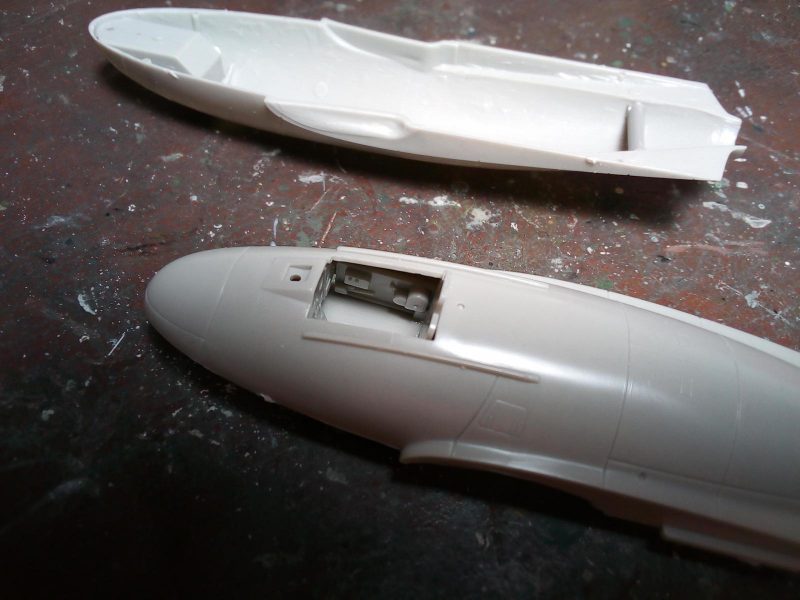
1. Surprisingly there is quite a bit of nice detailing in the cockpit
.Instructions wanted me to trap the delicate exhaust between the two halves. To avoid it and add it at later stages, I glued two pieces of styrene at both fuselage halves, to act as a stopper, upon inserting the exhaust. The exhaust's rear protrusion will have to be cut.
-
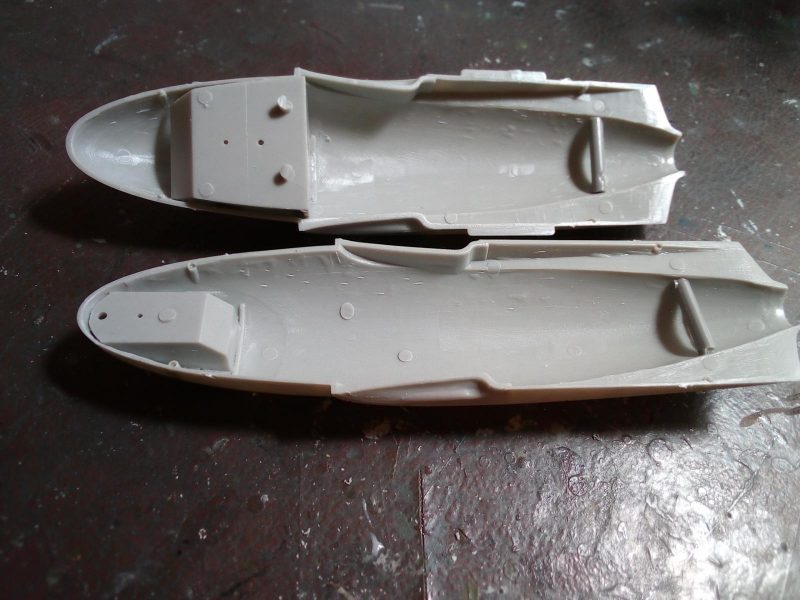
1. "stoppers"
2. Cockpit tub
3. Front wheel well
Vampires ARE tail sitters, so I made a clay base at the front top part and inserted quite a few lead pieces and sealed them with some more clay
-
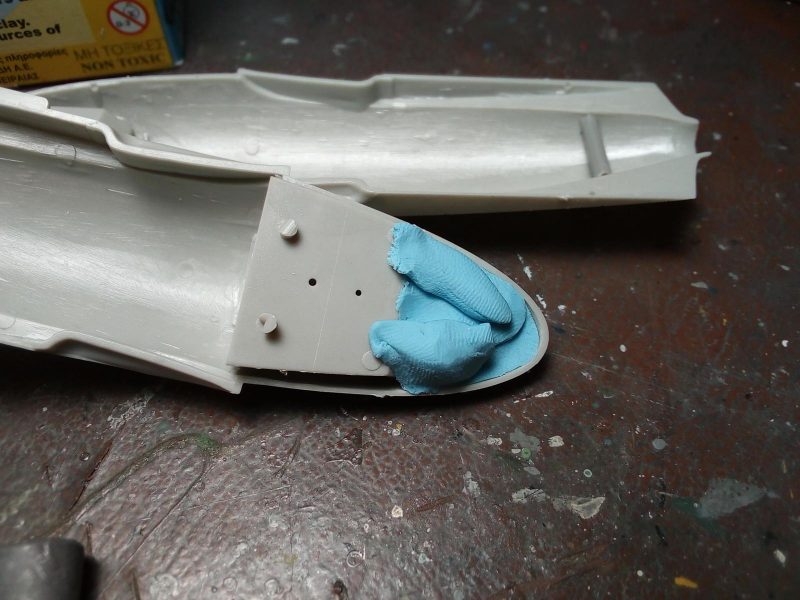
1. You can understand I had to bribe (translation: chocolate) my sons to get a clay supply....
The two fuselage parts were joined. Fit is ok - not Tamiya...
Wings and tailbooms were assembled...
Then the wings were attached to the fuselage...
The tail was assembled...
And was attached to the wings...
-
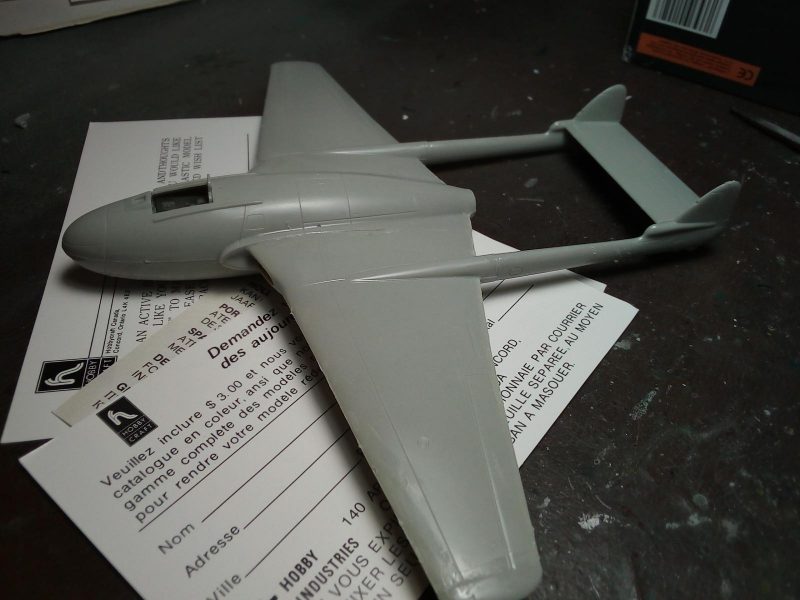
1. Lovely Vampire looks!!!
As per my beloved phrase: Please take your quality time here, in order to align everything correctly, as long as the glue hasn't cured and the joints are "workable".
The drop tanks were also assembled, but I am not sure if I will use them...the petit Vampire is so beautiful in its (her) clean configuration!
-
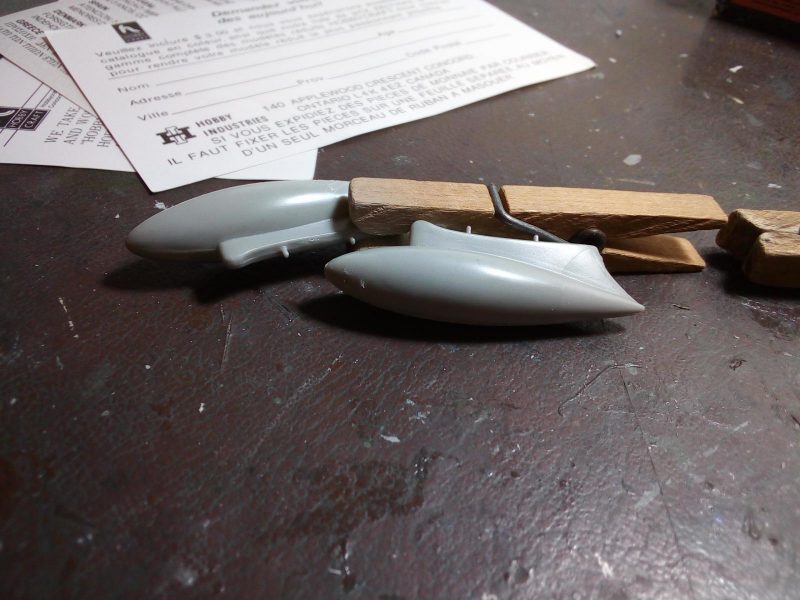
1. Not sure if I will use them....
All the best, my friends!