Thanks, Eric, Spiros, John and Tom for your kind comments. I haven't updated this build in a while but I have been busy. The Tempest and Bf-109 have been getting quite a bit of my attention and I will update those next.
I added some more detail to the pit before finally closing up the fuselage. Specifically, this was a thin leather pad for the seat - very clear in museum examples and some period cockpit pics. I made the pad from Tamiya tape and painted it MM Acryl Semi-Gloss Black. I also created a single strap for the lap belt part of the weird harness. This was done with Tamiya tape, spare etch and a short bit of chain clipped from the excess for the shoulder harness.
-
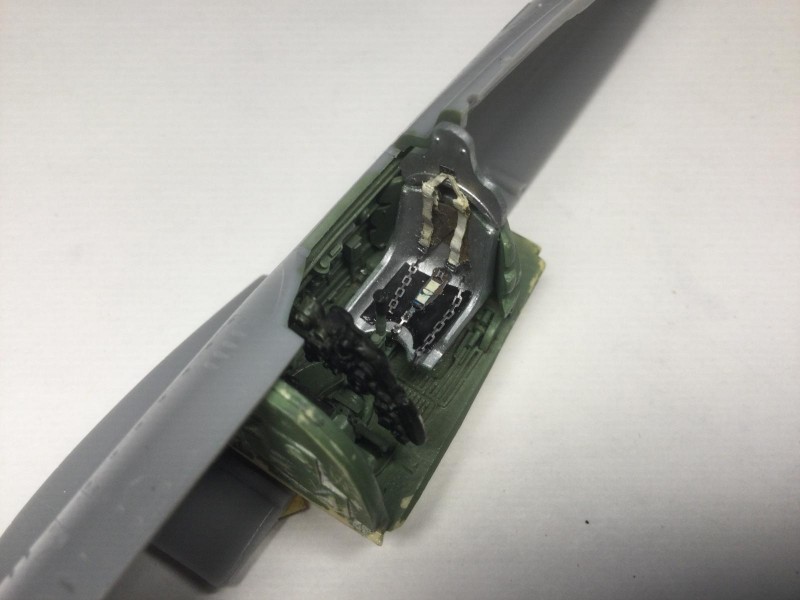
1. leather seat pad from masking tape.
2. single central belt on a short chain which connects to harness on real thing.
I am quite pleased with the accuracy of the belts I made, however, others might want to use the many aftermarket options from Kits World or Eduard.
I sealed up the fuselage in stages to make sure it all wrapped around the cockpit insert, starting with the spine and waiting a couple of days before joining up the fuselage halves on the underside. For the next construction stages, I decided to glue on the upper portion of each wing half. This preserved the correct dihedral and eliminated potential gap or alignment issues with the wings. I also wanted to create a clearly defined space for building up the area behind the engine in the central wheel bay.
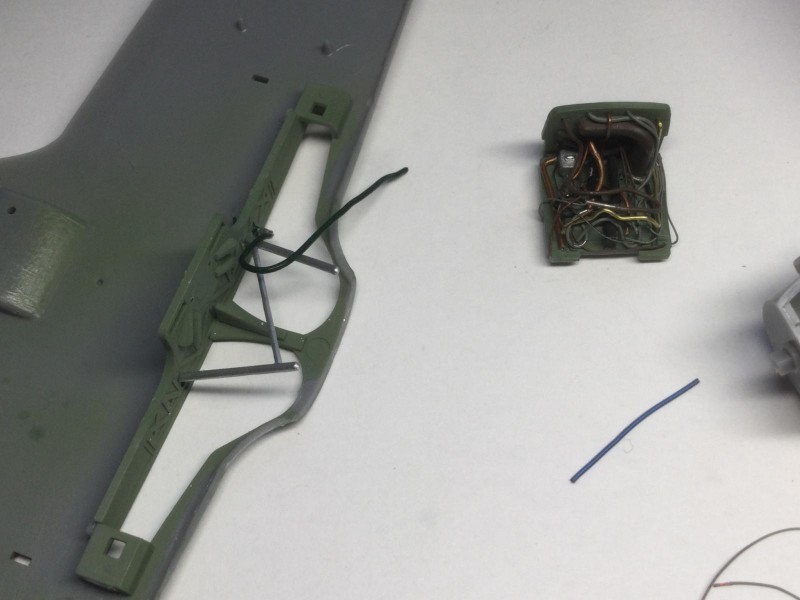
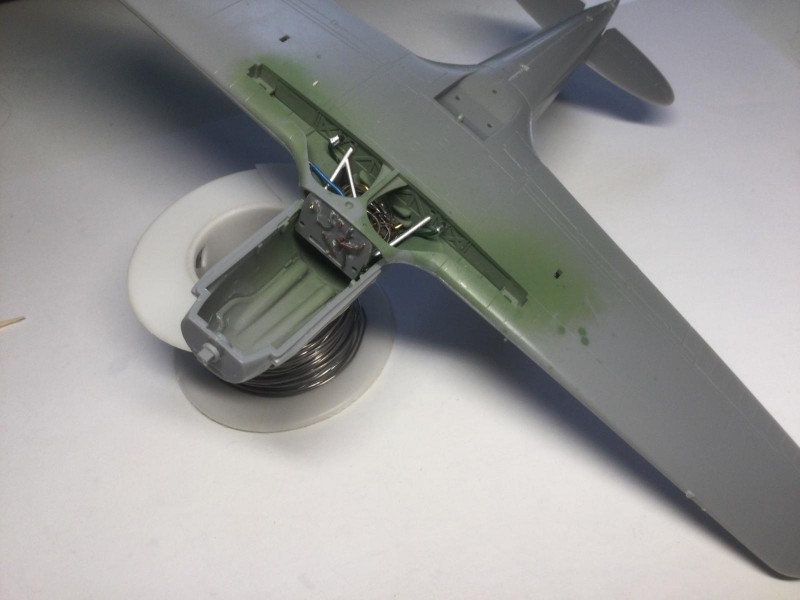
Museum walkarounds clearly show a veritable maize of plumbing for the DB 605 engine, The kit provides a simplified molded piece with one large duct and a thinner bit of ducting in a tuning fork shape (see photo).
-
1. Simple kit part with only two or three major ducts represented. I painted these before adding detail from wire and solder.
2. Various thcknesses of wire and solder painted in distinct shades for authentic variety of tubing and wiring.
I started by painting the kit ducting red brown and black and "metailizing" this with rubbed on graphite. I decided to collect a variety of thicknesses of solder and copper wire and paint them to represent all the other different kinds of tubing and wiring behind the engine. I used RLM 02, Red-Brown, Black, Copper, and Dark Brown acrylics to paint different strands. Green and Blue were used for the hoses meant for engine coolant and air. I also had some brass wire, which I left in natural metal for one length of duct. I drilled holes in the firewall piece to glue in lengths of painted wire before I carefully bent them into curves and overlapping layers that matched museum pics. The kit provided bracing over top of the ducting, which I painted with Rub N Buff silver.
-
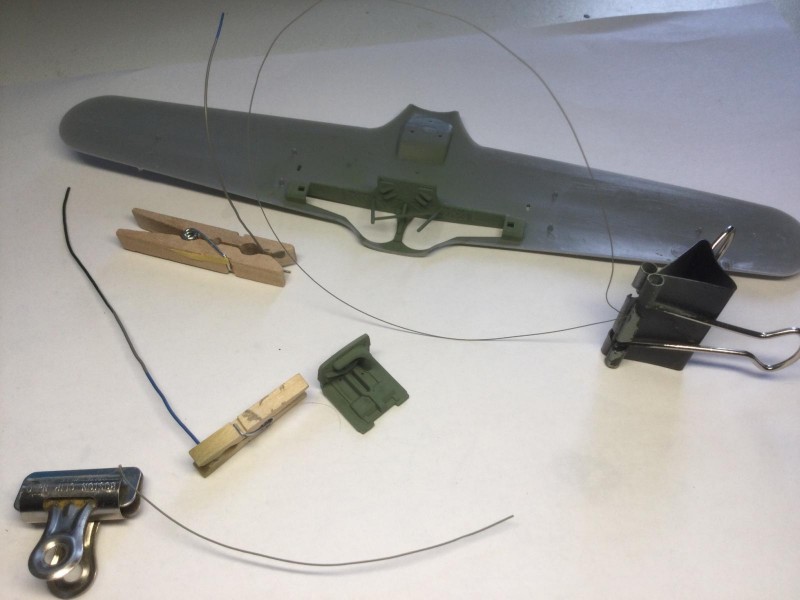
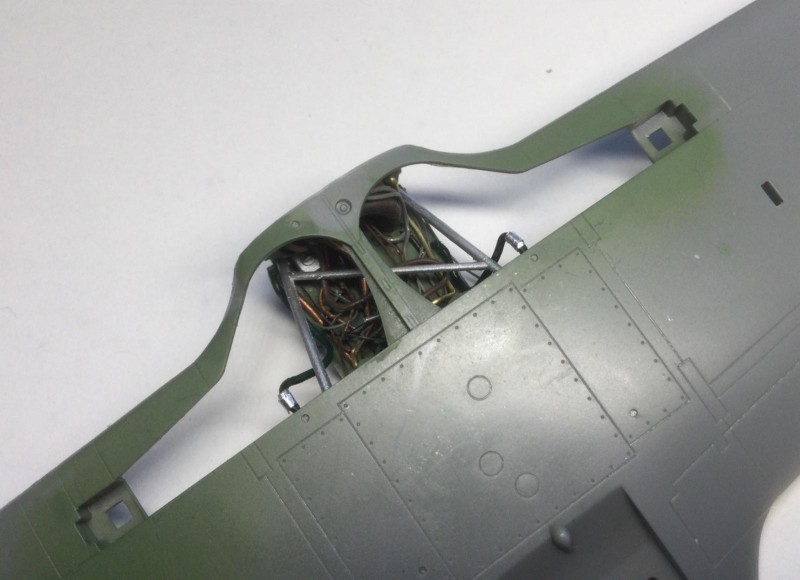
1. Detailed insert shown with wing and fuselage assembly, also partly "wired form air and coolant hosing.
-
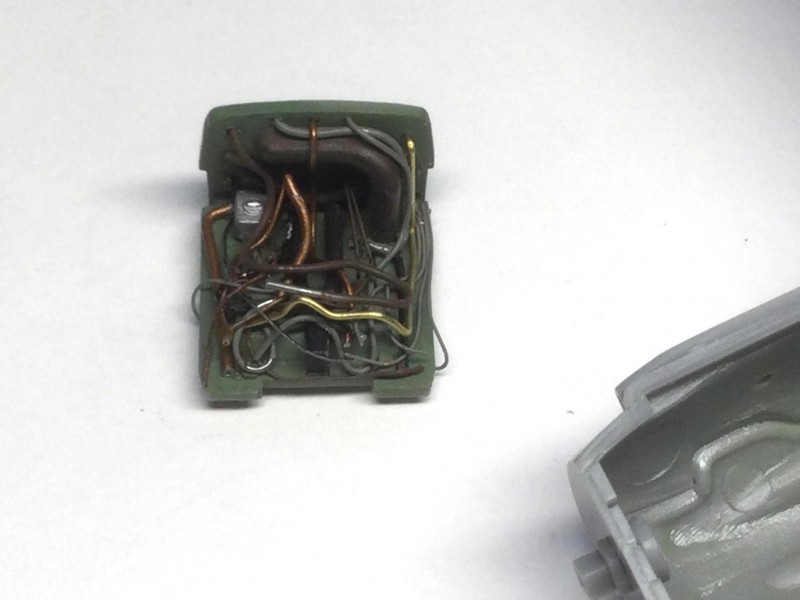
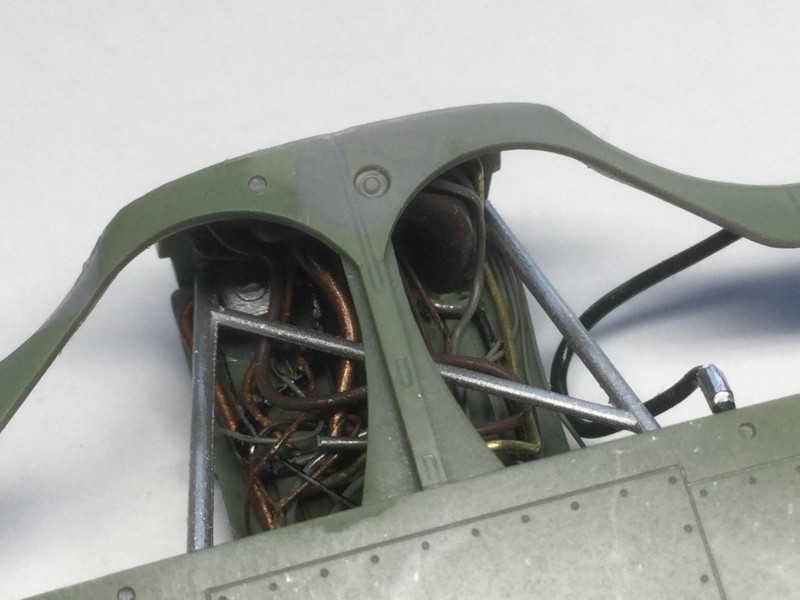
1. Close up of plumbing for insert. I also added some boxes for tanks and whatnot.
-
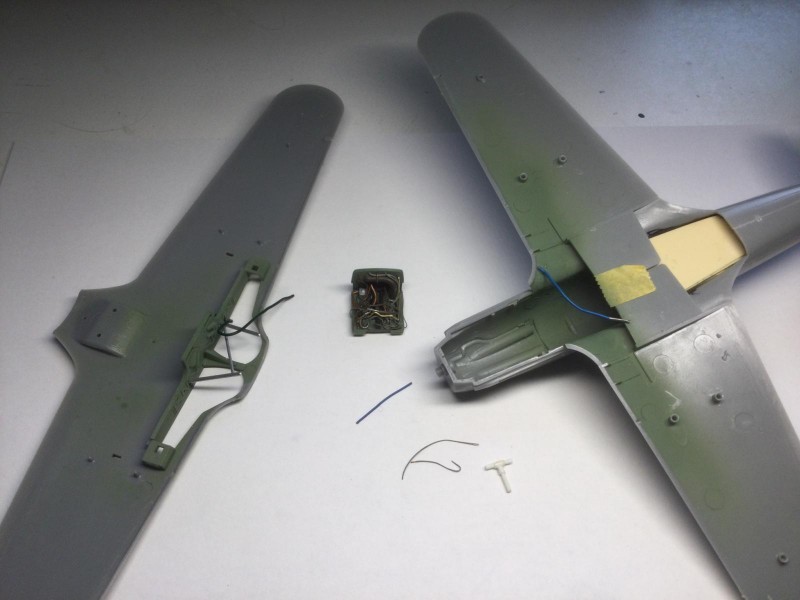
1. When installing the insert, I had to weave all the wiring around the different parts to make it all intertwine authentically.
-
1. Coolant hose with added strap detail from BMF. ONly one hose done in this pic
2. Insert glued in.
I took special care with getting this to fit well, look authentic, with sufficient depth and with some hoses having very specific color and placement, such as the green coolant hoses from wing tanks and the blue oxygen hose (or possibly blue for compressed air for the cowling guns).
-
1. Near complete assembly with both coolant hoses.
-
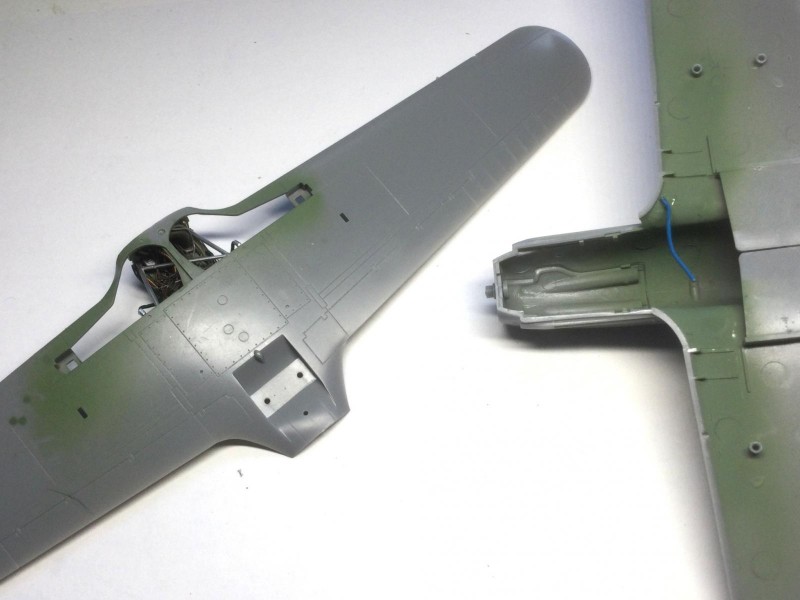
1. Air hose to be woven into bracing after wing assembly.
Being happy with the plumbing, I assembled the wings and fuselage to lock in the detail, The first pic shows how I attached the wires and solder through drilled holes.
-
1. wires and solder as passing through firewall to be glued down.
The other pics show the full assembly with the air hose added and one pic of the full model at this stage.
I have been experimenting with my airbrush for the splotch pattern camo, which I will also share in a near future update. For now, I want to get on with other updates.
I hope this looks good to you. I have never attempted such an elaborate bit of plumbing in this scale before. It was fun learning some of the functions of the elements. It reminded me of doing small engine mechanics in High School by taking apart, sketching and reassembling engines.