Thanks, Spiros and John. Got some work done on the Apache this weekend. Prepared all the interior bits, including removing IP detail to apply the color etch and also sanding off molded in seatbelts.
-
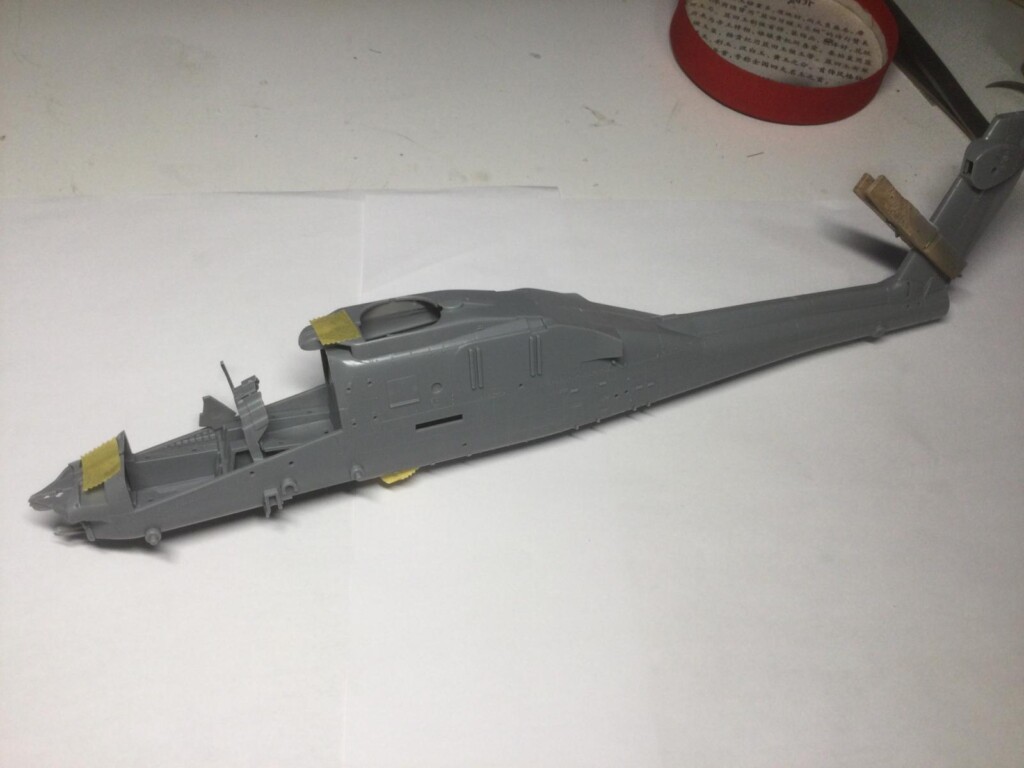
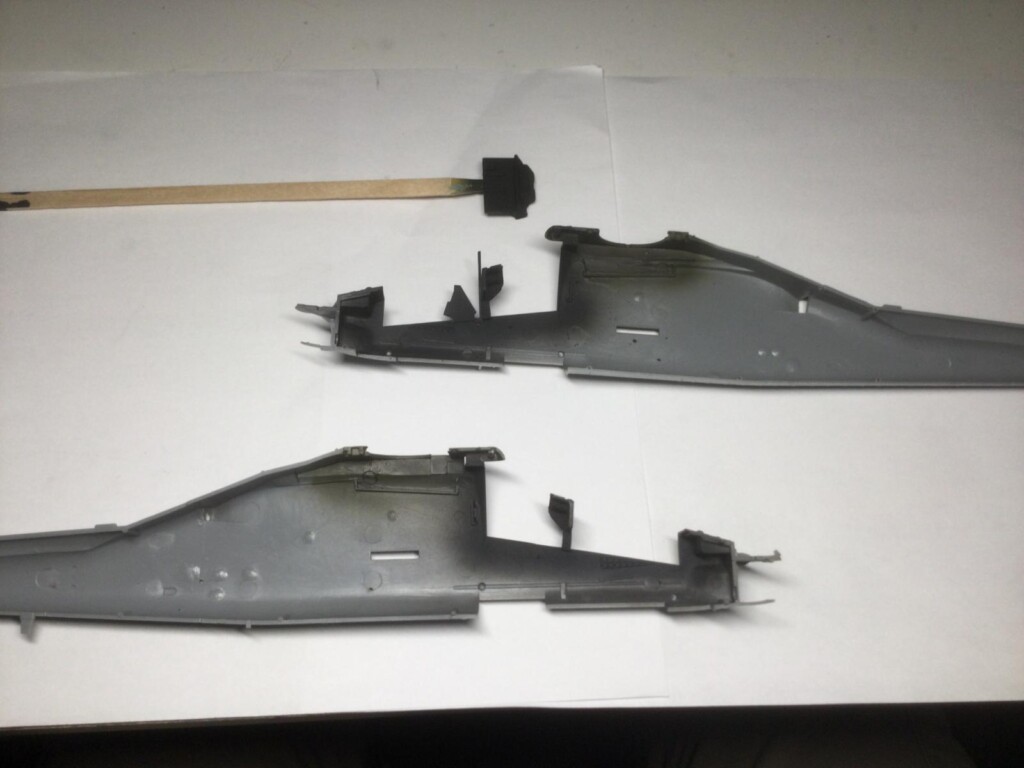
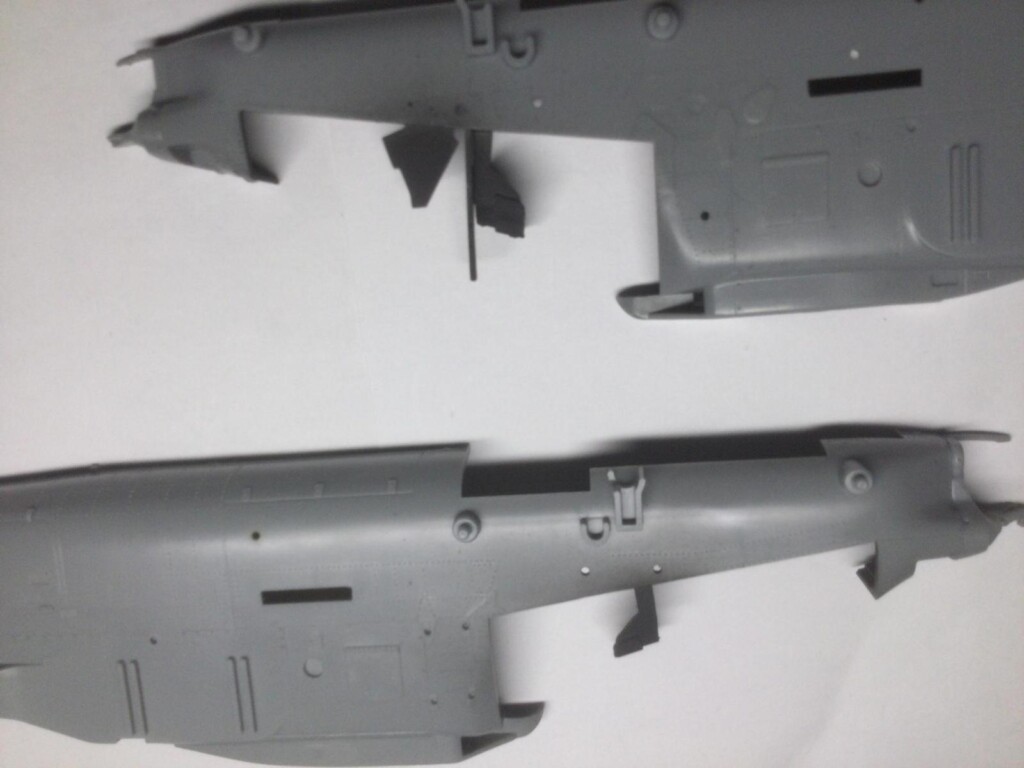
1. tiny protrusions for the sensor array in the nose are extremely delicate
-
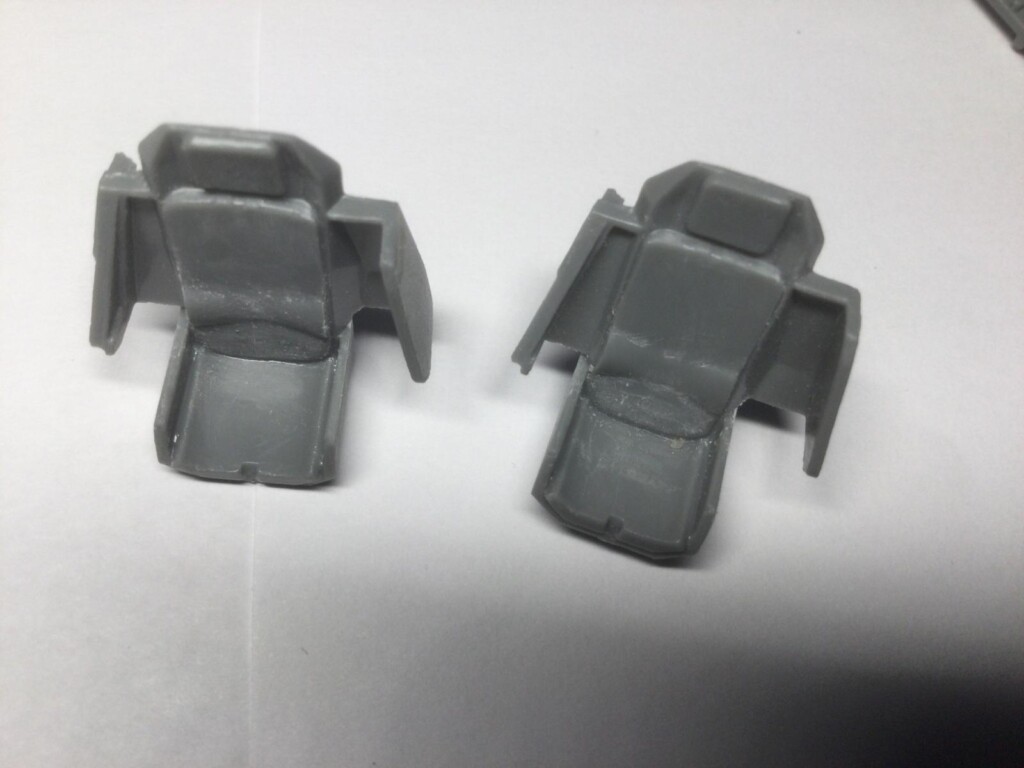
1. This was work in progress when photographed. I sanded it down better before painting.
-
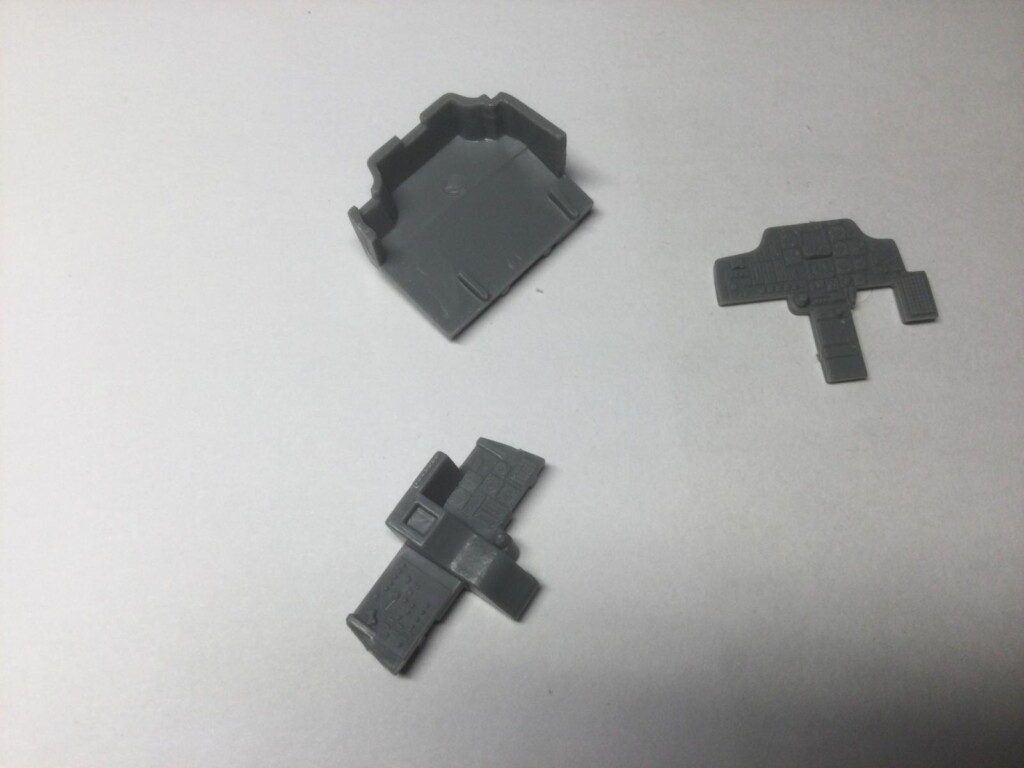
1. I later sanded off all this nice detail to use the color etch on both panels.
-
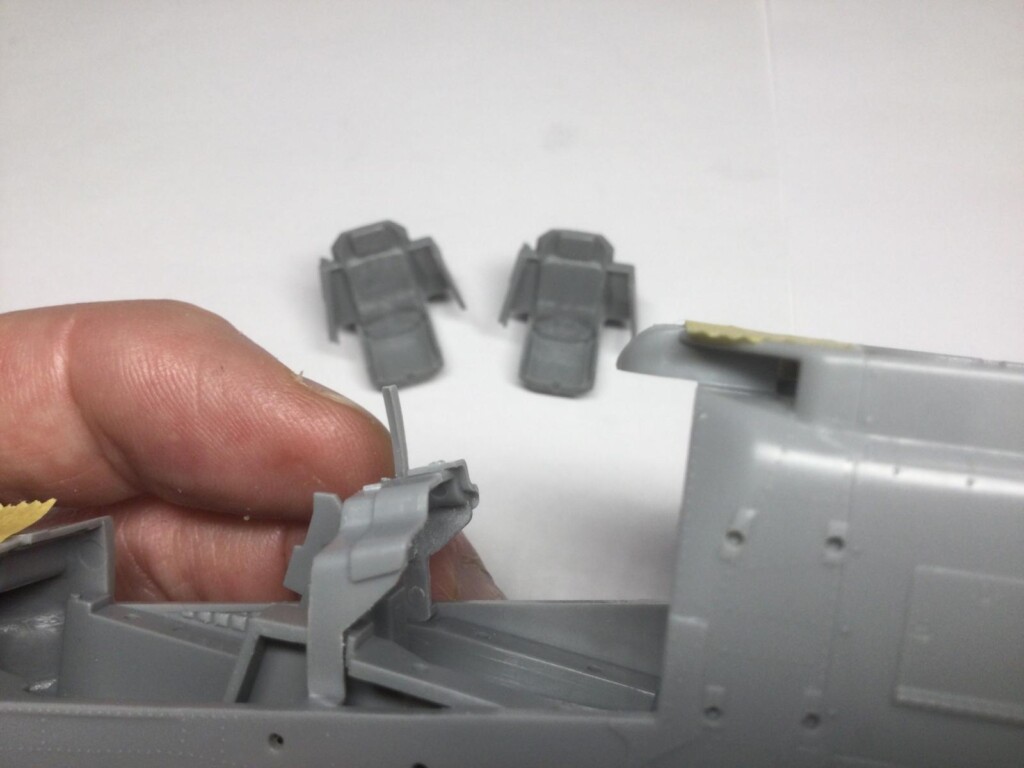
1. Some interior detail is molded into the fuselage halves. Th hood for the IP needed sanding inside - very awkward work when so fragile.
I find interior sanding prep tedious but worthwhile in the end. Test fitting showed how fragile some parts will be. I must be careful not to break off tiny bits that stick out in the fuselage halves during painting and assembly. After attaching side panel detail and unpainted etch on the interior of the cockpit tub I sprayed everything Tamiya Flat Black.
-
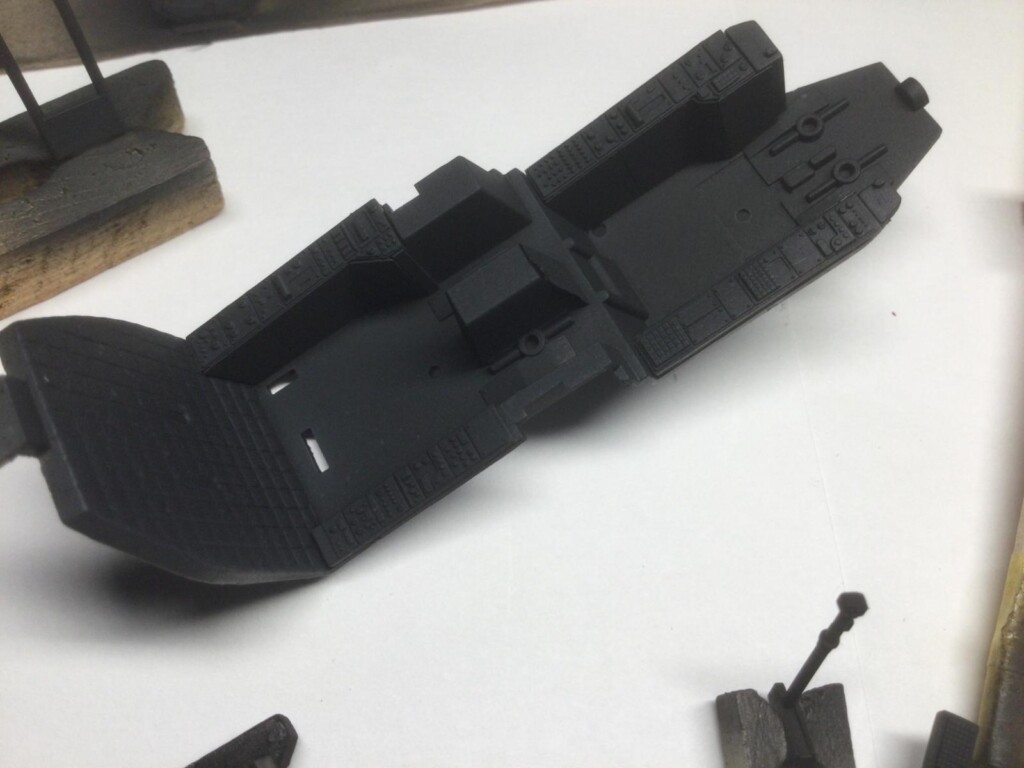
1. the bay for the rotor hub array had to be painted Helo Drab.
2. Cockpit sidewalls Flat Black with German Grey highlishts
3. These are the bits that could so easily break off. Must be careful.
-
1. Attached detail had to be painted outside as well.
I also gave a flat black pre-shade to the rotor hub detail that will fit inside before assembly. The tub, seats and detail bits got a very light overspray of Tamiya XF-63 German Gray to bring out switch and floor detail and also accent the insulation padding behind the rear seat.
-
1. The German Gray post shade isn't so clear in artificial light but did help with highlighting. I will need to paint the panel details by hand - no etch for this.
Doesn't show much in photos but this highlighting was quite effective. I also sprayed the etch pieces for the rudder pedals by masking off the other color components with paper first.
Finally, I sprayed the rotor assembly MMAcryl Helo Drab over the Flat Black pre-shade.
That's it for now. I will update when the etch is on for the belts and IP detail for pilot and gunner. Hope you find this interesting. Work on the Shawnee will commence if and when I get the Eduard detail I ordered, which appears to have been lost in the mail - sigh.