AH-64A Apache - Hasegawa 1/48

Started by Colin Gomez · 20 · 1 year ago
  • Profile Photo
    Colin Gomez said 1 year, 11 months ago:

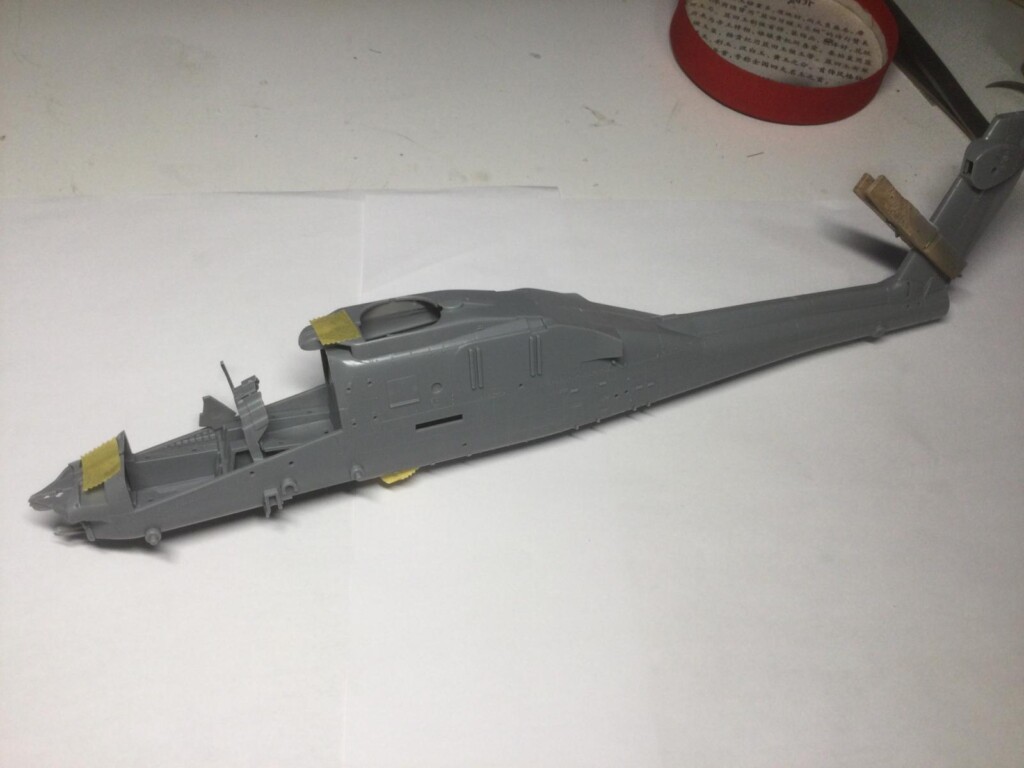
    This will be my simplest and quickest build, which I hope will help me keep up my energy level in the Helicopter GB. I have Eduard etch on hand and masks coming so there won't be many extra complications to getting this done. I am still undecided whether to do this as the kit IDF version or build it with the fine Two-Bobs decals. I really like the crocodile mouth on one of the Pennsylvania ANG machines. On the other hand, I would also like to do an AH-64 in combat in Afghanistan or Iraq, something very doable by rearranging the Two-Bobs serial numbers a bit and using the shark mouths provided. There are very good profiles in the Osprey book to work from. Anyway I will have time to think about this while doing the interior and main assembly. I have a couple of Longbows for future builds, so this would also be a practice start for kit assembly and I could do other schemes later. It should also be fun to do the weathered look of the dark olive drab finish. I plan to use black-basing plus mottling of MM Acryl Helo Drab in a couple of lightened tones. Some may consider the Apache ugly, but I rather like its predatory look. It will be a nice contrast to the Airfix Lynx on my shelf.

  • Profile Photo
    Spiros Pendedekas said 1 year, 11 months ago:

    A superb entry, my friend @coling! Looking forward to it!

  • Profile Photo
    John vd Biggelaar said 1 year, 11 months ago:

    Looks like a fine kit, Colin @coling

  • Profile Photo
    Colin Gomez said 1 year, 11 months ago:

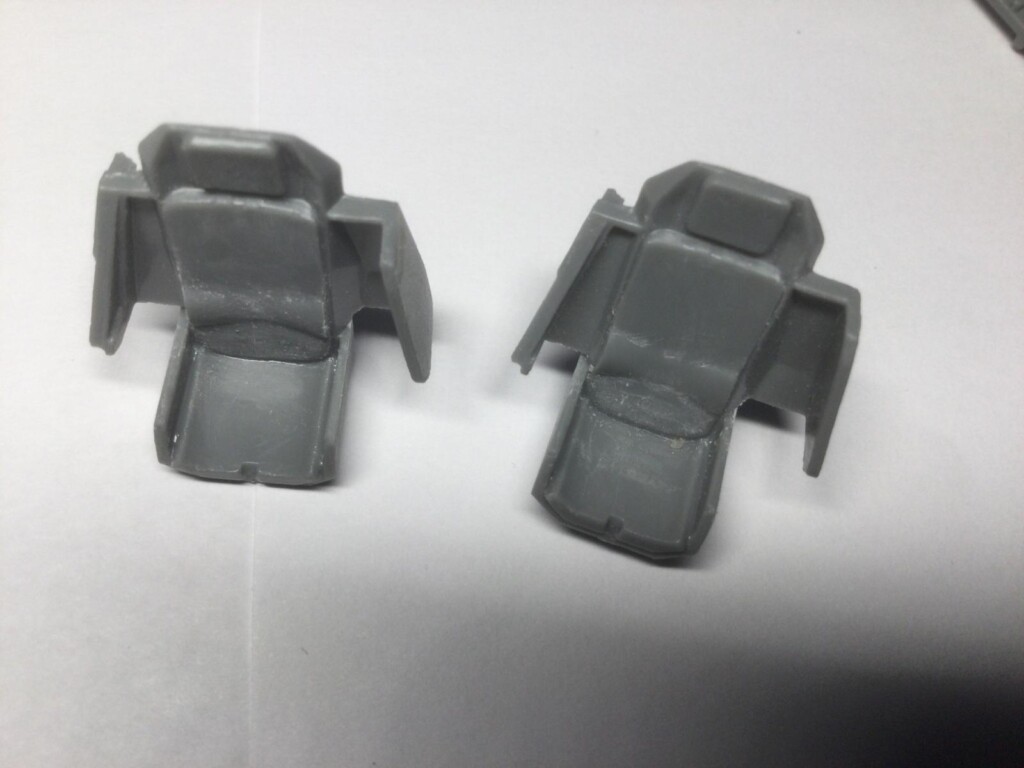
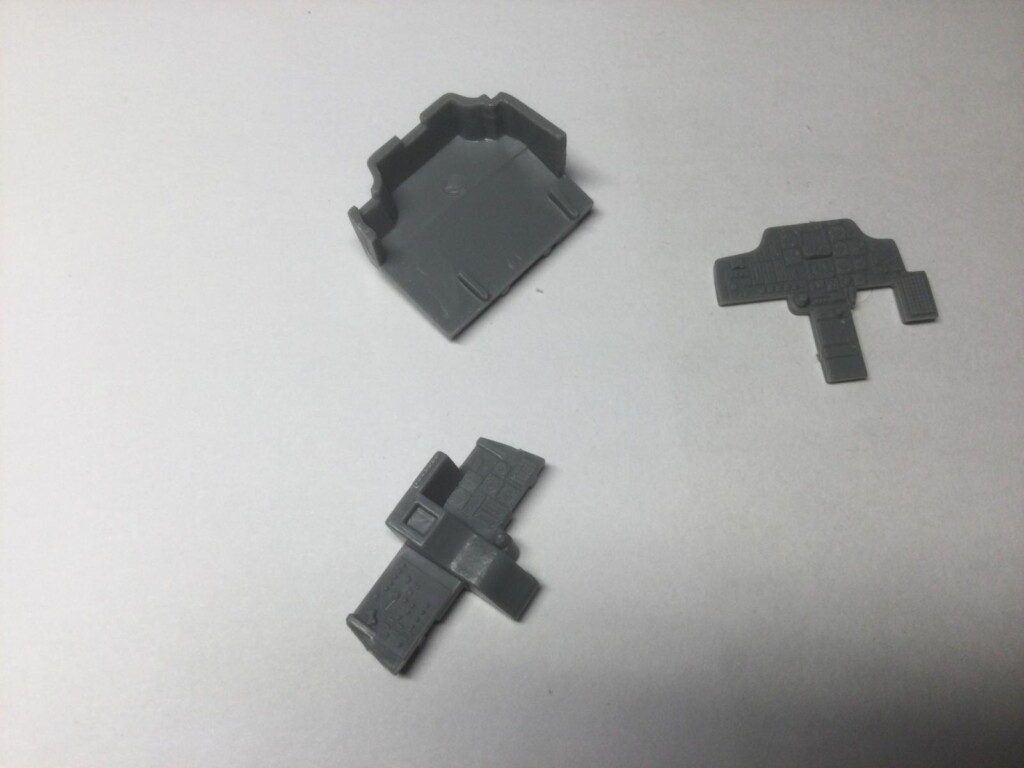
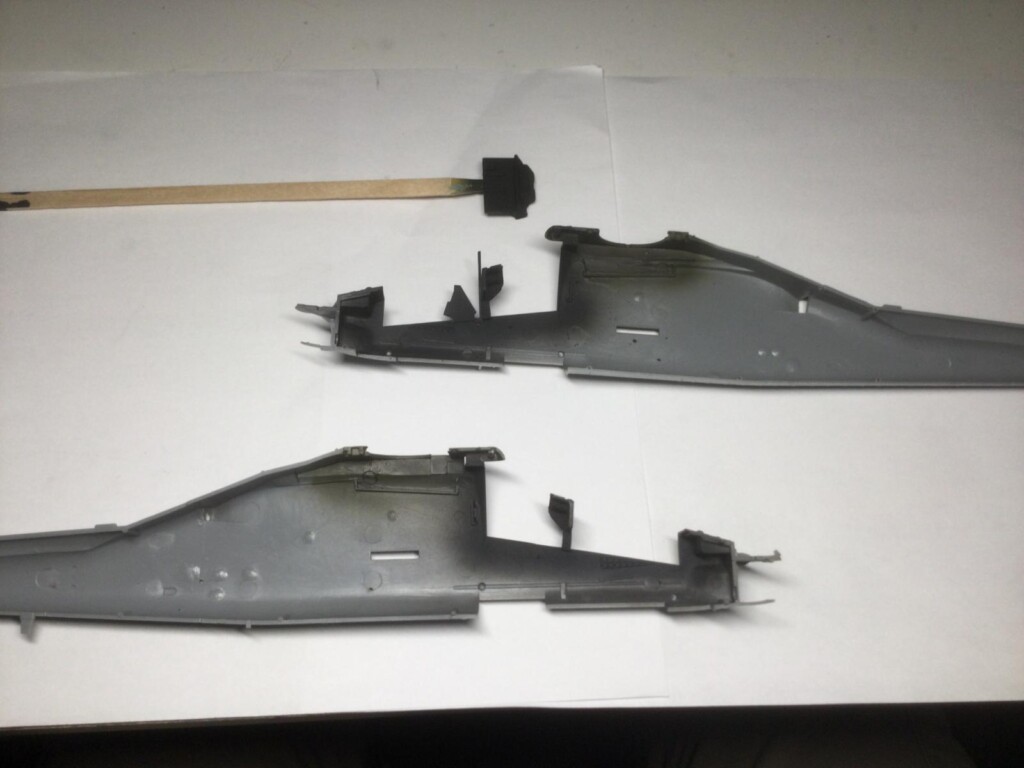
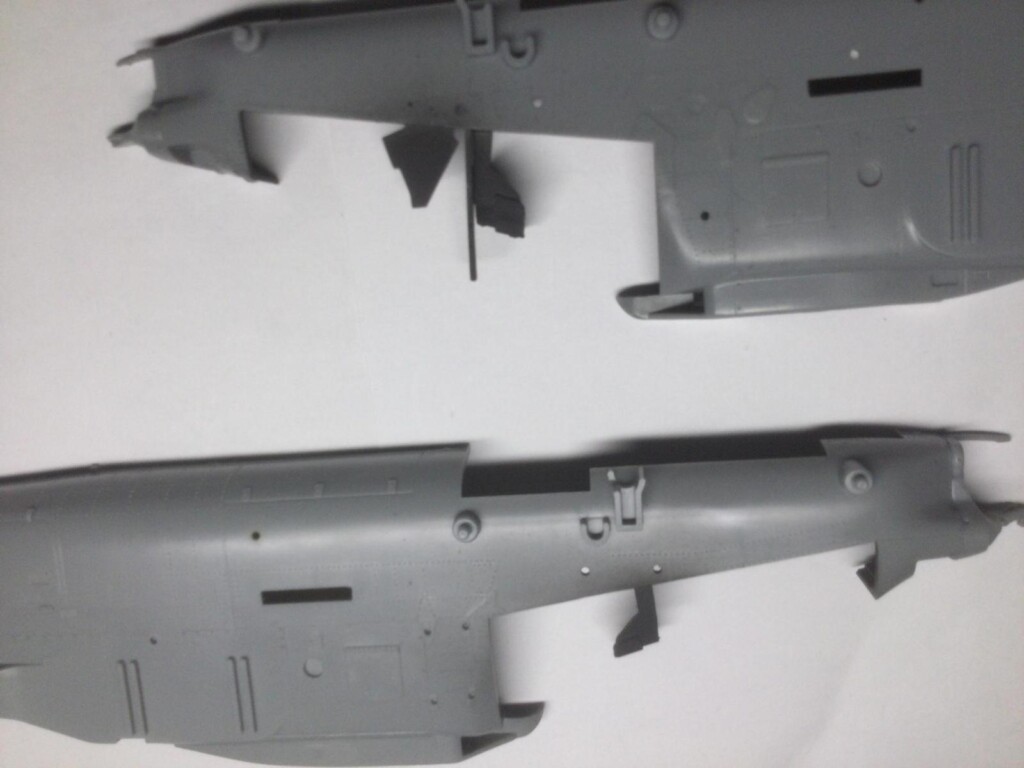
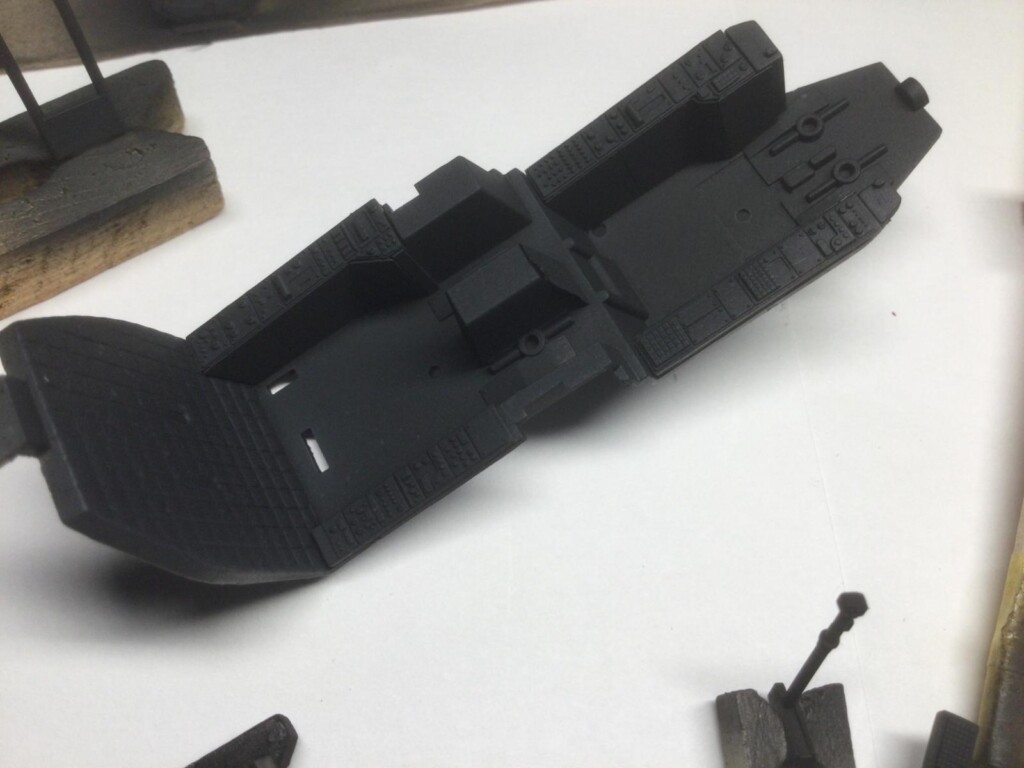
    Thanks, Spiros and John. Got some work done on the Apache this weekend. Prepared all the interior bits, including removing IP detail to apply the color etch and also sanding off molded in seatbelts.

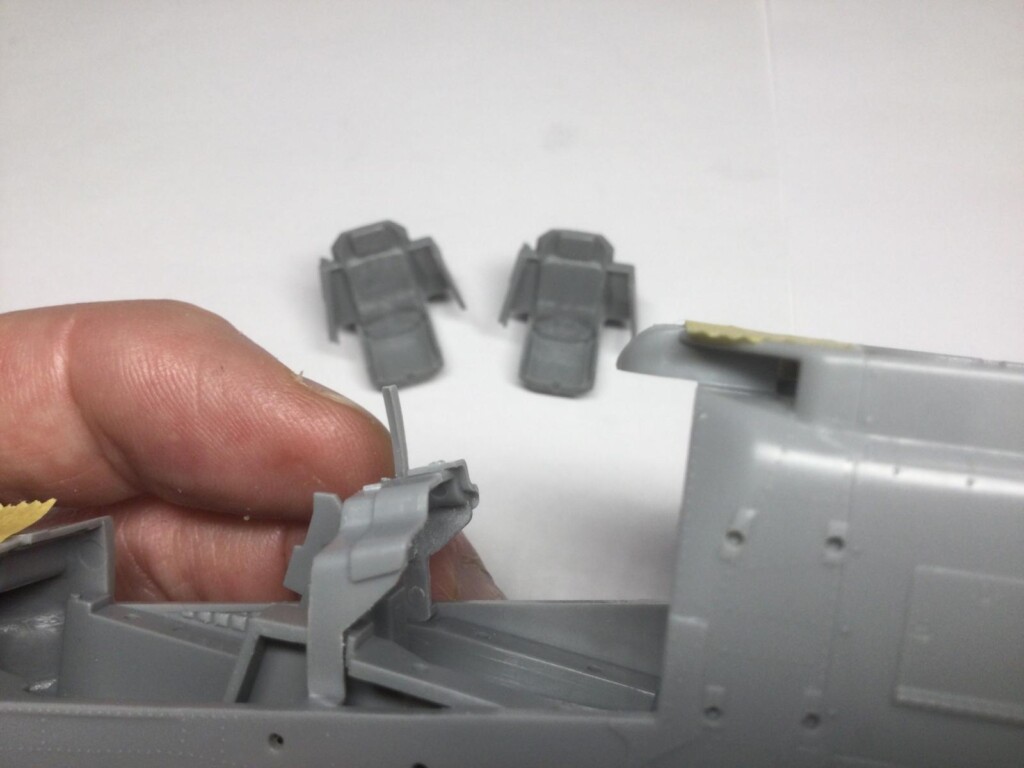
    I find interior sanding prep tedious but worthwhile in the end. Test fitting showed how fragile some parts will be. I must be careful not to break off tiny bits that stick out in the fuselage halves during painting and assembly. After attaching side panel detail and unpainted etch on the interior of the cockpit tub I sprayed everything Tamiya Flat Black. I also gave a flat black pre-shade to the rotor hub detail that will fit inside before assembly. The tub, seats and detail bits got a very light overspray of Tamiya XF-63 German Gray to bring out switch and floor detail and also accent the insulation padding behind the rear seat. Doesn't show much in photos but this highlighting was quite effective. I also sprayed the etch pieces for the rudder pedals by masking off the other color components with paper first. Finally, I sprayed the rotor assembly MMAcryl Helo Drab over the Flat Black pre-shade.

    That's it for now. I will update when the etch is on for the belts and IP detail for pilot and gunner. Hope you find this interesting. Work on the Shawnee will commence if and when I get the Eduard detail I ordered, which appears to have been lost in the mail - sigh.

  • Profile Photo
    Spiros Pendedekas said 1 year, 11 months ago:

    Great progress, my friend @coling! The extra work will definitely pay off!

  • Profile Photo
    John vd Biggelaar said 1 year, 11 months ago:

    Nice preperations on those delicate parts, Colin @coling
    All those extras will definitely improve the looks in the end.

  • Profile Photo
    Colin Gomez said 1 year, 8 months ago:

    I have finally gotten back to this project after nearly 3 months. Before I attached plastic and etch details I did some dry brushing of the side console instruments - I haven't used this technique in a while but it seemed the most realistic way to highlight detail when buttons and switches on the real thing are so monochrome and subdued in contrast. I also used an application of raw umber pastel to give a brownish hue to the upholstery of the seats and the insulation behind the seats, matching what I saw in photos. Overall, variations in shades of black and grey in the cockpit have worked quite well.

    Application of the etch proceeded very carefully - an entire evening of careful trimming and gluing. I think the instrument panels and rudder pedals look pretty good now. Next job will be to fit all this inside the pit and add quite a few other details in plastic from the kit. Hope you like it so far.

  • Profile Photo
    Spiros Pendedekas said 1 year, 8 months ago:

    Looking really nice, my friend @coling! You managed to achieve superb looks to an otherwise monochrome cockpit!

  • Profile Photo
    Colin Gomez said 1 year, 8 months ago:

    Thanks, Spiros. Little bits of etch flying around the room this evening nearly drove me crazy but it all came together in the end.

  • Profile Photo
    John vd Biggelaar said 1 year, 8 months ago:

    This cockpit looks really great, Colin @coling
    A big improvement indeed.

  • Profile Photo
    Colin Gomez said 1 year, 8 months ago:

    Thanks, John. I am happy with the look so far. I should get the fuselage closed up tonight, after which I can add the remaining cockpit details done that must go on after assembly. It will be a relief to glue the two halves together because there are some VERY thin pieces sticking out in the nose area which will then be reinforced and much less vulnerable to accidental damage. This is a complex and very detailed kit. I am relieved that the added etch hasn't gotten in the way of anything so far. Careful test fitting is constantly necessary.

  • Profile Photo
    George R Blair Jr said 1 year, 8 months ago:

    Cockpit looks great, Colin (@coling). I didn't realize the cockpit in the Apache was so dark. It will look really good in the model.

  • Profile Photo
    Colin Gomez said 1 year, 8 months ago:

    Thanks, George. Yes the cockpit is really dark. I think that could make it quite hot to sit in, especially in desert operational conditions.

    It's a challenge to make it look interesting for the model, but using the Tamiya German Grey and pastels helped to vary the tone. Going by these pics, I will probably highlight a few switches in red and lighter grey. In pics of the real thing, some matt black components like seats and instrument hoods can look a little dusty and brownish on the sides in some close-ups- which is probably quite literally from dust. I may simulate this later on once I have it buttoned up. The nice thing about pastels is that you can rub them off if it doesn't look right and seal them as soon as you get the effect you want.

  • Profile Photo
    Colin Gomez said 1 year, 8 months ago:

    Progress on the Apache. I finally sealed up the fuselage halves and finished the cockpit details. Some really tiny pieces to fit. I found a gap in the way the two halves of the rear instrument coaming fit together - maybe made worse by etch.

    I filled this, but I had to retouch the black with careful airbrushing where it got scuffed and scraped in the process. With the gap filled, the internal bullet-proof glass was installed, final details glued in place and touched up with brush work. The only thing left now in the cockpit is a couple of warning decals on the starboard side, which I will do after I deal with seams and major sub-assemblies. Fit is good to excellent on the kit so far. It will be a challenge, though, to avoid sanding off rivets while addressing seams - but it is doable. Hope you like it so far.

  • Profile Photo
    Spiros Pendedekas said 1 year, 8 months ago:

    Cockpit looks superb with fuselage halves joined, my friend @coling!