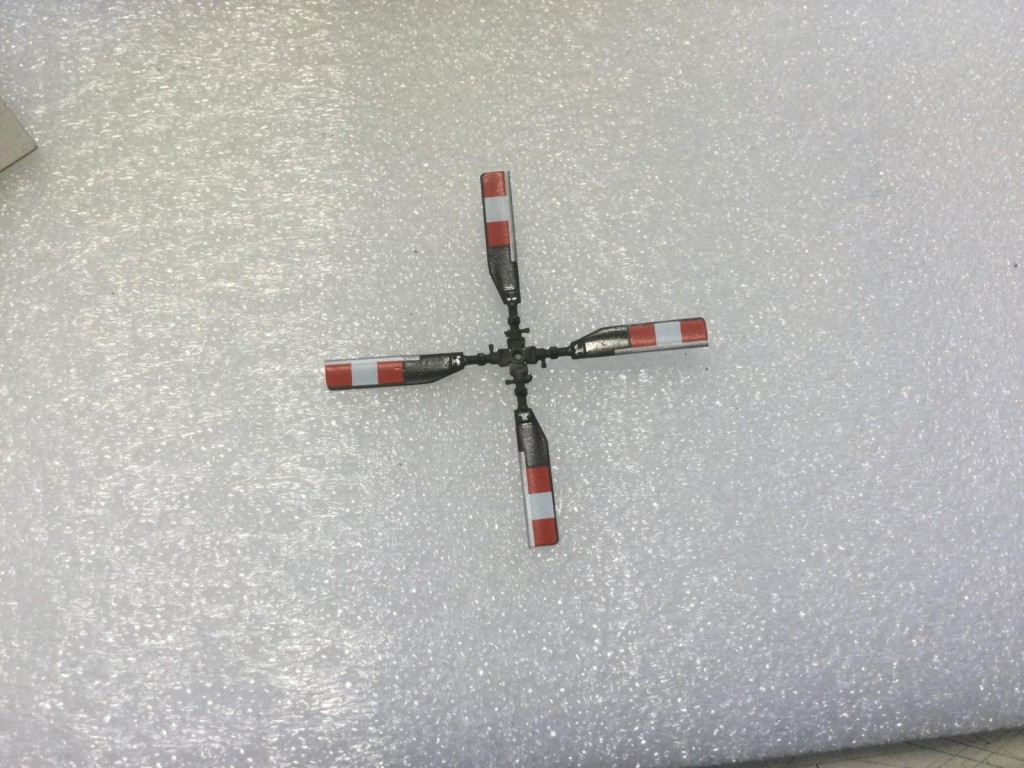
Thanks Spiros@fiveten and John@johnb . Good to get your feedback. I've gotten a lot done since my last post but there are still quite a few fiddly details to deal with. I finished decaling, including the long tricky strips on both sides of the rotor blades.
Actually not quite,since I will have to do something to fix the decal for the tail rotor. It is a wrap-around from the leading edge and not big enough to cover the width of each blade.
-

1. Each blade has this strip of green showing because the red and white decal isn't wide enough. -- sigh
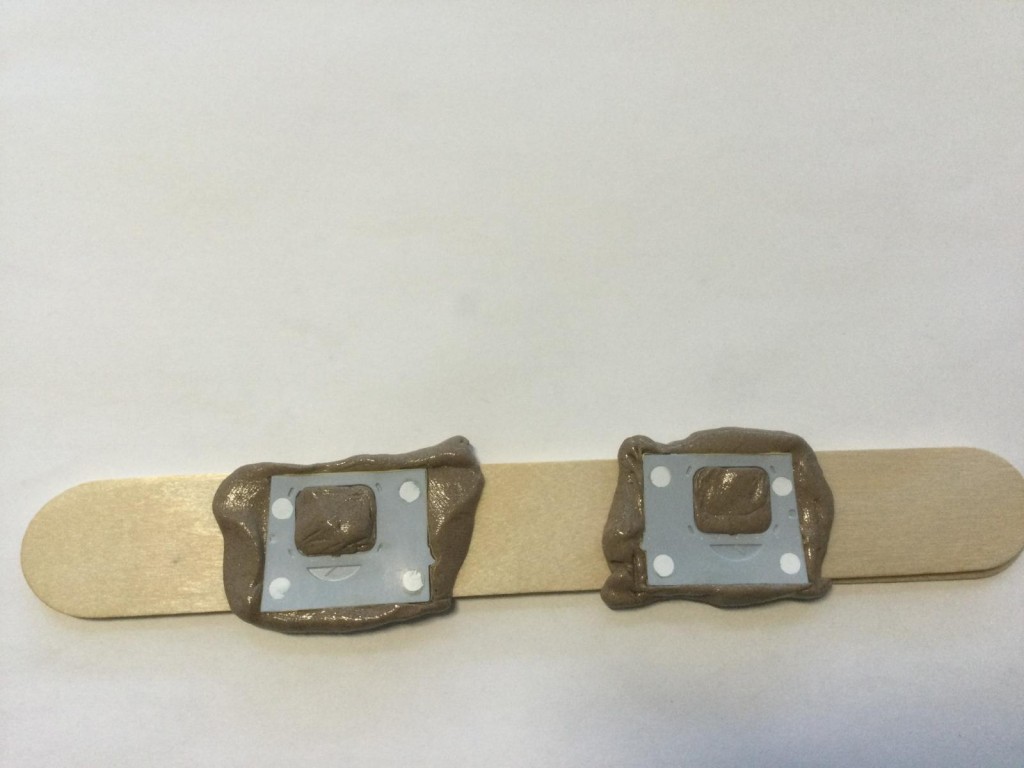
Anyway, I did a matt coat (light for semi-gloss), removed the masks successfully, and cleaned up a bit of under spray here and there with a toothpick and finger nail (nice that acrylics clean up so easily on clear parts that way). A bit of polishing with Novus Clean and Shine removed some unsightly film from the Eduard masks. Next was to flip the model over and attach the skids permanently, which I had also sprayed matt black when detached.
Incidentally, I did a bunch of unnecessary filling, sanding and painting of the inside of the doors, thinking I needed to deal with some mold ejector marks.
-

1. Mold marks filled and sanded fro no good reason in the end - SIGH!
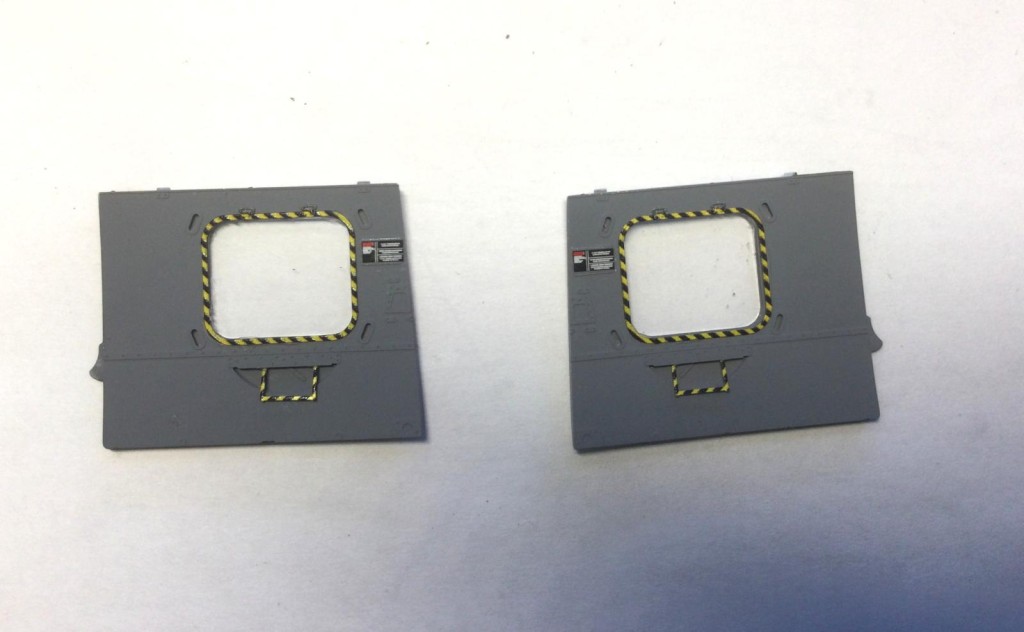
I later realized that the Eduard etch provided a complete new cover for the inside of the door. Here are the doors with the Eduard part completely hiding the plastic.
-

1. All this grey is just one big piece of etch
2. Tricky to add these painted etch borders but very successful in the end with Gator Grip glue.
In case you are keen on handy tools, fitting clear parts in each door was tricky but accomplished neatly with an Experts Choice suction cup thingy.
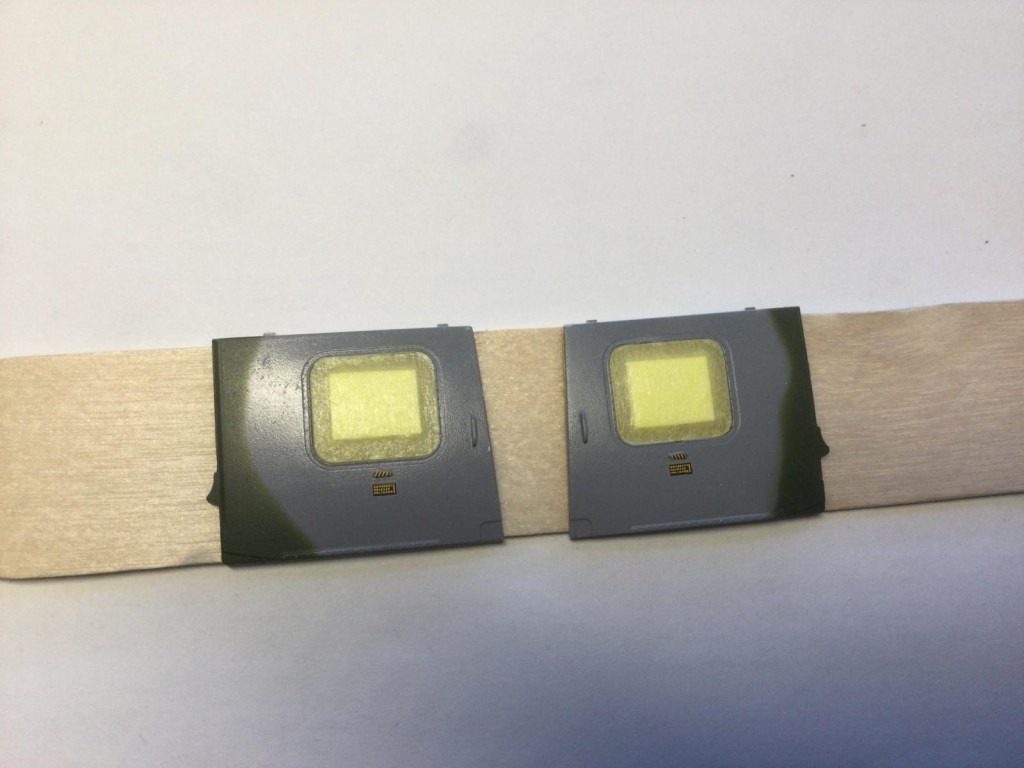
. Another tip is that when doing the matt coat on the outside of the door, I put some paper inside the mask so it wouldn't cling so hard to the clear part. I didn't want to tear it out of its mounting when taking off the mask.
-

1. paper square inside mask so it wouldn't cling so hard to the clear part and risk damaging the mounting on removal. The technique worked in the end.
So, hours of effort later, I can confirm that it will be almost impossible to see any of this detail once the doors are on. Since open doors are against the fuselage, which hides all inner door detail, I was thinking of doing one door open with machine gun mounted and the other closed to see the detail from the rear. Still, it's quite dark in there. A judge at a show would see stuff like that with a penlight, so maybe still worth it. Lots of tiny parts to paint and assemble for the door gun(s).
I also need to assemble and detail the apparatus on the skids which I think is part of the defensive missile dazzler system. It's kind of like the Paul Simon song: "The nearer your destination, the more you keep slip sliding away."
Here are a few more cumulative pics to show progress so far.
Next shots in Headlines, assuming this all works as planned. Hope you find this worth following.