Decal time and install the exhaust nozzles. I will be using this set from Vagabond Decals for the stencils. As this will be more in line what was used in 1979/80 paint scheme.
I started from the lower rear and will make my way back to front. The stencils are from Vagabond, using a mixture of Hase and Tamiya kit decals. The Hase kit is a scheme used in 1981 on an overall Gull Grey scheme, while the Tamiya kit is Gull Grey over white as used in 79/80. The Tam VF-84 strake decal will have the strake glossy black then apply the VF-84 decal is black with yellow graphics. I used the Hase yellow strip to edge the strake.
-
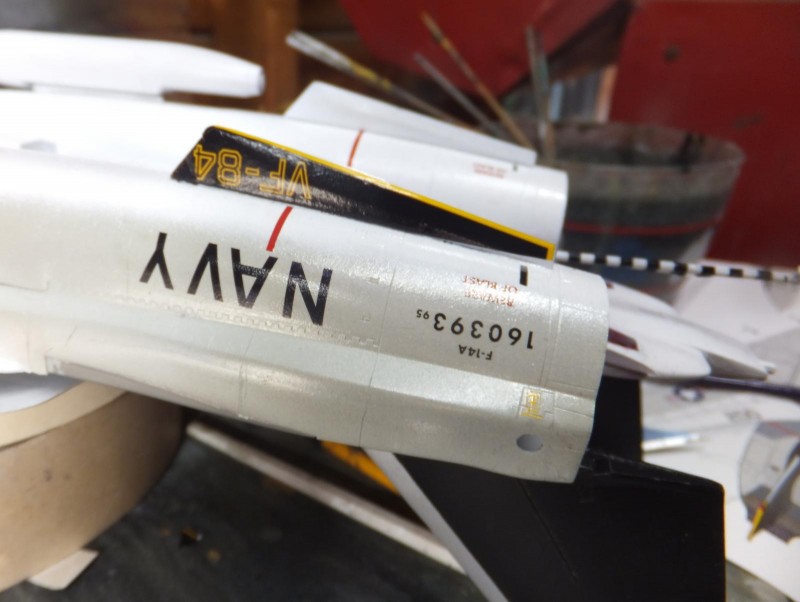
1. Tamiya decal
2. Tam and Hase decal
3. Vagabond decals
At this point of the process which is quite time consuming, I took a break and started to install the exhaust nozzles. First the rear fuselage extensions that cover the outer part of the exhaust cone. This is the correct rounded early style extensions.
-
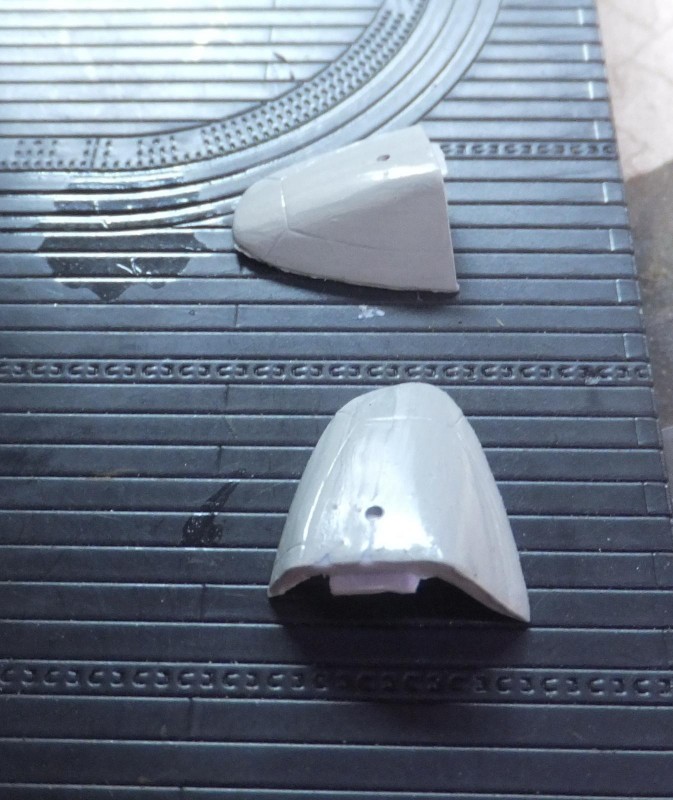
1. Correct early style extensions for F-14A
The nozzles are installed and then the extensions on both sides. Parked the petals are displayed one open, one closed.
-
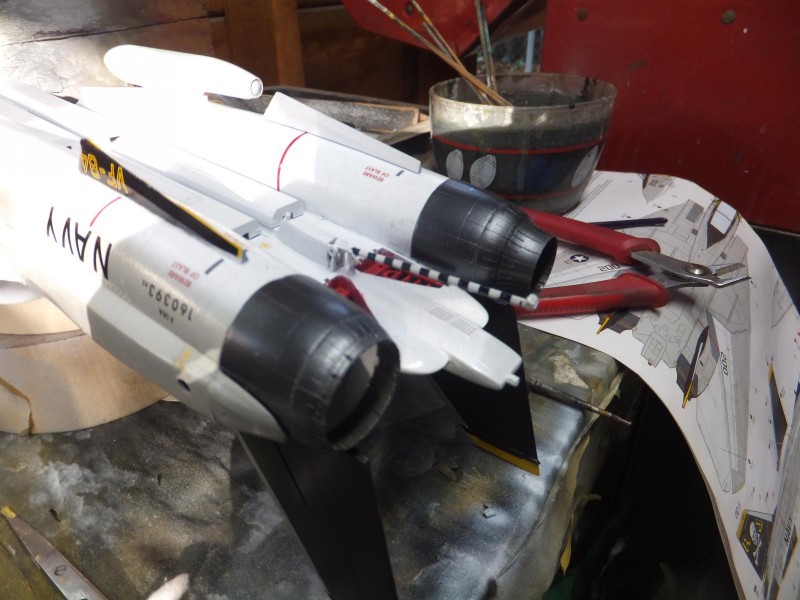
1. open and closed afterburner petals
The horizontal stabs have the "No Step" stencils applied.
The iconic "Jolly Roger" graphics and squadron code applied to the tail.
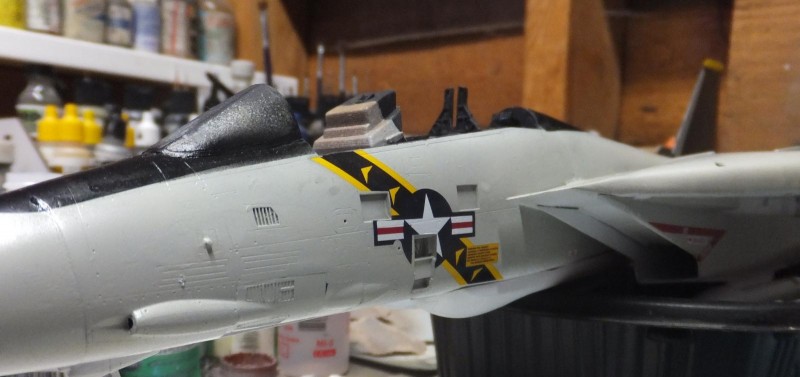
The telltale black and yellow bands are applied on both sides of the nose at the same time for alignment puposes. I used The Tamiya bands instead of the Hase set. These fit perfect. I applied the LH side first as they fit over the door step and ladder openings. Once this is aligned and set, then apply the RH side nose band to align with the LH side.
-
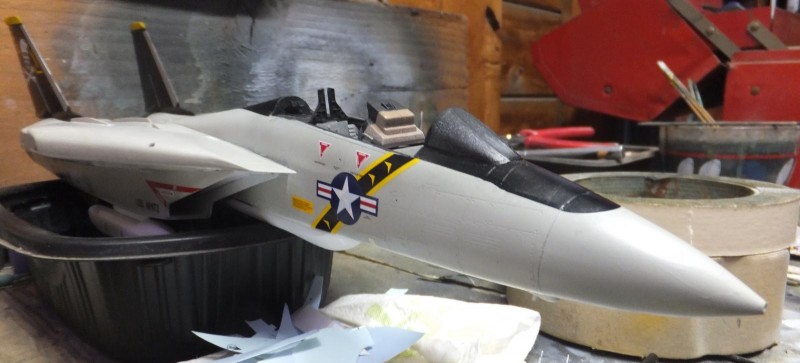
1. Tamiya band decal
2. Vagabond national star and bars
-
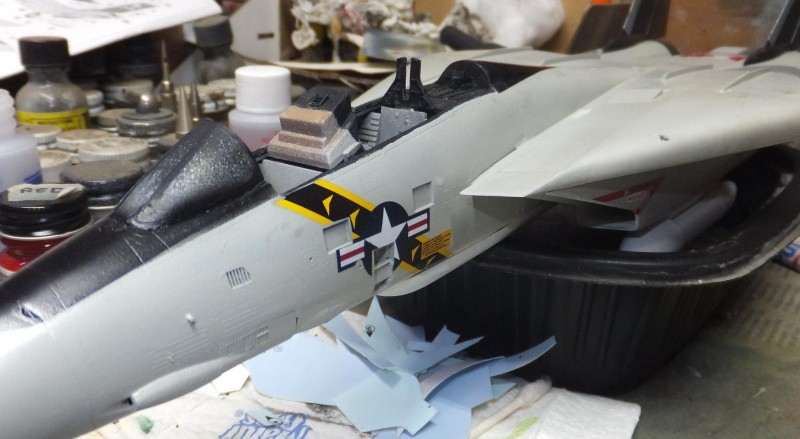
1. Tamiya nose band applied around hatch openings
Finally applying the rest of the stencils and ID markings on the RH side of the nose.
Before going down the LH side of the fuselage to apply the decals, first I masked off and painted the Vulcan gun opening Vallejo Gun Metal.
-
1. Need to mask off Vulcan gun opening
-
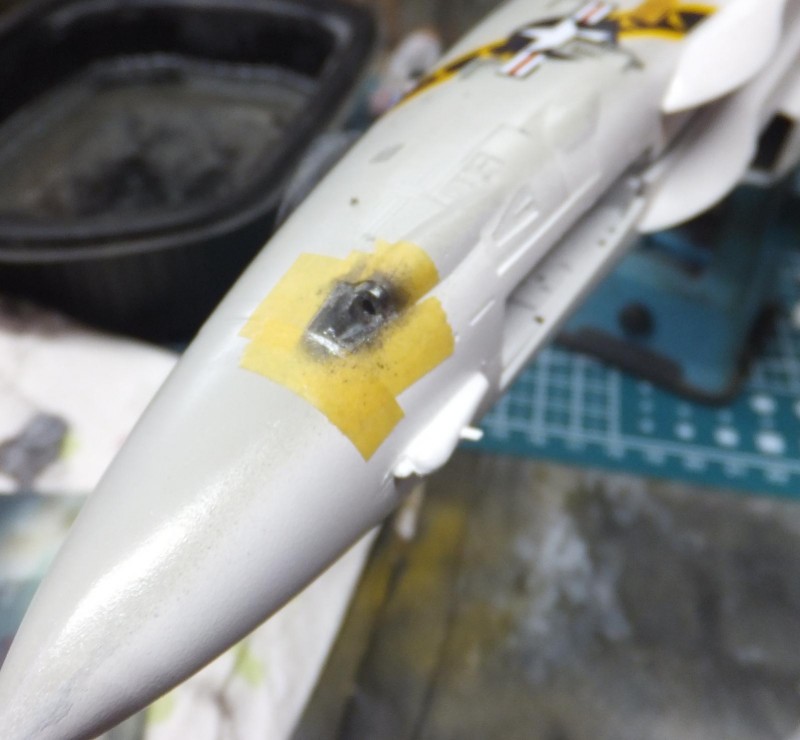
1. Tamiya tape
2. Vallejo Gun Metal
I had first applied the LH side Jolly Roger Graphic straight on the Glossy Black, no future clear coat used on the tails. Yet overnight there was a white residue on the tail around the decals on the paint, but none on the decal itself. Tried washing it off, didn't work.
-
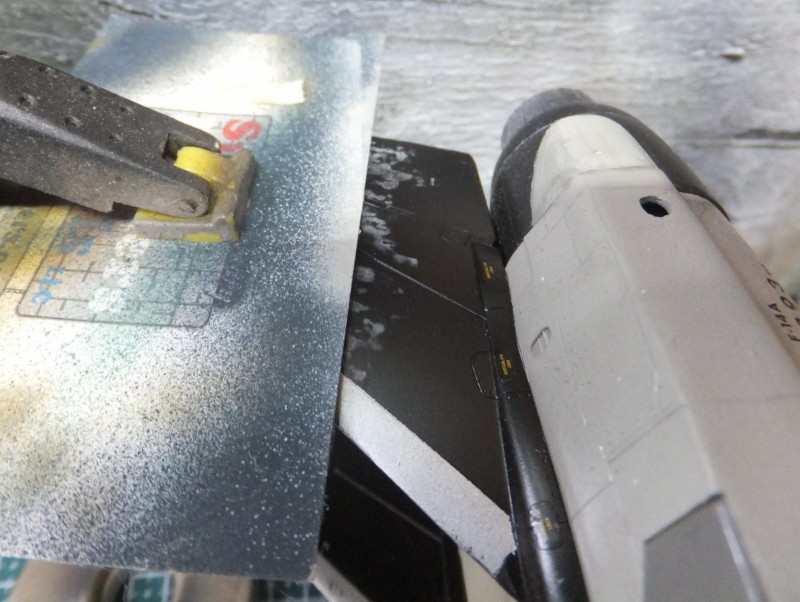
1. White blotches on the Glossy black, there is no future coat on the tail.
So without using any masking tape as it would most likely pull the decal off, I used a business card and a clamp and a light mixture of Lifecolor gloss black carefully repainted the glossy black over the blotches and around the decal, that included the area close to the yellow tip on the tail. (not shown)
-
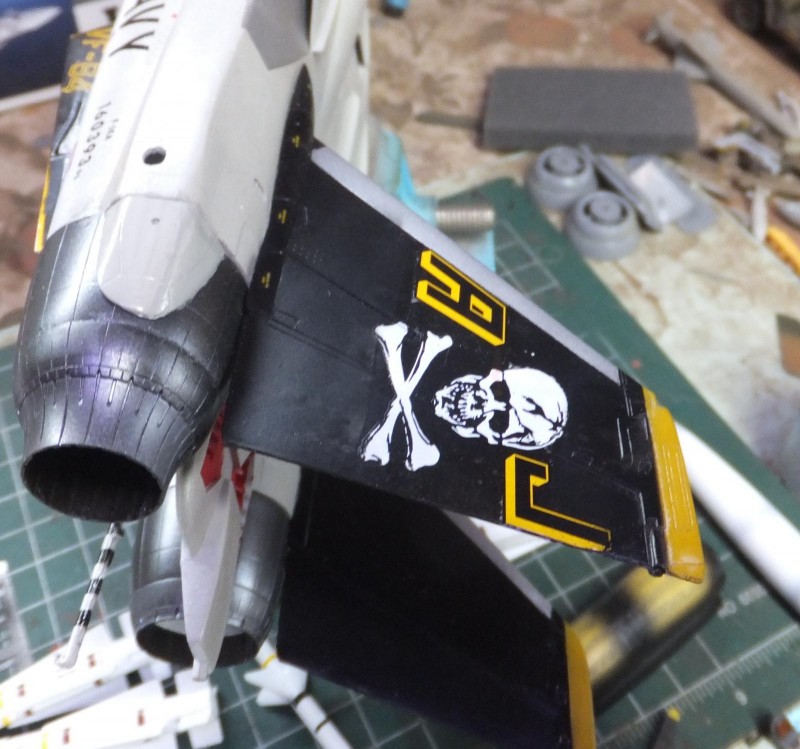
1. This does disappear after a coat of clear is applied
2. This area also with a dash of black repaint
-
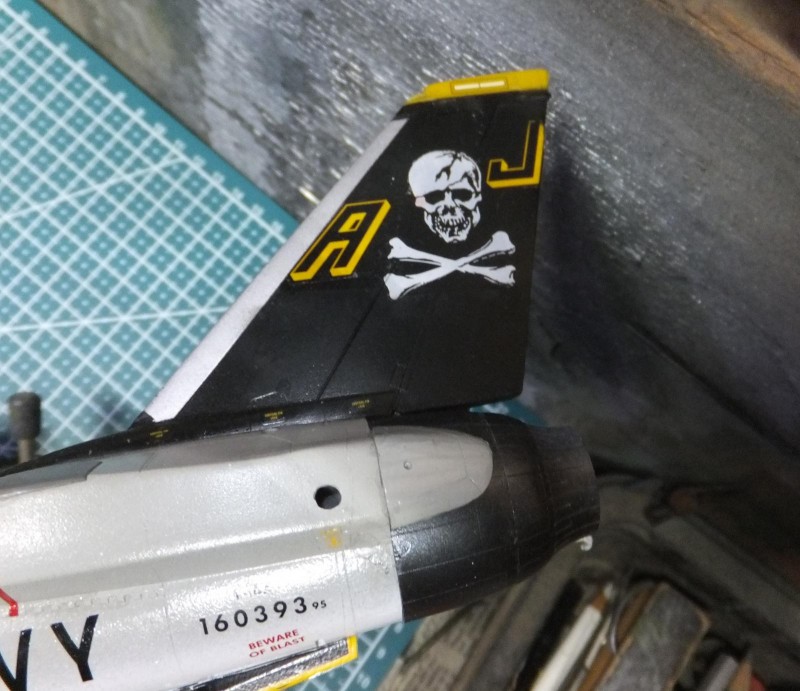
1. Much better after the Future clear coat is applied
All the decals along both sides and lower section is completed. Now next to go over the top.
More to follow.