Now to get started on the 4th and final vehicle in our journey with Kelly's Heroes band of merry men. The White M3 T-19 105MM gun carriage half track.
-
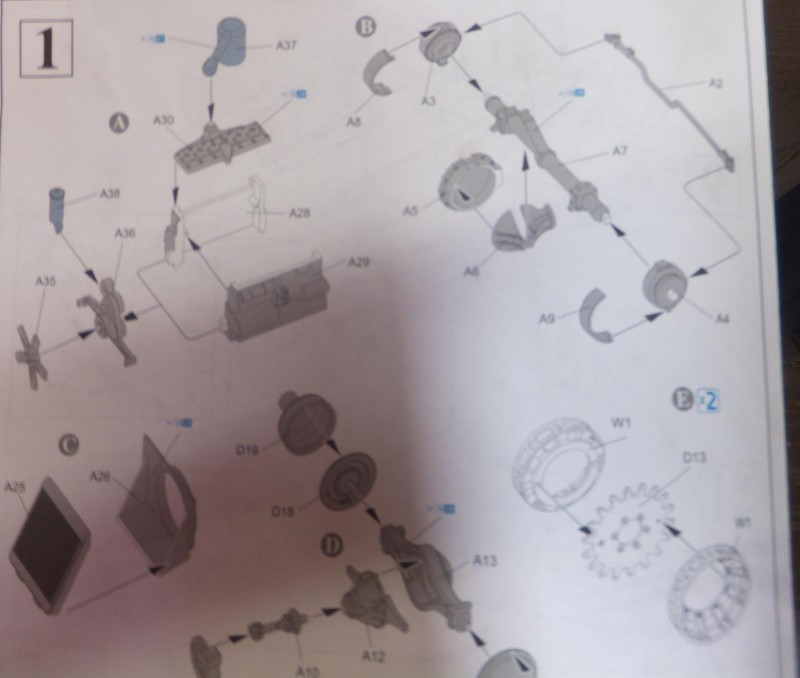
1. Step 1 has several sub assemblies involved
-
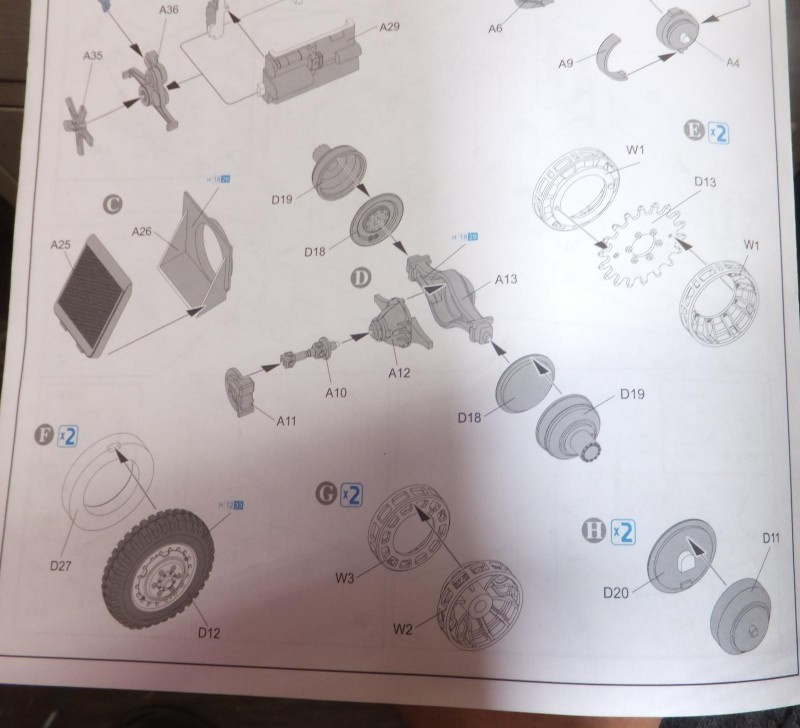
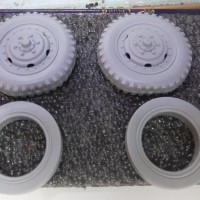
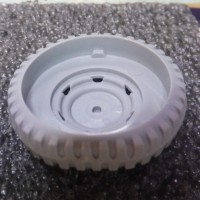
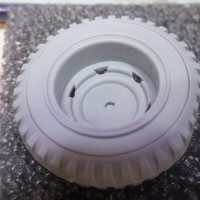
1. Which also includes the rear differential and road wheels
Like a car model, we start with the engine. The flat head 6 cyl 386ci 147 hp gasoline engine is made up of 3 basic parts. 2 pieces of for the block and 1 pc for the cyl head with the intake manifold integrated into the head. Another point is working with grey plastic instead of a shade of OD for a change. Feels different, but as I have built earlier kits in green from Dragon/DML.
-
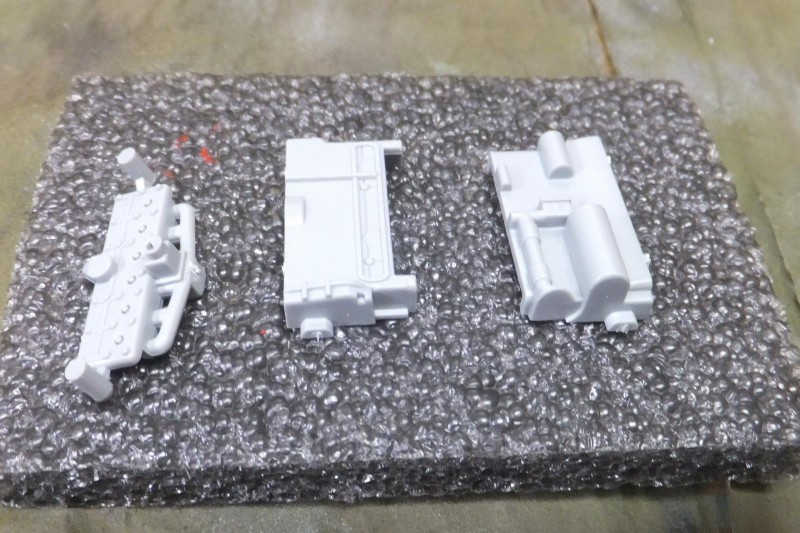
1. The flat head 6 cyl engine
2. engine block halves
3. cylinder head w/intake manifold
The engine goes together well and put aside for painting later as we progress.
The drivebelt, crank pulley, generator, steering pump pulleys as well as the front engine mounts are molded as one piece and details are good here.
-
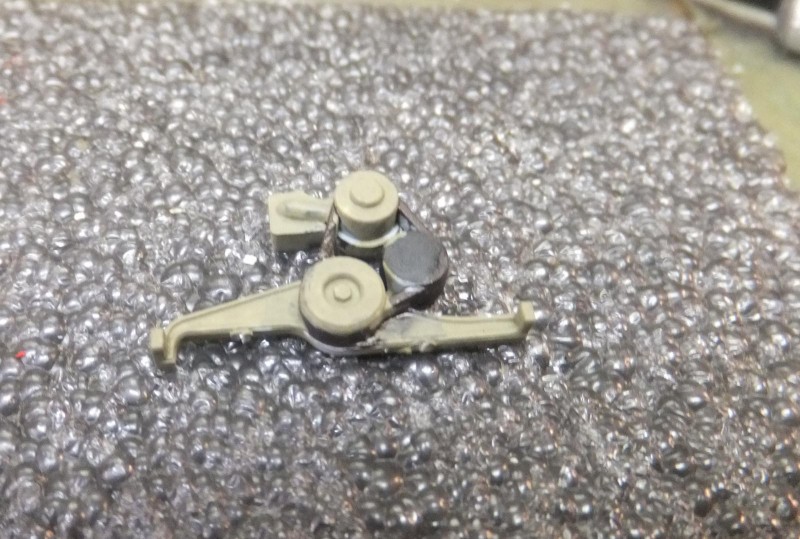
1. LC Od
2. Testors Rubber for the belt
3. Tamiya black for the accessories pulleys
once the paint is dry I attach the drive belt assy to the front of the engine.
Next up is the fan blade. Painted Tamiya Flat black.
Then the engine is painted overall OD, with black accessories. The fan blade is attached. With a pic of the actual engine after restoration
-
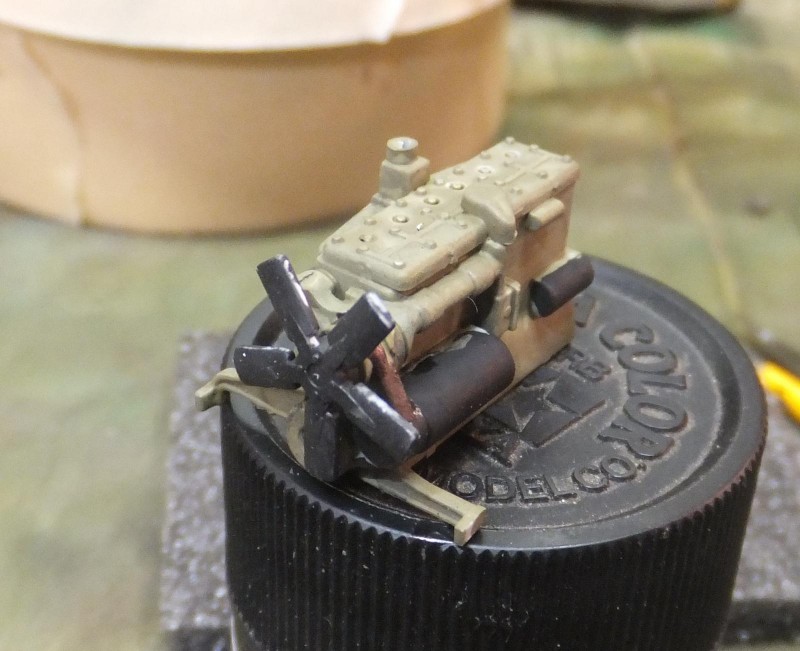
1. Black generator
2. Black starter
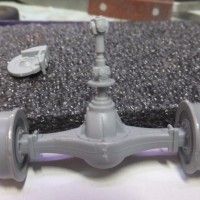
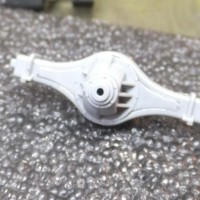
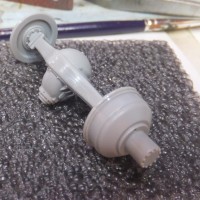
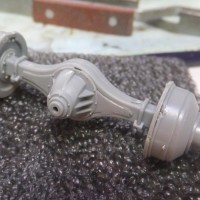
Set that aside and now work on part 2 of step 1. The front differential, the M3 is 4WD, with a rear diff and beam axle for the rear bogies. The diff is made up of 3 pieces, the axle and 2 pieces make up the carrier.
-
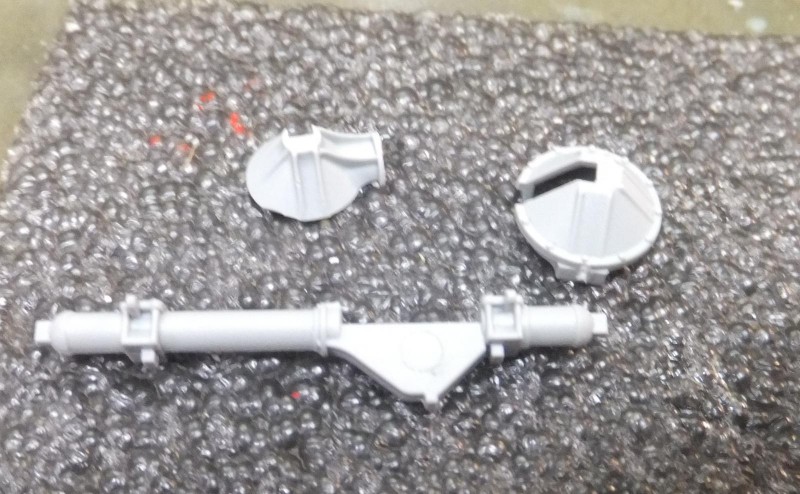
1. Axle housing
2. Carrier
3. Front differential
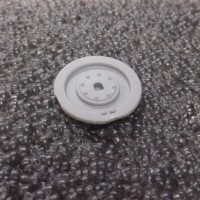
Once assembled, time to add the brake drums and backing plates.
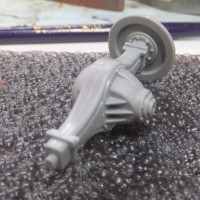
The LH/RH ft drums and backing plates are assembled. And then attached to the front diff. Though they are notched still make sure they are installed correctly for some other components to be attached later on the build.
-
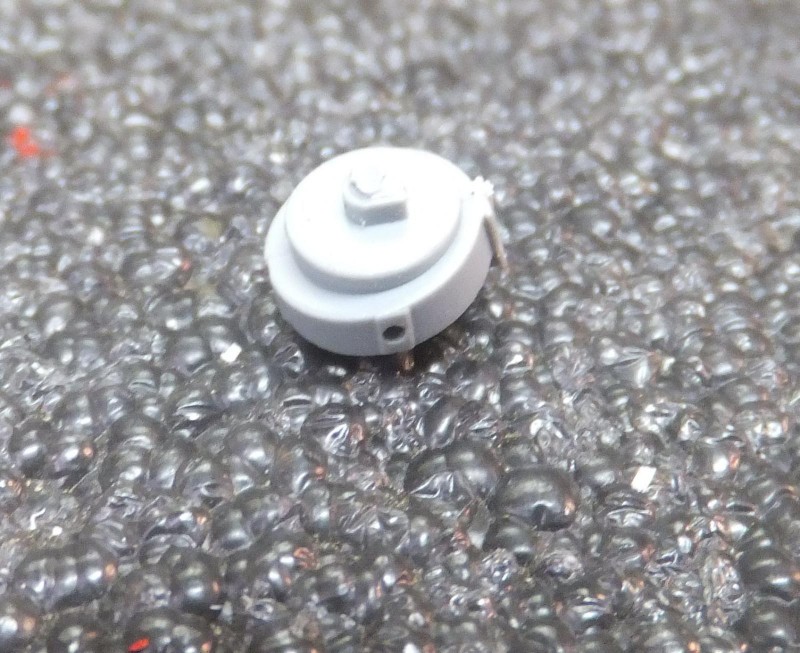
1. Front drum and backing plate
2. locating hole for tie rod assy
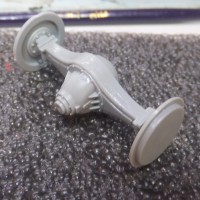
Next up are the shields are attached to each backing plate.
-
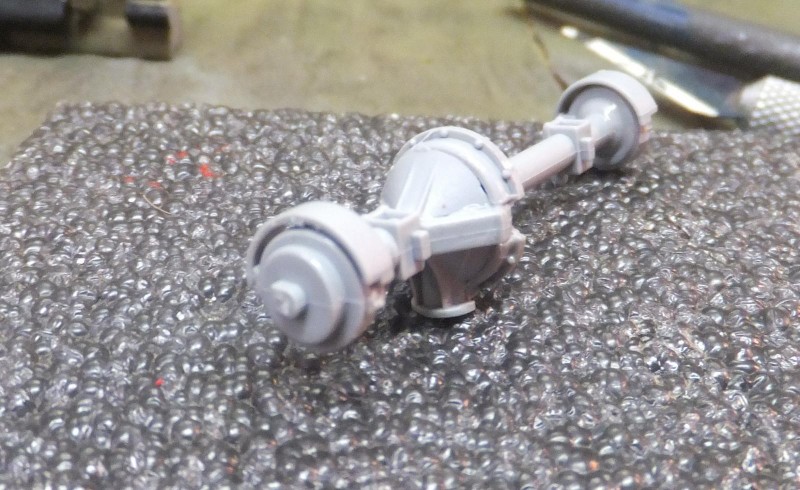
1. Shields attached to each end of the axle assy
Then the tie rod assy is then attached to the front diff.
-
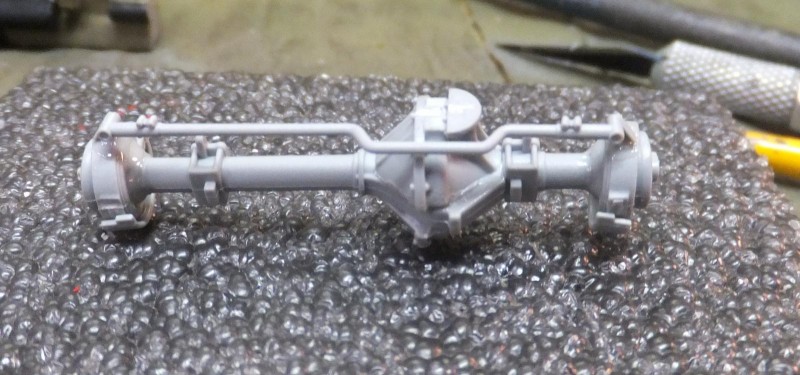
1. Looks busy with all the bits supplied from the kit.
16 additional images. Click to enlarge.
-
1. Air filter housing
2. reservoir tank
-
-
-
-
-
-
-
-
-
-
-
-
-
-
-
