Weekend update. Doesn’t look like much, but quite a bit of modelling transpired over the last few days. Finished the seams on the fuselage, added the rigging to the horizontal stabilizer using piano wire. I was afraid it might look a little thick, but to scale it is close to ¾” diameter which felt about right to me.
Here is the fuselage after final sanding:
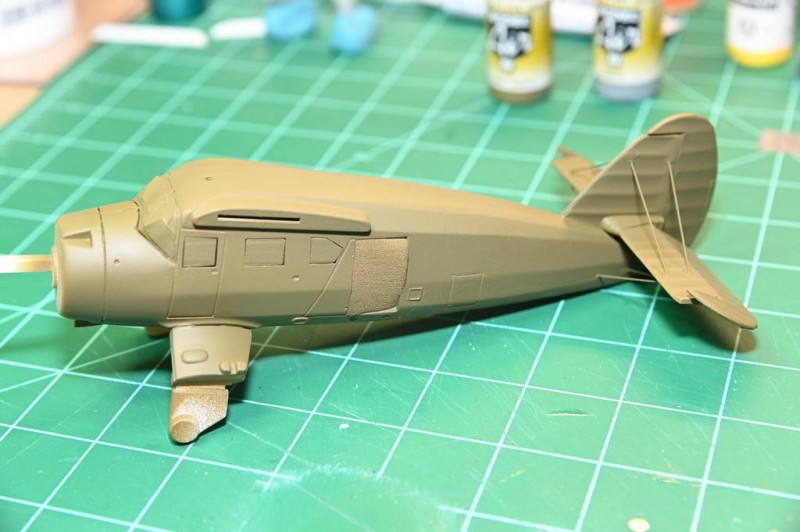
I installed the landing gear struts. The main struts are used in all versions with floats, skis or wheels being interchangeable. I then gave it a light coat of paint. A few imperfections became apparent, but nothing unsettling that cannot be remedied. I also realized that the rigging may become a problem spot when I go to apply the underside paint and the tail numbers. I think I will remove them prior to that and reinstall later.
Here is the fuselage after first coat of paint:
-

1. This piece is interchangeable for Skis, Floats and wheels.
2. Piano wire struts
I also assembled the wings and gave them a coat of paint on the topsides.
Like I said, doesn’t look like much but I did get quite a bit of the sprues off the trees and prepared for paint and installation.
For now, I will concentrate on getting the rudder prepared for its identification stripes and tail numbers. Since there are no decals representing 44-70285, I will be using stencils from Maketar Paint & Masks. This will be my first time using their products.
It may be a week or more before the next update. Next weekend is a big Airshow Weekend here, weather permitting, so I will be away from the bench for that few days.
MTC………James B