Thanks, Spiros and George. I haven't posted for awhile but I have been very busy building and painting. I have more to post on the 109s, below plus the Heinkel. I will also be posting updates on the SuE and Skyhawk over in the Falkland's space, but things are very quiet there so interest may be waning. Oh well. Whenever I build German stuff, I need to work on some Allied content to keep subject matter in balance. I have therefore made progress on my Tempest as well, which I will post in WIP Aircraft. Anyway, I want to keep my posts shorter as I think we are getting spread a bit thin with all the GBs now (at least I am!).
Building the Hasegawa and Revell 109s side-by-side is very interesting. They assemble and paint up very differently. I kind of favor the Hasegawa for simplicity, sharp detail and sturdiness. The Revell kit is much more skill-demanding for fit and clean up. Nice interior details, though. I took a long time and lots of care to clean up a ridiculous amount of flash around the exhaust manifold on the Revell kit.
-
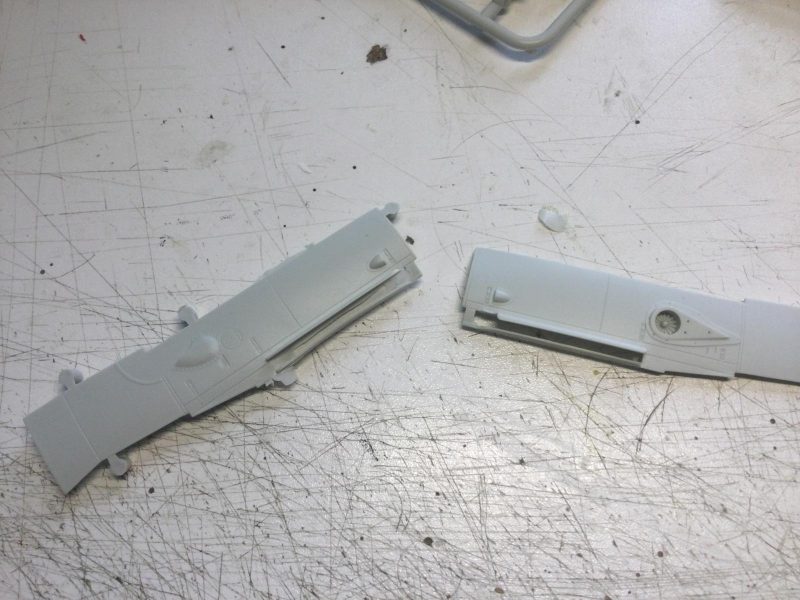
1. Note how both slots are entirely filled (!!) with flash. It was a chore to clean up without destroying detail). I actually had to carefully rebuild some edge with melted flash and resculpt them, in the end)..All good now.
-

1. Just test-fitting exhausts here. Not close to finished in this pic.
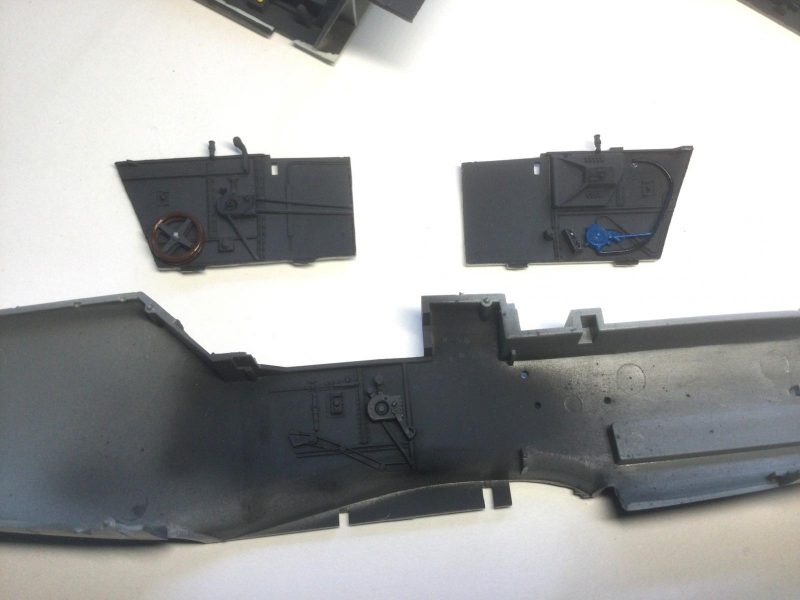
I had to study my Squadron Bf-109G-6 Walkaround carefully as well as the Hasegawa kit to clean up and reshape things after clean-up. All good now, though (final pics on that later). The rest of the work was on the interior. I show some pics of the two cockpits side by side and individually. The Hasegawa kit has details in the fuselage sidewalls and the Revell kit has inserts. Oddly enough, the Has kit actually allows you to insert most of the pit (the floor, seat and IP) after fuselage assembly whereas the more modular Revell pit has to be trapped in the fuselage when it is closed up.
-
1. Hasegawa kit
2. Revell kit sidewalls
-
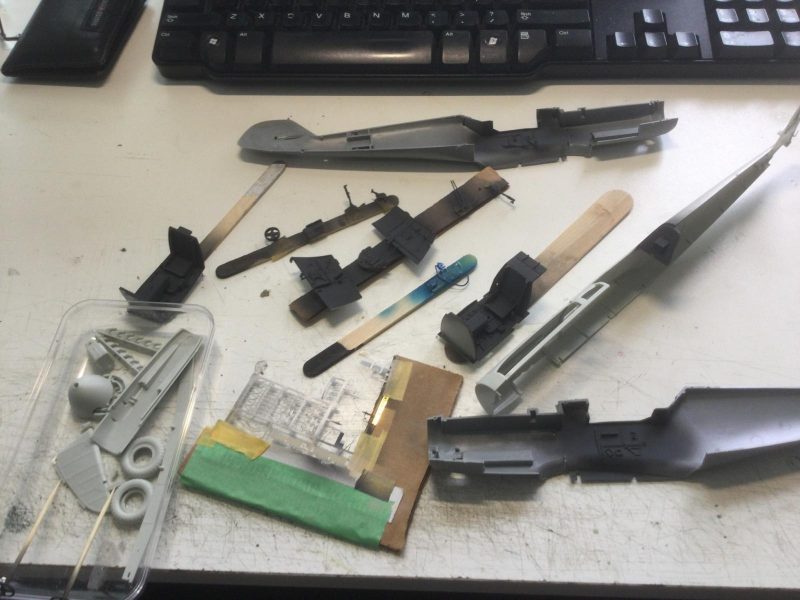
1. Revell kit pit components right after painting and before oil wash
2. Flap adjustment wheels on toothpicks (not ski poles!)
-
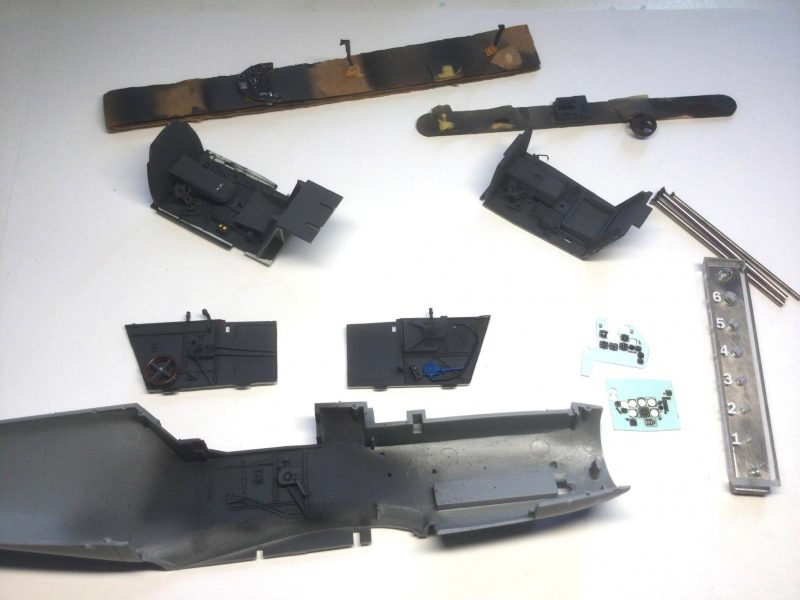
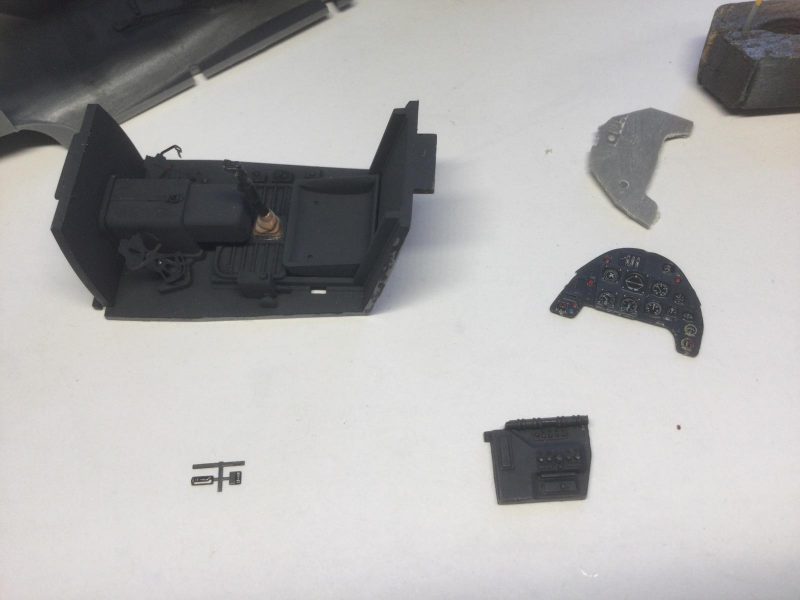
1. Cockpits of both kits after oil wash and etch rudder pedals added
2. Evidence of how I punched out the dials for the Revell kit IP (using both Has and Revell dials)
-
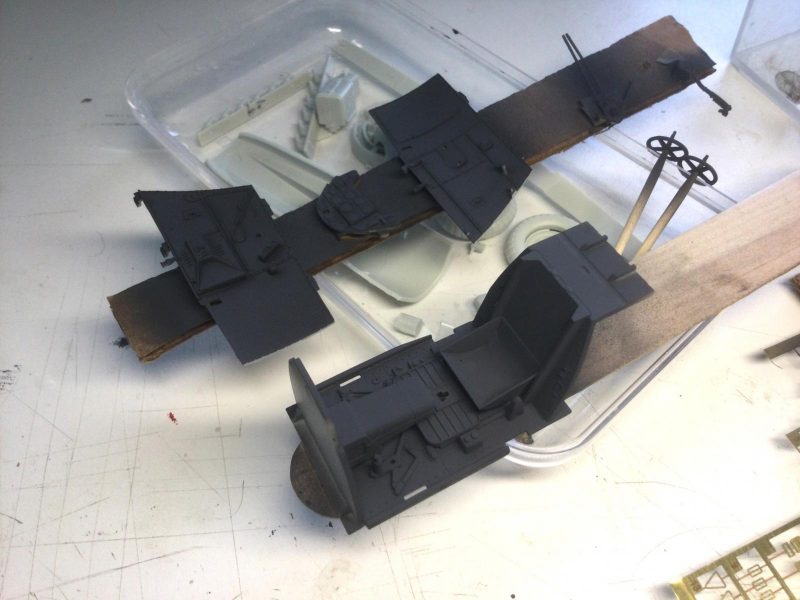
1. Revell sidewalls compared to hasegwas sidewalls after oil wash and details assembled (partly)
-

1. Better shot of how the oil wash brings out detail in a very dark pit.
2. Decal added from kit bits
3. Etch rudder pedals added from Eduard seatbelt set.
I have painted and weathered both pits in a layering of Flat Black, Tamiya German Grey for RLM-66, and highlighting with oil wash.
-
1. Better shot of how the oil wash brings out detail in a very dark pit.
2. Decal added from kit bits
3. Etch rudder pedals added from Eduard seatbelt set.
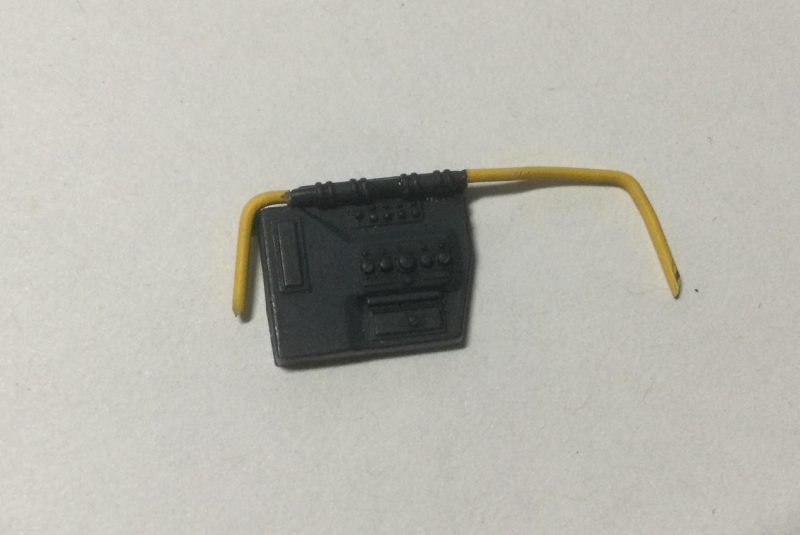
I did the details for the fuel line in Flat Yellow and the Oxygen regulator system in a darkened X-4 Blue. For the Revell kit, I did the IP from the kit part by punching out the dials and applying them with tweezers. a drop of Future for each dial also helped. Slow work but it paid off.
You can compare the results with the Yahu panel I will use for the Hasegawa kit, which only has five pieces (two main pieces and a few tiny details.
-
1. Yahu panel for Hasegawa pit super nice and super easy to put together - less modeling skill involved, though.
. I have done the set belts and harness for the Revell kit, using Eduard generic Luftwaffe belts, which had to be painted. I may weather them further but I am glad to have them in and secured; they are very springy and hard to get to sit right!
-
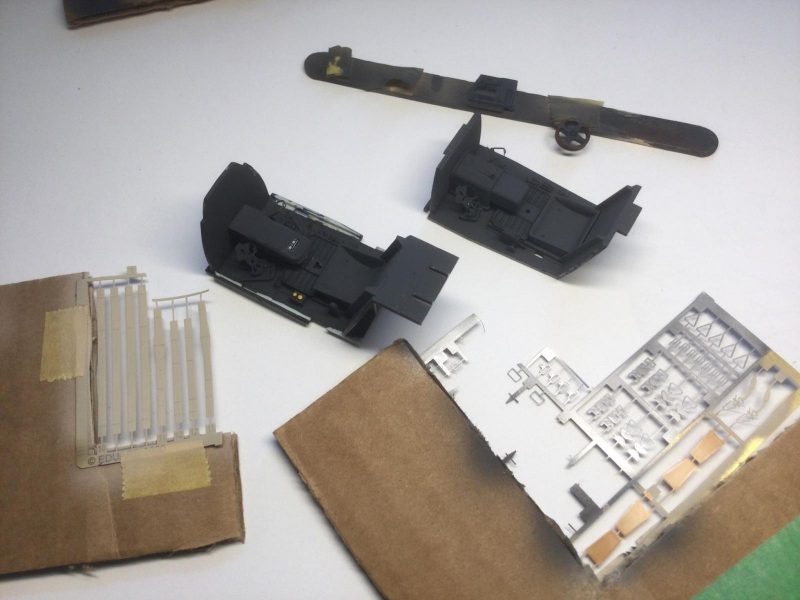
1. Seatbelts from gerenric Luftwaffe set after painting and metal coating parts on the frets
. I added some wiring made from magnetic coil wire, painted white on the starboard fuselage half.
The Revell kit has a fragile transparent piece for the fuel line which goes over this.
I had to do some surgery on it so it wouldn't block the view of some IP dials but results were good in the end.
I had to create a similar fuel line for the Hasegawa kit with stretched sprue.
The transparent window section in the fuel was simulated on the Has kit with a drop of Future.
-
1. clear window added by overpainting RLM 66 with Future here.
I add painted details tomorrow before installation.
That's it for now. I will add wiring and oxygen system details to the Hasegawa pit tomorrow. After that and adding tail wheel bits., I will probably be able to get both fuselages closed up. The Revell kit will need a lot of filling and sanding as the nose panels do not follow panel lines (sigh). The Hasegawa kit will be MUCH simpler from here on. I hope having these side by side isn't too visually confusing. I have found it quite helpful so far. Comments welcome.
1 additional image. Click to enlarge.