Thanks, Jorge (George) ha ha. I guess my last name does suggest "Pedro" rather than the rather Anglo-Saxon Colin. Anyway, I appreciate your kind comments. Patience does indeed pay off in this case.
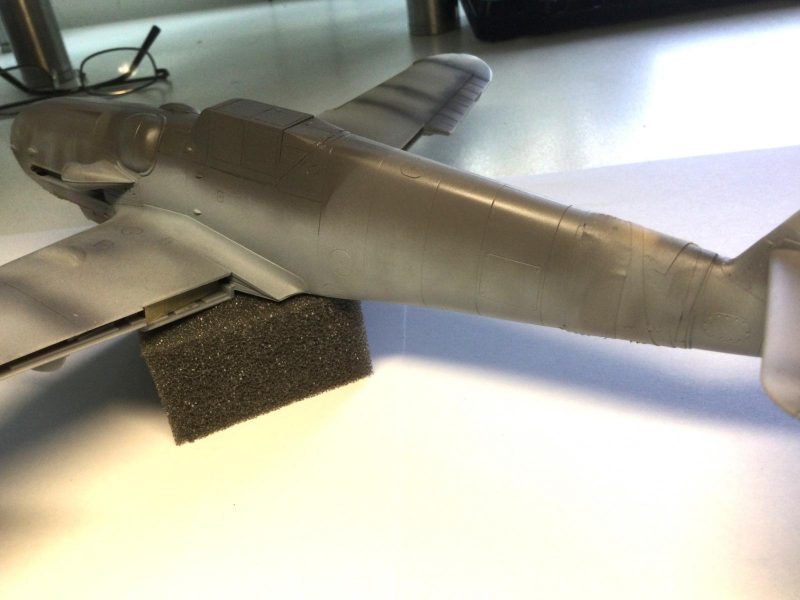
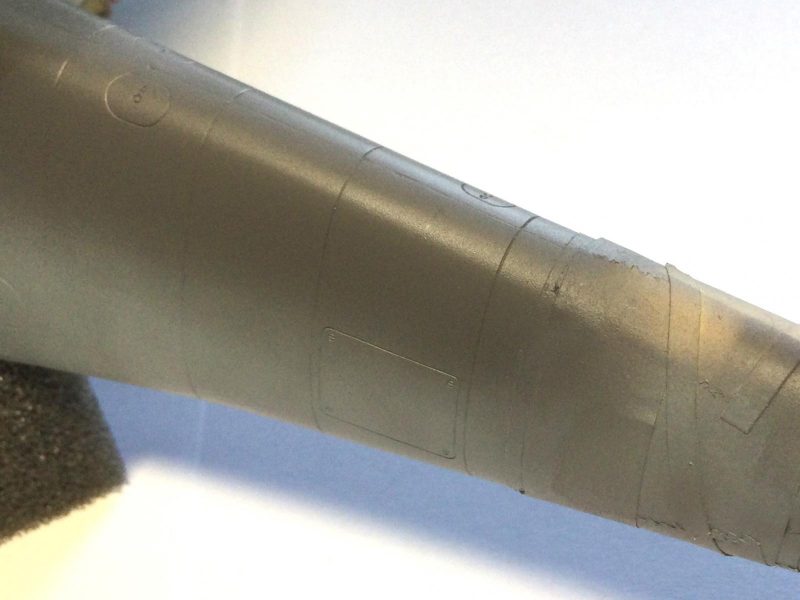
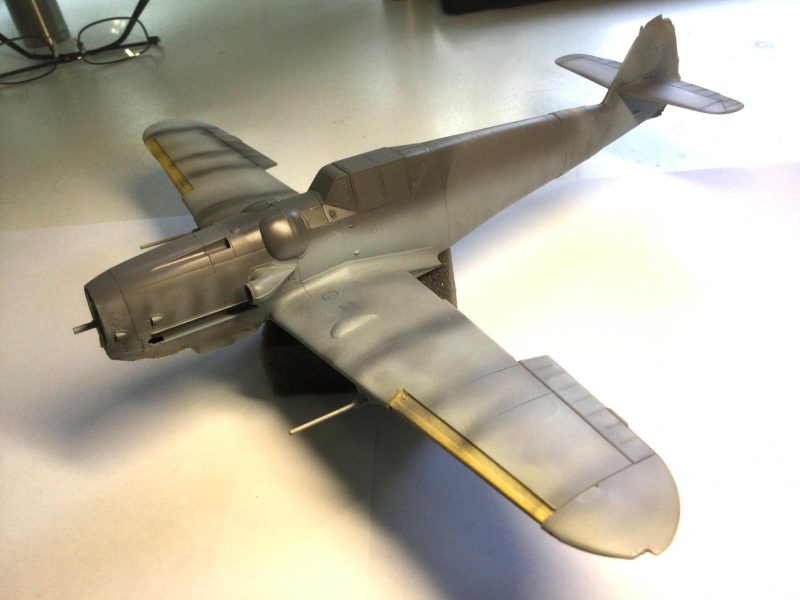
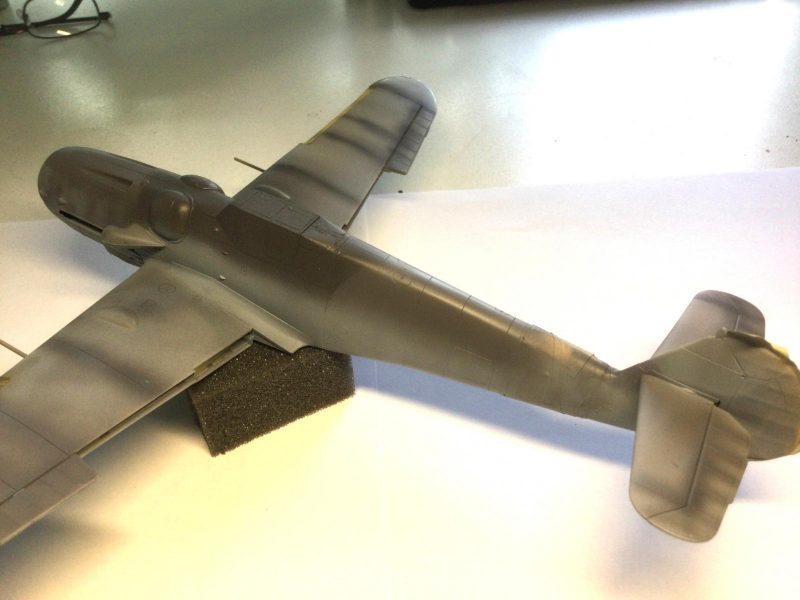
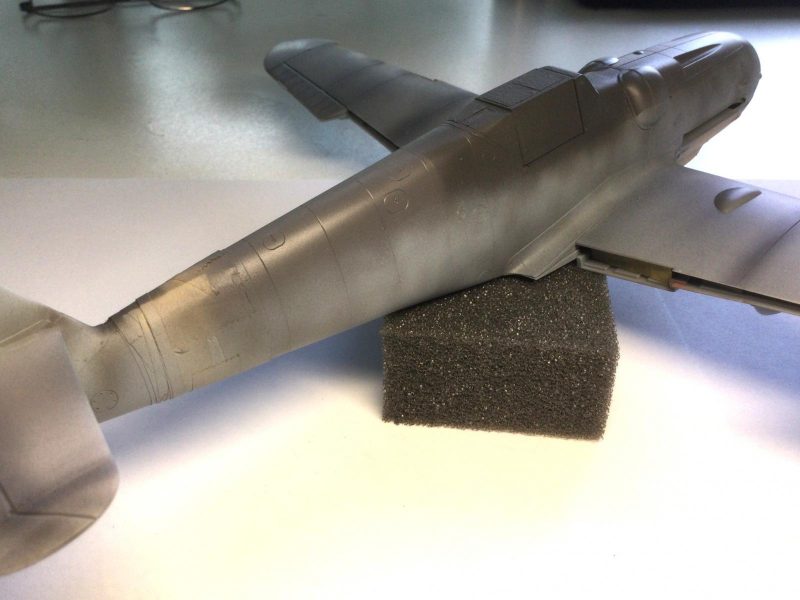
I finally fixed the blemish and also enhanced the accuracy of the camo a bit in the process. Following Bill Koppos' excellent advice, I easily removed the paper fibers with a moistened finger tip. I elected to follow this up by carefully polishing the affected area using a three part nail buffer. This helped to eliminate a bit of residual unevenness in the paint. I then resprayed the RLM 75 to further smooth things over. I am very happy with the results, which pretty much erased my error. After studying the Eagle Cals sheet photo of 3 JG 53 109s, I decided to respray the RLM 76 areas again, adding a drop of flat white to heighten the contrast with the 74/75. I am happy with the softness of the demarcation line and the very subtle mottles - almost non-existent below the canopy.
-
-
-
-
-
-
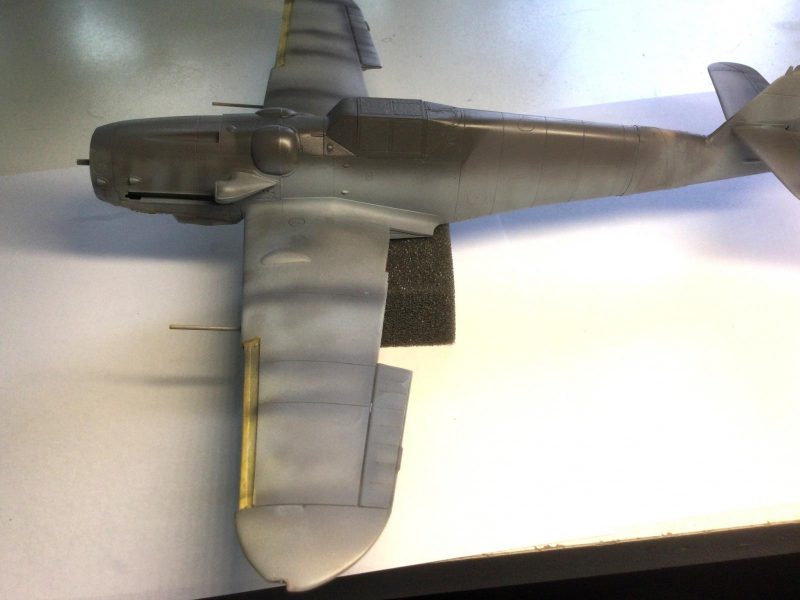
The darkest area is clearly the cowling in all pics of real JG 53 aircraft and I think I have captured this pretty well. The three pics of Hammer's bird that I have (taken earlier in Italy) are not so clear in mottle details but later JG-53 aircraft share a lot in terms of how the camo is done. I will be doing quite a bit of weathering later on, such as heavy exhaust staining and darkening of the panel lines with oil wash technique with post shading, so I am good with leaving this stage as done. Next up will be to let the fuselage color cure before masking and doing the wings and tail. I hope this looks good to you. Happy modeling.