I haven't posted in a while. Life gets in the way, sometimes quite dramatically. I have some progress to report on the Bf-109s that is perhaps worth sharing. Here goes.
I have carefully sanded down all the gaps and joins on both models. The Revell needed a lot more work because of the cowl panel line corrections and the care necessary to getting the resin cannon bulges to fit well. Both challenges met with good results but I had to do some delicate rescribing to restore the fine inspection panel lines for the engine.
-
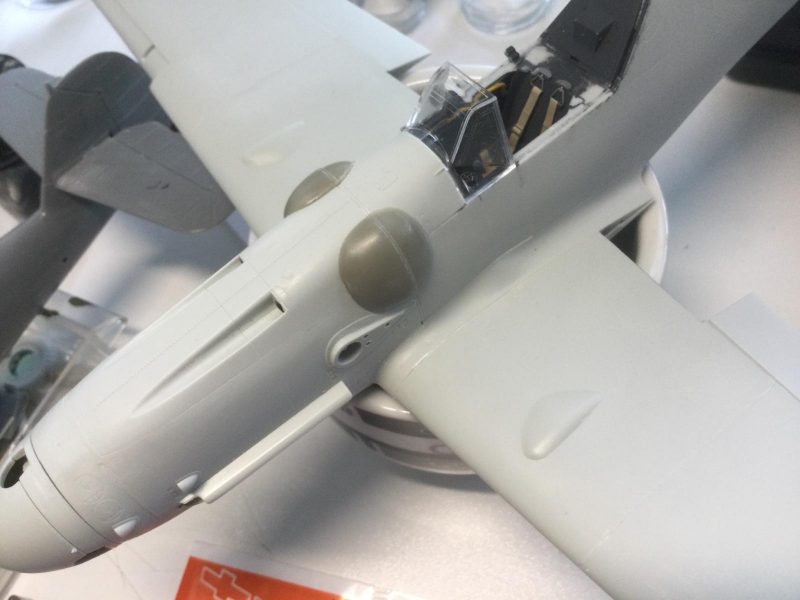
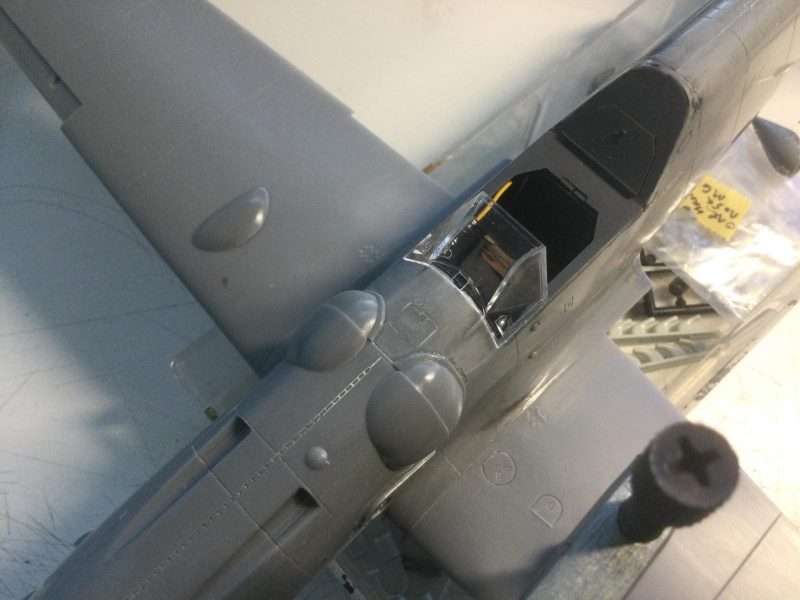
1. The resin cannon bulges fit perfectly. These are esaential to rep[lace the kit bulges, which are way too flat.
I also fixed the ugly gaps in the decking around the cockpit, where Revell has so many joints from intersecting panels. I noticed that many online builds have the canopy closed and I suddenly understood why.
-
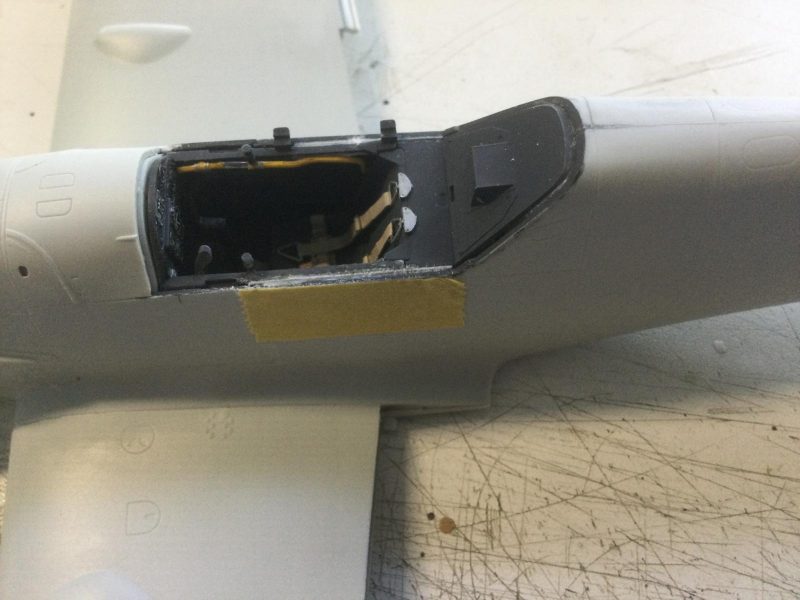
1. Stretched sprue filled gaps. Masking tape prevented over sanding and distortion of the square flat shape of the deck.
I initially worried that filling and sanding these joints would distort the flat area of the deck. However, I filled the gaps with stretched sprue, welded in with liquid glue, and sanded with great care, removing the tabs for the open canopy in the process.
-
1. I cut these mounting tabs off finally. They do not represent the way the open hood attaches to the deck accurately. They also get in the way of sanding.
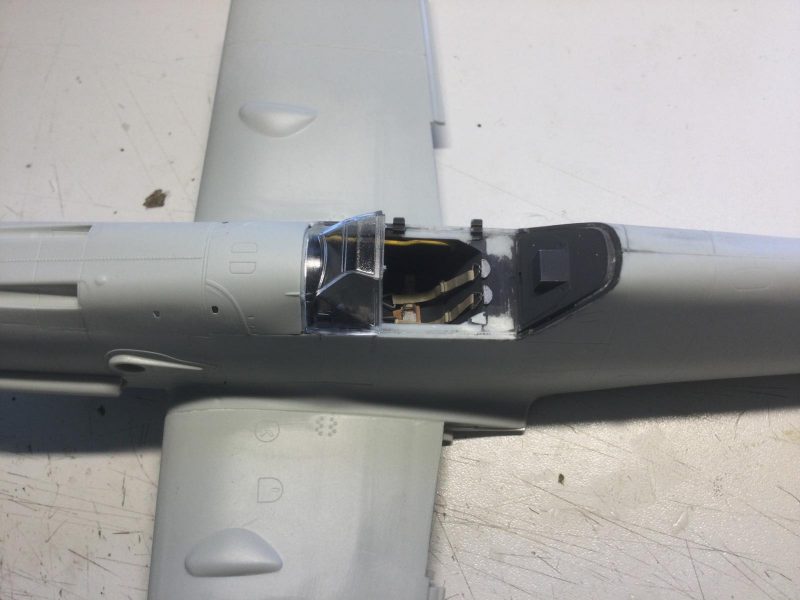
All this was successful, so it shows it can be done. All that remains for this problem area is repainting. I will mask the canopy and use it so to seal off the cockpit area before major painting starts.
-

1. Fit of canopy is good after sanding of deck - this will aid the painting process.
It is interesting how different the two 109s looked in outline until they were more built up. The Revell kit has some excellent movable control surfaces for the wings and tail section which fit tightly. The ailerons and all tail section surfaces on the Hasegawa kit are molded on. Now that the two models are lined up with more done, they look much more similar than before in the wing area and overall.
Of course, I am doing the Revell as a late tail version, so that's a contrast. Speaking of the tail, one odd bit of imprecision I had to fix was the asymmetry of the mounting point for the horizontal tail.
I had to sand it down quite a bit on the starboard side. Here is how it looked before it was corrected.
While the Hasegawa is a much easier to construct OOB, I've complicated the build by adding the Eagle Parts corrected spinner and Barracuda cast cannon pods. This is my second try with this spinner, having messed it up somewhat a few years ago ago on a failed 109K build. This time I created a masking tape barrier to avoid sanding away too much resin when removing the casting plug.
-
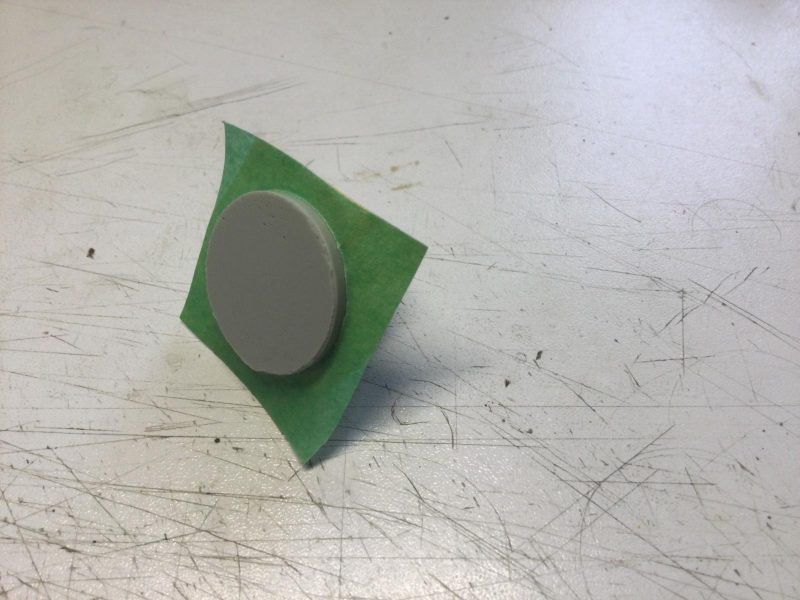
1. Masking tape barrier prevents over sanding and distorting backplate of spinner.
-
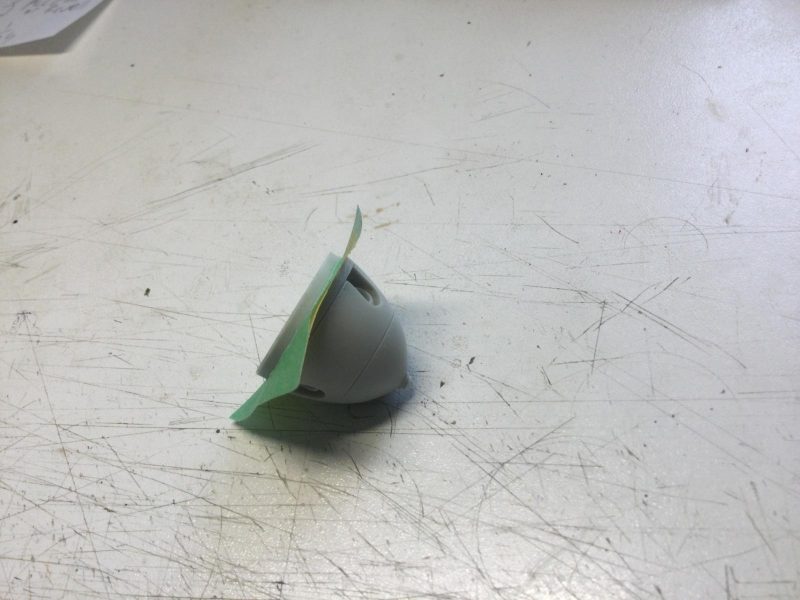
1. A lot of thickness to sand off in the excess resin.
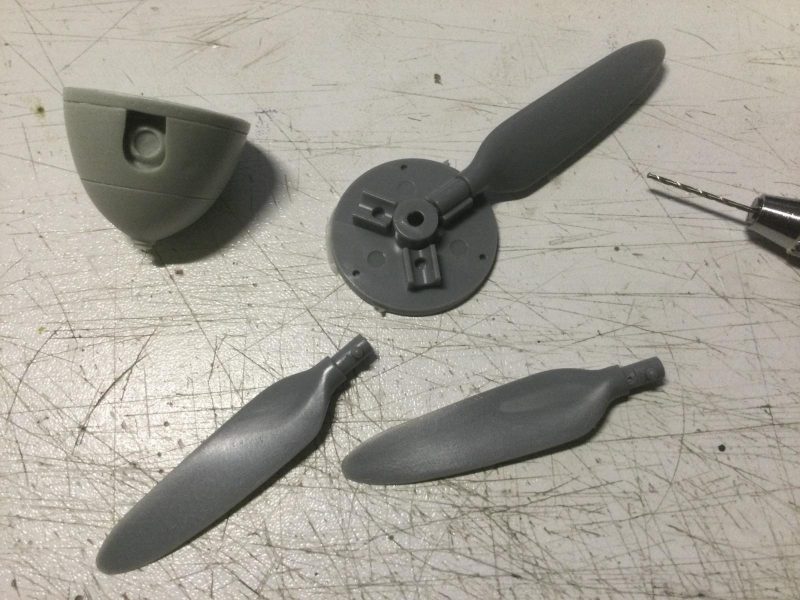
This worked well. I was also super careful drilling the hole in the back of the spinner for mounting. Finally, I took most of one day drilling out the holes for the prop blades, which also need to be trimmed a the base to fit at the right depth in each resin collar in the spinner. I did this so that they would be a tight friction fit and also so they would align precisely (drilling a tiny hole in each blade base to check alignment).
-
1. checking the blade angle using the original bake plate
2. Drilling a hole in the blade base to visually align the blade in the new spinner.
-
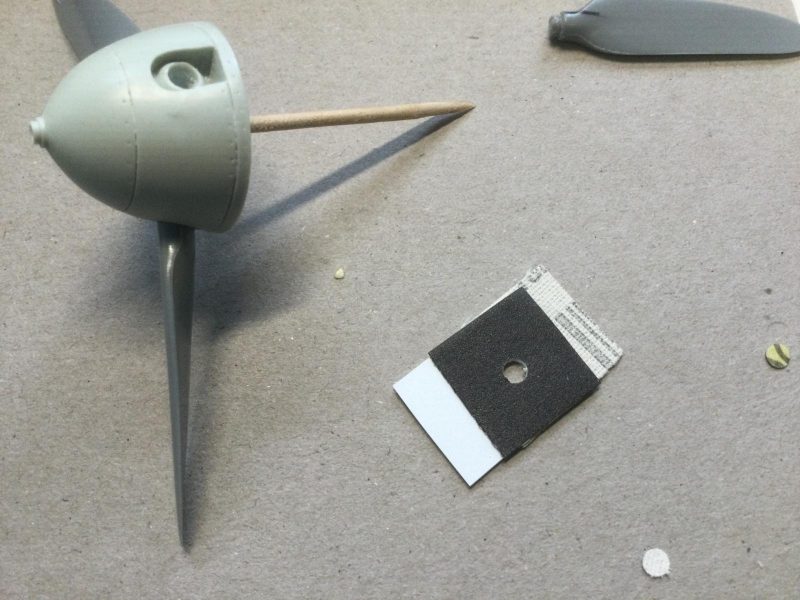
1. Drilled out hole to friction mount each blade.
They can now be removed, painted separately and refitted at the precisely correct angle near the end of the build. Of course, I will want the spinner to be free of blades when painting the spiral and doing other work. The cannon pods are nicely detailed but each was damaged at the ends in the package, missing some fine bits of resin. I replaced the bits with ultra-thin styrene sheet glued on with super glue/accelerator and sanded to shape. They look quite good to my eye now.
-
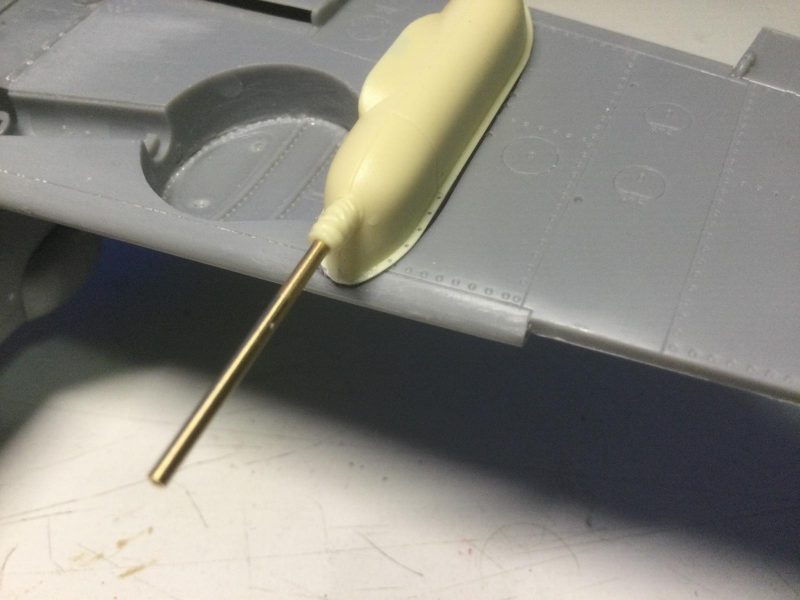
1. Fixed (invisibly) here with styrene graft.
2.
Here are a couple more comparative pics of the overall Hasegawa build with fit of cannon bulges, rescribing after sanding, etc.
-
1. The Hasegawa kit has no issues with the deck here but the build process intreferes with installing aftermarket harness until later. I will add this just before sealing up the pit for painting.
-
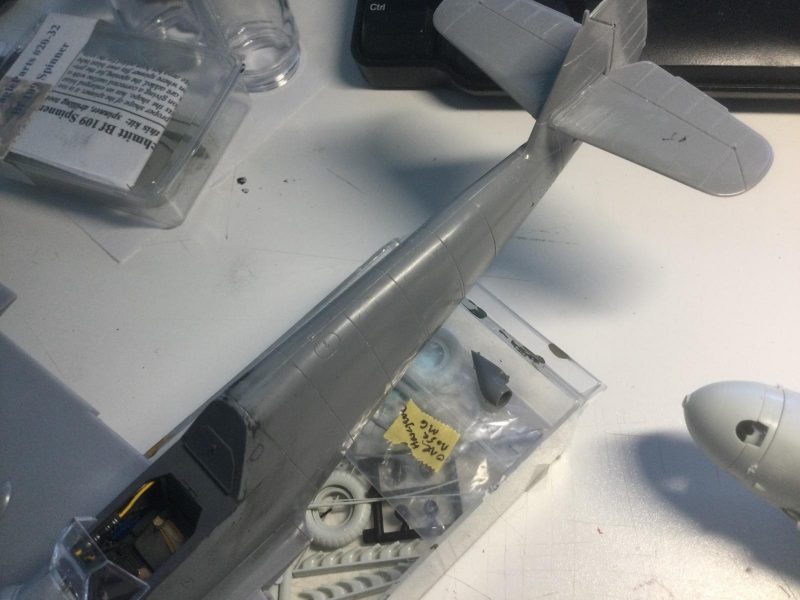
1. Rescribed panel line on spine and belly of both models.
As a final fiddly bit of work, I decided to drill out the exhaust stacks - just on the Hasegawa kit for now. This is a VERY time consuming process and I am not sure worth the effort, given that the exhausts are pretty much hidden under the exhaust deflectors. The pics show the process of drilling out tiny holes with a pin vice drill, which are then joined up by chipping away the material between the holes with the drill and a No.11 X-Acto blade.
No pics of the final results but I will post more when they are painted to show the full effect.
That's it for now. There is little to do now before major painting. This will include some more surface details to add, painting and fitting the gunsights, masking the canopies and sealing up the cockpits. I also have a big pile of wheels and gear legs to all ready to paint for the 109s, Heinkel and Stuka, so assembly will go quickly after major painting.
That's it for now. Please excuse the endlessly deferred painting process. Although build process can be tedious, I think it is worth noting the challenges of each kit and how they can be met. Thanks for looking.