Hasegawa 1/48th Grumman F6F-5 Hellcat, USN

Started by Chuck A. Villanueva · 55 · 6 months ago
  • Profile Photo
    John vd Biggelaar said 10 months, 1 week ago:

    @uscusn, not sure what they were in the 90's, but I can assure you that they are at a high level right now.

  • Profile Photo
    Chuck A. Villanueva said 10 months, 1 week ago:

    Now to finish up the cockpit. Starting with the instrument panel, assembling the lower center panel to the IP.

    The seat has moulded in belts, which I painted back on the original -3 build. This time around almost 30 year later, using Eduard's PE belts. First attaching the RH lab belt. Let it set.

    While the RH seat belt set, I work on the RH side fuselage by placing a switch control box on the RH cockpit wall.

    The RH 1/4 window is then installed in place on the RH fuselage. The PE control switch panel is placed over the box on the Right cockpit wall.

    Eduards provides a PE document/map pouch which will be placed on the LH side cockpit wall.

    The rudder pedals are then placed behind the lower center panel. The PE gauges and switch panel has also been attached at the front.

    The LH lapbelt is then attached to the seat and then dinged up with silver pencil. Then installed into the cockpit.

    Now the shoulder harnesses are attached.

    The completed IP is next up and placed on the location slot on the cockpit floor.

    Finally the LH side console control panel is assembled and installed into the cockpit, thus completing this portion of the build.

    Next up is to install the cockpit and button up the fuselage.

    More to follow...

  • Profile Photo
    gary sausmikat said 10 months, 1 week ago:

    Moving right along and looking good, Chuck.

  • Profile Photo
    Spiros Pendedekas said 10 months, 1 week ago:

    Looking superb, my friend @uscusn!

  • Profile Photo
    Eric Berg said 10 months, 1 week ago:

    Great looking cockpit!

  • Profile Photo
    Ceto 3D Art said 10 months, 1 week ago:

    I really like the progress made on that copckit! @uscusn

  • Profile Photo
    John vd Biggelaar said 10 months, 1 week ago:

    This cockpit is looking really great, Chuck @uscusn

  • Profile Photo
    Chuck A. Villanueva said 10 months ago:

    Thanks Gary, the Hase Hellcat is a nice change of pace for a hassle free build. The details are good and the PE helps the interior.
    Thanks Spiros, plugging away.
    Thanks Eric, Frederico and John, the basic cockpit from the kit is good out of the box, but I like to make it pop a bit with a zoom set from Eduard's a set that did not exist when I build the -3 back in around the turn of the century, weird writing that.

  • Profile Photo
    Chuck A. Villanueva said 10 months ago:

    With the interior completed, time to install it and assemble the fuselage. Leaving the tail wheel and exhausts off for now.


    Once the interior is finished the rest of the build is quick. Next the wings

    First to open up the holes for the centerline drop tank
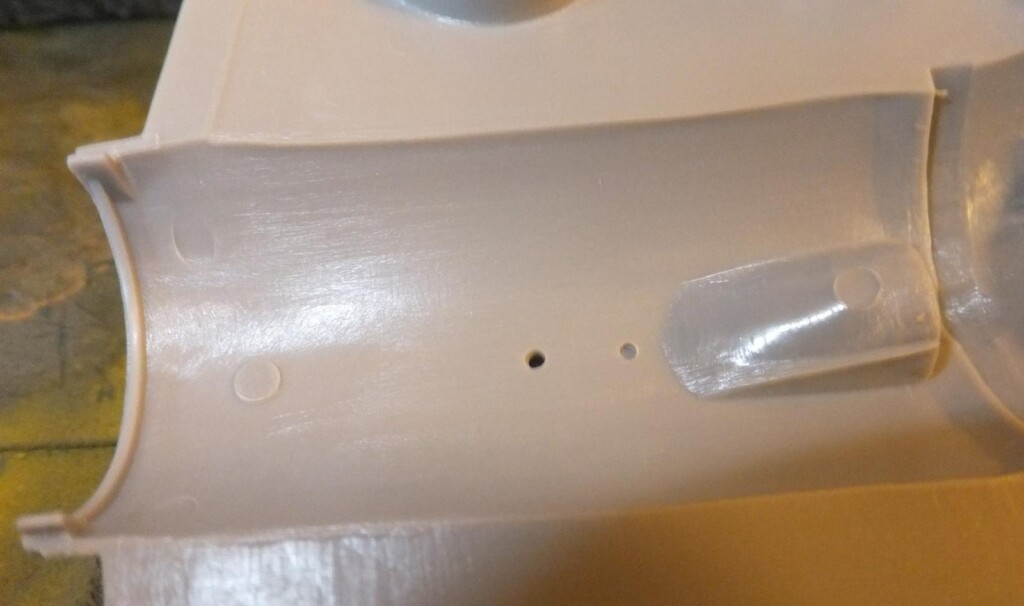
    Next he upper wing panels are trimmed and placed loosely over the lower wing panel.

    The wing assy is then installed to the fuselage, what is nice is the upper wings join to the fuselage inserts under the fuselage sides, eliminating any seam, just paying more attention to the lower wing to fuselage contact point where a bit of a step may occur. In this case a great fit and a seam easy to clean up.
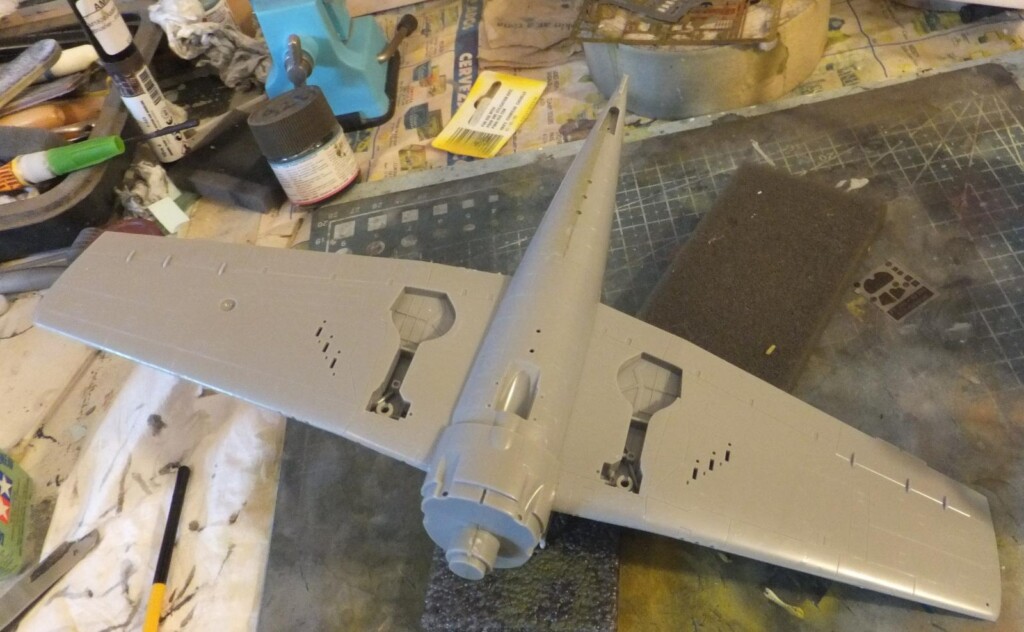
    Next to assemble the horizontal tail/

    Here will just assemble and install the horizontal tail. Made up of 4 parts, with the elevators moulded in place, you would have to cut them off if you wish to display the deflected in the down position.

    They slip into the slots on the rear fuselage, not a very tight fit so careful to not let them droop down as the cement sets. Good fit, and now we have a Hellcat taking shape.

    Next is to install the engine, exhausts and cowl,

    more to follow.

  • Profile Photo
    Spiros Pendedekas said 10 months ago:

    Looks awesome so far, my friend @uscusn!

  • Profile Photo
    John vd Biggelaar said 10 months ago:

    Progressing nicely, Chuck @uscusn

  • Profile Photo
    George R Blair Jr said 10 months ago:

    Great-looking Hellcat, Chuck (@uscusn). It looks like a really clean build, and the cockpit looks awesome. Looking forward to the paint and decals.

  • Profile Photo
    Chuck A. Villanueva said 9 months, 3 weeks ago:

    Thanks Spiros & John, once the cockpit is finished, one of the things I like about Hasegawa's WWII kits, is how rapidly they go together.
    Thanks George, after several long term complicated builds, nice change of pace on a nice straight forward yet well detailed kit.

  • Profile Photo
    Chuck A. Villanueva said 9 months, 3 weeks ago:

    Now to assemble the P/W R2800 radial engine. The firewall and rear row of cylinders are attached to the front of the fuselage.

    The front row is next to install over the rear set of cylinder and crank case.

    The crank case is painted Med Grey. Before assembling, the poly cap is first inserted then assembled.

    The kit engine despite it's simplicity is detailed enough to be adequate once it is assembled. A bit more weathering will enhance a bit more.

    The exhaust stacks are painted Gun Metal.

    Then attached to each side of the front fuselage and a set under the airframe. They seem a bit long?

    The interior of the cowl is Interior Green, and the fit is excellent when attached in place.

    Next work on some minor clean up of the seams, assemble the drop tank, and the canopy.

    More to follow.

  • Profile Photo
    Spiros Pendedekas said 9 months, 3 weeks ago:

    Superb job so far, my friend @uscusn!