I was absolutely sure yesterday that everything was ready to start adding the resin to the fuselage. I made it a point to read, and re-read, the instructions. I did one last trial fit and managed to snap off the forward part of the fuselage on one side. It glued back perfectly. The plastic on this kit is very thin, so I obviously need to be more careful. There were some areas that needed more thinning, so very carefully the plastic was thinned. Just as I was getting ready to commit to some glue, it occurred to me that the inside of the upper fuselage would be visible and needed some paint. It was today before I really and truly had everything ready to go. The test fits were good and I was tempted to try and glue the resin into the fuselage while the two sides were taped together. The instructions tell you not to do that, rather you are supposed to glue the resin to one side of the fuselage and then glue the sides together. Trying to hold the pieces in place is a lot like herding cats, and there is a lot of room for error. I decided to glue the resin pieces first using some AK PVA glue that is very thick and sticky, and then use super glue when I was sure everything fit. This glue worked well to glue the first bulkhead in place. Once that dries, I will start adding other pieces. Happy Fourth of July to all of you who celebrate the holiday. Cheers.
5 attached images. Click to enlarge.
-
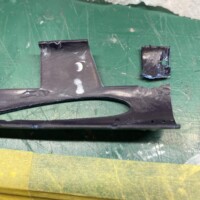
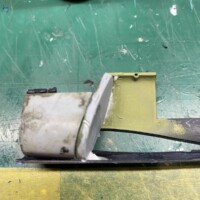
1. Really my fault, but you can see how thin the plastic is.
-
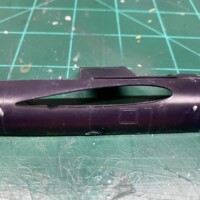
1. Holes for rigging wire filled with round plastic. It will be cut off and smoothed later.
-
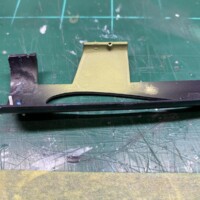
1. Almost forgot to paint this part.
-
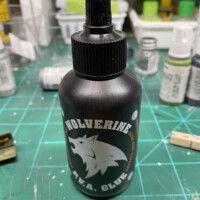
1. PVA glue from AK. Worked well.
-
1. PVA glue used for initial placement. I figured it would be easier to remove if something went astray. I will reinforce with superglue once I am sure everything fits.