1/48 Tupelov Tu-2 "Bat" N. Korea

Started by Chuck A. Villanueva · 99 · 1 year ago
  • Profile Photo
    Chuck A. Villanueva said 1 year, 6 months ago:

    My final entry to the Korean War GB, is the Xuntong 1/48th Scale Tupolev Tu-2 "Bat", my first attempt of the Xuntong

    kit. (are they still around). This is one of 3 versions that Xuntong produced of this medium fast bomber, they are now a bit hard to find now. I believe the Tu-2S is the more common kit to find. This is the Tu-2VS version with parts to build the dive bomber variant. But the regular Tu-2S bomber can be built as well. The Tu-2 was operated by both N.Korea and China, so either would be appropriate to model for the GB. I would have to scrounge up some markings for either scheme.

    1 attached image. Click to enlarge.

  • Profile Photo
    Spiros Pendedekas said 1 year, 6 months ago:

    Another great entry, my friend @uscusn! Looking forward to it!

  • Profile Photo
    John Healy said 1 year, 6 months ago:

    Excellent choice! I have one in the stash and will follow your lead closely.

  • Profile Photo
    George R Blair Jr said 1 year, 6 months ago:

    This will be a great build, Chuck (@uscusn). I haven't seen this one built before, so I am looking forward to watching your expertise overcome this unusual plane.

  • Profile Photo
    John vd Biggelaar said 1 year, 6 months ago:

    Great entry of a rare kit, Chuck @uscusn
    Never heard about this brand before.

  • Profile Photo
    Chuck A. Villanueva said 1 year, 6 months ago:

    Thanks Spiros, as usual and always good to see you.
    Hi John H, this is a first attempt on a Xuntong kit, as if they have produced a number of kits of any other subject.
    Thanks George, quite rare as I have only found 2 of them built in this scale and one review in Russian.
    John B, and getting even more difficult to find. Was happy to find any of the aftermarket bits to help enhance what is pretty decent details.

  • Profile Photo
    Chuck A. Villanueva said 1 year, 6 months ago:

    Before I get started let see what is in the box, popping the lid check out the contents. Good sized box that has several sprues in a plastic bag. The clear parts are in their own baggie.

    At the bottom is the instruction sheet in Chinese with English text and exploded drawings.

    The 1st page is the parts map, glad this is provided since working with a new kit of unknown process of assembly. Parts highlighted are separate parts for another version, basically all the parts are there too build any of the other variants even the torpedo version.

    Page 2 is the painting guide for the colors you will need to paint the model, using Tamiya, Model Master and Gunze as a suggestion for the paints needed.

    Step one is actually a page to prep and cut certain parts for the version the represents.

    The small decal sheet are for 2 Russian bombers used in WWII. A bit thick, will keep the markings for future use, they will be used on this build.

    Sprue A, provides the LH fuselage half, LH upper wing panel, both lower inner wing panels and both out lower wing panels. The finish on the light grey plastic is a bit pebbly but bad, and the panels are a bit deep but will be ok to work with.

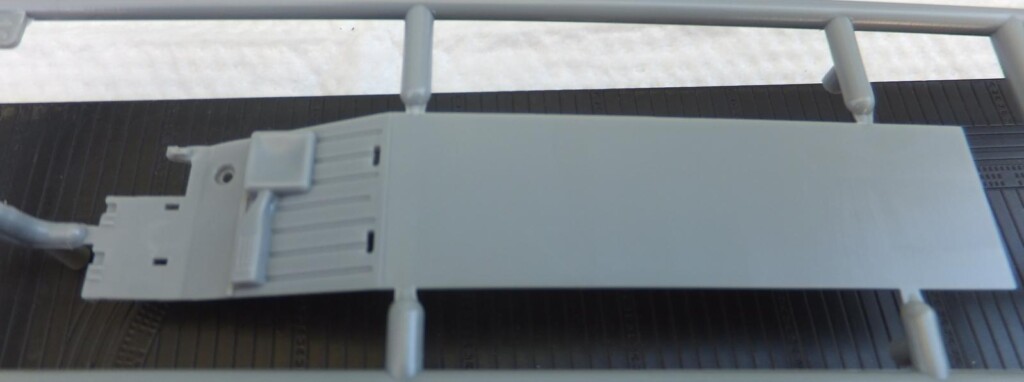
    The lower wing half looks good, panel lines again a bit deep, plastic is warp free, an insert is provided for either the VS dive bomber or the S bomber version, also the ailerons are separate parts but the flaps are molded up in the neutral position.

    The LH upper wing panel has good details, sharp engraved panel lines. The service doors and panels look good and hopefully in their proper location on the top wing.

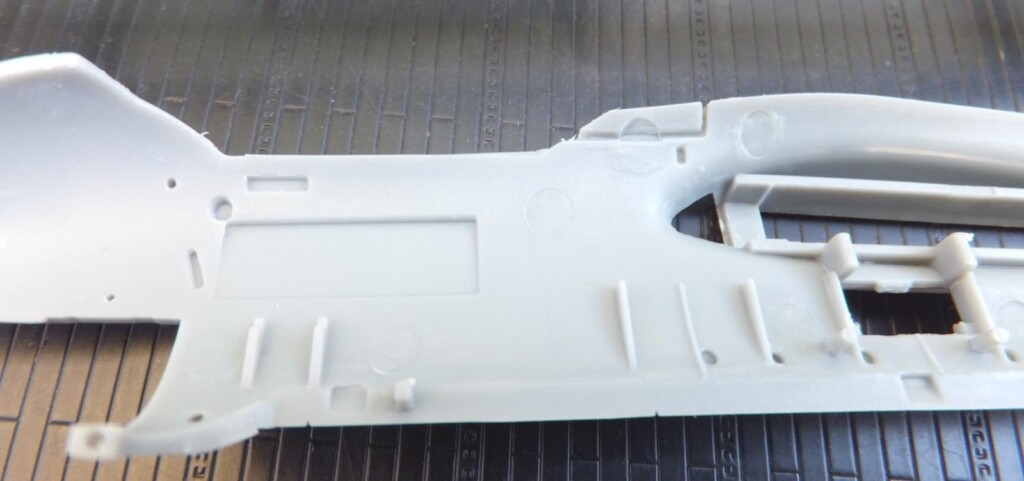
    The LH fuselage half needs some mods to configure it to the version provided in the kit. Same pebbly finish, nothing to worry about. Well defined sharp panel lines. 3 port holes towards the rear. Some stringers are in the interior, a few, need to check references if this is adequate. The cockpit area is bare with a few details. The PE and kit parts will help here.

    Next up is the rest of the kit parts,

    More to follow

  • Profile Photo
    Spiros Pendedekas said 1 year, 6 months ago:

    Clearly a nicely detailed kit, my friend @uscusn!
    The light pebbly surfaces might be addressed with some light sanding?

  • Profile Photo
    John vd Biggelaar said 1 year, 6 months ago:

    Nice box content, Chuck @uscusn
    Sanding might indeed smoothen the surface a bit more.

  • Profile Photo
    George R Blair Jr said 1 year, 6 months ago:

    The parts look like they will build into a nice kit, Chuck (@uscusn). I built a kit a while back that had a slightly pebbly surface. It disappeared under a good layer of primer. I didn't do any sanding at all. You might try building it, and then see how it looks after priming. You can always sand it after the primer if it doesn't look right.

  • Profile Photo
    Chuck A. Villanueva said 1 year, 6 months ago:

    Yes John & Spiros exactly the way to solve a minor issue.
    Hi George, the parts look good, lot of small parts delicate in nature, not too over engineered, but lots of parts as I peruse the sprues.

  • Profile Photo
    Chuck A. Villanueva said 1 year, 6 months ago:

    Now lets check out the rest of the parts before we get this one started.

    The next sprue contains, the RH upper wing panel, RH fuselage half, horizontal stabs, spine insert.

    The spine insert is well detailed, how it fits, we will see when I get to that part of the build.

    The elevators are poseable, and I will display these down when finished.

    The RH fuselage half also has the same texture to the plastice, no biggie once assemble will go over it with some light grit wet n dry. The interior has the ringers, location points for the side consoles and instrument panel.

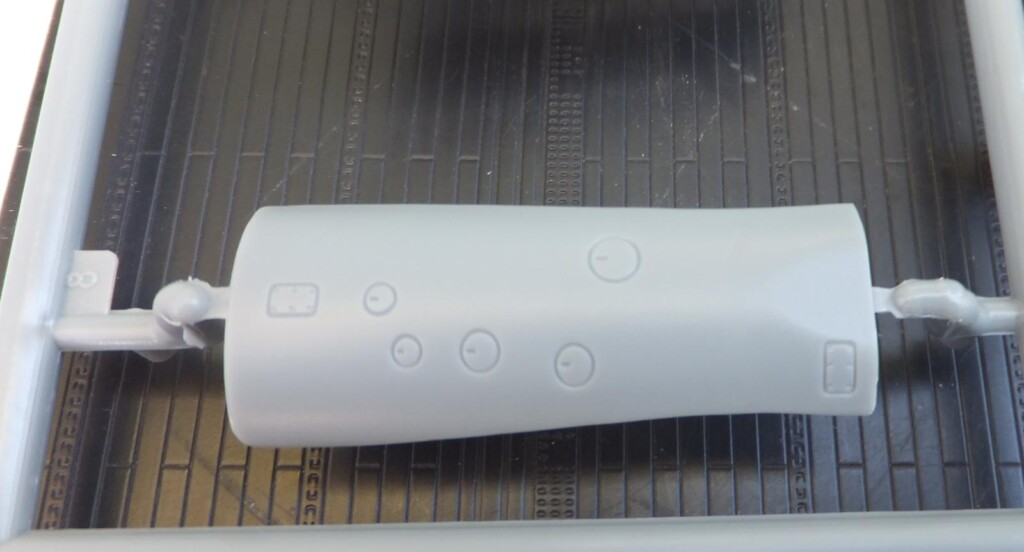
    The next sprue contains, the twin tails and rudders. flight deck, rear compartment floor, some air defense weapons. and the engine nacelles.

    The 1 piece rear horizontal stab looks good, Nice and moulded in 1 piece.

    The vertical tails rudders are also moulded in 1 piece. Nice details here as well.

    The LH/RH halves of the engine and main wheel bay nacelles. Seem to have the correct shape, Hope the fit is good as well.

    The flight deck contains the rear gunners section as well. . It also serves as the roof for the bomb bay,

    The defensive weapons provided look good.

    The bomb bay doors will need to be cut if to display opened.

    The next sprue contains most of the interior components, levers, radio and electronic boxes, seats, bulkheads. Lots of bits and pieces that are quite delicate.

    The pilots upper seat back and tail wheel compartment bulkhead.

    The rear seat and gun belt housing/feeder.

    32 additional images. Click to enlarge.

  • Profile Photo
    Spiros Pendedekas said 1 year, 6 months ago:

    Looks very nice in the sprues, my friend @uscusn!
    Definitely not "shake'n'bake", but, still, a "walk in the park" for your superb skills,

  • Profile Photo
    Tom Bebout said 1 year, 6 months ago:

    Damn Chuck that's a lot of parts. I wonder if Eduard didn't have a hand in designing this kit.

  • Profile Photo
    John vd Biggelaar said 1 year, 6 months ago:

    The sprues look promising, Chuck @uscusn
    A bit of cleaning up to do but it should not be a big challenge for you.