Before we get to the gunners compartment. The last item to finish up the cockpit, is the pilots seat. Monogram has just the lap belts moulded into the seat no shoulder harnesses. So a set of Eduard's PE USAAF seat belts are used from the set, just using the shoulder harnesses.
-
1. Lap belts are moulded into the lower seat pan. Not bad really.
-
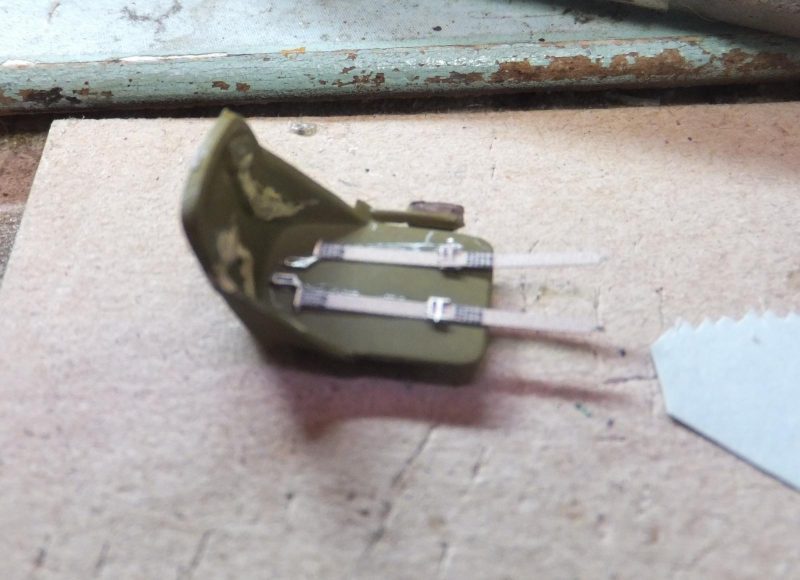
1. Eduard's PE shoulder harnesses
-
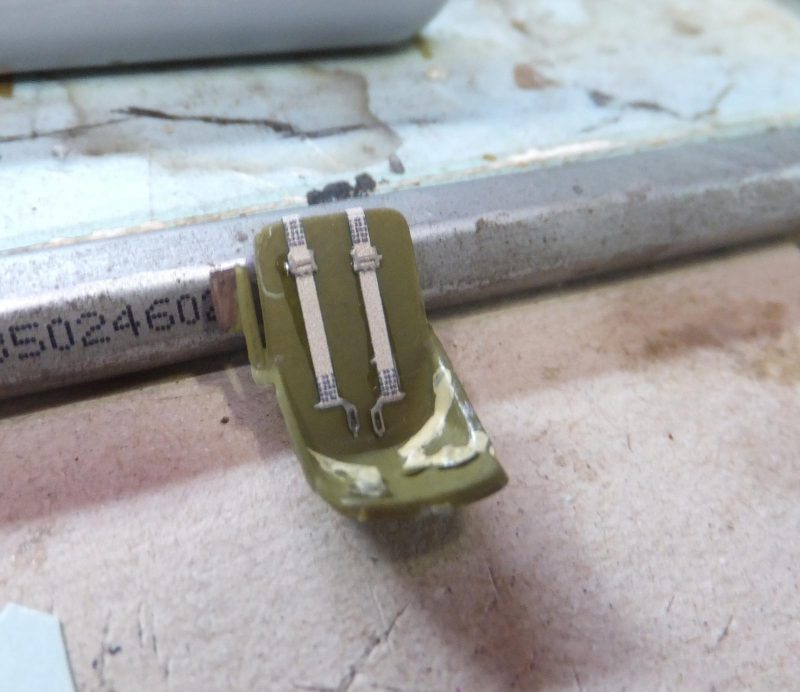
1. Lap belts are painted Polly Scale Dirty White with silver buckles
2. Armrest painted Japanese Brown
The Monogram cockpit has a bit more details than the ICM kit. The pilots seat has moulded in lap belts whereas the ICM kit does not which is no big deal. But the details on the flight deck floor allows for more wear to really show compared to the flat featureless floor on the ICM kit. The seat is set on it's pedestal on the flight deck.
The control column is assembled and also place in front of the pilots seat. Then the flight deck again place into the LH side fuselage to test the fit. So far so good.
-
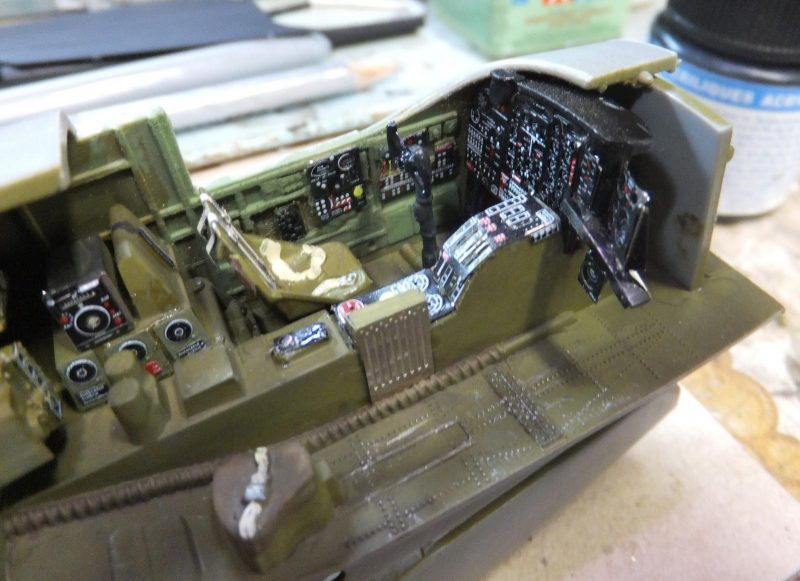
1. Nice rivet details on floor.
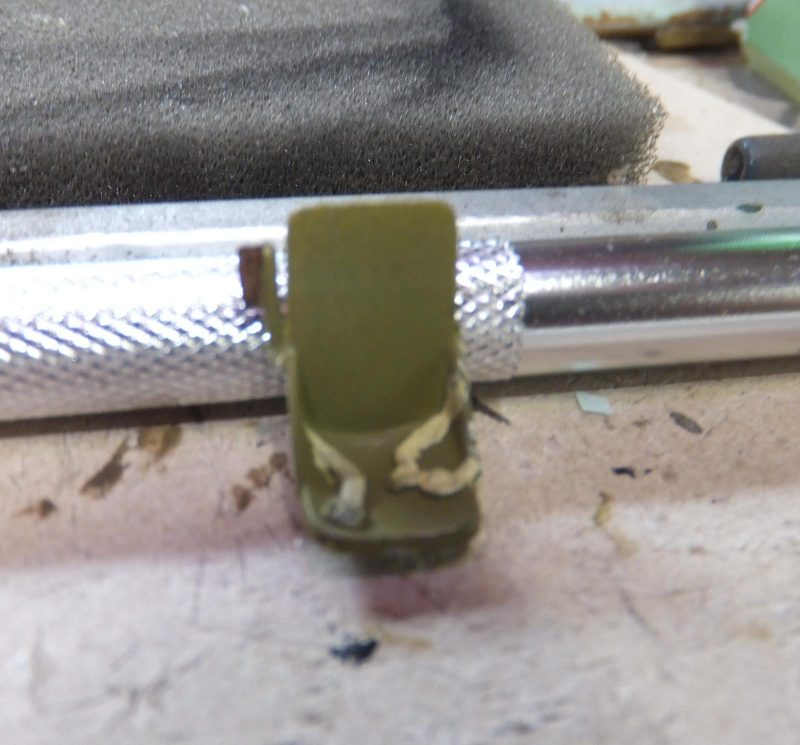
Now to work on the gunner's aiming device or gun sight, for the electric turrets.
The seat is painted IG
As well as the gunners sight device and armored plate.
The gunners plate is given a wash and a set of gauges also attached form the Eduards set.
Then the the 3 pieces are assembled, the gunners sight has the control knobs painted black, gie a wash and some silver pencil wear areas.
Next the upper and lower turrets.
The turrets are electric so no worries about and clear parts or whether to worry about with or without framing. They are painted in this case. Starting with the upper turret, cover, guns and lower shell casing bag.
Assemble the 3 parts with no issues. The detail on the lower housing is good.
The lower housing is painted interior green and the bag is Lt tan.
The lower tower is a bit simpler and again goes together with no issues. Made quick work on these sub assemblies.
Next up, the weapons bay.
More to follow