Now to work on the engines. The whole kit so far has been good on the details except for the engines, they are not very good. So I ordered a set of Quickboost resin engines to replace them.
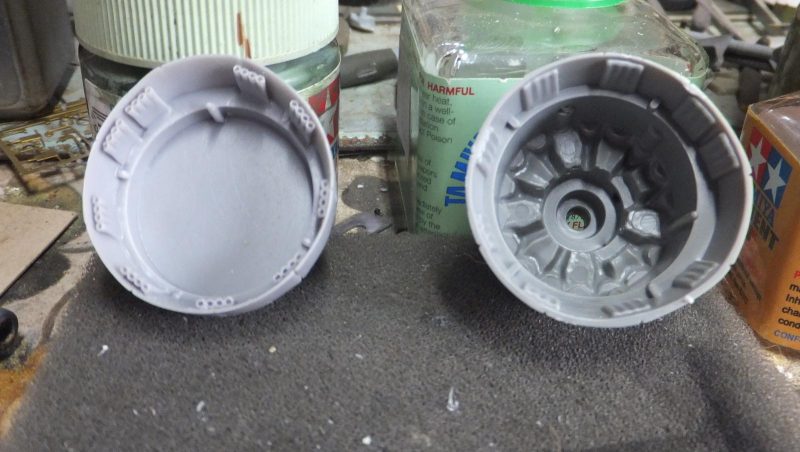
Comparing the QB resin engine to Monogram's
The provided resin cowl ring is also a nice feature with the exhaust tips drilled out. Though once installed you won't see them.
-

1. QB cowl ring
2. Monogram
While the cyano cement set, worked on the seams under the tail.
The cylinder heads and crankcase cover are well defined and a vast improvement over the base kit engines.
Here sitting with the engine from the ICM Invader, nice little gem.
Test fitting the engine cowl over the engines. So far so good.
The dremel will be a big help in grinding down the blocks. Wear a mask doing this.
-

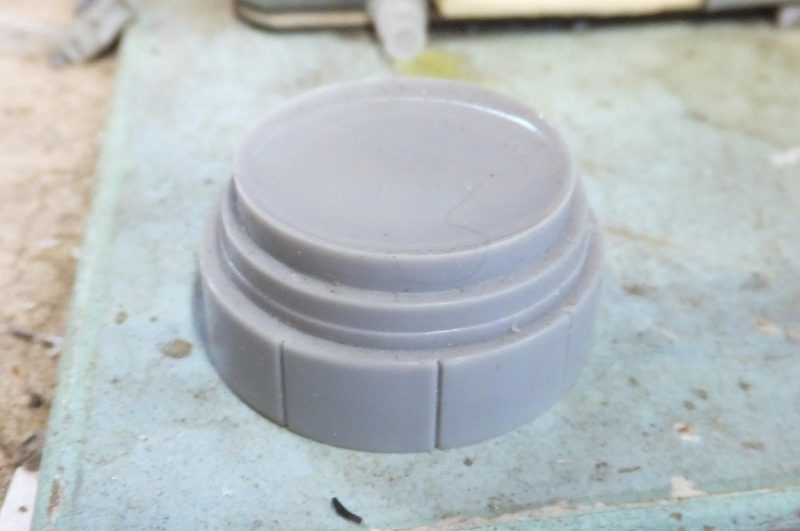
1. Remove this resin down to size
Removing the excess resin to get the engine to fit within the cowl at the correct position.
Results a good fit and attach to the resin cowl rings.
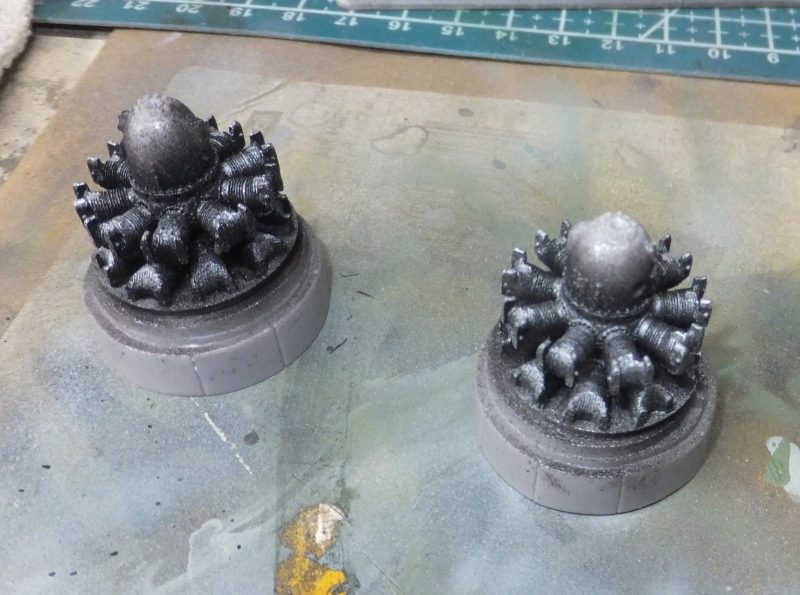
The engine are first painted black and the Vallejo steel.
-

1. Engines painted steel over a black base
Then the crankcase is painted RLM75 Grey
Next is to remove the provided resin magnetos. Painted black.
Then attached to the crankcase.
The LH/RH side magnetos are also installed.
Then some grime wash, oil streaks are washed over the engine assemblies.
Silver pencil used to pick out the bolts on the crankcase cover.
Then the engines are attached to the nacelles.
A shot with the ICM engine
The fit to the nacelle is very good and really a vast improvement over the kit engines.
A bit more grime added and next is to prepare the engine cowls.
Next is to some seam work and work on the gun nose.
More to follow!