After flat coating the air frame. Now to assemble the neat exhaust nozzle from Metallic Details, very nice to replace the very shallow nozzle. And the rest of the air frame.
-
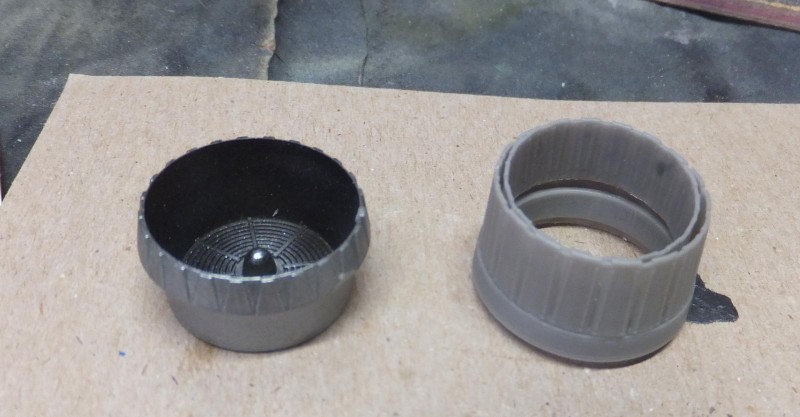
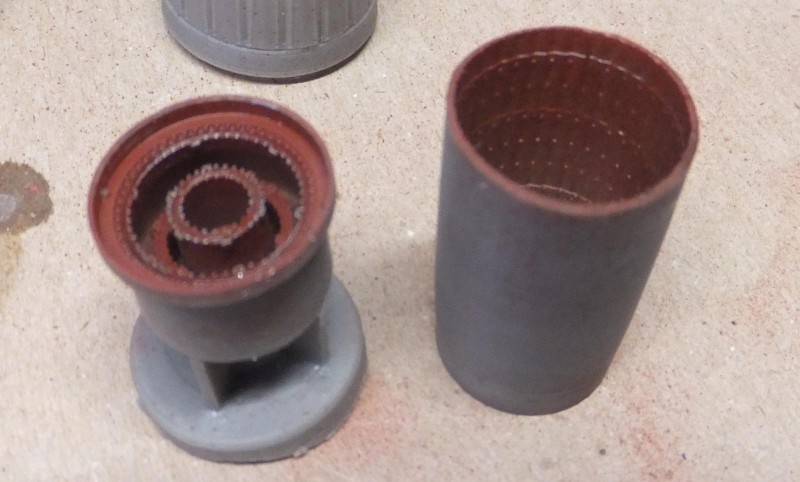
1. kit nozzle very shallow
2. Metallic nozzle
Though the exhaust nozzle is for the MiG-23 , and designed for the Trumpeter kit, it is so much better than the kit provided one. Though not exactly correct for this version of the Flogger.
-
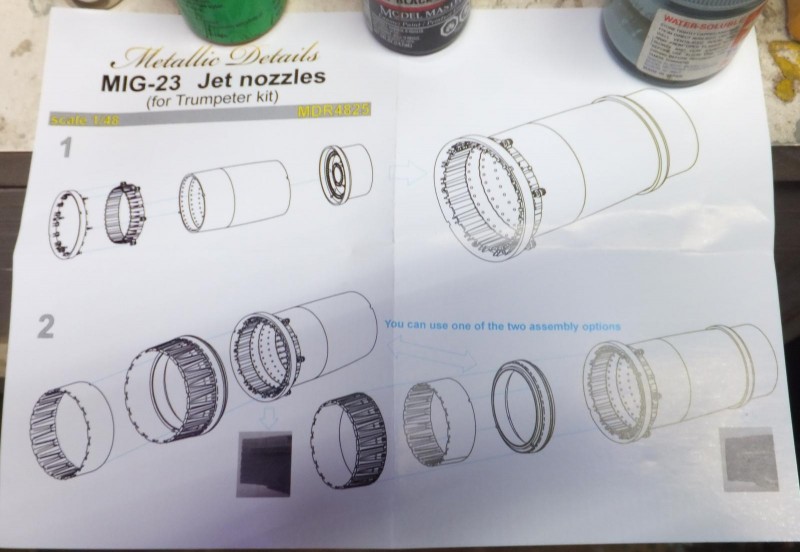
1. Simple easy to follow steps
The resin parts come off the blocks ok, just be careful not to break the parts.
-
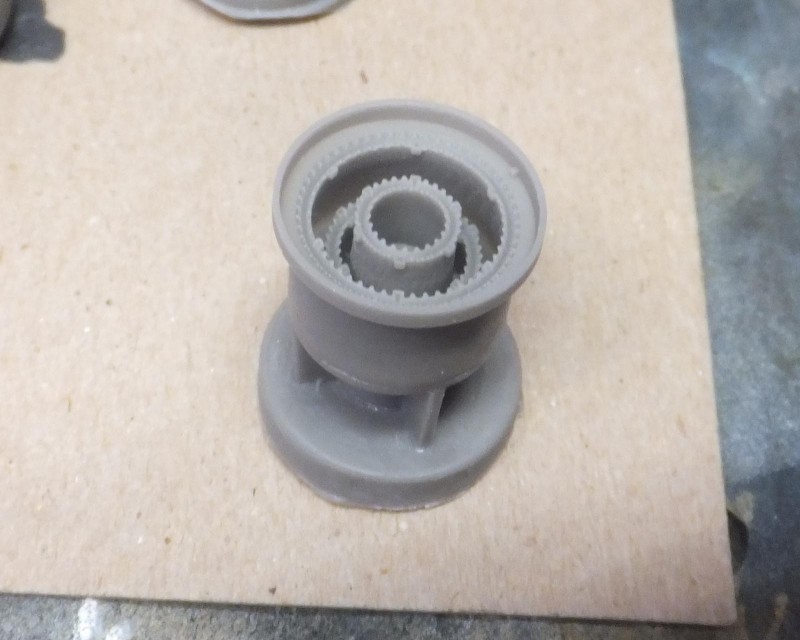
1. Resin block removed carefully
-
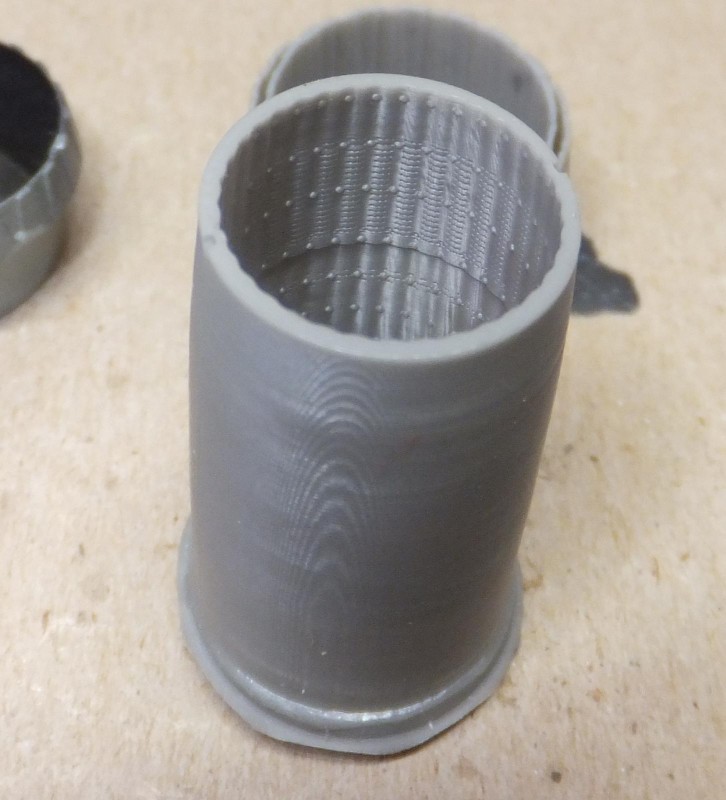
1. Very nice details within the tailpipe
Vallejo Red oxide primer is painted within the tailpipe and exhaust outlet.
-
1. Red oxide primer
2. stained with a wash
Then using Cyno cement to assemble the tailpipe and exhaust outlet. Then the exhaust actuator ring is attached to the pipe.
Once the parts are set, I next insert the tailpipe into the rear fuselage. With the resin you can sand down the tabs around the ring. After a couple of swipes it fits not to tight but enough the sit in alignment. The exhaust nozzle will fit over this direct to the end of the tail pipe opening.
-
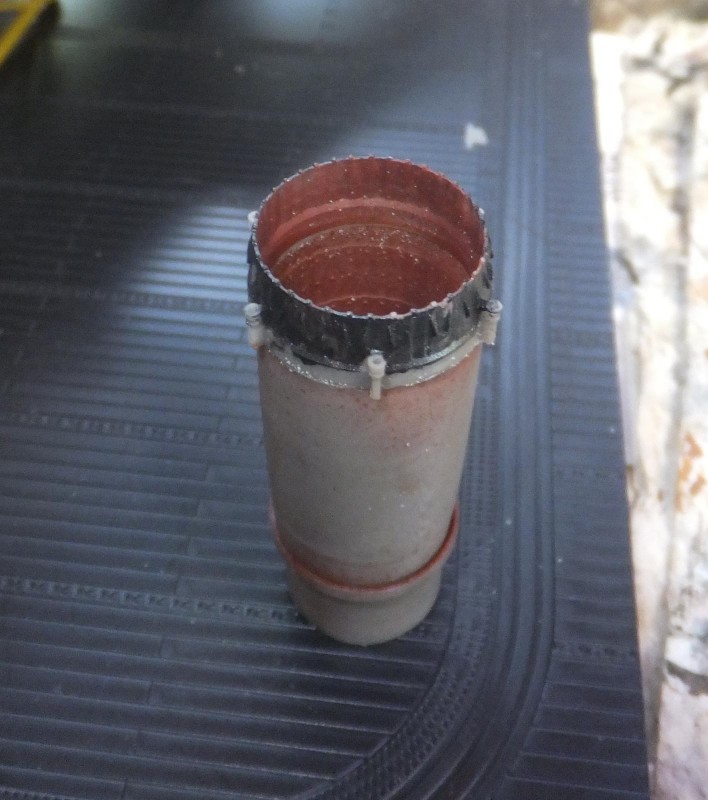
1. Tailpipe ready to insert into rear of fuselage
2. Vallejo Gun Metal
-
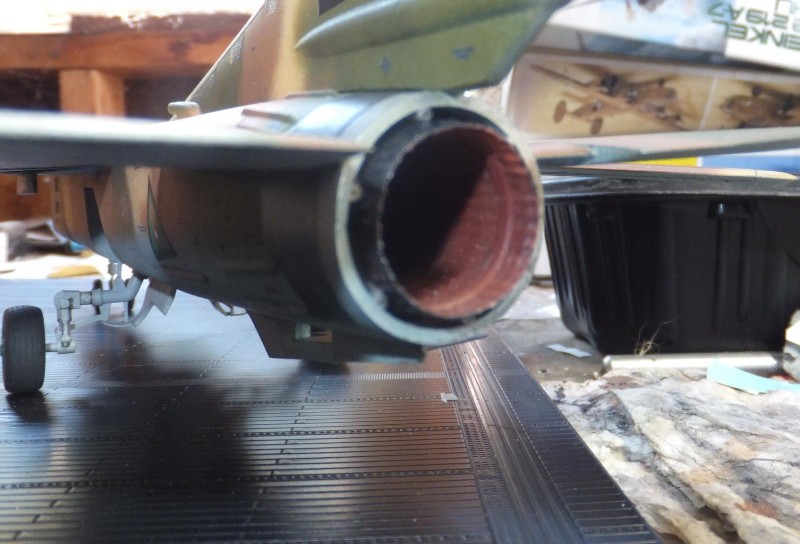
1. Some trimming and the nozzle fits snuggly with in the rear of the fuselage.
-

1. Much more realistic with the deep tailpipe
Next to prepare the nozzle to attach to the tailpipe. First Vallejo Black Metallic Metal is painted over the outer petals. Then a wash is sloshed over the details to make it pop. Next Blue Steel Metallic is paint into the petals side openings.
-
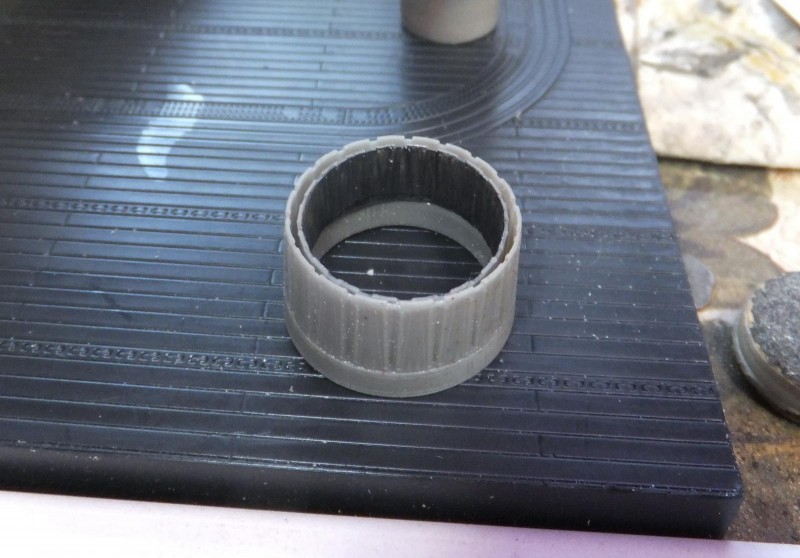
1. Nozzle with inner ring
Finally install the exhaust cone, it is slightly larger than the fuselage, as this is made for the Trumpeter kit, however not a lot, so it will workout in the end.
42 additional images. Click to enlarge.