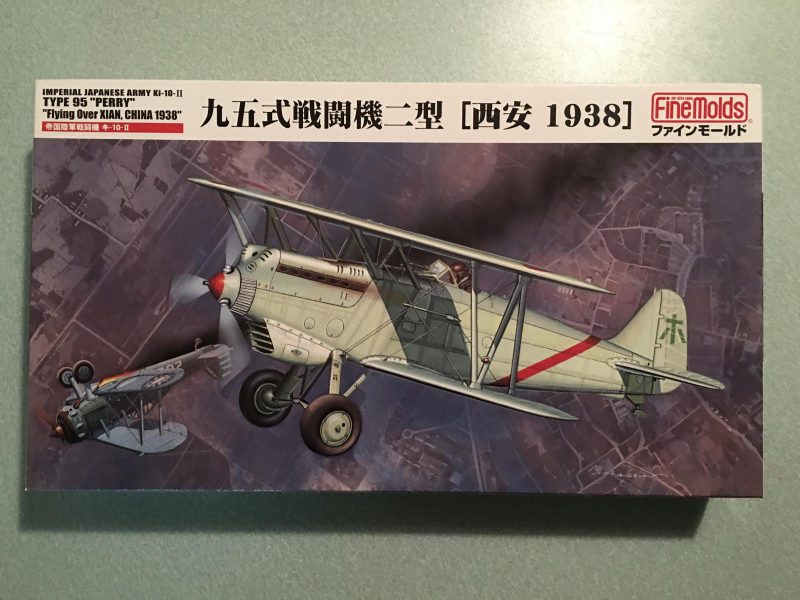
As luck would have it, I had recently looked at this model and was thinking about building it. But since I have way too many builds already underway, the common sense part of my brain kicked in, and I wisely placed the box back on the shelf... Then, after seeing one of these pop up in the headlines section, it didn't take much convincing for me to pull this one back down, and start cutting plastic. Before I knew what happened, the impulse part of my brain kicked in, and it was off to the races... See what styrene glue fumes can do to you ? 
-

I'm happy to report that so far this has been a very enjoyable build. Most of this work was done about a week or so ago. Please follow along and I'll bring it up to speed. Part of the reasoning behind wanting to build this model was that I have several of the Hasegawa Ki-45's and Ki-61's on the work bench. Both of these types use the same color for the cockpit interior. I have seen several of these Ki-10's built on line, and one in particular has a beautifully photographed cockpit, painted in the same "earth brown" color I was going to be using for the cockpits of the Toryu and Hien builds.
You see where this is going don't you ?
I wanted to paint the cockpit / interior parts for this Ki-10 model at the same time...and the Fine Molds instruction sheet has these same Earth Brown equivalent color call outs mentioned too. So I thought I was on the right track... But was I ?
The first thing I did was I went over to Aircraft of Japan and did some reading. There it was discussed on how these interiors were painted. The article then went on to describe the painting process of the exterior, with how three different colors used in series. Sanding was done in between the last two coats, hand sanded in between the coats to get the best possible finish.
The article went on to explain in good detail how the cockpit interior was painted in a color called #3, "Hai Ran Shoku", or Ash Indigo color. Mr. Millman went on to post up his computer generated color chips of what this color looks like.
Now armed with some very useful information, I started painting and assembling things, in record time. This color sometimes looks more blue "ish" than gray. It's a custom color that I have mixed up. It's very close in appearance to WW2 German Luftwaffe uniform gray in natural lighting.
Here's a few pictures of the cockpit as it was being assembled.
Once installed, not too much is visible of the cockpit. I did go back and add the kit supplied instrument decals after these pictures were taken. It improves the overall look tremendously.
There's a nice radiator assembly.
I covered the front and rear face of it with "Matt Aluminum" bare metal foil, then gave it a light wash of black to make the honey comb details pop.
There's even a neat little coolant pipe included with the radiator.
Once the radiator and cockpit were installed, the fuselage halves were glued together.
The rest of the fuselage was assembled, the tail surfaces added, and the lower wings installed.
This one is going together very fast, and I'm hoping it will be an easy one to paint, using my home brewed custom mix of #1 Hai Ryoku Shoku "Ash Green Color" for the entire exterior of the airframe. You can see a little of this color inside the fuselage sections, near the radiator.
Who knows ?
I might decide to paint it in a China camouflage color scheme.
Time will tell. As always, comments are encouraged.