It's been a pretty busy week but some more progress has been done!
The Gun Bay
The first step to the gun bay begins with the framework itself, this was primed and painted with MRPs Duraluminum. Whilst the J7W was made of duraluminum, I chose this colour as it was darker than aluminium paints which would allow me to provide some contrast between different components.
-
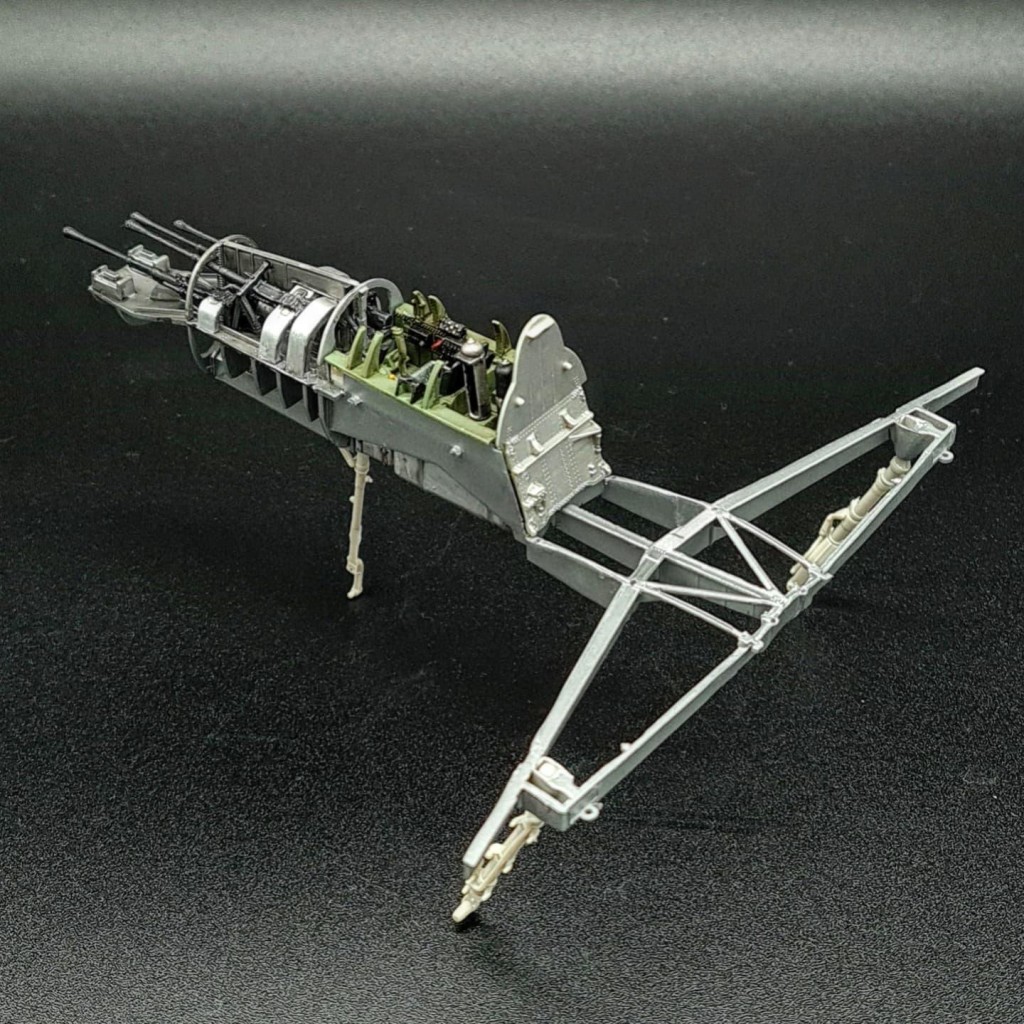
With that done I worked on painting the guns themselves, painting these is a little tricky as whilst they have detail they are fundamentally just one dark colour so making them look interesting is difficult. These weapons are the Type 5 30mm Machine Gun, I say machine gun as the Imperial Japanese Navy considered anything under 40mm to be a machine gun, whilst the Army considered anything higher than 12.7mm to be a cannon, the joys of Japanese service rivalry! The cannons were intended to become a standard fighter weapon for the Navy, with it's performance in velocity and reliability being better than the Navy's previous Type 2 30mm. In the end the weapon saw limited use, since many aircraft planned to use it didn't see service. The cost of this improved performance was added weight and size, but in an aircraft like the J7W this wasn't a problem as the nose provided adequate room and the aircraft needed some nose weight to counter the mass of the engine.
-
Firstly I poked the knife into the barrel to make a guide and then drilled it out with a 0.2mm drill bit to provide some depth, then the weapon was sprayed over the previously sprayed Tamiya Gun Metal with MRP Gun Metal, which provided a much less 'bitty' finish. The weapon still looked bland, so to provide some visual interest I painted the ammunition feeds in aluminium as well as drybrushing the gun itself with a NATO Black equivalent to try and highlight the details. Later on, these would be given a black wash.
-
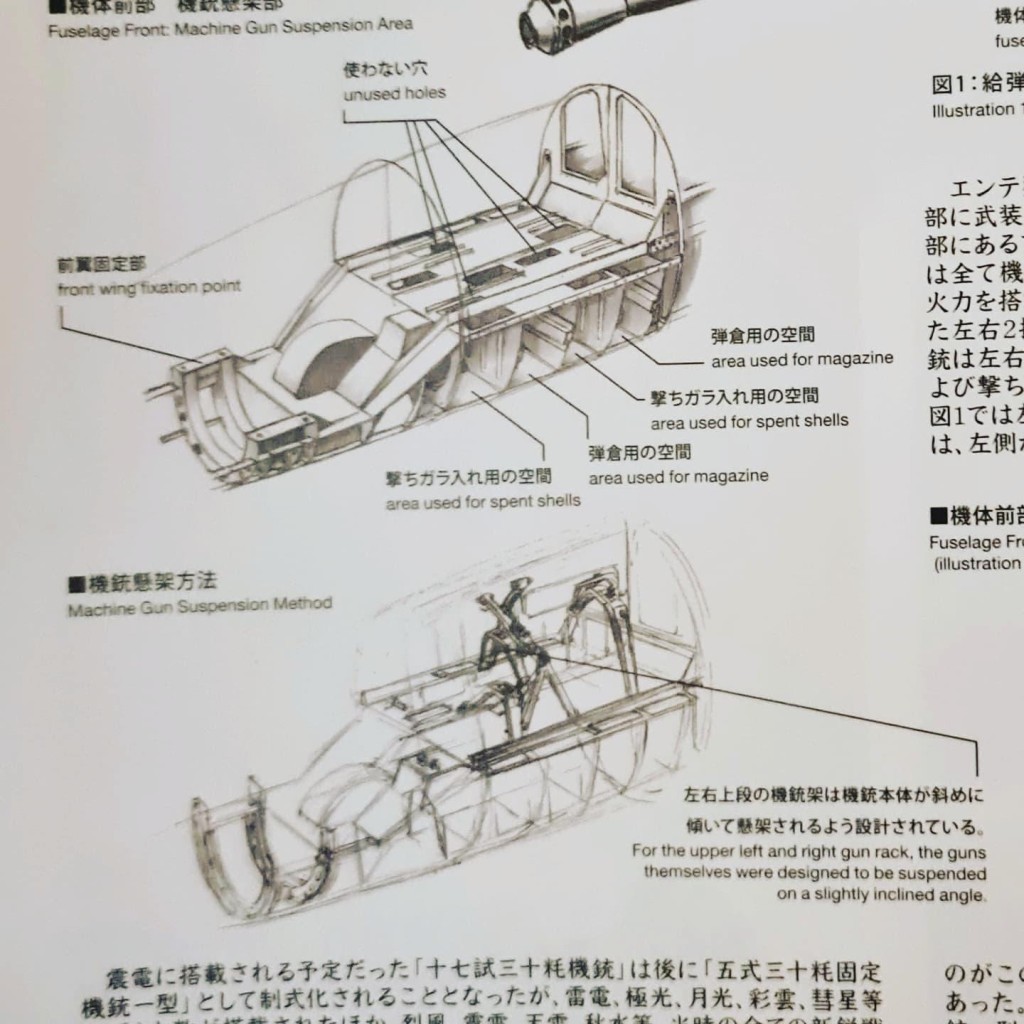
1. ZM's diagram for the gunbay area.
-
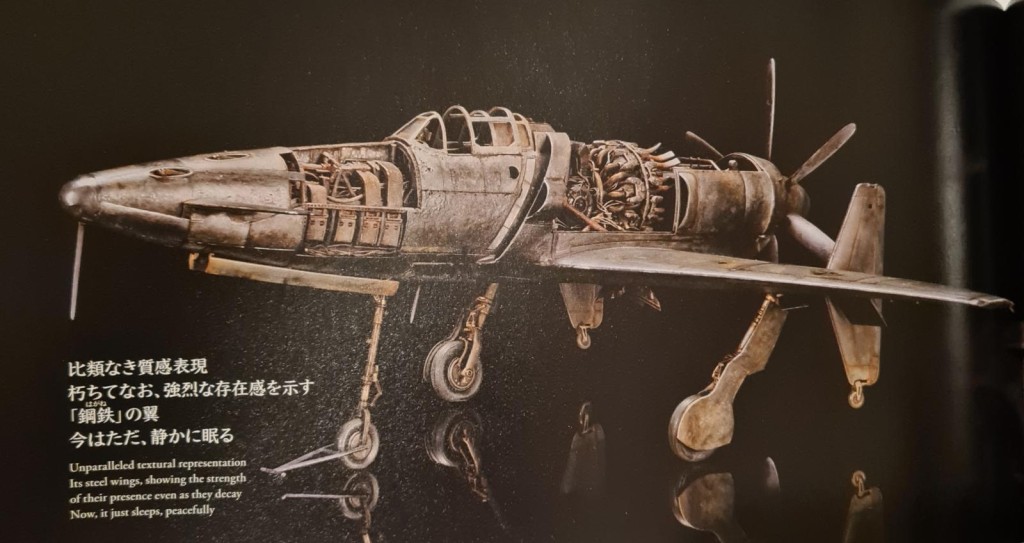
1. The Concept note shows off this very rusty and forgotten looking Shinden, showing the 1/32 rendition of the gun bay nicely.
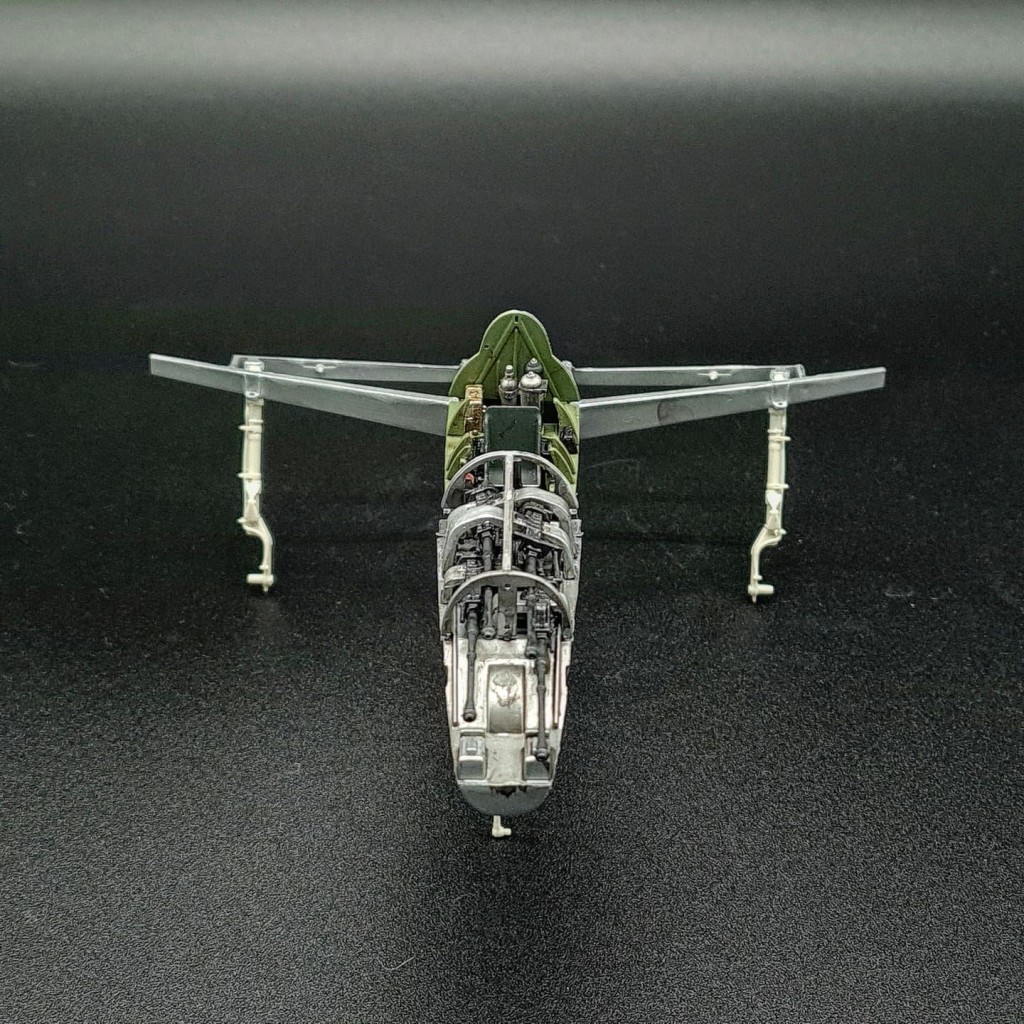
One problem considered by the designers was how to deal with the issue of bullet casings, on a conventional aircraft this was seldom an issue but ejected casings on an aircraft like the Shinden would have risked hitting the propeller at the rear. To counter this, the J7W featured 8 boxes underneath the cannons (4 per side), with each weapon having an ammo box that would feed into the gun as well as a separate feed that would take ejected casings into another box. Curiously this isn't moulded in this kit, but is present in the 1/32 example. This made the arrangement of these already large and heavy cannons even more difficult, with the weapons having to be placed staggered and at odd angles to allow the ammunition feeds to work, this can be seen especially well on the rear pair of cannons.
-
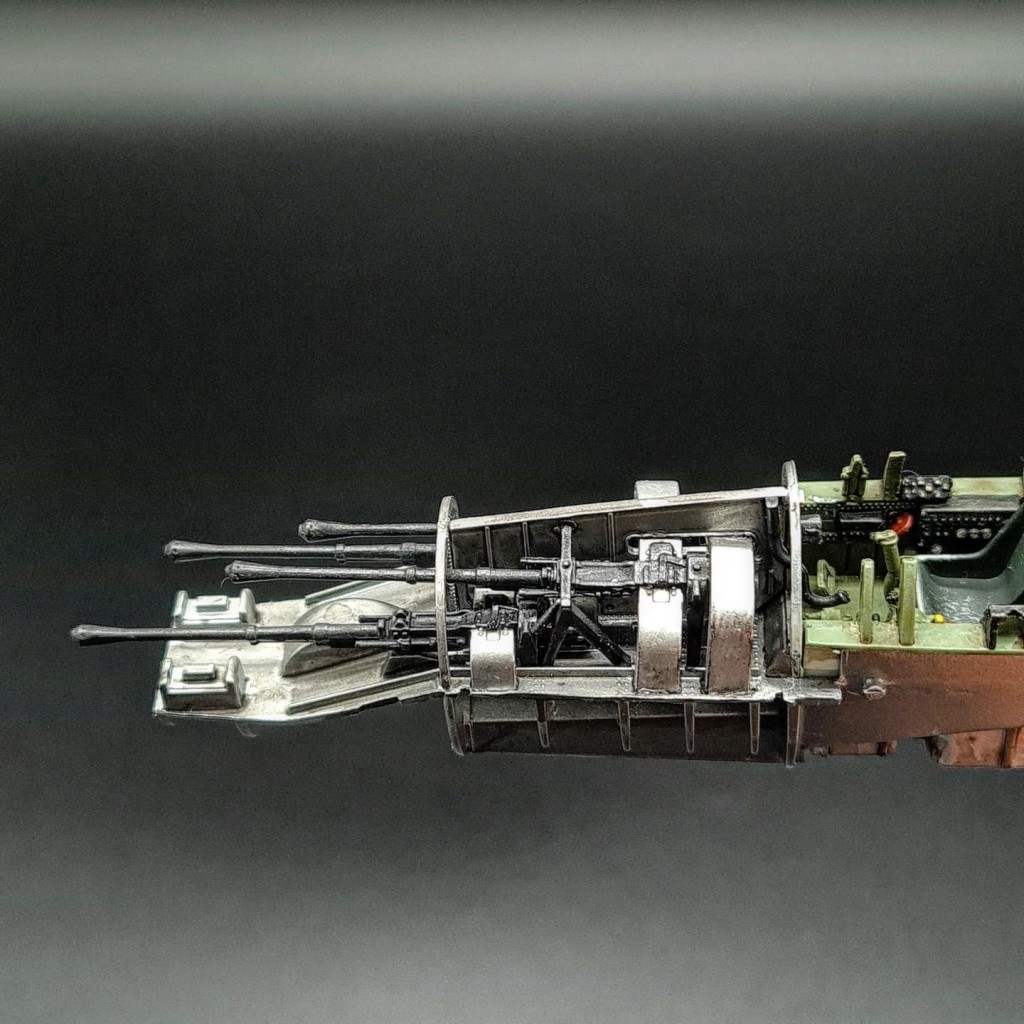
In miniature life this translates to a very small, very compact, very detailed and very finicky build. The guns are placed in a specific order, with structural walls and ribs being placed between the guns. Lots of glue, and a steady thumb to hold them down, were required here but eventually I got all of them but one cannon right, and then I realised one connection point was slightly too far out so I reglued the gun into a better spot and here we are.
In the process some glue got on the nose where the nosewheel housing is, but this won't be seen over the panel so no harm. The entire bay recieved a black wash as I wanted it to appear darker but not necessarily grimy and dirty here unlike the engine.
One concern I have is that if any of these is only slightly out of place (which it probably is), then surely this will cause complications when adding the 'shell' of exterior panels later on? I suppose if it does become an issue, both of the gun bays can be opened though my intended goal is to keep the right side closed as is seen in the first picture posted in this topic, and have any opened panels be on the left side. Regardless, we'll deal with that later.
Other Bits and Bobs
In the 1/32 kit the fuel tanks are all seperate parts, here they are instead hollowed out and moulded into the frame. This makes painting difficult but ultimately these likely won't even be seen. According to the reference photos in the ZM Concept note, the large fuel tank below the pilot was strapped to the plane with leather straps, so I naturally painted these brown. I painted the fuel tank with aluminium to distinguish it from the darker framework, and the same was done to the oil tank behind the pilot except this seems to have had metal braces which were left in the darker colour of the framework.
-
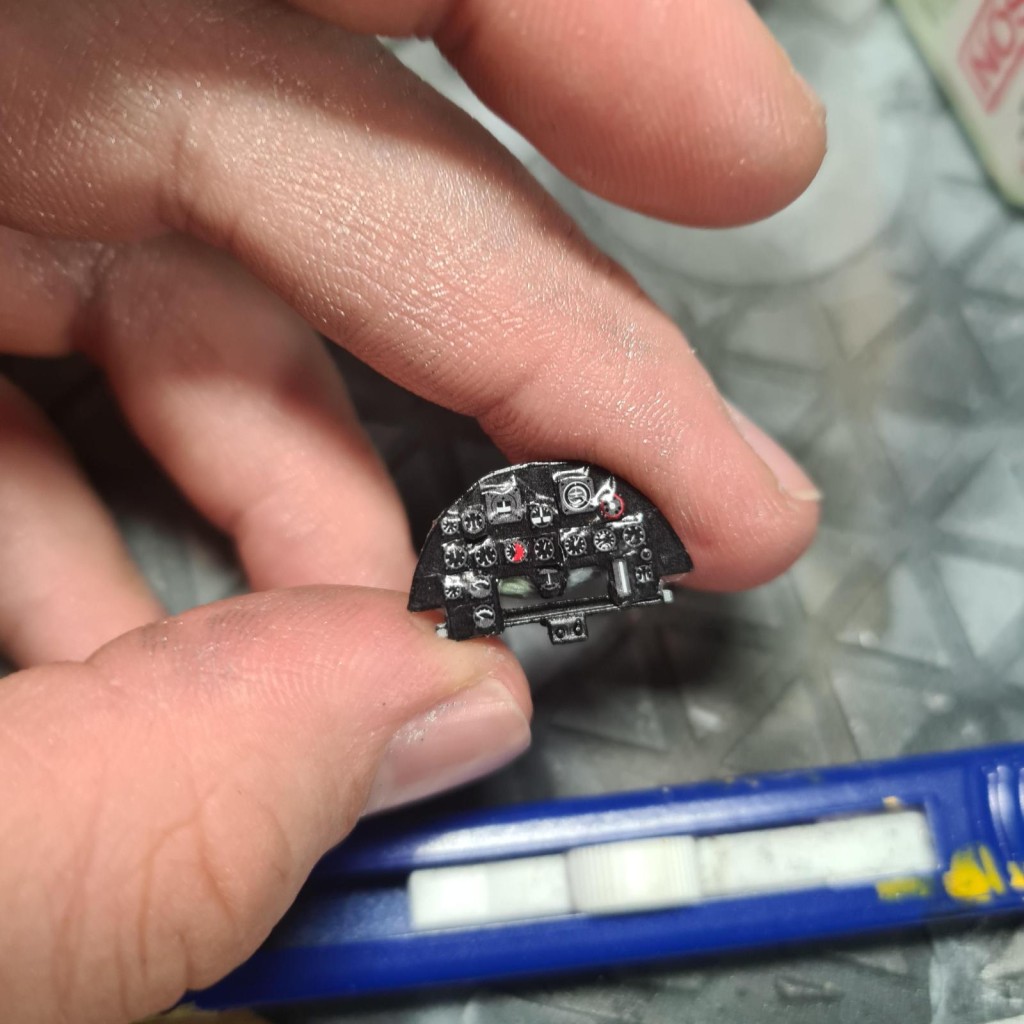
Regarding the instrument panel, the kit came with a decal. This was the kind with a black backing that I'm not a fan of, as I prefer ones with just the instruments and a clear backing. A mistake on my part was using this decal, as the instrument panel is impressively moulded and has more depth to it than most panels in this scale. The decal, despite being cut up into manageable pieces, would successfully adhere to the kit due to the depth it has and ended up looking pretty bad so I removed the decals and will paint it on instead, until that's done the cockpit is still not ready to be glued in.
And finally, as you probably noticed, the undercarriage has been removed and cleaned up. They are pretty well detailed with some brake cables included, these will probably be painted up soon and the wheels added just to aid with taking photos.