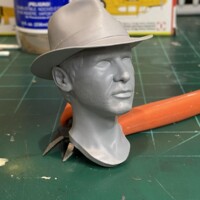
I have been interested in 3D resin printing for a long time, especially when you see the type of resin printed parts that are coming from the manufacturers now. But I heard that there was a steep learning curve, so I waffled for a long time about buying a 3D printer. My wife and daughter took the decision out of my hands when they gave me a joint Christmas present that was a 3D resin printer, along with a combination washing and curing station. So, I jumped into 3D printing with both feet.
There is a learning curve that goes with these machines, but it isn't nearly as steep as I thought. There is software that comes with the machines that basically walks you through the process of taking an .stl (3D Print File), getting it ready to print, positioning it on your machine, checking it for problems, slicing it (the print prints your model in tiny horizontal slices), and then sends it to your printer via WiFi. The biggest problem is fine-tuning the setting for your print. There are about 8 settings that you make for each print, and these settings determine the success of your print. I think of these settings like using a manual SLR camera. The camera has a number of settings that if correctly set will give you a good photo, the wrong settings give you a headache. The instructions that come with the printer consist a single page of information on how to set up your machine, so I have spent some quality time on YouTube figuring out how to "dial in" the settings. I had also tried to find some books on Amazon that might help, but 99% of the books they have on 3D printing deal only with filament printing, not liquid resin printing. The most important setting is the exposure, or basically how long your resin layer is exposed to the magic light that prints the layer. I think I finally have the exposure set, and it should work well as long as I don't change the brand/type of resin I am using.
-
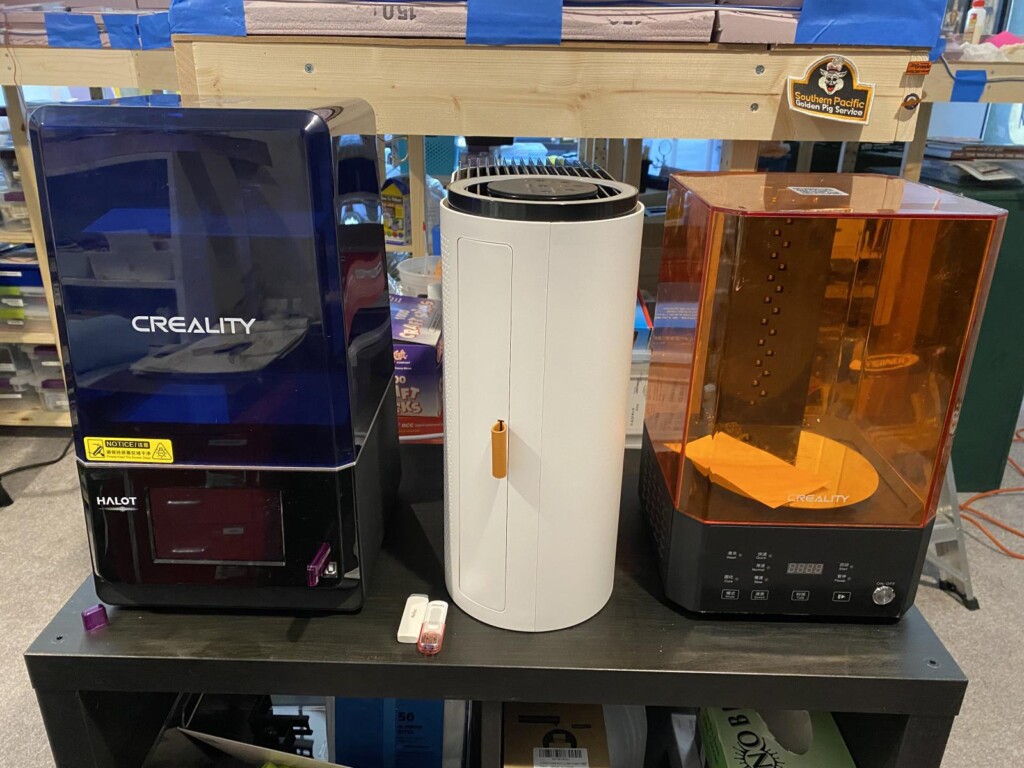
1. Everything fits on top of an Ikea 2x2. There is also an air filter that I use to keep fumes out of the air.
-
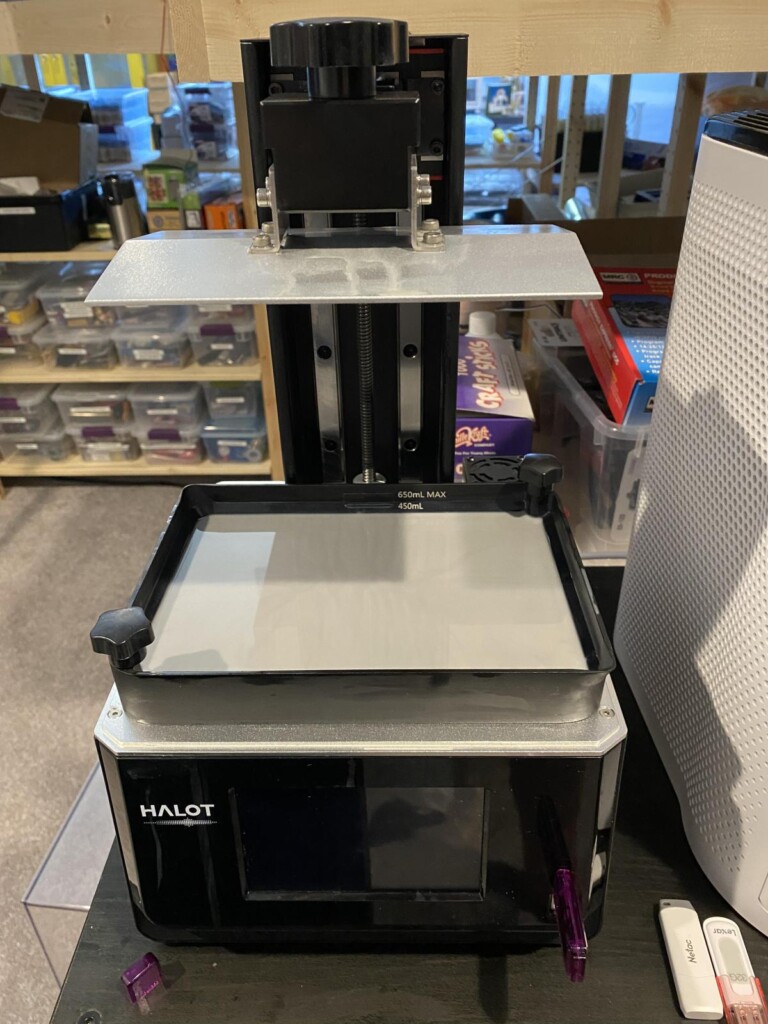
1. This is the build plate where the model builds (upside down).
2. Resin vat.
-
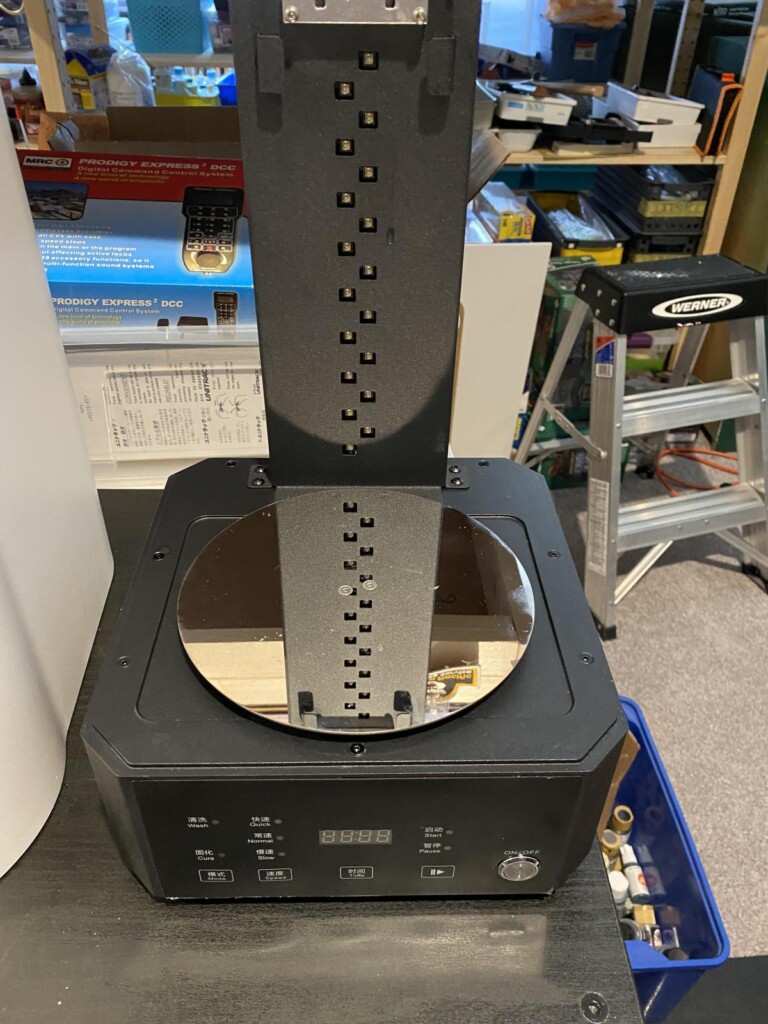
1. Inside of the wash/curing station. The washing part of it is a vat of water (I use water-washable resin) that is removable.
These printers are a lot of fun and I have spent a lot of time in the last month using mine. There are literally thousands of print files for 3D printing, many are free and some cost money. I have printed a lot of stuff in the last month or two, and I only purchased three of the files, a bust of Superman, a bust of Indiana Jones, and a bust of Frodo Baggins (yes, I am a nerd). Although you can find files that are quite pricey, these three files only cost me $1.20 each. There are several websites that deal exclusively with 3D print files, and you can also find them on Etsy. I have not had much luck finding things that I can use for my models, but I have found thousands of things I can use for my N Scale train layout. My latest fun project was a model of the city from Stargate Atlantis, that unfortunately was much larger than I can print on my machine. It was free and it is very detailed and it was fun to paint. I had to shrink the model to a size I could print, which can cause some problems, but it worked well. Some of the antennas in the model were the size of a human hair, or less, and printed fine on my machine.
-
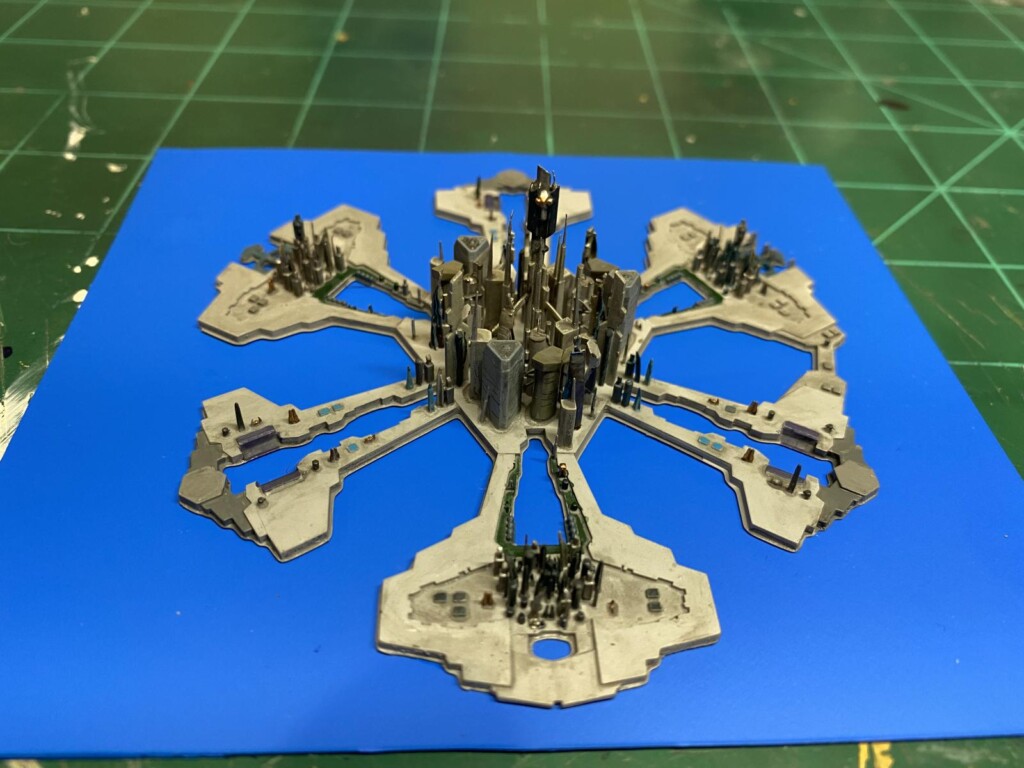
1. Stargate Atlantis, painted and mounted on some plastic. To give an idea of scale, the ocean (blue plastic) is 4" x 5".
My latest endeavor is using a free program called Tinkercad to design and print my own stuff. I just had surgery on my stomach, which has sidelined me from lifting anything or walking up stairs (to my hobby room). I hope to be cleared for stairs this week, but the doctor said no lifting for several weeks. So I have had a lot of time to play with designed stuff. So far, all I have designed and printed were some bridges supports for my train layout.
That's about it for an overview. I encourage you to give this a try if you are interested at all in 3D printing. The price of the printers has come down significantly, so I think the basic printers are well within the mean of most of us.
9 additional images. Click to enlarge.
-
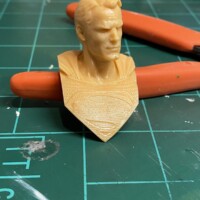
1. Superman-notice the texture of his suit.
-
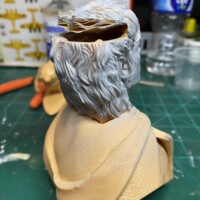
1. This is what happens when you let the vat run out of resin.
-
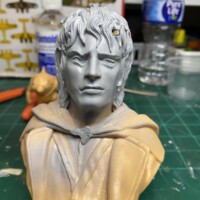
1. This is what happens if the settings aren't right.
-
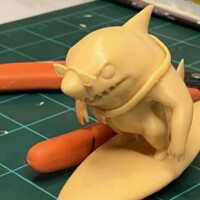
1. My granddaughter likes Baby Shark cartoons, so this is a no-brainer.
-
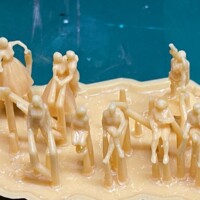
1. N-Scale (1/160) people.
-
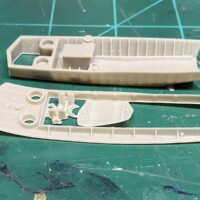
1. LCVP that I reduced to N Scale. Hot water will fix the warp of the very thin top part.
-
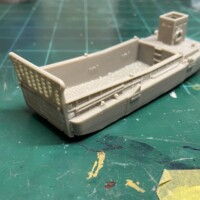
1. LCM that I printed in N Scale.
-
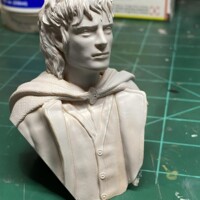
1. This is what Frodo should look like.
-
