Thanks John, this version, seems to be going together a bit easier than the first ICM Invader.
Thanks Spiros, plugging right along.
Now to finally a bit of an update on the B-26K.
Still working on the interior, with the rear compartment assembled, now to add some PE to enhance a decent interior that ICM already provides.
The rear bomb bay bulkhead also serves as the rear wing spars that slips through the rear slots of the fuselage.
-
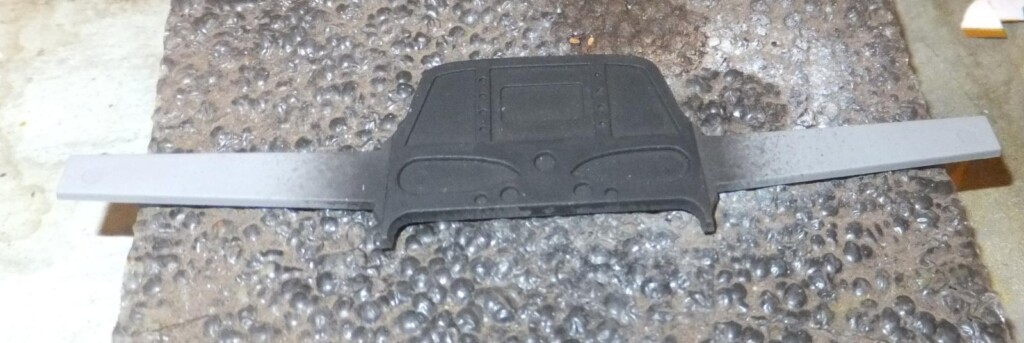
1. Rear set of wingspars and the rear upper bulkhead of the bombay
-
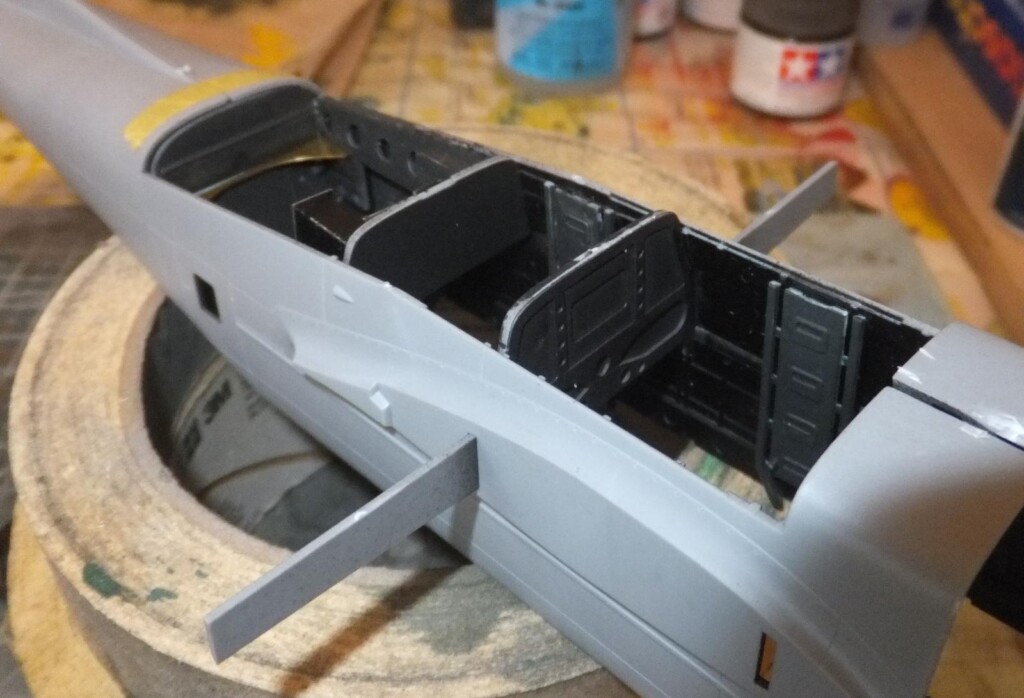
1. RH fuselage half temporarily attached to set proper alignment for the rear set wing spar bulkhead,
While the cement sets on the bulkhead, a PE shelf is attached to the rear wall of the observers compartment.
Once that sets, next is the forward bulkhead which contains the forward wing spare and serves as the rear wall of the cockpit, and front wall to the bomb bay.
-
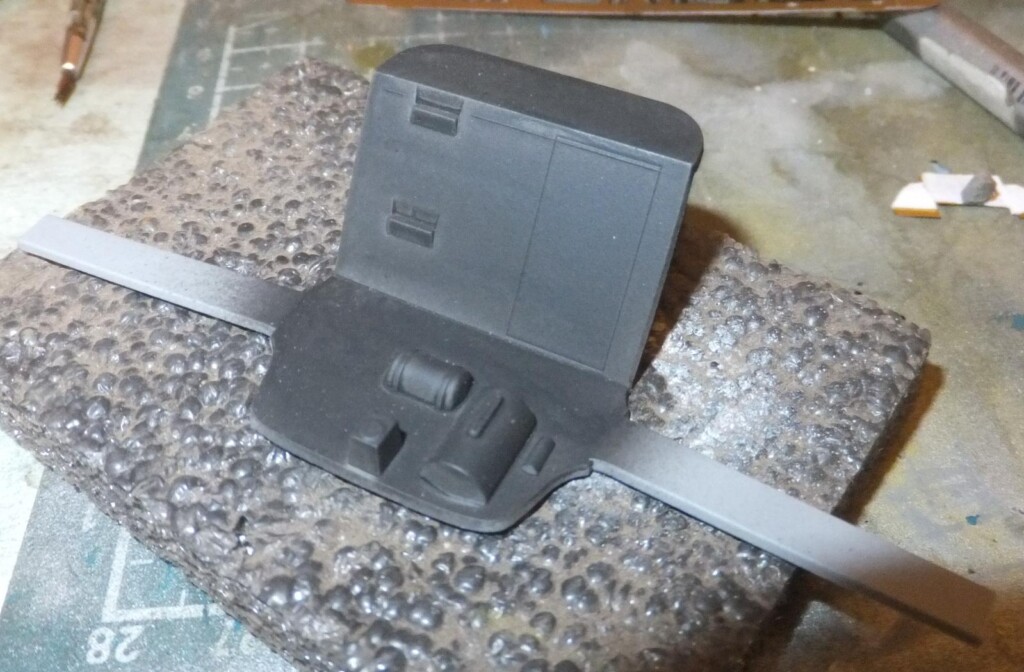
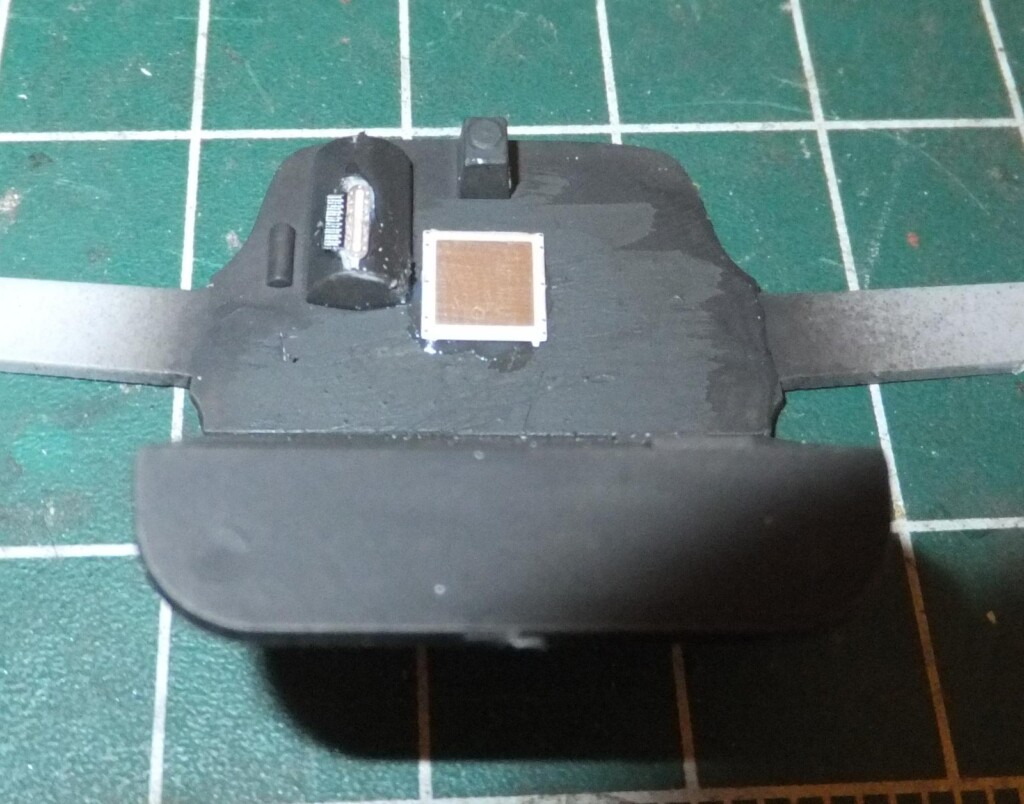
1. This bit will be removed
2. This part will be cut off
Before attaching, a but of PE upgrades are attached, sanding off some details and some cutting before attaching the PE.
-
1. Mods cutting and trimming completed
The 2 PE bits are attached and put aside to set.
-
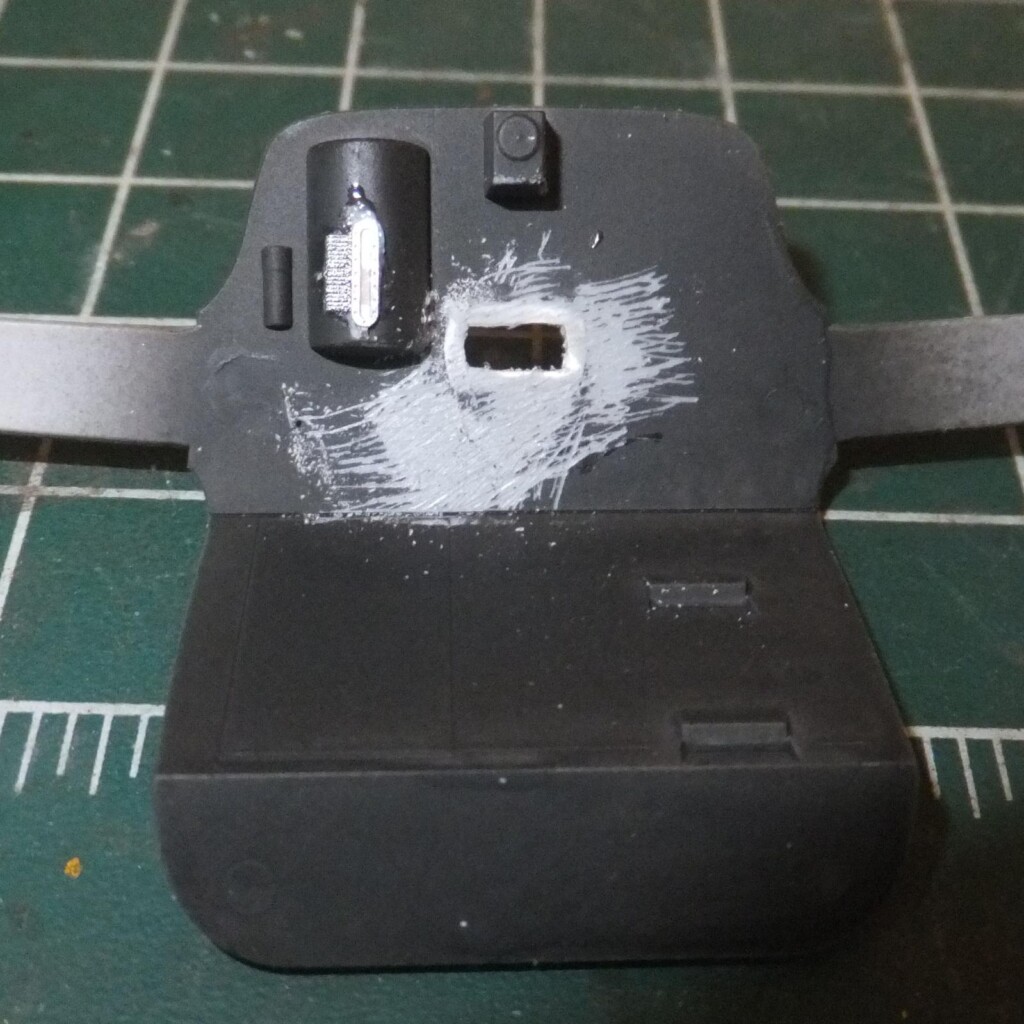
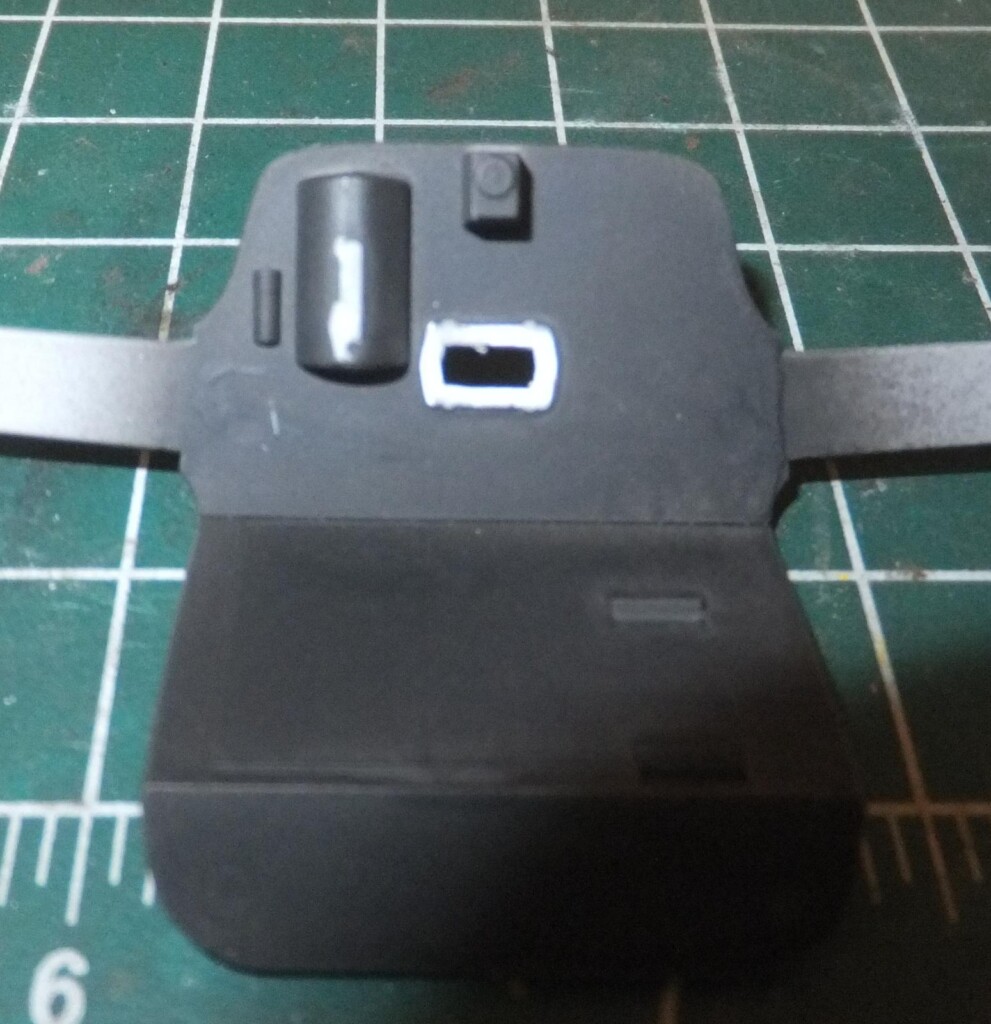
1. This area sanded to level this to attach the larger PE panel that will be place here.
-
1. Nato Black is painted hand painted over the modifield areas.
Once the PE is set, paint dry, the bulkhead is then attached to the LH fuselage, with the RH fuselage temporarily attached to set alignment.
Next up are to install the LH and RH nose gear bay side walls and doors on each side of the front of the fuselage. Similar in approach in how Monogram assembles this part of the build process.
-

1. similar to how Monogram assembles the side walls of the nose gear bay, with the doors as one piece.
The fit is good here, and basing my experience building the B-26C, this time a bit better in having this part of the build align better than the first time.
.
Next up, start on the cockpit.
More to follow.
1 additional image. Click to enlarge.