Shin Godzilla Resin Kit Build
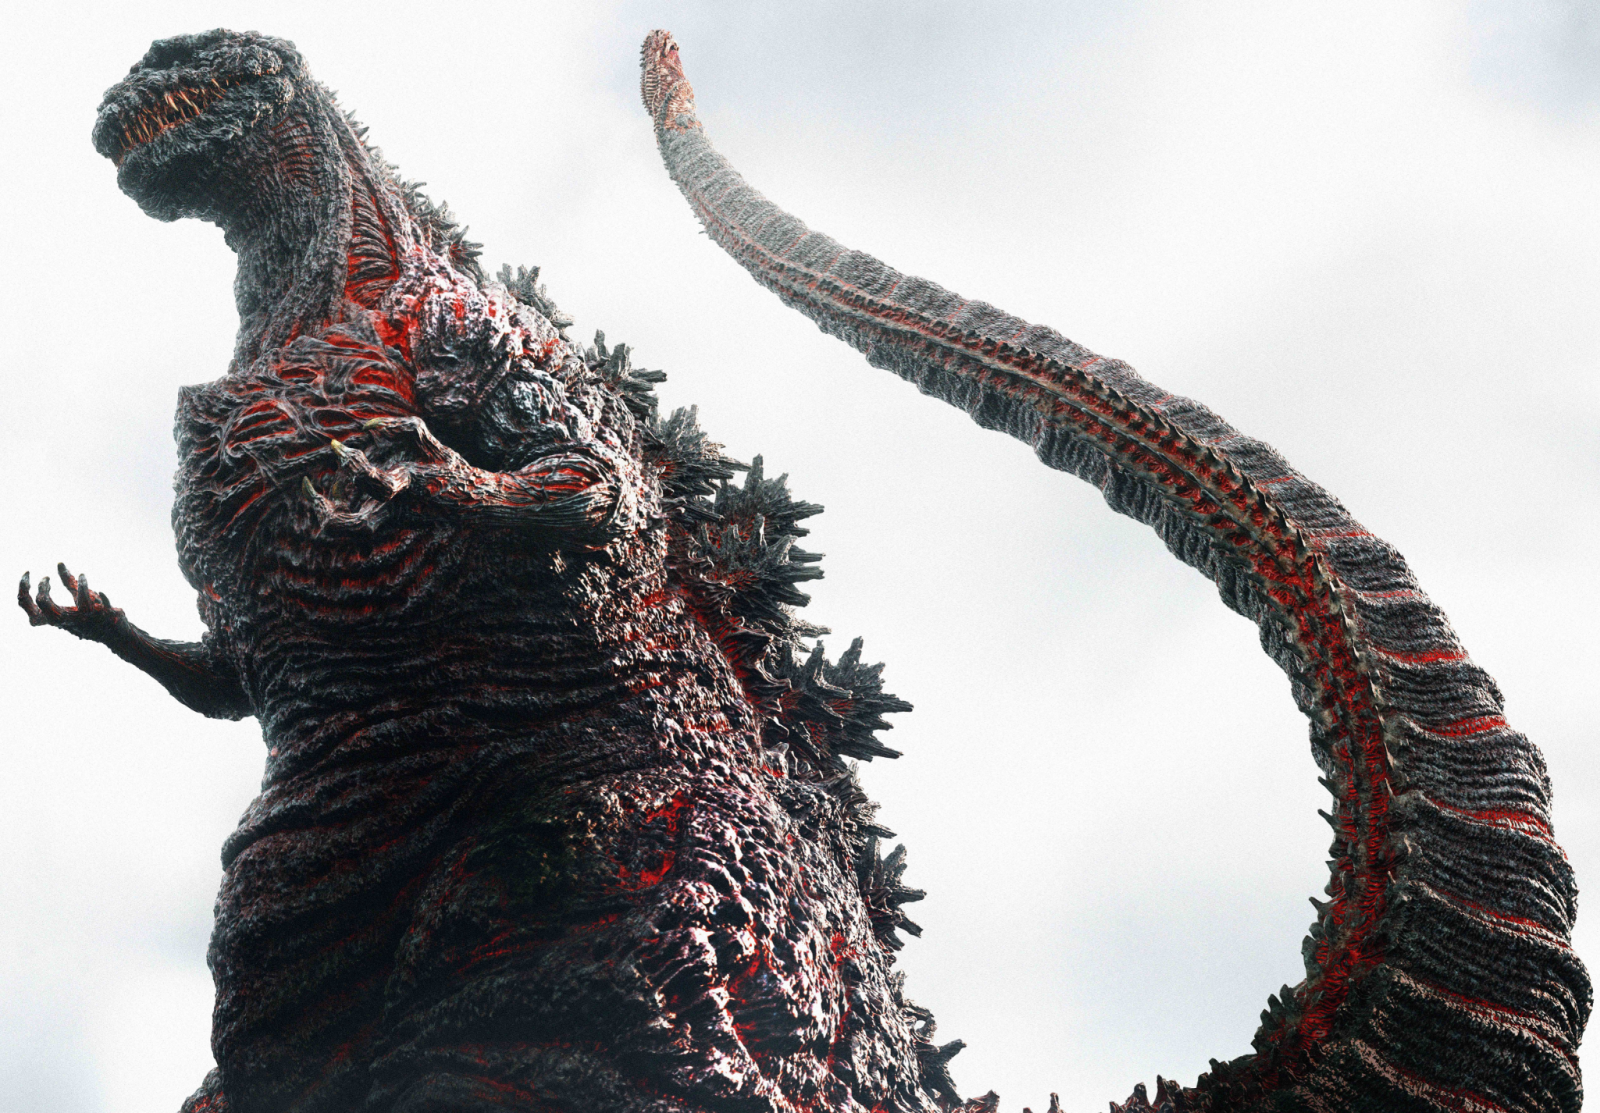
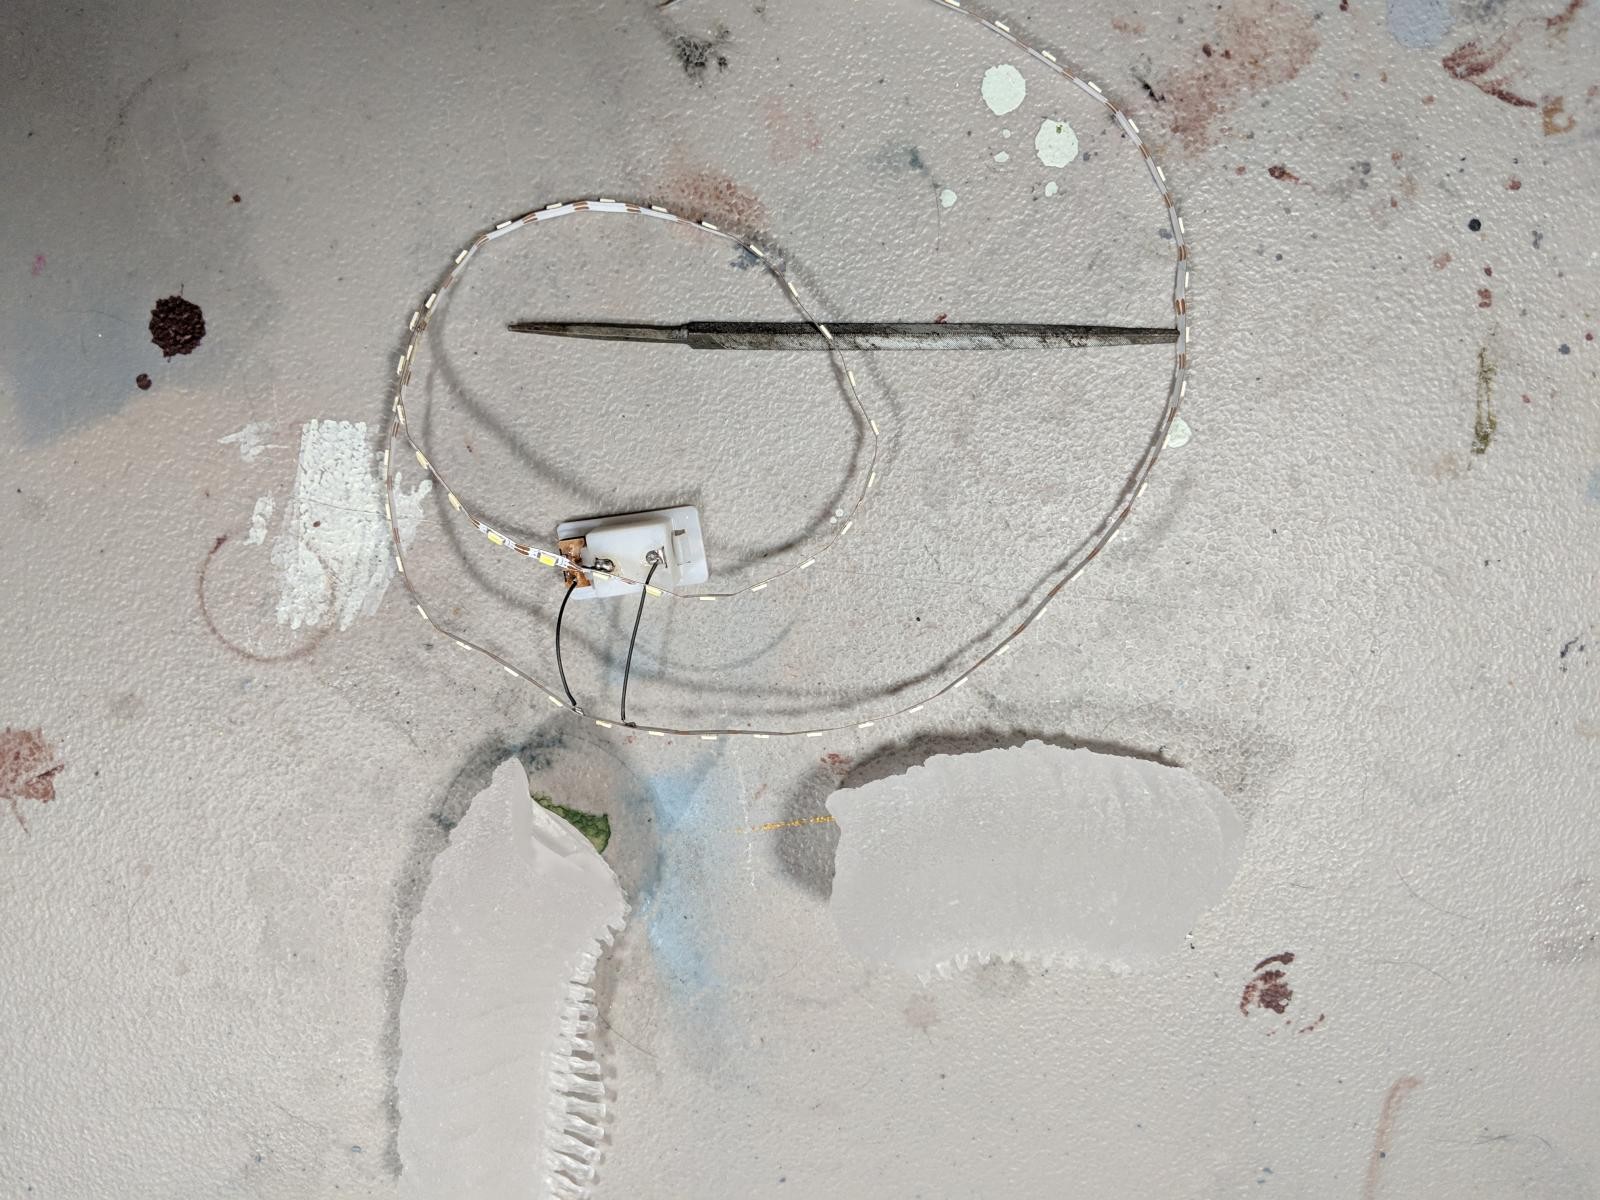
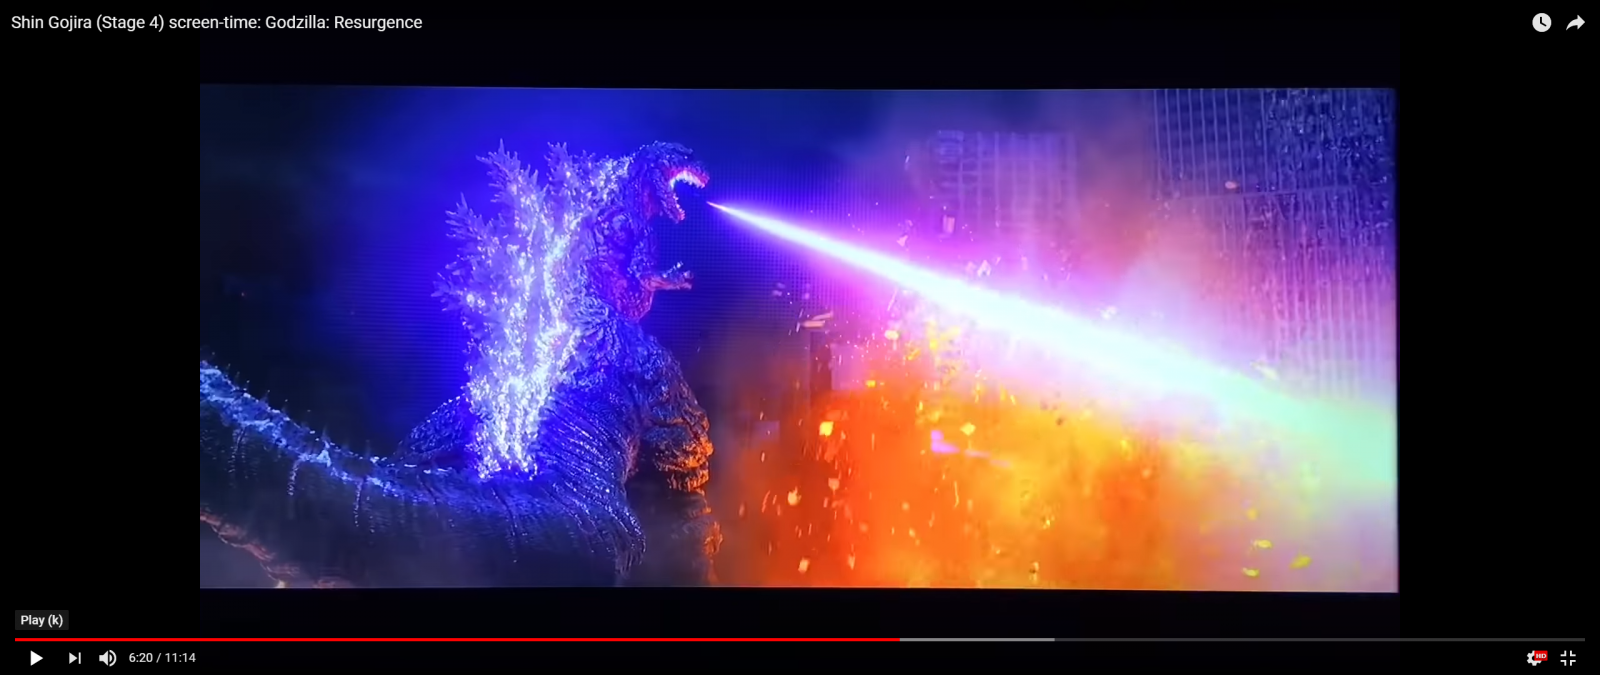
I started this build of Godzilla from the 2016 film Shin Godzilla (the new Japanese version, pictured above) as a gift more my brother and sister-in-law after they dealt with the bulk of our mother's estate affairs last year after her passing. They are both huge fans and it seemed like an ideal way to show thanks. I ordered the kit from Ebay and it was delivered from China in early 2019. The clear resin kit included an LED strip for creating the spine lighting effect when Gojira uses his atomic breath and 2 heads for fire breathing and normal.
For complete disclosure: I've never done a build log before, so I forgot to take pictures at some stages.
I've never built a resin kit and it presented a few challenges:
1) Painting a full coat due to the clear material and extremely textured body.
2) Finding a way to make clear purple paint.
3) The colors of the beast changed constantly during the movie, so I had to improvise.
4) It didn't come with instructions!
5) It had to be done before the end of February, as my schedule becomes problematic for completing the kit after this.
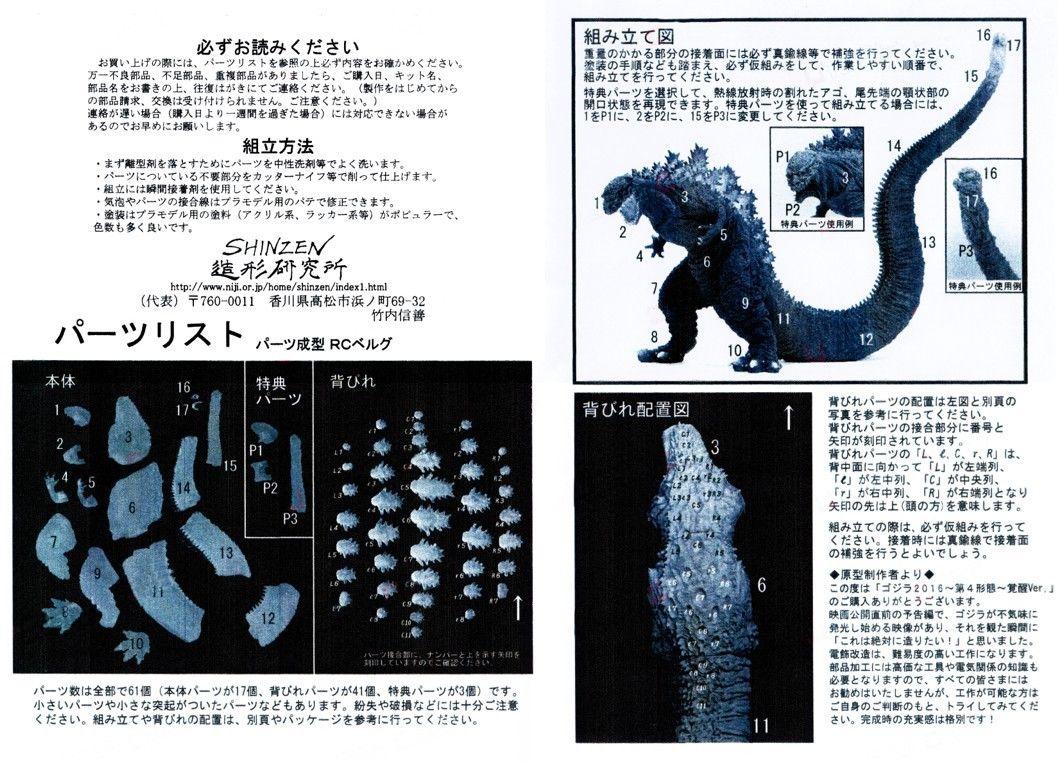
Luckily, item #4 wasn't as big of a problem as I anticipated, as the pieces were arranged in a manner that only the correct piece would fit and the manufacturer sent me a diagram (in Chinese) show the arrangement of the 41 plates on the monster's spine.
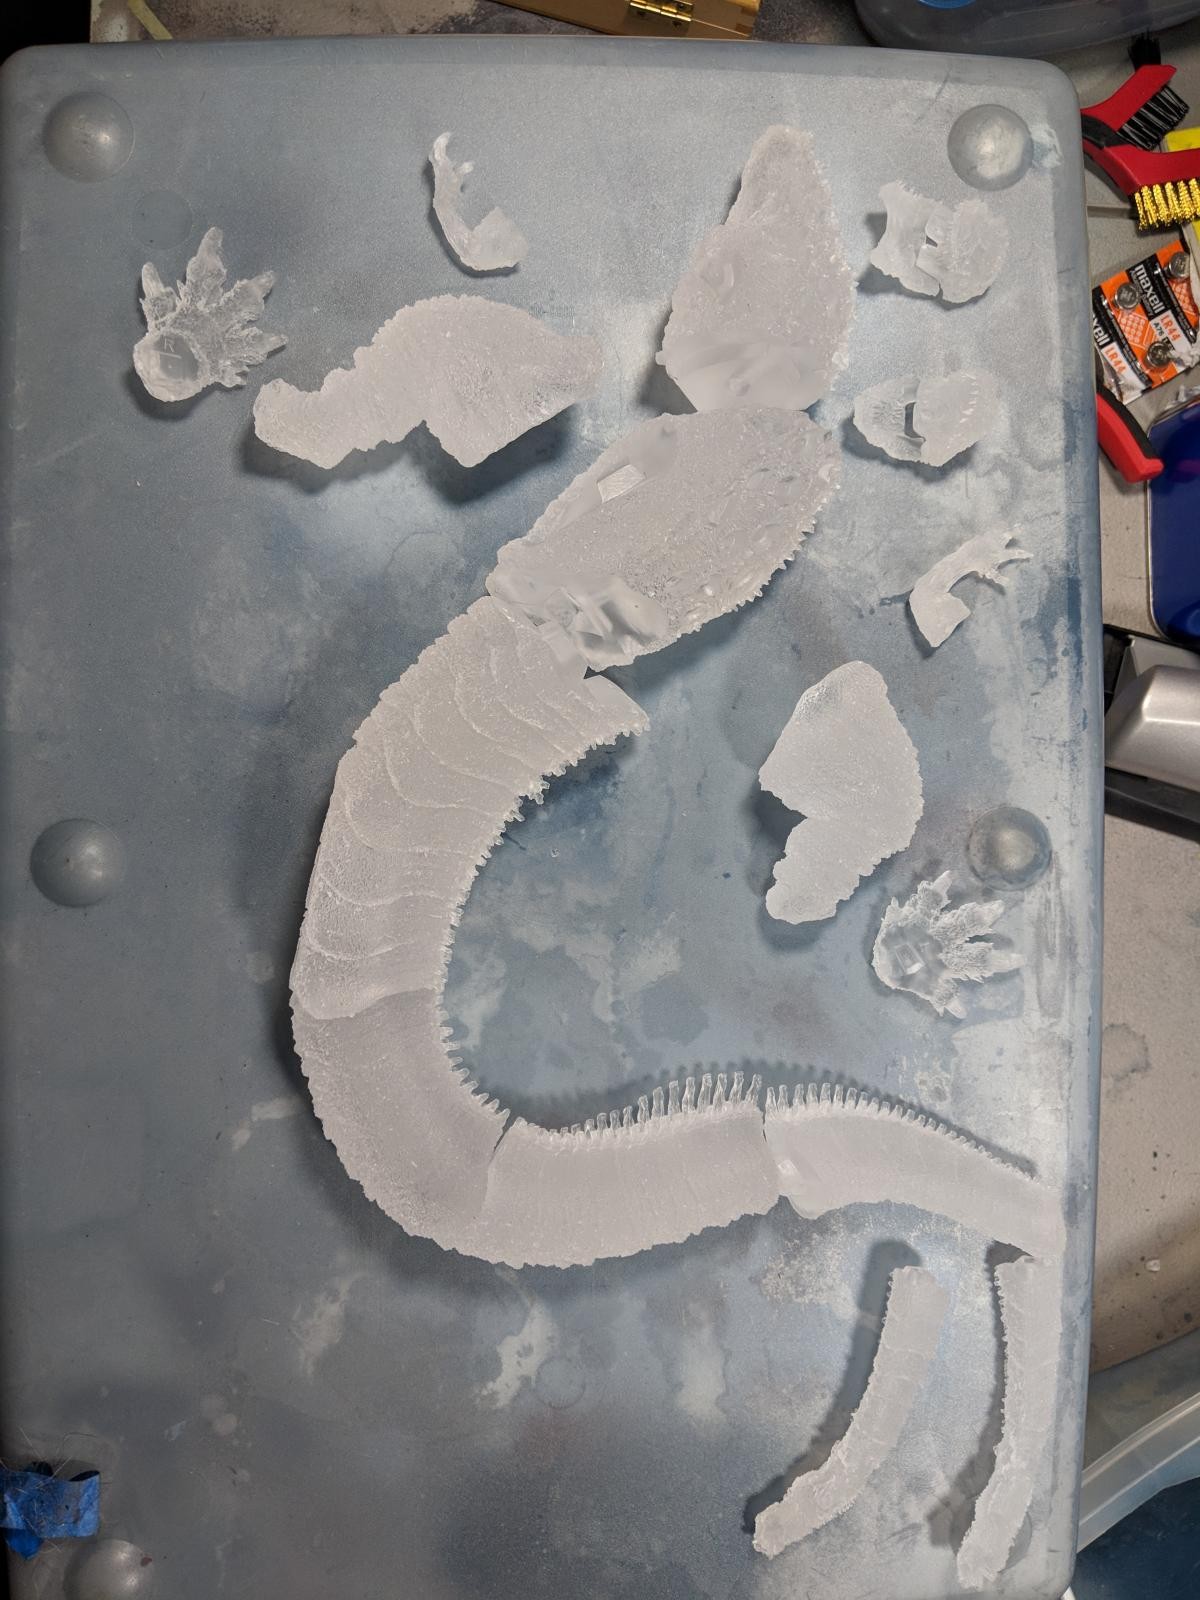
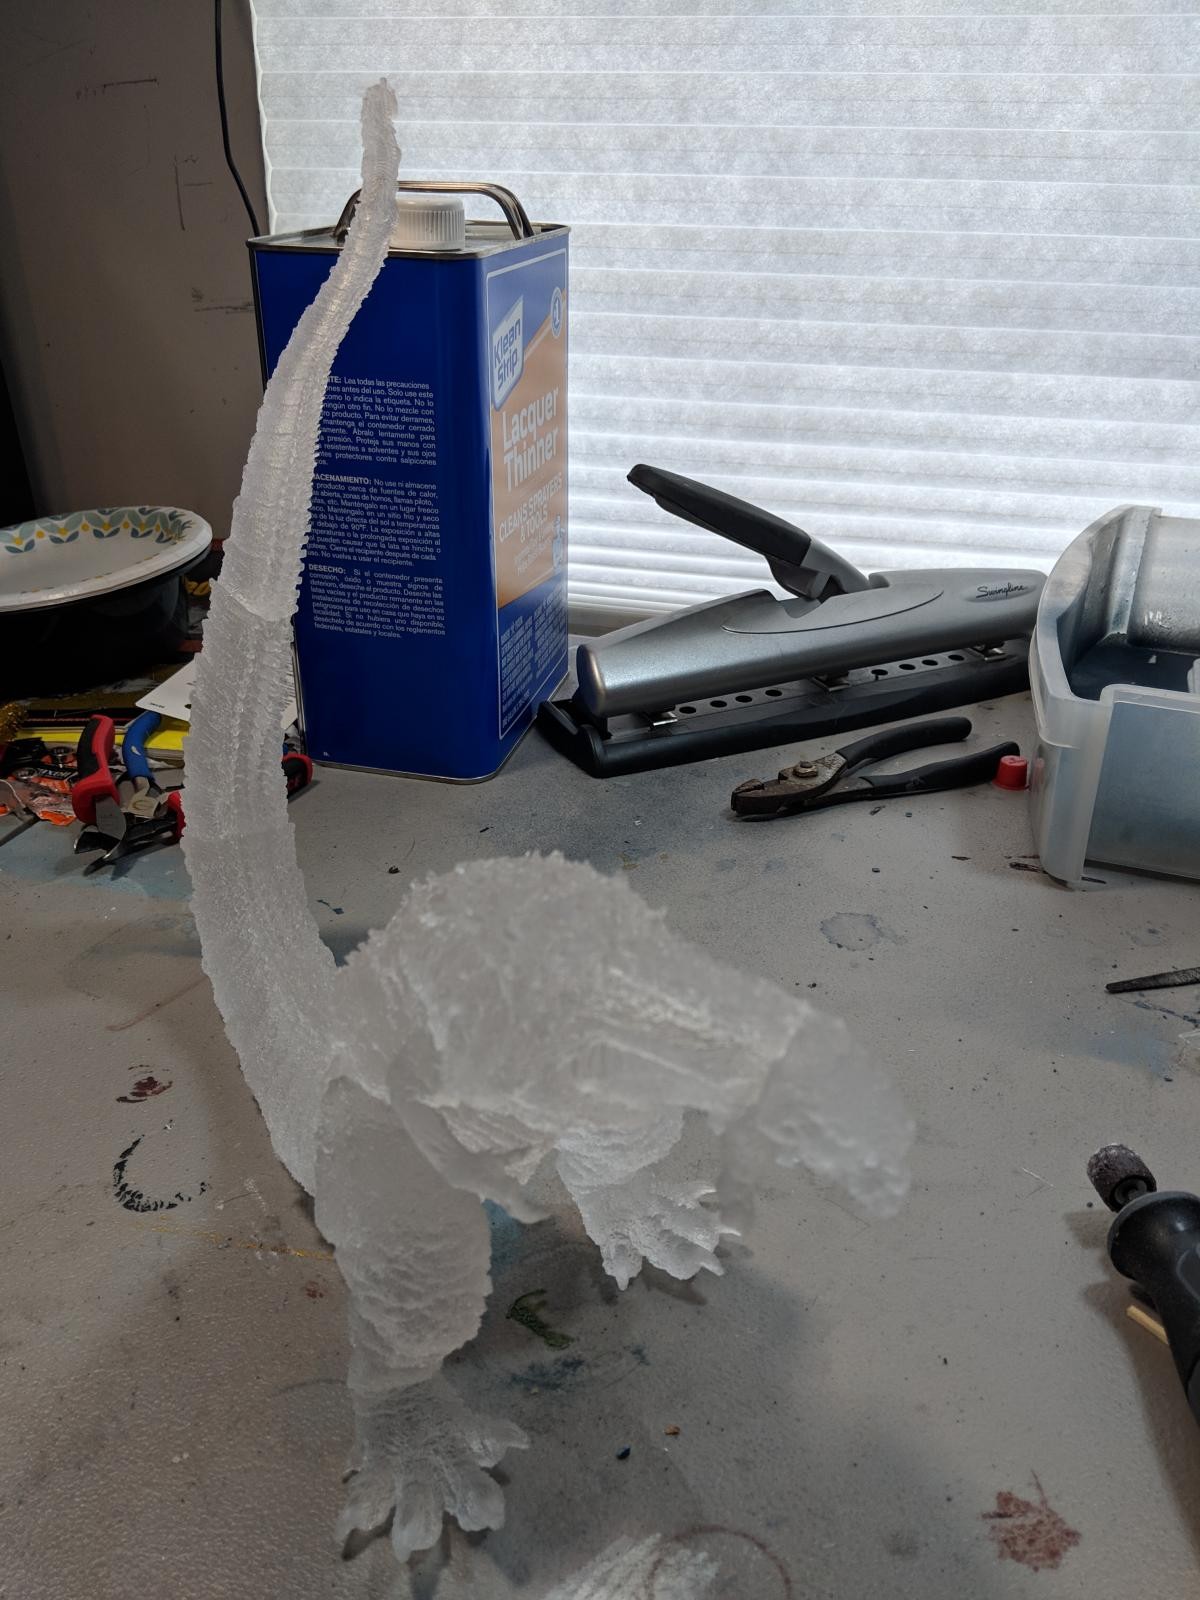
The parts were first washed in a mild detergent and air dried for several days to make sure there was no residual moisture in the textured body. I decided to assemble the entire kit sans spine plates prior to painting, as I felt that masking properly would be a challenge on multiple pieces.
The fit of the pieces was superb. I did find that a good amount of sanding was require to remove the flashing from the production process, but this was easily accomplished using sand paper and a battery powered Dremel tool with the abrasive tip. Due to the five minutes required to allow the pieces to set, it took about two days to assemble the body, then another day to repair two of the sections that came apart when I did a light stress test to verify stability.
I masked the spine region using six eggs of silly putty. It worked extremely well and was quite easy to remove after being on the model for three weeks.

I used Tamiya spray primer in four coats. I sprayed in multiple angles in order to get the best coating.
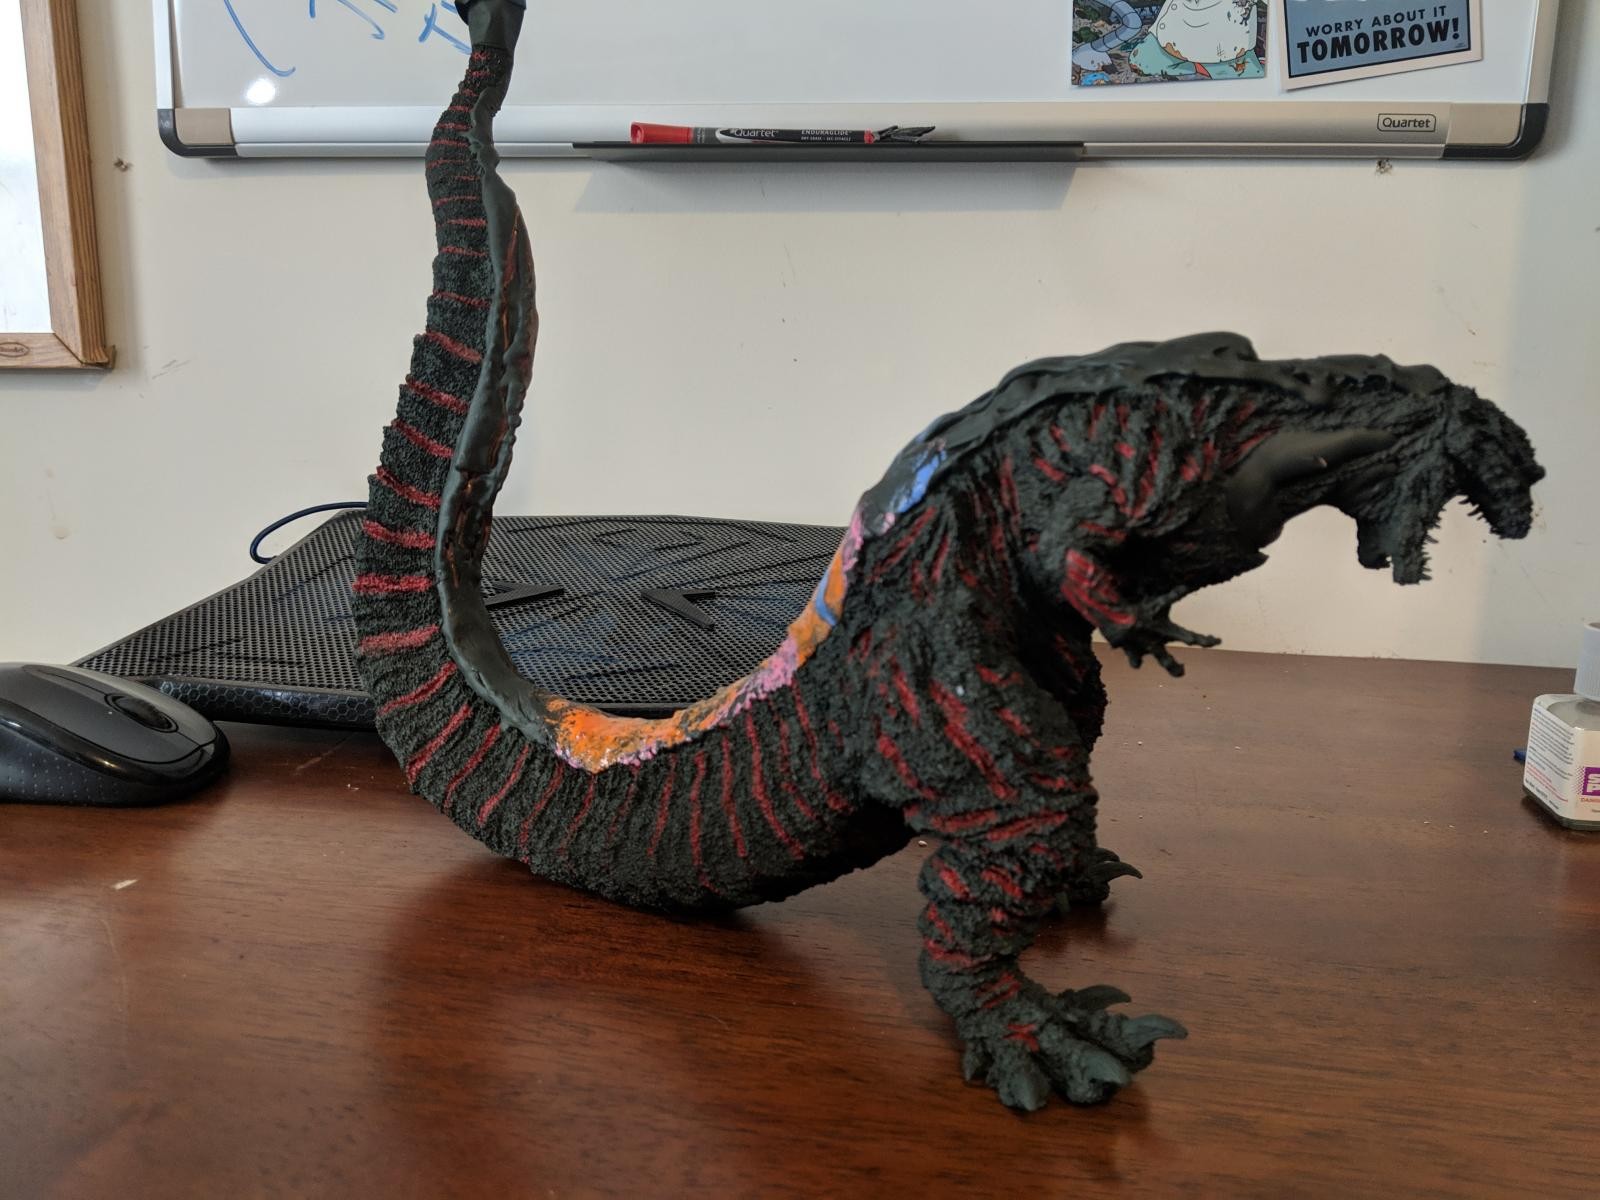
I used a combination of airbrush and hand brushes to apply the paint. With Tamiya Black Green (XF-27) being the primary skin color. This was more of an artistic choice, as the creature in the film seemed more dark grey. The area in ridges perpendicular to his body and some other surface details were coated in Model Master Insignia Red. Teeth and claws were painted using Model Master Flat White.
What I discovered when turning on the spine lights, was that there were still very small areas where no paint adhered to the kit due to the craggy texture of the skin. Despite repeated attempts to airbrush and hand brush, the bulk of them never went away. The bulk of them were tiny dots that were only noticeable when the light was turned on.
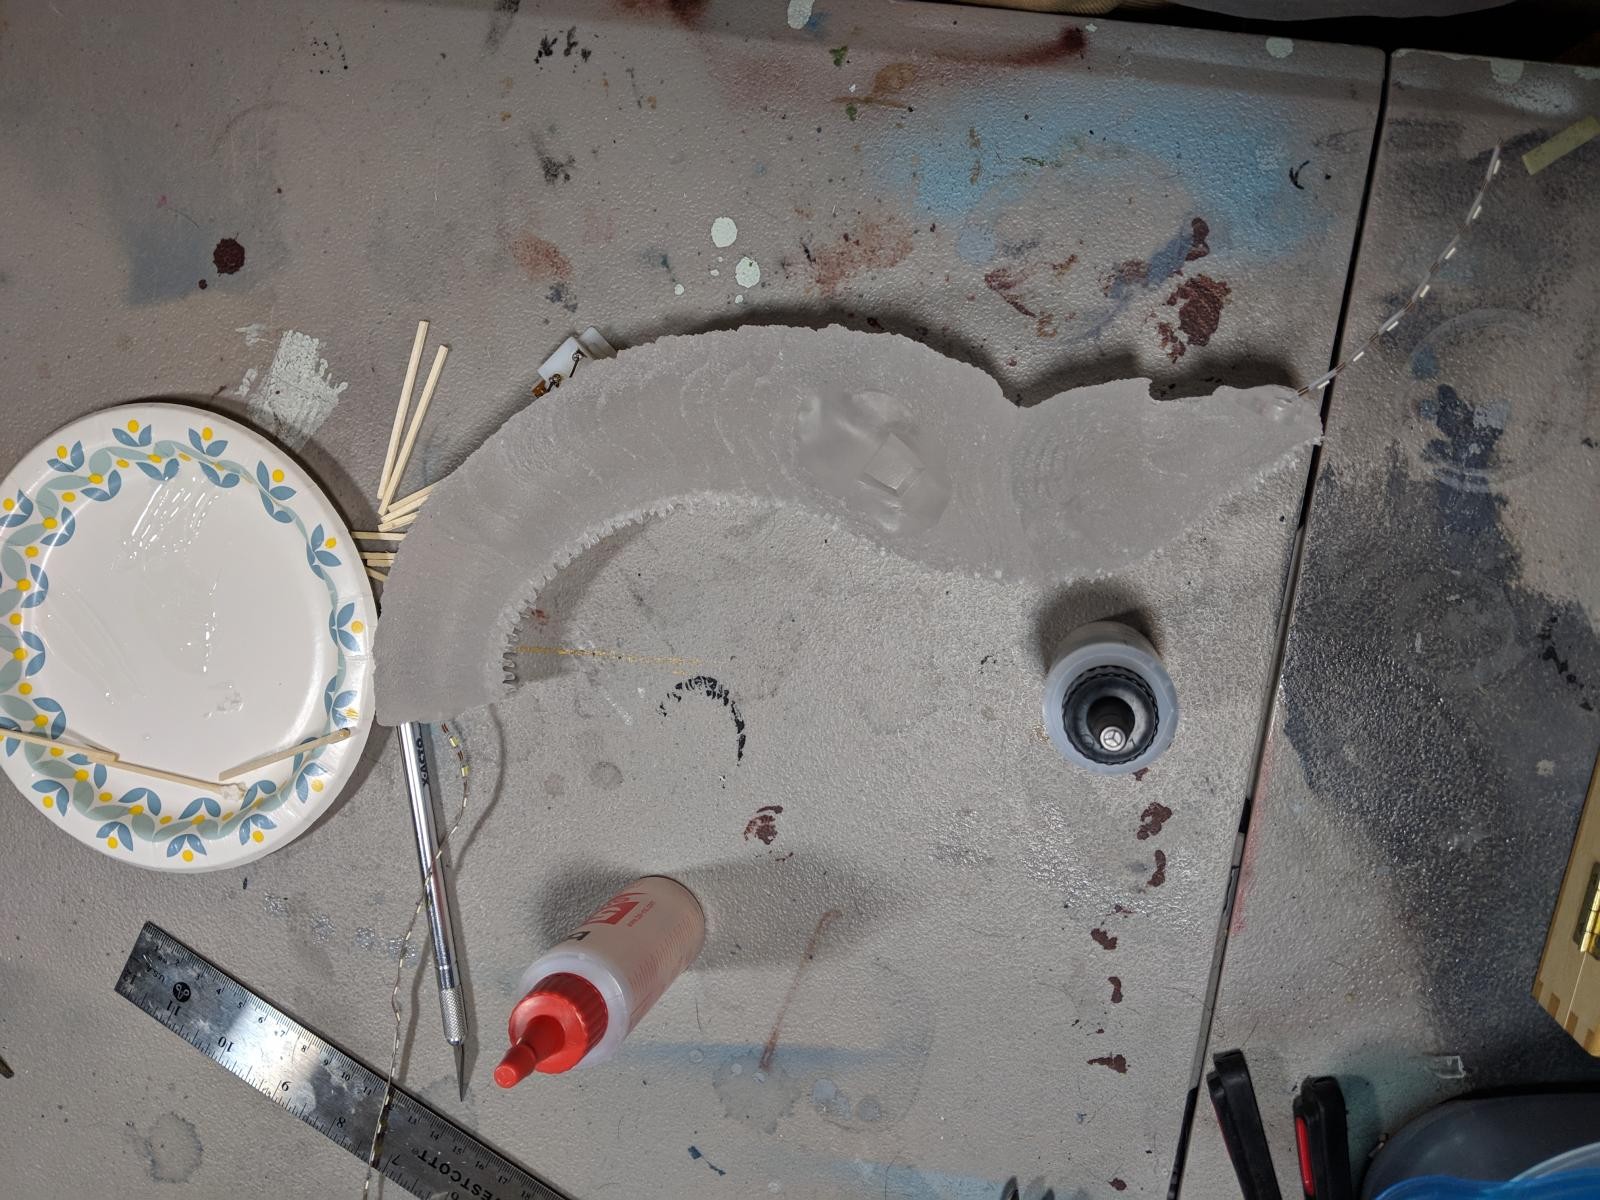
After this, I removed the silly putty and remasked the kit to begin painting the spine area and plates. This is where I forgot to take some pictures during construction. I tried several combos of thinner and paint, but wasn't happy with the results, which had a hard time coating in the absence of primer. I went with a ratio of 5-1 Tamiya Clear (X-22) and Purple (X-16), which gave the best coat. I'm not sure if I got the exact color of purple used in the film (see below), but I was pretty pleased with the result.
I painted the spine plates on the sprue and used Tamiya Black Weathering Master on the edges of the plates after painting to get the right effect.
The spine plates took several days to place on the back using super glue. It took a great deal of detail sanding to clear the flashing. The pieces were labeled well with part number and an arrow indicating the facing (I needed a magnifying glass to see some, but they were there!) .
After completing spine placement, I used the weathering compound on the claws and teeth to give a more realistic touch.
The final step was a coat of Tamiya clear coat (which was too much gloss) and three coats of Model Master Dull Coat.
I'm pretty pleased with the outcome, seeing as I've never built a resin kit or a monster. Now I'm looking forward to returning to my wheel-house and commencing a Tamiya 1/350 Prince of Wales.
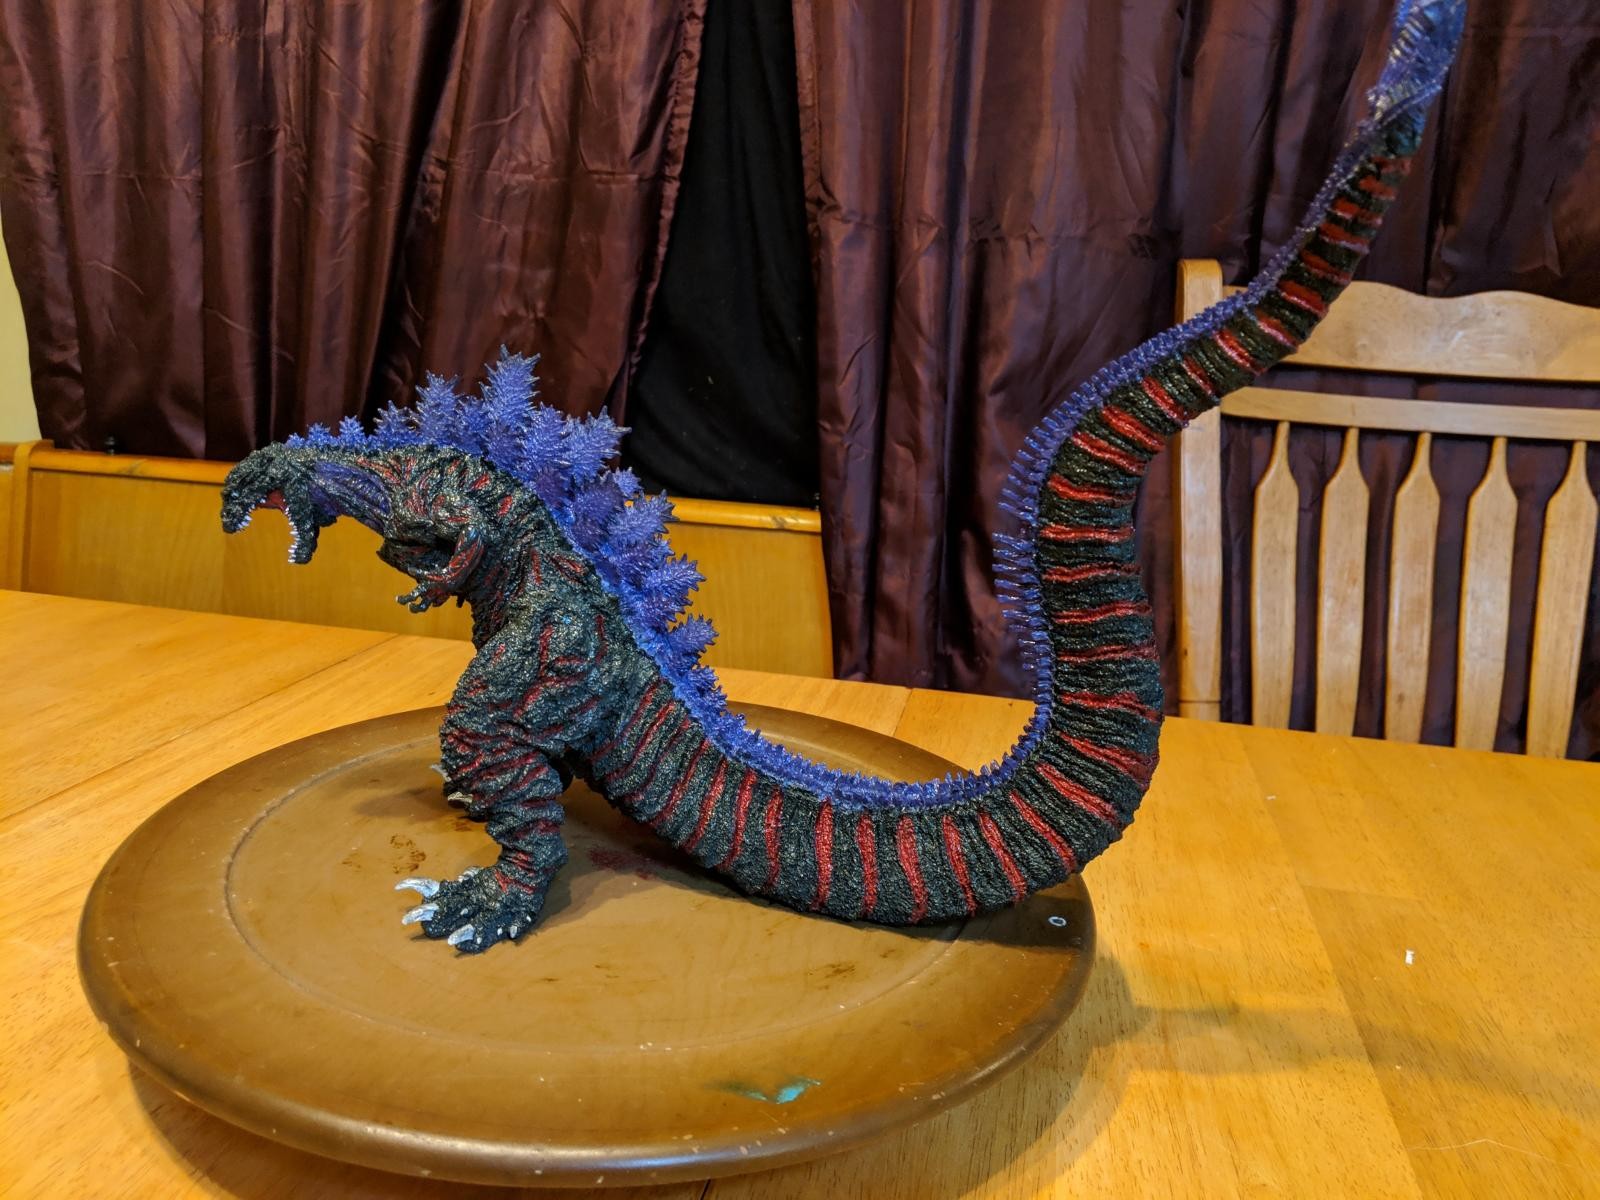
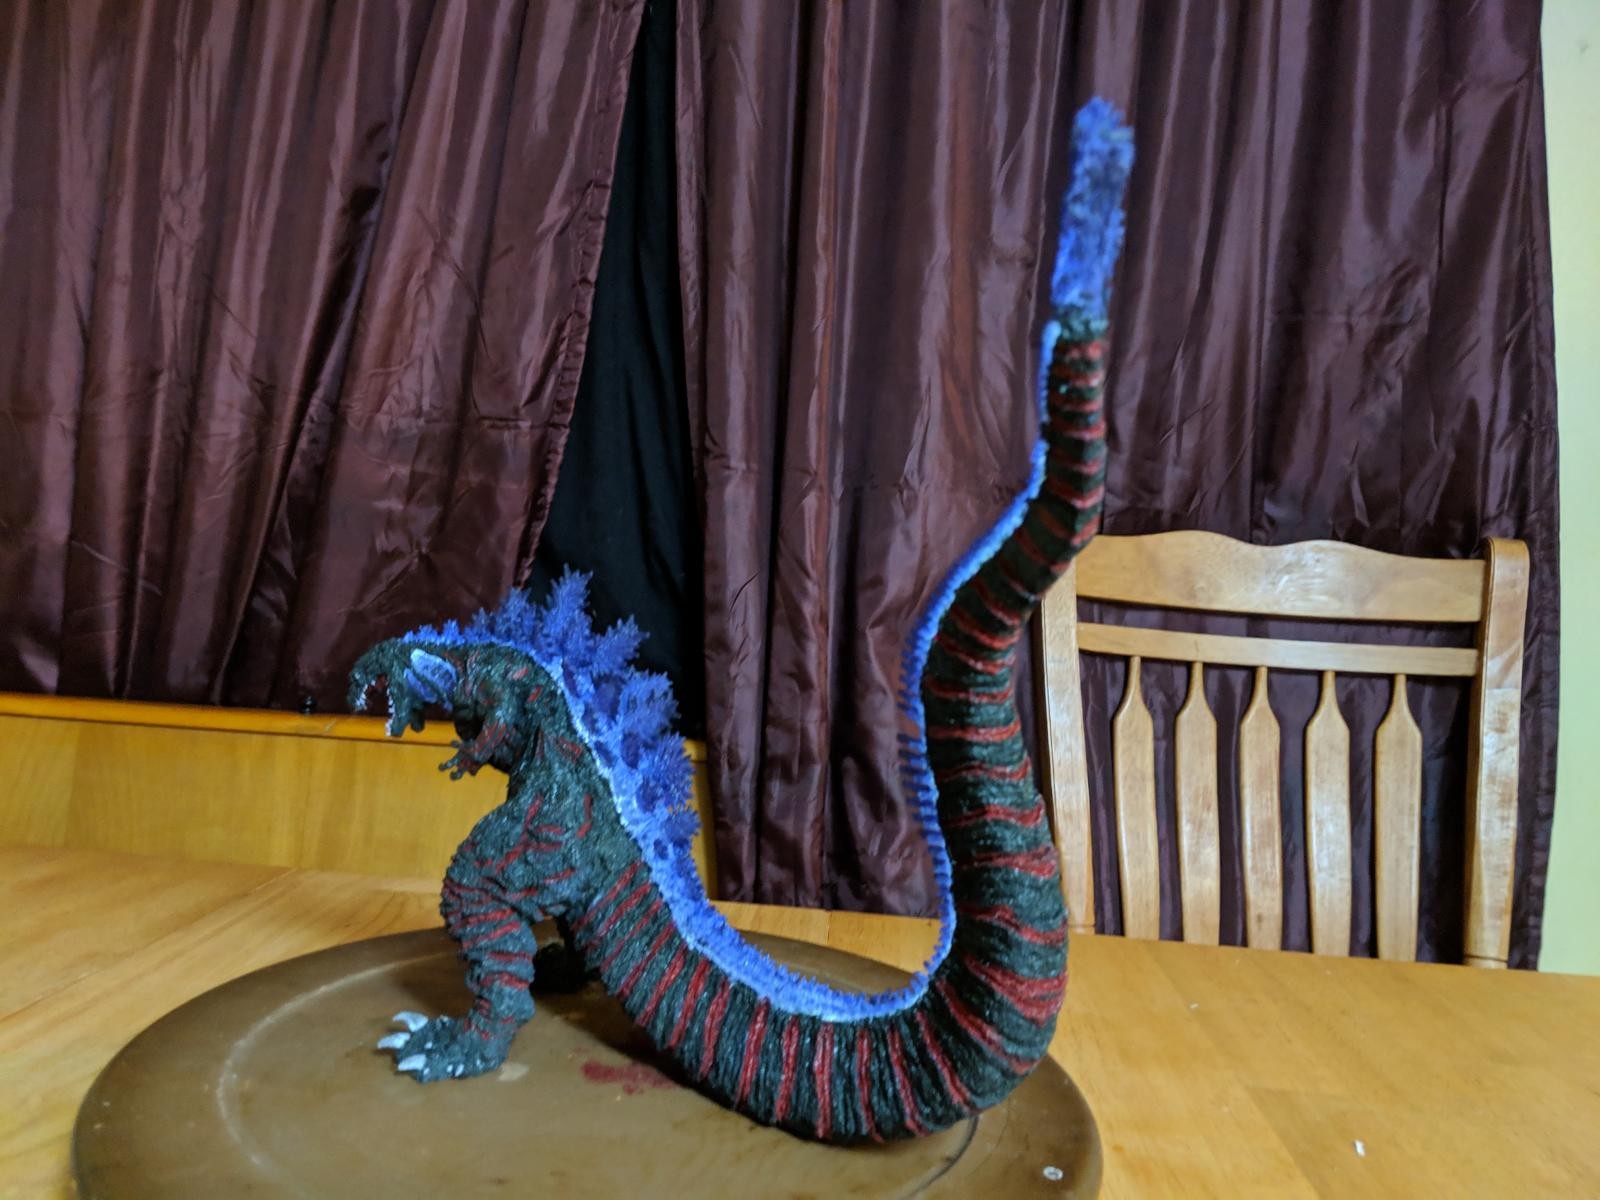
FINISHED KIT:
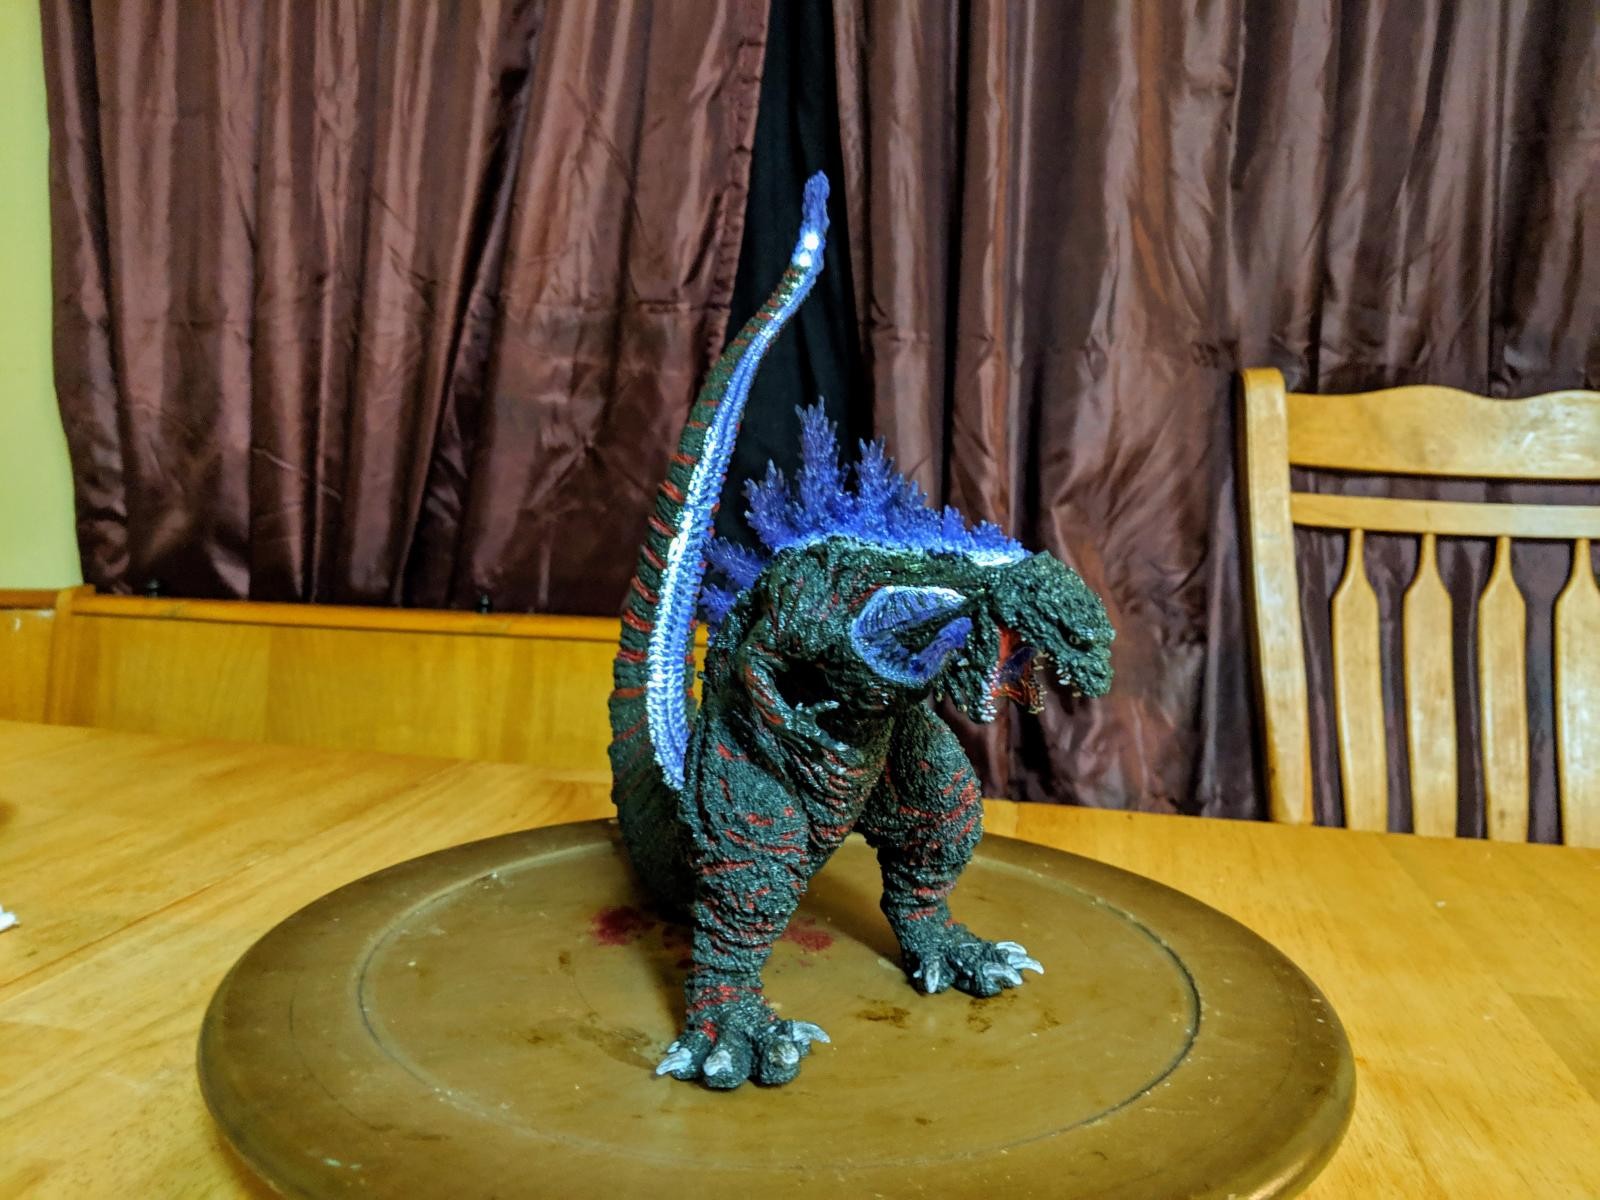
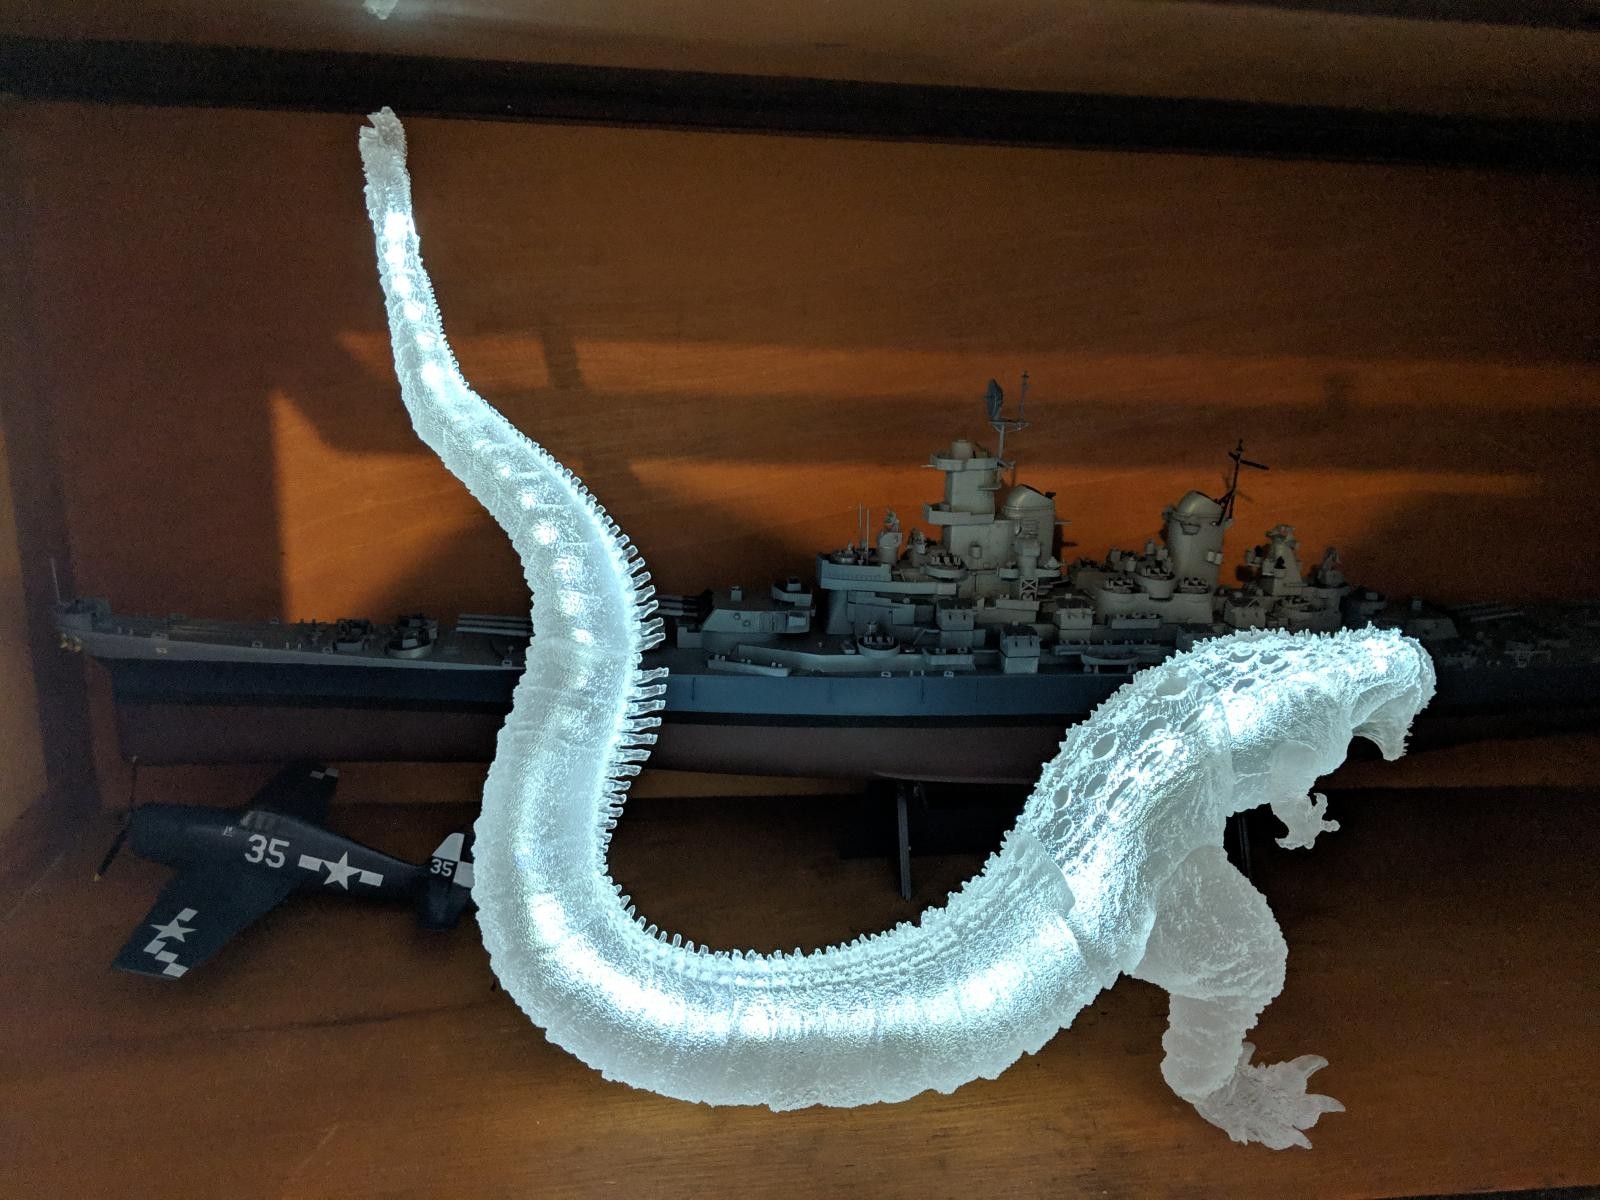
LIT UP:
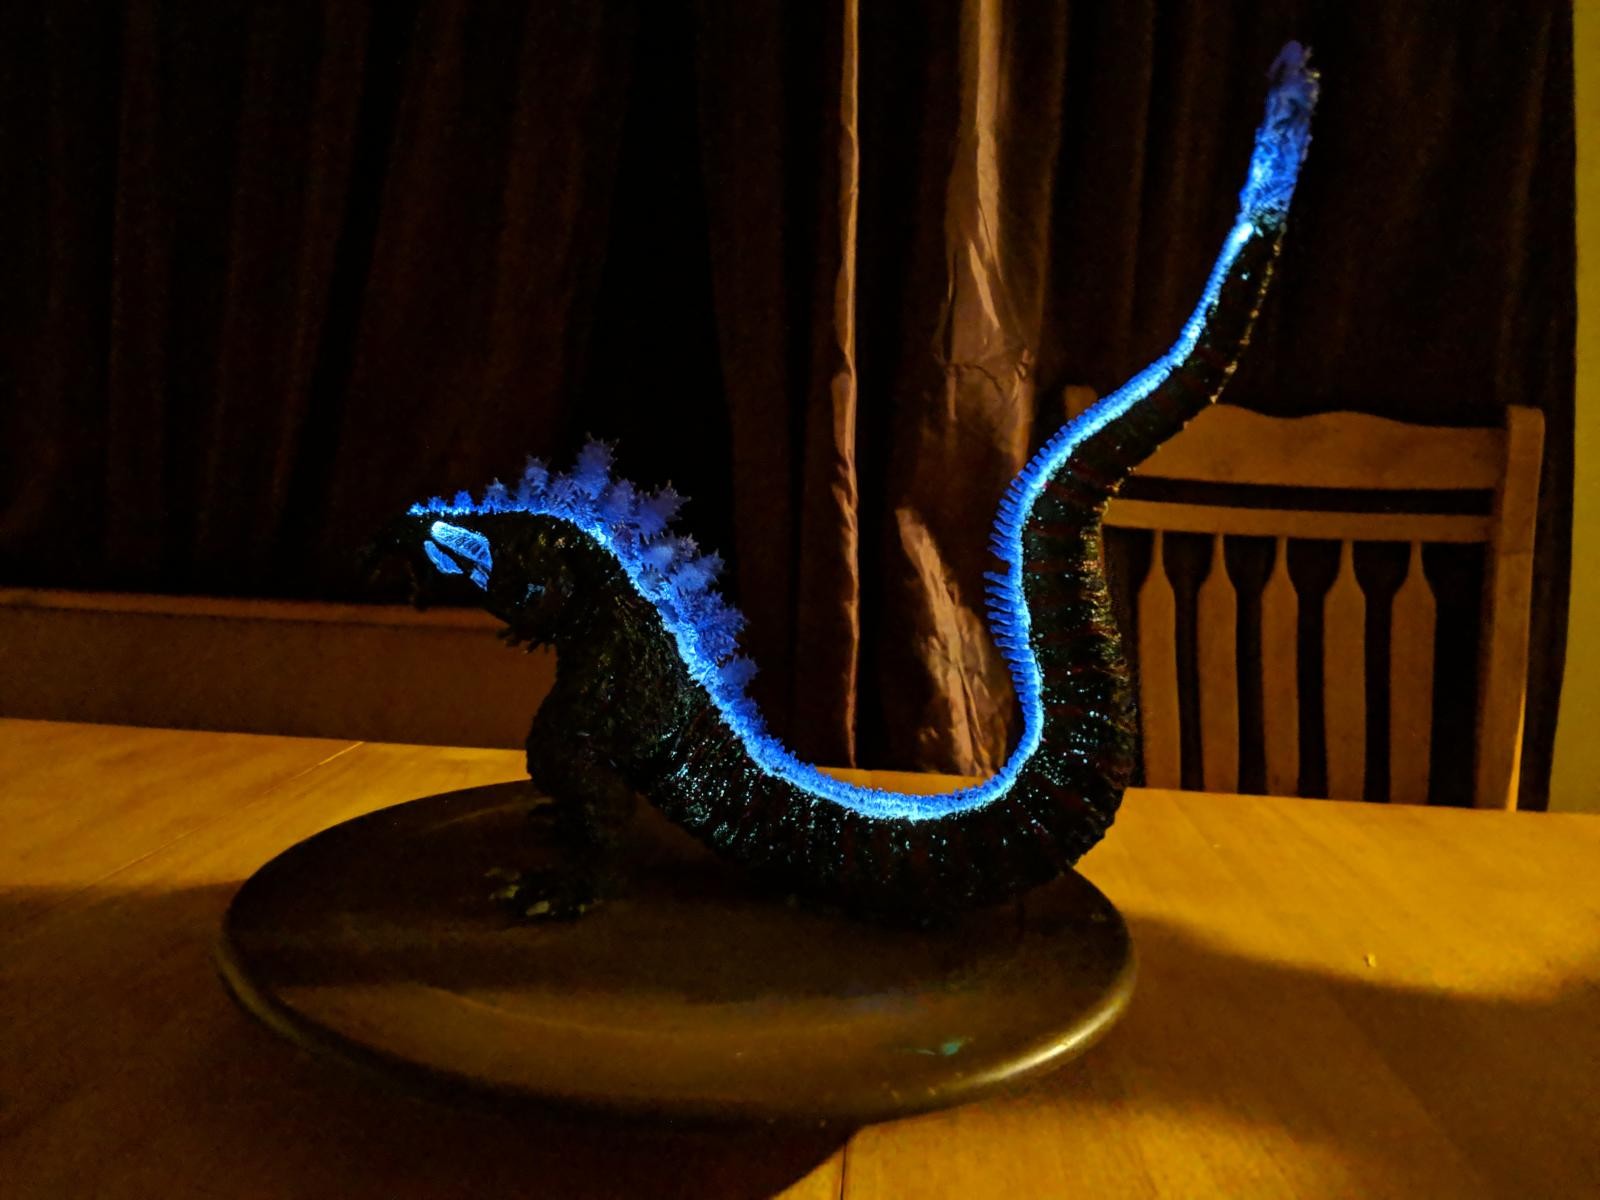
LIT UP IN THE DARK


An eye-catching piece, Neil...welcome.
A great and interesting build, you've got Catzilla in there too!
Cool. Some of those first movies in the Franchise had the guy in suit wearing a Godzilla suit that included cement. Now we have resin and lighted models...
Not something you see everyday. Very cool and nicely executed
That’s pretty cool! Nice job, and welcome.