Review: iModeler Review – Border Model 1/35 Pz.Kpfw.IV Ausf. G
Summary
Border Model Pz.Kpfw.IV Ausf. G Mid/Late
Scale: 1/35
Kit No: BT-001
Pros: Excellent detail, link-and-length tracks, PE skirts, bonus metal barrel, 10 marking options
Cons: Instructions have some issues, see text
What's it About?
Although not as famous as the Panther and Tiger tanks, The Panzer IV was the mainstay of the German tank arm for most of the war. Initially designed as an infantry support vehicle with a stubby 24 calibre 7,5cm gun, it was later up-armored and up-gunned to carry a long-barrelled 43 or 48 calibre 7,5cm gun. Some 8,500 vehicles were built, and its chassis was the basis for vehicles like the StuG IV, Jagdpanzer IV, Hornisse, and the Hummel 15,5cm self-propelled howitzer.
The Ausführung (Variant) G depicted in this kit was produced from the fall of 1942 and carried the long-barrelled gun as well as added armor plating on the front hull.
Border Who?
Border Model is a Chinese company which up until now offered tools and masking material for scale models. Apart from that, the kit's box art and sprue design look decidedly Takom, and it would not surprise me if some chap from some company did something with some other chaps. Making sense of the interconnection between all the new kit producers from Asia is like trying to follow the plot of a Telenovela – you could, but why would you. Important thing is, they keep pumping out nice kits.
Box Contents
Inside the somewhat flimsy box you will find
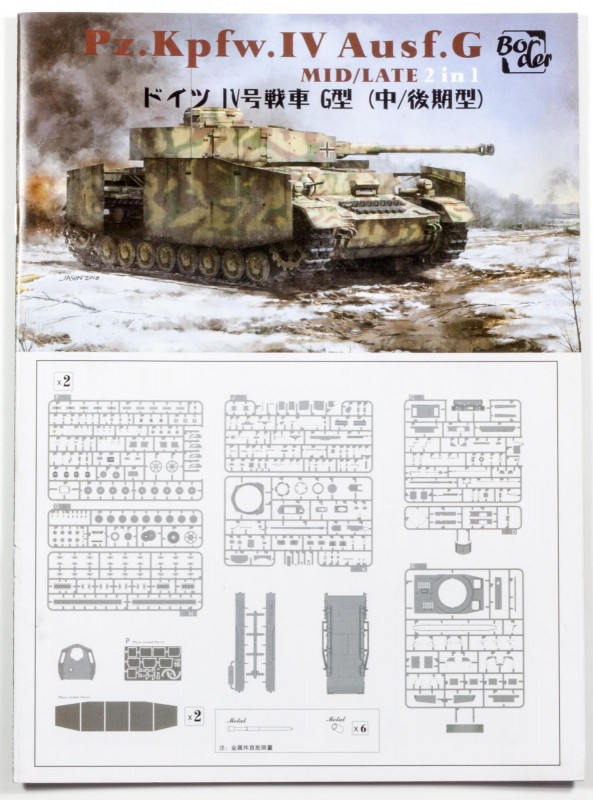
- 9 grey sprues
- Separate hull tub and turret
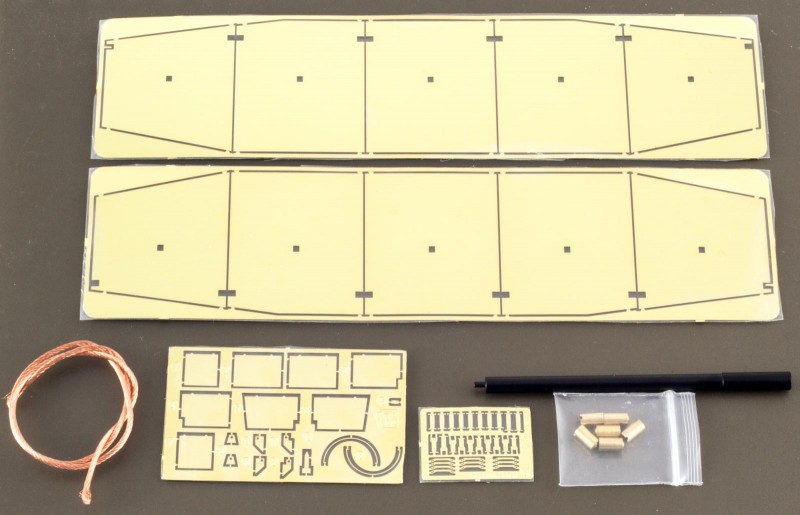
- 3 PE frets
- Copper cable
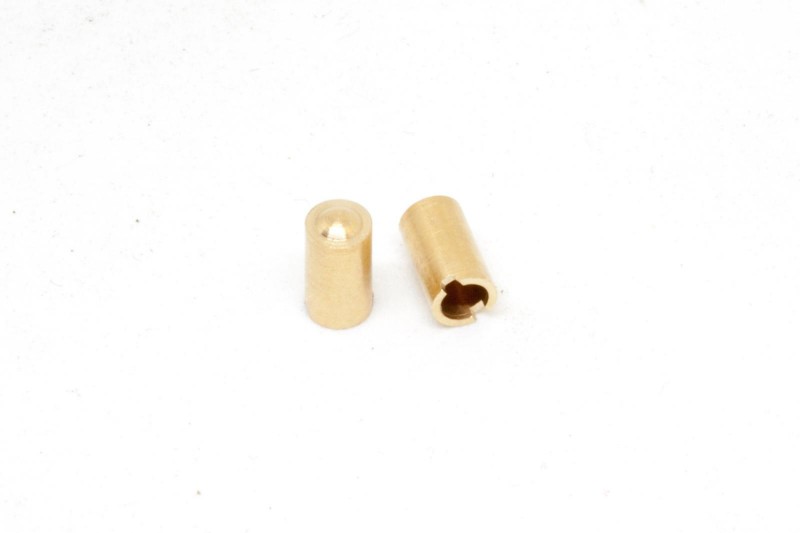
- 6 brass cylinders
- Blackened metal barrel for the L/48 gun
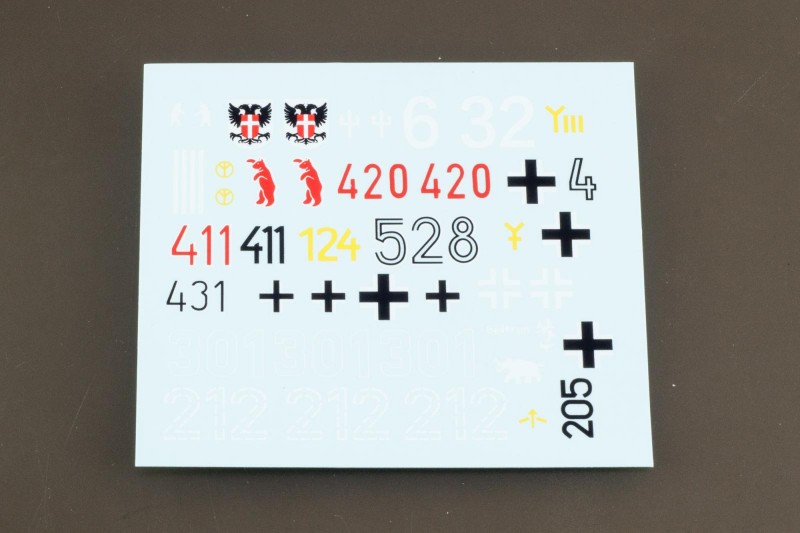
- Decal sheet
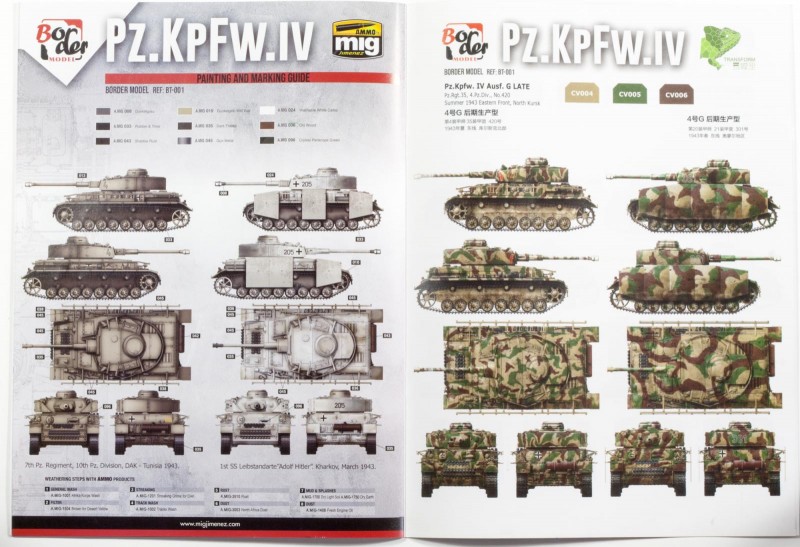
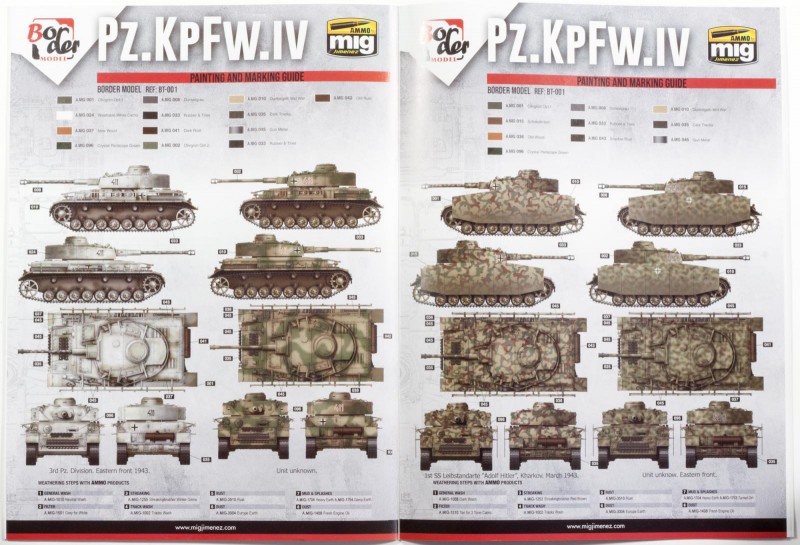
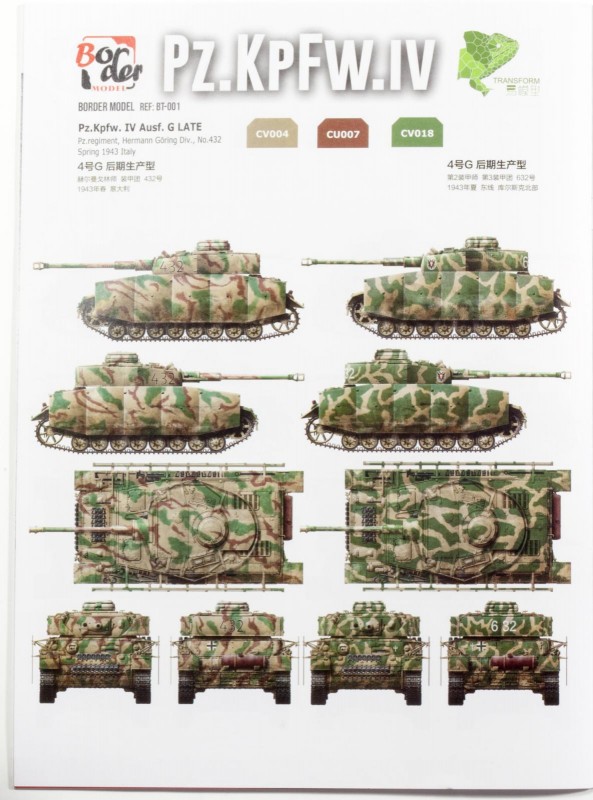
- Instruction booklet including full color marking guide
The sprues are packed separately in re-sealable bags, which is a nice touch, and everything arrived in good order without any broken parts.
Instructions
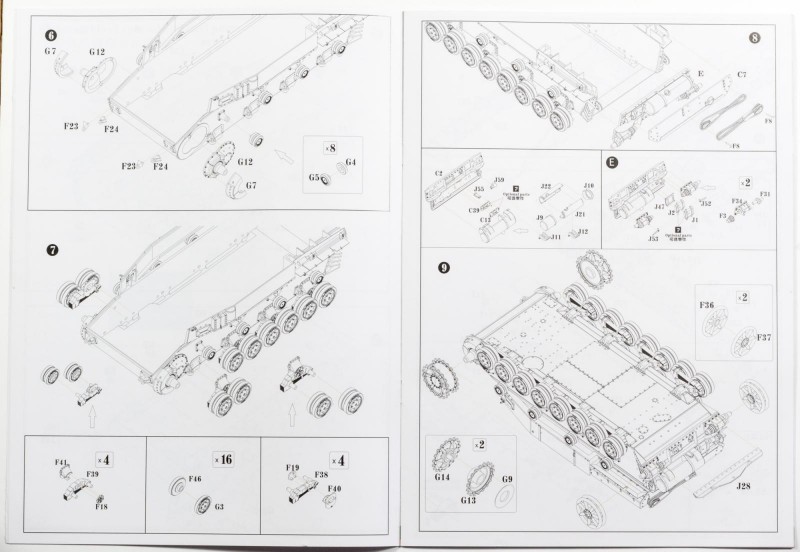
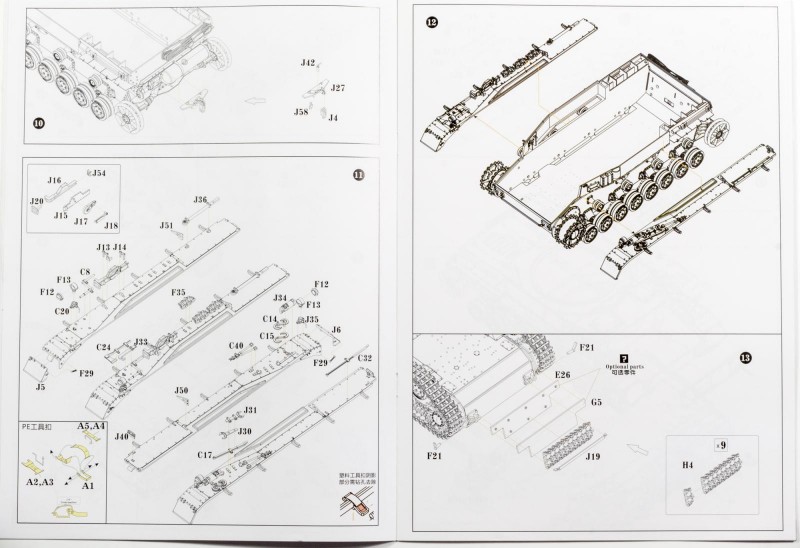
The 24-page instruction booklet leads through construction in 24 steps. It consists of standard b/w drawings and notes in English and Chinese. Well, most of the time.
The first issue I found is that some of the notes have not been translated, leaving you to guess what you are supposed to do. Furthermore, some steps have you choose between optional parts, but no information is given to which of the marking schemes these options apply.
Seven of the ten color profiles are provided by Ammo by Mig, which means that all color call-outs refer to their line of paint. The other three profiles reference a paint line called “Transform”. I have never heard of them, and the only information I was able to find online looks decidedly Chinese.
The Plastic
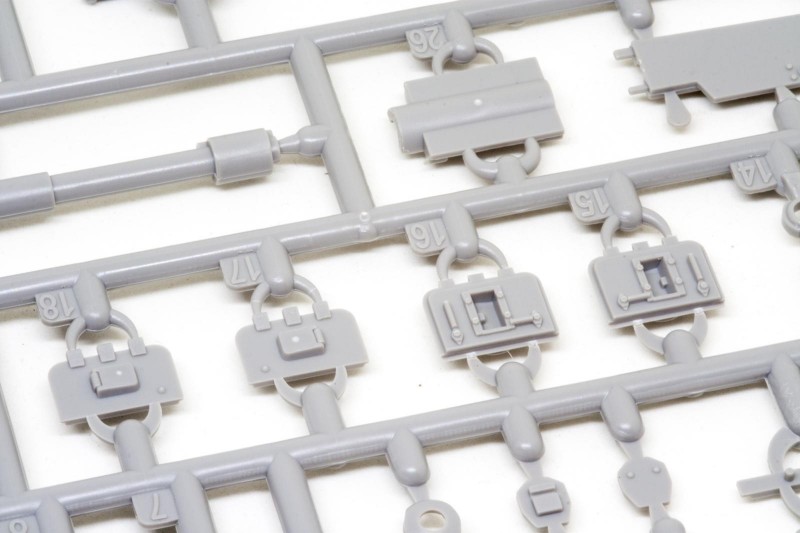
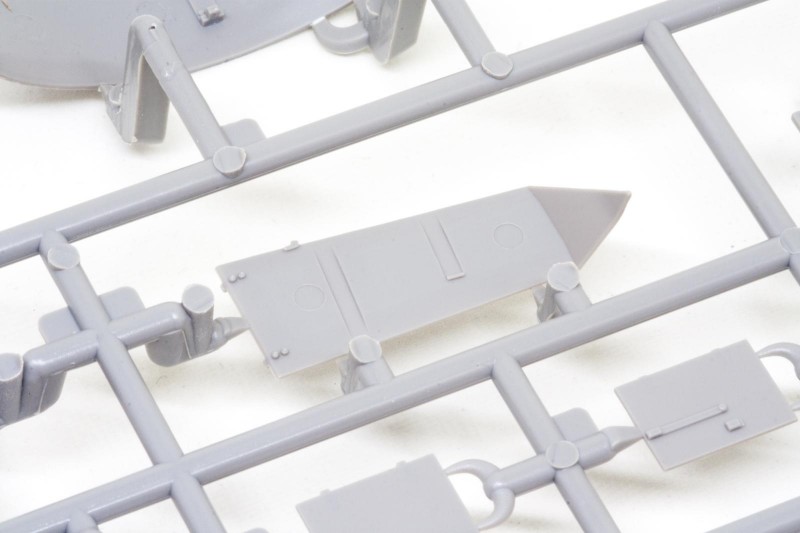
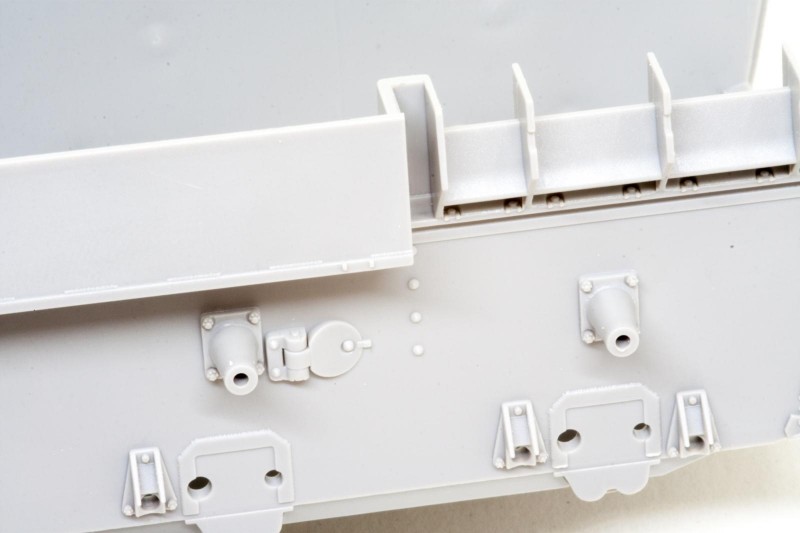
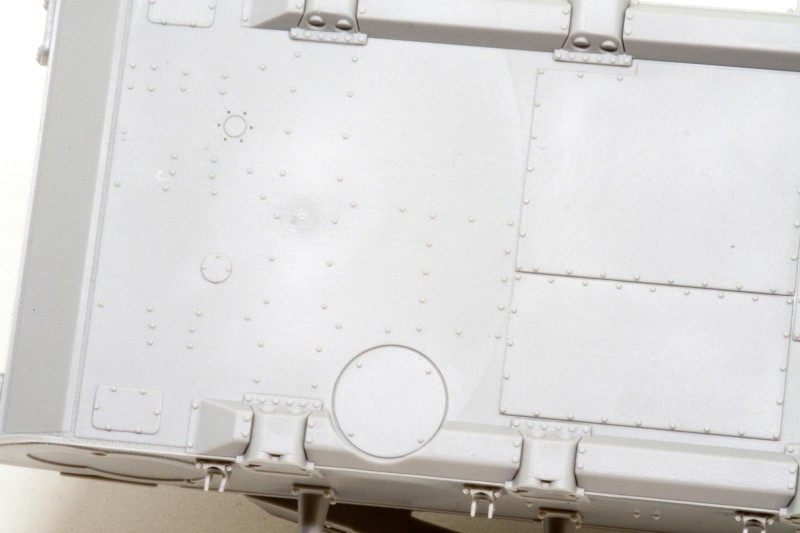
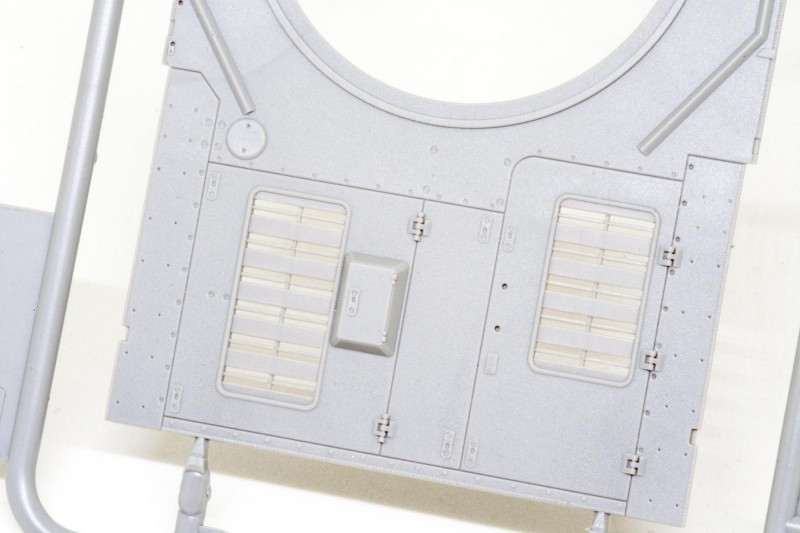
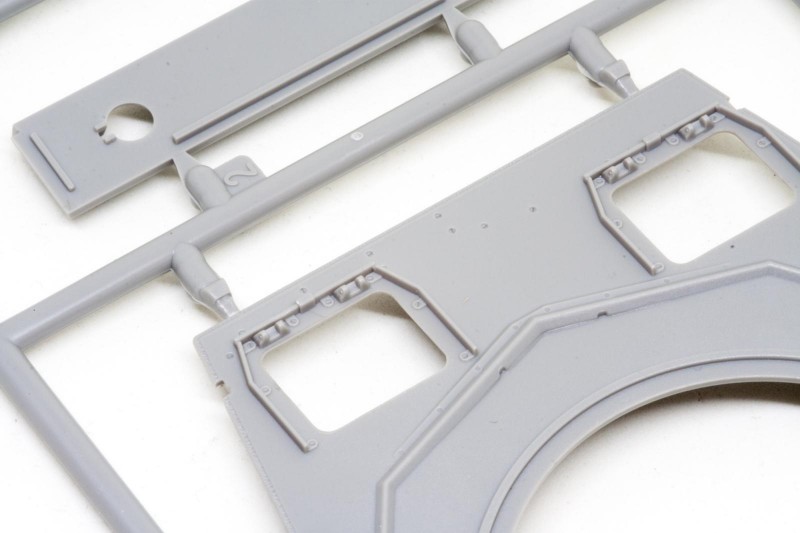
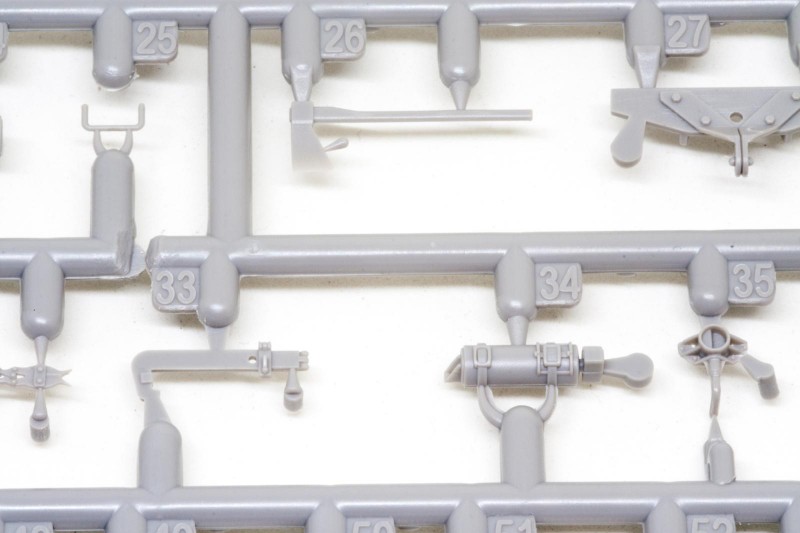
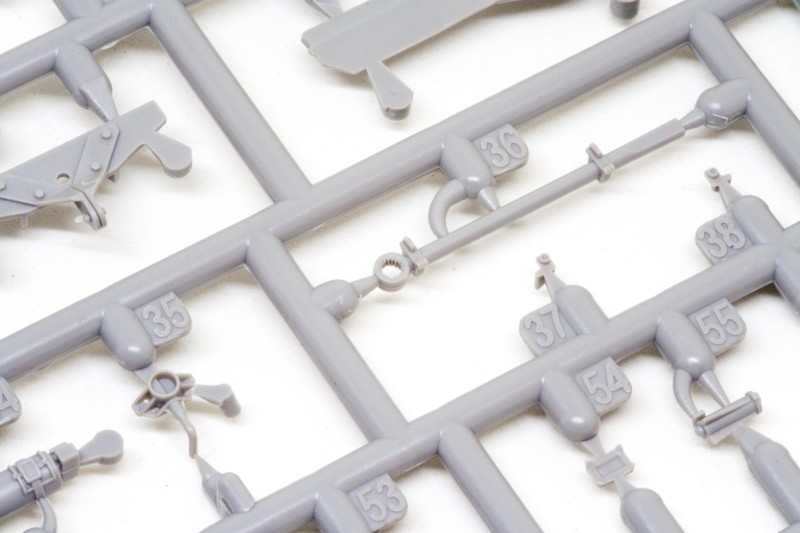
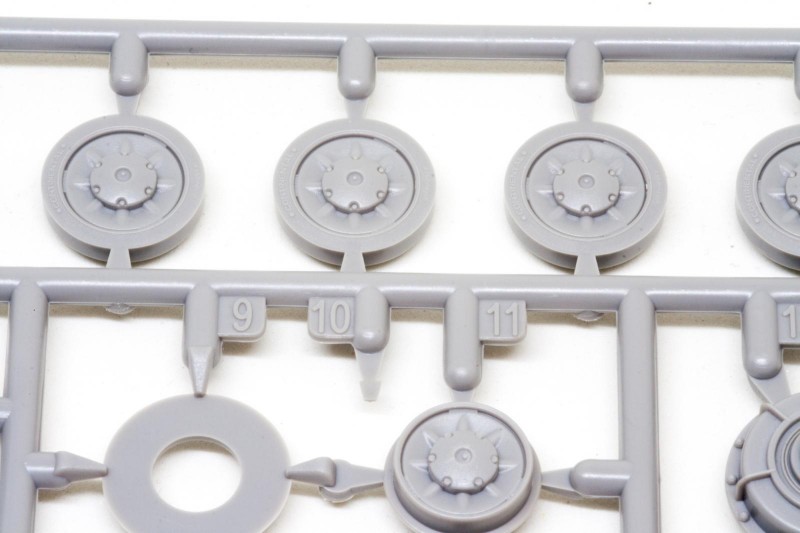
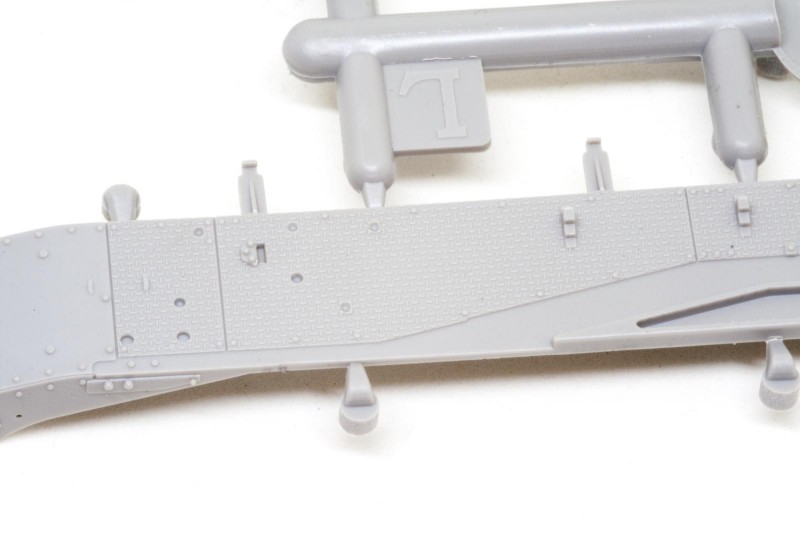
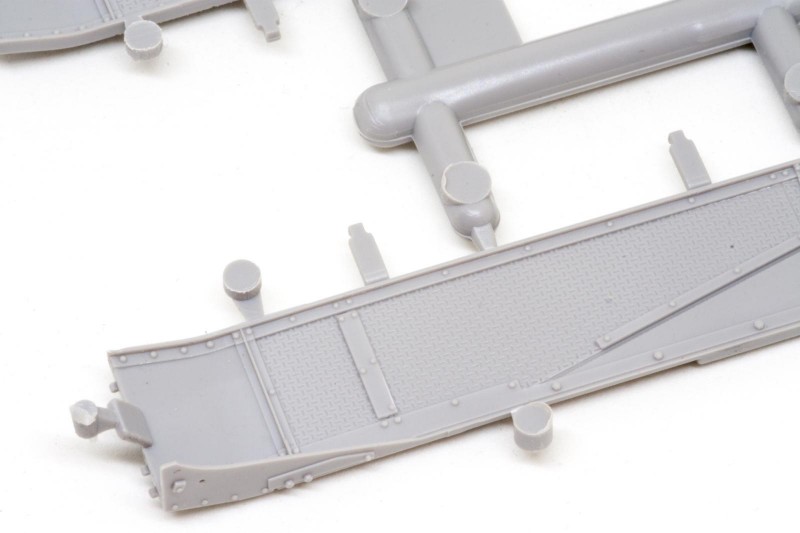
A first look at the plastic parts leaves a very good impression; everything is crisply molded and fine detail like bolt heads and screws look very sharp indeed. There is a bit of flash on the runners themselves, carrying over to some parts like the bogeys. What I don't really like is the design of the sprue gates – they tend to be a bit on the heavy side, and the half-rounded design might lead to some confusion where the sprue ends and the actual part begins. I would suggest checking parts from both sides before snipping them off the sprue.
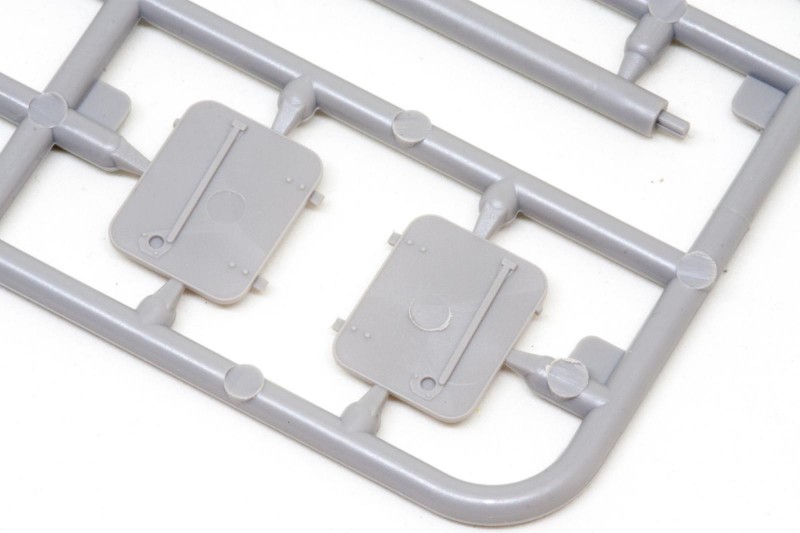
Ejector pin marks are out of the way for the most part, but you will have to fill them on the insides of the turret skirts and the hull hatches – that is, if you want to pose them open.
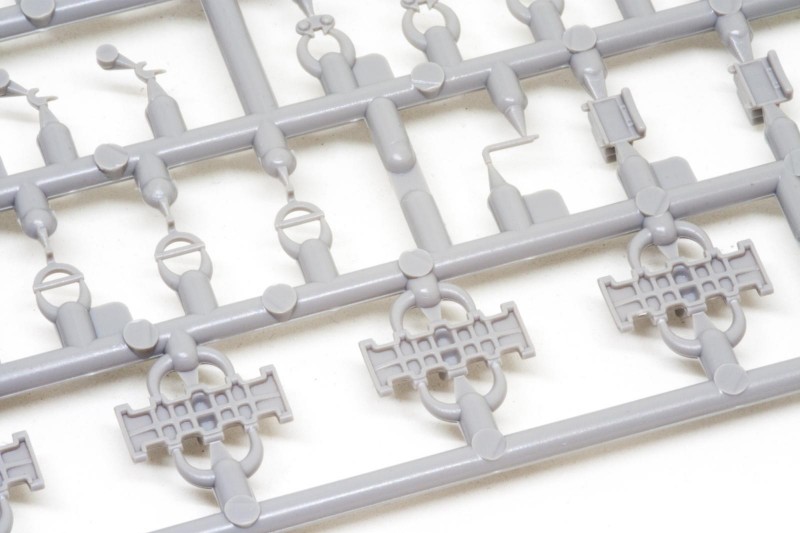
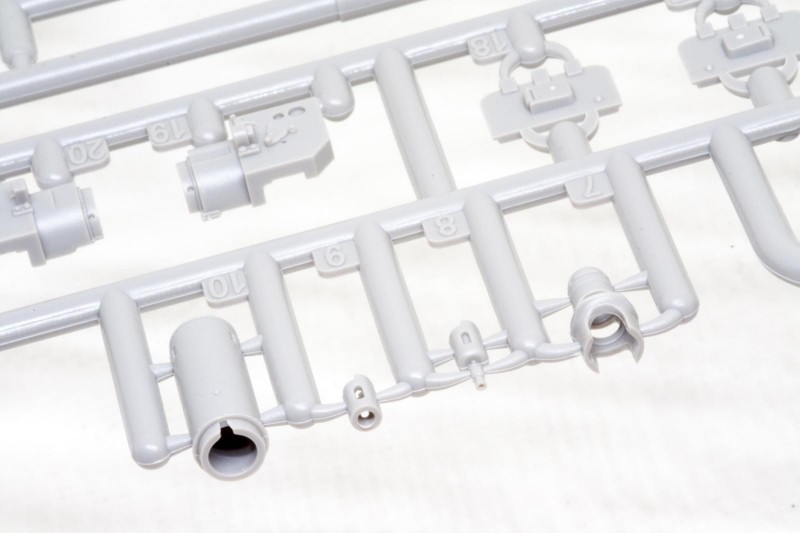
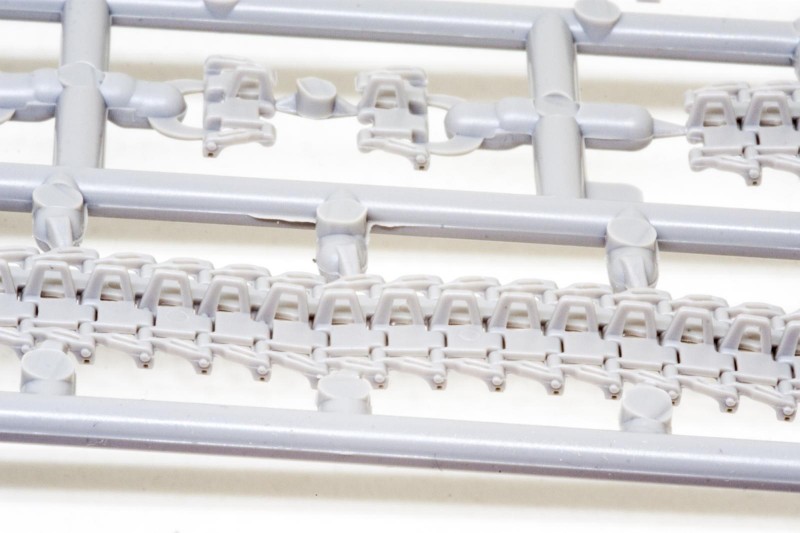
Slide molding is used where needed, which makes for some very nice parts. Apart from the muzzle break and the machine guns, the track guide horns are molded this way, which will make track assembly a breeze without the need of gluing in the guide horns separately.
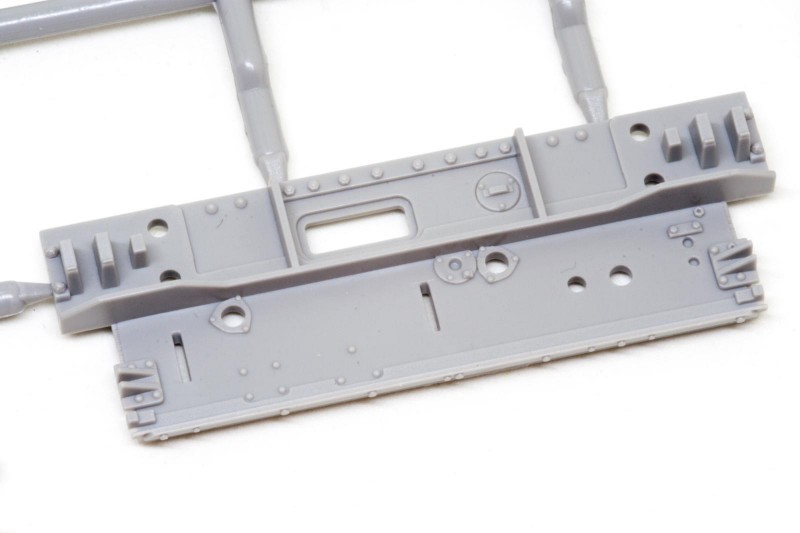
The one-piece hull tub is full of detail everywhere, another testament to the advances in molding in the last couple of years.
Here are some more pictures of the type of detail you can expect from this kit.
Metal and More
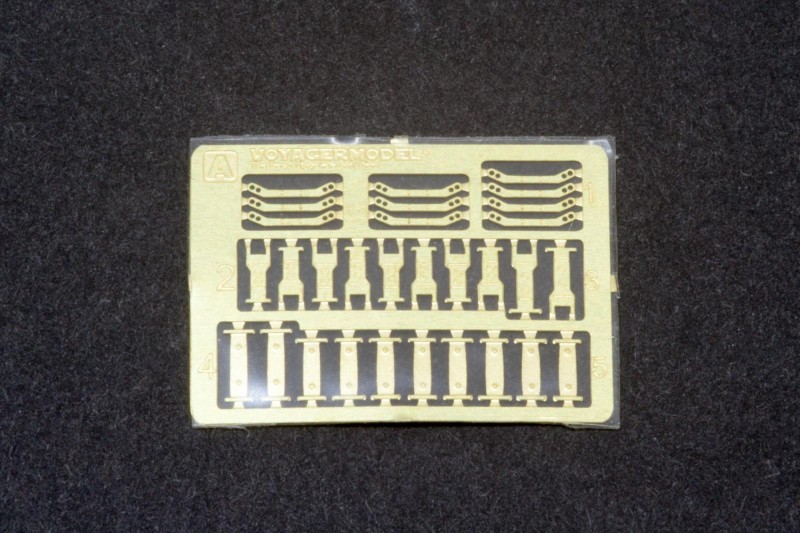
The largest PE fret holds the tank's hull skirts, which makes depicting battle damage easy (as mentioned, the turret skirts are plastic parts, but they look perfectly fine). Another fret contains the covers for the engine bay exhaust, as well as spare track holders. The smallest fret holds a collection of tool clamps and is apparently made by Voyager Models.
The brass cylinders are used for the smoke dischargers. Plastic parts are provided as an alternative, and frankly these look a bit more to scale, so I will most probably use them.
Finally, the decals look ok, if a bit thick. There is, however, an issue with one of the marking options – the one from Pz.Rgt.35 depicts a red bear on the turret which should look forward on both sides, but both the decals have it looking to the left.
So there you have it. Another player entered the field, and a promising entry it is. As always, the real proof lies in actually building the kit – so keep watching this space!


Excellent looking kit. Great review, Boris!
Those PzKw. IVs sure did their job & they helped change land warfare.
Thanks for posting an excellent review from a company that I never knew existed.
I especially like the metal side skirts...and the texture under the fenders. They will be even more realistic looking once painted, since they can be bent and are very thin. The plastic parts look to be well molded too...
"liked"