Atlantis 1/48th H-25 Army Mule
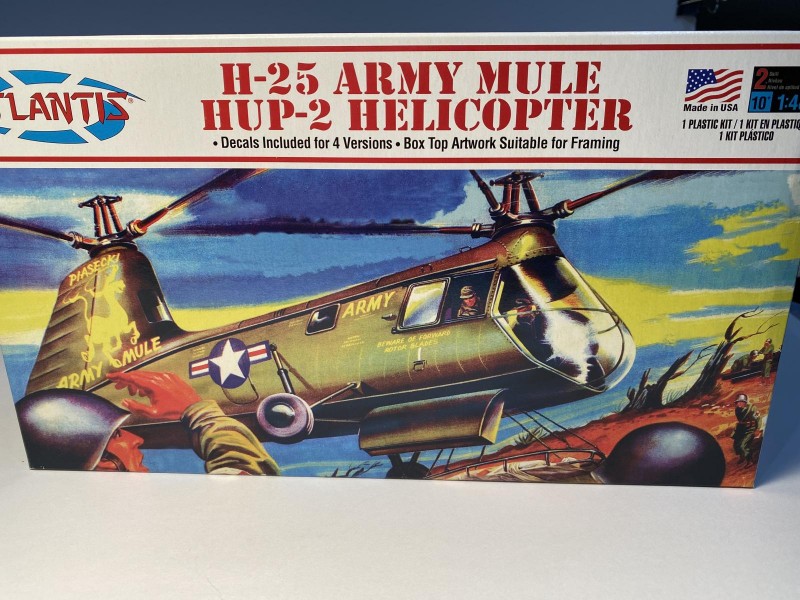
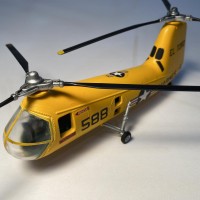
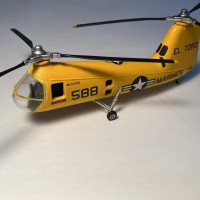
The chaos of the Christmas and New Year holidays was upon me, so I wanted to do something simple. I had previously built some of the re-released kits from Atlantis (mainly old Revell kits), and thought it might be fun to do another one. I am a real softy for early helicopters, especially with flashy paint schemes, so I grabbed their model of the H-25 Army Mule. I had previously bought a couple so I could do a couple of the cool paint schemes, but had never actually looked inside the box. Upon opening the box I discovered that calling this a simple kit would be insulting to other simple kits. This kit, which was released in 1952 by a company called Helicopters for Industry, had only twelve parts. The "seats" were molded into each fuselage wall, the control sticks looked large enough that the Incredible Hulk could use them, and there was only one clear part-for the front canopy. When I originally bought these kits I had thought to scratch-build some detail to make them a little more up-to-date, but I scrapped that idea when I realized that I would have to build everything except the fuselage shell. But I was still wanted to do one of the cool paint schemes, so I decided to add a few enhancements and charge into the build.
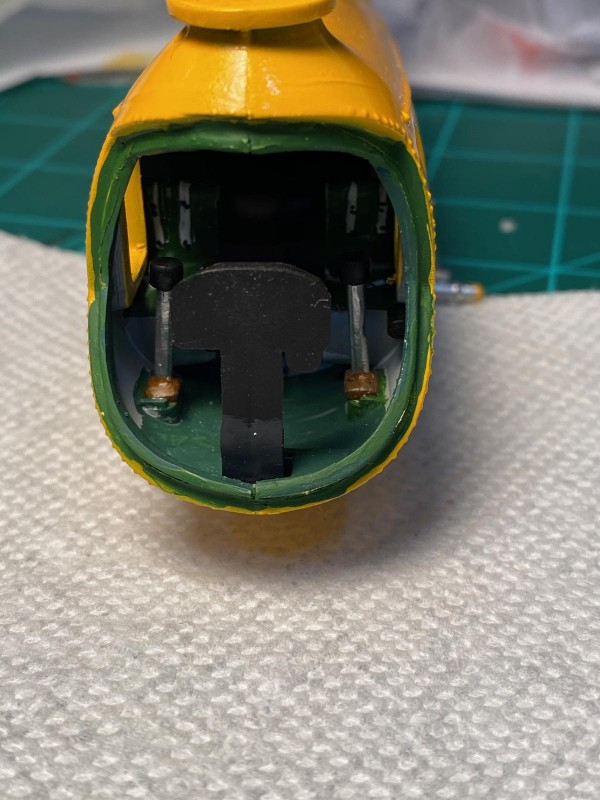
The cockpit takes up nearly a third of the kit parts. I sprayed the interior a light gray, then handpainted the seats. I added some cyclic sticks to the cockpit, and then painted some seatbelts onto the seats.
The one clear part looked great until I examined it closely. Much to my dismay I discovered a huge ejector pin mark right in the middle of the clear part. In addition, there were no window frames on the canopy.
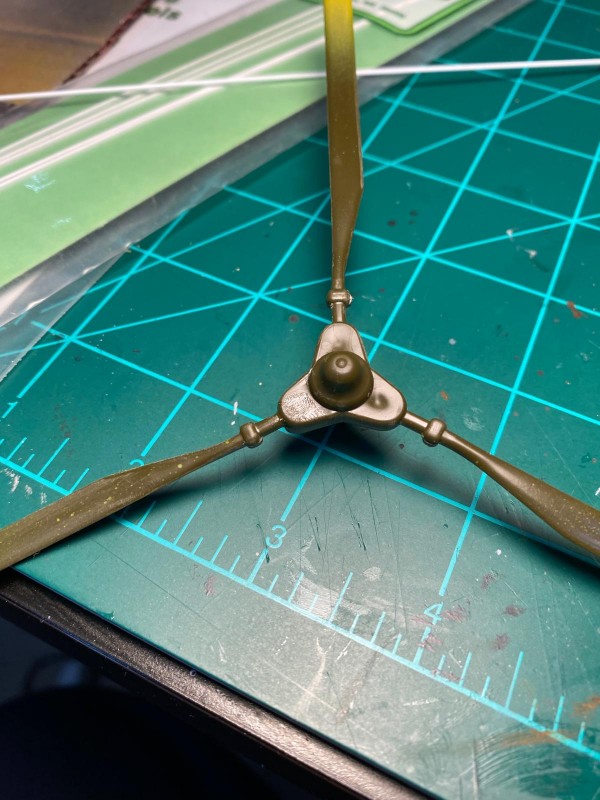
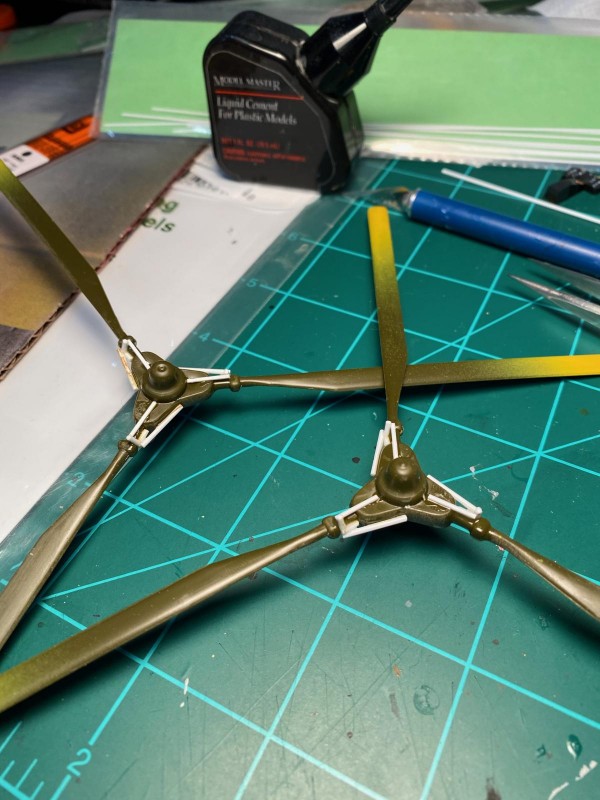
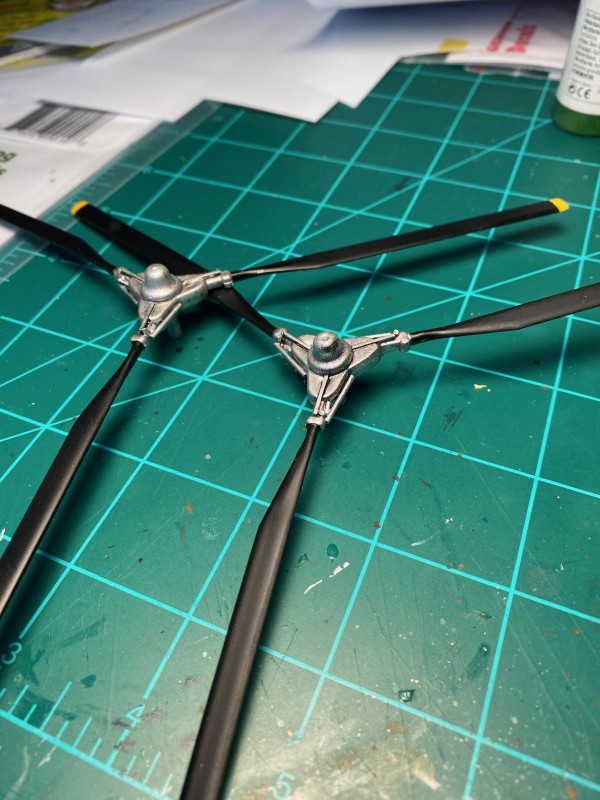
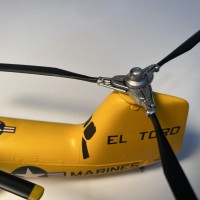
The rotors were an interesting affair. Two of the blades and the hub were molded as one piece. The third blade was simply glued to the hub. The hub was very simple, so I added some plastic rod and strip to make it look a little busier.
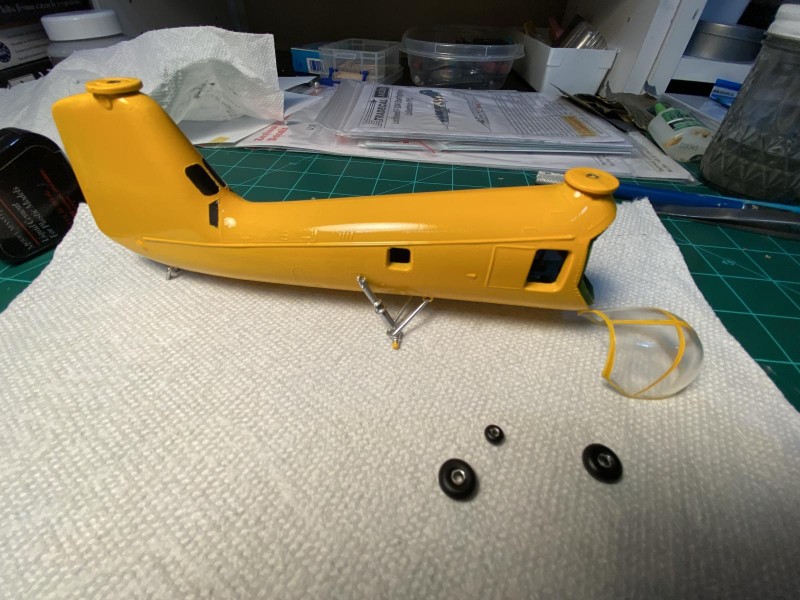
The fit of the parts was what you might expect, so after a good deal of sanding and filling, I painted a white prime coat, followed by the yellow, followed by clear gloss. The engine intakes on the rear pylon were depicted by light cross-hatches on the plastic. These didn't last long once I started the filling and sanding process. I free-handed some masks, painted the pylon black, and then added the masks prior to the primer and yellow coats.
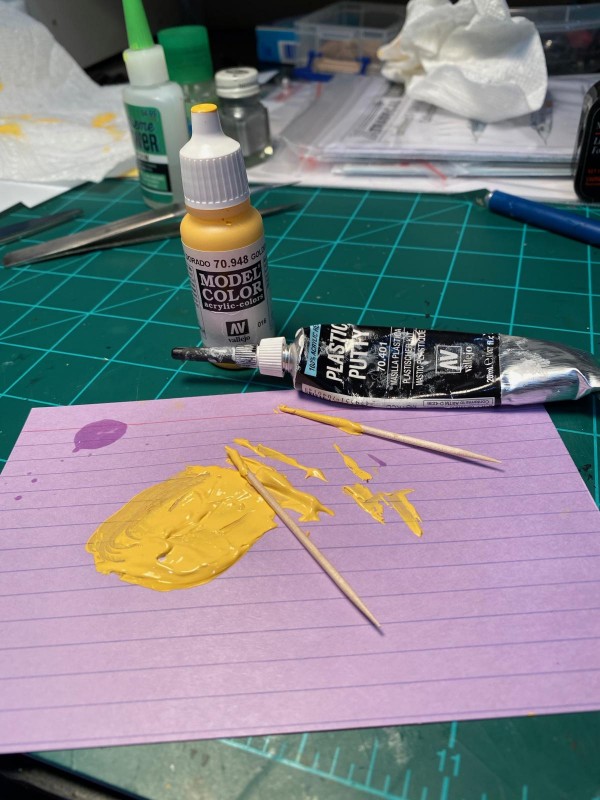
I pre-painted the canopy with some frames, then added it to the fuselage. It didn't really fit very well and required a lot of putty to fill it in. Since I had already painted both the fuselage and the canopy, I wanted some yellow putty to use on the canopy. I created the yellow putty by adding yellow Vallejo paint to some Vallejo acrylic putty and then used it on the model.
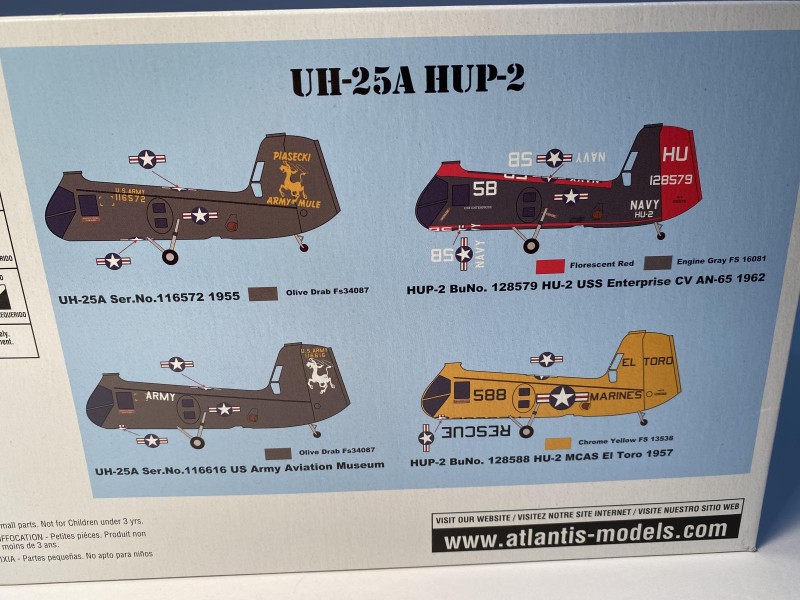
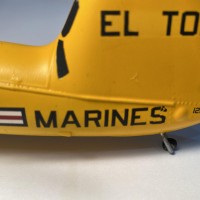
The decals, for four different versions, looked really good on the sheet. Upon putting them on the model, I discovered they were of the style of decals that won't move after you place them. I managed to tear on of them trying to adjust its position, so the rest of them stayed pretty much where they landed.
After all was said and done, I think this is a pretty good addition to my 1/48th helo collection (all three of them). Not a prize winner, but it is a good canvas for a cool paint scheme. I figure I will build my second kit in the dark gray and red scheme. Besides, building a kit that was only a year younger than I am was sort-of cool.

Excellent! Certainly looks good! I was given the Allison Turbo Jet and the B-52 with X-15 kits for Christmas, can't wait to start on them.
Both kits are great. The turbo jet is an awesome model that actually moves when you are done (provided you didn't let the glue go to the wrong place). You should post the engine when you get it done. :o)
I will!
It's not actually "1/48" scale George. It's "fit the box scale." I remember building this ancient relic back when I was still in elementary school, dodging Raptors and Tyrannosaurs on my way to school.
I must say, they did improve the decals!
Who knows, Tom? The box says 1:48, so I took their word for it. As long as the decals fit, then I'm good. The decals are pretty good. They are thin and go down well. I just couldn't reposition them once they hit the model. I tried a new clear gloss, so perhaps that was part of the problem.
Great job on the old relic, looks great!