PROGRESS
This is one of those kits that you can make mini assemblies while waiting for the glue to dry elsewhere.
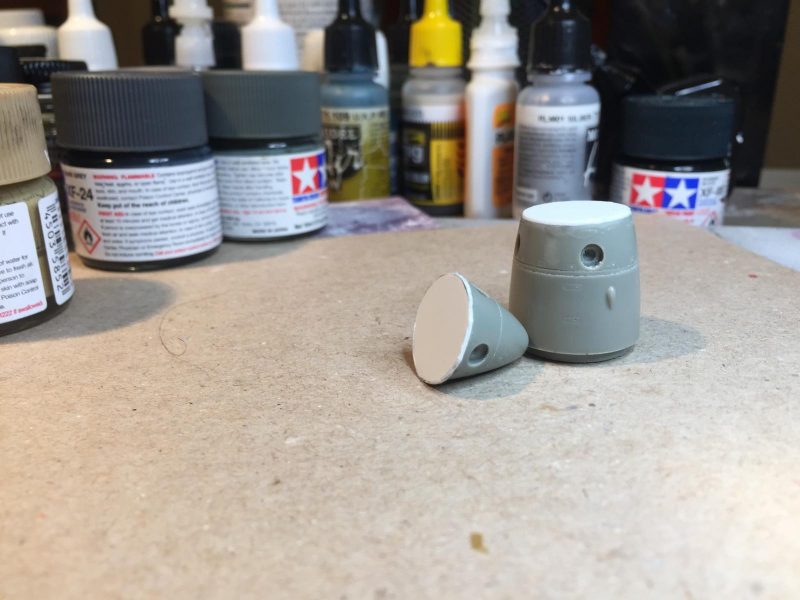
I started the with resin spinner first because it's so visually darned big, that one mistake here and you might as well toss the kit if one were to botch it up. I cut it in half with a razor saw so I could stagger the props as they would be when the Wyvern was parked like this:
This process shortened the overall length of the spinner assembly the width of the saw blade and a bit more due to sanding the two pieces flat where they meet. I made three shims out of evergreen styrene and sandwiched them between the two pieces with CA glue and sanded them until they visually looked okay. Then I glued everything back together and gave the spinner assembly a coat of Allclad primer.
-

1. shim disc made of styrene glued to both pieces
-

1. primed and ready for paint
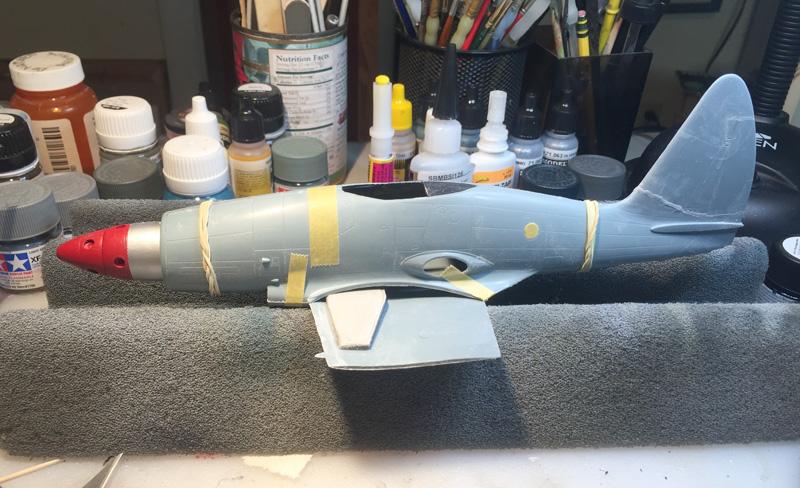
Meanwhile I prepped the fuselage halves. The fit is surprisingly good. I found it best to install the cockpit tub and the gun sight from below later after gluing the fuselage together. This allows for tighter and easier to dial in fit, so I set them aside for later installation. I began by gluing seams of the fuselage halves in front of the cockpit only, letting that section dry and then worked my way towards the tail, gluing as I went using both CA and Testors styrene cement. And here we are:
-

1. the joint where the tail meets the fuselage has to be filled and sanded clean.
2. tail doesn't exactly line up but a little sanding will solve that.
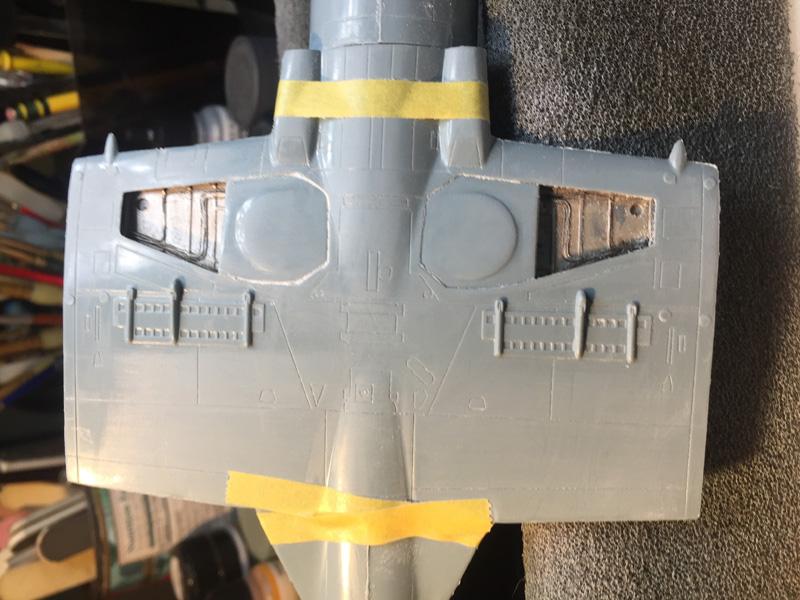
Lots of sanding ahead. I test fitted the center lower wing where the wheel wells are. Note "hard points". This should be interesting when it's time to attach the rockets and tanks. Note the molded in place dive brakes:
-

1. hard points
2. hard points
3. hard points
4. hard points
5. dive brakes
Oh yeah, here's the props ready for installation.