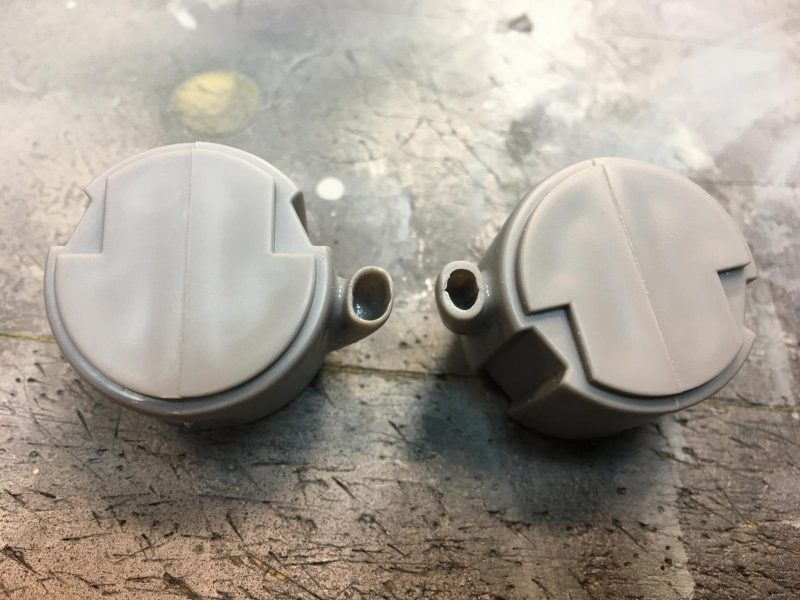
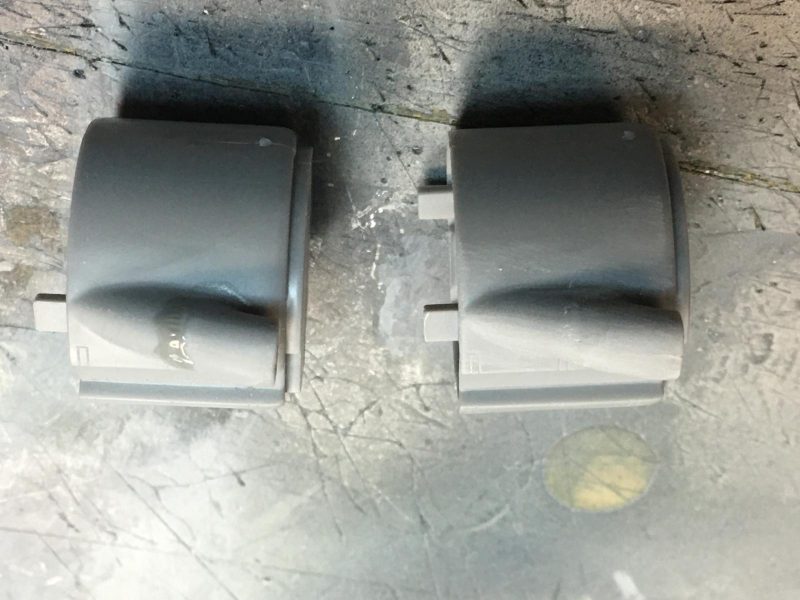
A tale of two Mosquito's. One a De-Havilland plane, the other a Moskito, the not so famous cousin.

Started by Louis Gardner · 111 · 2 years ago
  • Profile Photo
    Stephen W Towle said 3 years, 9 months ago:

    What about scoring the wing with a razor saw? Making several passes where you cracked the upper wing to straighten it out Louis? Or scoring it with an Exacto knife making several passes and then gently bending the wing. A little more control and you'd have a better idea where the bend would start and end. Rather than having the plastic choose.

  • Profile Photo
    Louis Gardner said 3 years, 9 months ago:

    Morne, @mornem
    Thanks for checking in my friend. I have been watching your CF-100 and I am most impressed with the scratch work you have done to the nose gear. By the looks of things, now you are starting on the mains... Now that is what I call an "epic" build. If it ends up looking half as nice as the F-80 you did for the Korean War group, you will be bringing home some trophies with it. Thanks for stopping by, and I hope to hear from you again soon. 🙂

    Eric, @eb801
    Your Ta-154 looks incredible ! Thank you for sharing the picture of yours with me. The more I think about how I want to build mine, I am leaning more towards doing the Pre Production V7 as I originally mentioned. I have enough pictures where I can make it look very presentable and authentic. In your book, do you have any pictures of the V7 machine ? If so, would you mind sending me what you have available ? Thanks in advance.

    Also, I think it would be splendid if you start building another Moskito. They are marvelous planes. Too bad we don't see more of them built. Probably because they don't offer too much variety as far as markings... Not too many to start with. Stay tuned, for I have another installment coming up next.

  • Profile Photo
    Louis Gardner said 3 years, 9 months ago:

    Erik, @airbum

    It was a complete accident, and when I heard the crack, I thought I had ruined something... In hindsight, I should have done something more civilized, and used a tool instead of cave man style brute force. But sometimes brute force is just what is needed. Thanks my friend.

    Stephen,
    You are spot on with the comment about using a cutting tool. That would have been much better and I would have had more control over the outcome. I rolled the dice, and thankfully, this time I won. If I were to do this again, I would definitely break out the saw or snips. Use some sort of cutting device...

    Once this area is relieved of the stresses, it behaves accordingly and the wing will be straight. Please stay tuned as I have another update coming up next...

    Thanks gentlemen. 🙂

  • Profile Photo
    Louis Gardner said 3 years, 9 months ago:

    I took a page out of Erik's @airbum
    Bf-109 build journals. Our good friend Pedro @holzhamer
    also does this with his Luftwaffe subjects. I will to from now on... Thanks guys for the tips.

    I used a file and thinned out the leading edge of the air intakes. It looks more realistic to me now and is a definite improvement.


    Last night I used some liquefied styrene and filled in a small gap where the air intake joins the cowling. Tonight I filed away the excess and it looks good now.

    I installed the horizontal stabilizers. Once they were glued in place, I used a small square to ensure they were set properly at a 90 degree angle.


    The engine nacelle was installed on the other side. Now both are permanently affixed. The fit was very good. Here again I cut off the locating tabs and used pressure to tighten up the gap. After the glue set up sufficiently, I let the parts dry normally. After some slight sanding, you can see the end results.

    So far so good... The wings are nice and straight. No more warped parts ! The only place where filler has been used so far is on the air intakes. There I used liquefied styrene.

    The gap along the upper wing where it joins the fuselage turned out very nice too. Here you can see how it looks after final sanding.
    I re scribed the flap outline and the panel line where the wing joins the fuselage. No filler was needed here.

    Here you can see how the engines look once they were glued in place. Thinning out the air intake was a good idea.

    Here are both of the halves sitting side by side. Things have progressed rather fast so far. I didn't work on the cockpit. Maybe tomorrow...

    I moved the parts in a position where they were less likely to fall over. I will let them dry sitting like this overnight. Notice the little Bucker Bu-131D in the back ground. This is the Revell (ICM re box) 1/32 scale kit.

    I just picked up the matching ICM model of the early Bucker from Sprue Brothers. This one has the 1936 Olympic markings. Look for it to appear soon... 😉

    As usual, comments are encouraged. Thanks for stopping by.

  • Profile Photo
    Spiros Pendedekas said 3 years, 9 months ago:

    Wow, this looks spectacular, my friend Louis @lgardner!

    I loved your cracking technique: I have used it before too, with the crack sometimes appearing on the visible surface...well, LqS to the rescue!

    I like very much the clean looks of the V7. Honestly, I do not like the looks of those German radars in front of the airplanes noses...so I might seek any opportunity not to attach them...ditto the V7!

    I also like a lot our friend's @airbum technique implementation of thinning the air intake walls: they look distinctively better!

    About the aircraft tail-down posture when unloaded, it's so tempting, isn't it?

    Looking foward to your progress, my friend, as well as for the Bucker!

  • Profile Photo
    Pedro L. Rocha said 3 years, 9 months ago:

    @lgardner, looks like the promodeler kit is a sweet build Louis.

    Personally I like the fully loaded stance of the aircraft, unlike the empty one. The frontal wheel leg is fully extended, even the spring arm shows fully extended, perhaps the less interesting position to see it.

    The radar is a nice oppportunity to use brass. PE dipoles are a turn off to me, they are just two dimension flat, quite unrealistic.

    And what about the original Mossie? Looking forward for some pics also 😉

  • Profile Photo
    Louis Gardner said 3 years, 9 months ago:

    Spiros, @fiveten
    I do like the clean look of V7 much better. I'm not quite sure what I will do with the landing gear and the stance it has. I posted a picture of the Bucker to keep you updated on that one It's a neat little plane. I do like how the air intakes look on the Ta-154 once they were thinned out, This way they look much more realistic. This is something I will do from now on when it is possible to all of my builds. As far as the wing cracking event, I was very lucky. I knew that I could use the LQS if needed. Thankfully it worked out and wasn't necessary.

    Pedro, @holzhamer
    I am not a big fan of PE parts where they're supposed to be a round or three dimensional part. They do look very good for certain items, such as MG air cooling jackets, (like on a Spandau), seats, or various other flat panels. You need to take care when bending them. I have read where it is much easier to work with once it has been heated. This allows you to bend the parts more easily. As far as the radar dipoles, I picked up several sets of them in various scales from the Master line. They do look more realistic since they mimic the real thing more accurately. These radar sets will be for future Luftwaffe projects that are in the works. I'm gearing up for the upcoming Luftwaffe group build. As far as the Tamiya Mossie, you will have to wait just a little bit longer... It is coming up here soon.
    Last night I sprayed on some flat black. It covered the sides of the fuselage and the lower surfaces of the wings.


    I also started cutting out some homemade masks. I layered multiple pieces of tape on a glass surface. I came back and cut the out all of the same letters at the same time.

    Here's how the homemade masks work. I have laid them out on the Bucker 131.

    The ones for the Ta-154 will be very similar in appearance, reading "TE+FK" and will be made in the same manner on the glass plate using a new #11 blade.

    I hope to post up more pictures here later tonight, so please stay tuned.

    As always, comments are encouraged.

  • Profile Photo
    Eric Berg said 3 years, 9 months ago:

    Louis - you are going all out on your Moskito with your masking if that Bucker is any indication. That's going to look really good. I can see Green's book in the background and looks like the same photos I came up with. I'll check back later.

  • Profile Photo
    Pedro L. Rocha said 3 years, 9 months ago:

    Nice masks Louis! No doubt they will do excellent service to your Tank Mosquito.
    I notice that your TE +FK has a stripe of white or yellow in the rudder, and not in a standard type of shape. Any clue on the why it’s there?

  • Profile Photo
    Louis Gardner said 3 years, 9 months ago:

    Hello Erik, @eb801
    Yes I have Green's book always at the ready when I'm building anything Luftwaffe related. It's a goldmine of information. Even though I have the book, it still misses some things. There's not a book out there that can cover everything, but this one comes close...

    Thanks for the compliments on the masking work. I have an update for you coming up next, that I think you will find interesting, so please stay tuned. I'm very interested to hear if you have any new pictures of V7 when your new book arrives, so please keep me posted. Thanks in advance.

  • Profile Photo
    Louis Gardner said 3 years, 9 months ago:

    Pedro, @holzhamer
    Thank for the compliments on the masking. Building the Revell Bucker Bu-131D is an absolute joy. I have enjoyed it so much that I recently pulled the trigger on another one. This time I got the ICM version of the Bu-131A/B. It has the exact same plastic inside the box, but it also comes with an additional tree for the different engine and exhaust that was used on the early planes. So look for a future build journal to pop up on here soon. Now that I have learned the tricks on this one, I think the next one will go together much easier.

    As far as the odd appearance of the rudder on TE+FK... I am 90 percent sure this is an optical illusion caused by the way the sunlight is casting a shadow, because the rudder is not centered and is offset to the "Port" side. If you look very close, you can see how the counterbalance on top of the rudder is in the shadows of the fin. This allows you to see the camouflage pattern clearly in the shadowed areas, and the shadow takes the form of the fin. The very upper most section of the rudder, where it is farthest away from us, is also back in the sunlight. Notice how this section of the rudder looks to be white in color too, and matches the rear portion very well.

    If you look even closer, it has the RLM 75 spots still visible, they're just washed out by the bright sunlight. This becomes a little bit more visible just below the trim tab towards the lower section of the rudder.

    The same thing is happening on the nose of the plane, and along the nacelles. I'm posting this next photo up for you...


    You should be able to enlarge it a lot, so it will show you what I'm trying to describe.

    I have seen one artist illustration where they have this marked as a white stripe on the tail. I don't think it is very accurate however.

    I am always open to suggestions though, because I could very well be wrong.

    Please stay tuned, as I have another installment coming up next.

  • Profile Photo
    Eric Berg said 3 years, 9 months ago:

    Perdro - I think I can answer your question. I have noticed that "stripe" on several of the pre-production V models right where the tail was attached to the fuselage and there is a visible seam there. My guess that it's some sort of resin tape to add extra strength and painted over since a majority of this plane was made of wood. It appears to me that tape stripe disappeared with A production models. I've attached a couple of photos. What do you think?

    Louis: Records show that V7 was destroyed during an air raid on August 5th, 1944.

    2 attached images. Click to enlarge.

  • Profile Photo
    Louis Gardner said 3 years, 9 months ago:

    Erik, @eb801
    Thank you very much for this information. I sincerely appreciate this.

  • Profile Photo
    Louis Gardner said 3 years, 9 months ago:

    Tonight I was busy with cutting some more of my home made masks for the "TE+FK" letters. Before I applied them in place, I used some tape to ensure perfect alignment. I laid out the boundaries for the letters first. In the middle the masking tape width was perfect to allow for the German cross insignia. I added a tape line along the top edge of where the letters will go.

    In the foreground you can see the letters "K", "E", and "T" that I used as a pattern. I taped these letters in place over the layers of masking tape. Then using a brand new #11 blade and a metal ruler, I simply cut them out following the outer lines. These letters were sourced from several decal sheets. I simply copied them on regular paper to use as a pattern... If you are wondering why I didn't just use these decals...it was simple.

    I didn't have enough of them to do both planes. So I had to improvise.


    I did the same thing for both wings. I was in the zone and forgot to take a picture of the wing layout tape before the wing letters were installed. You get the idea though.


    Once I finished cutting out the letters, it was very easy to apply them in place. Here you can see the fuselage after the letters were added. It works best to start in the center and work your way out from there.


    Once I was satisfied with the alignment, I removed the guide line tapes. Here's how the fuselage looks.

    Now on to the wings. Notice the German cross masks were left in place.

    Chances are I will spray on some white for the insignia's "corners" and there will only be a few decals used once the overall painting is done.

    I have been cutting up to 5 different layers of tape at the same time, in order to get uniform letters. I am very pleased with how it is working out so far. As long as I don't have any problems with paint bleeding under these masks, I should be good to go.

    The Bucker 131 also received the same treatment.

    As always, comments are encouraged. Thanks for looking.

  • Profile Photo
    Spiros Pendedekas said 3 years, 9 months ago:

    That's a nice progress on both the Moskito and the Bücker, Louis @lgardner!

    Resisting in starting my Moskito AND buying the last Bücker my friendly Hobby Shop in Athens has, at an offer price, is getting more and more difficult 🙂

    I like a lot what you did with the decals.

    Also liked all the color discussion with our friends @eb801 and @holzhamer.

    Looking forward to your progress, my friend!