Since the "Jig is Up" and I can't show progress without revealing the Spielberg Movie With a Shark Mouth... here we go!
-

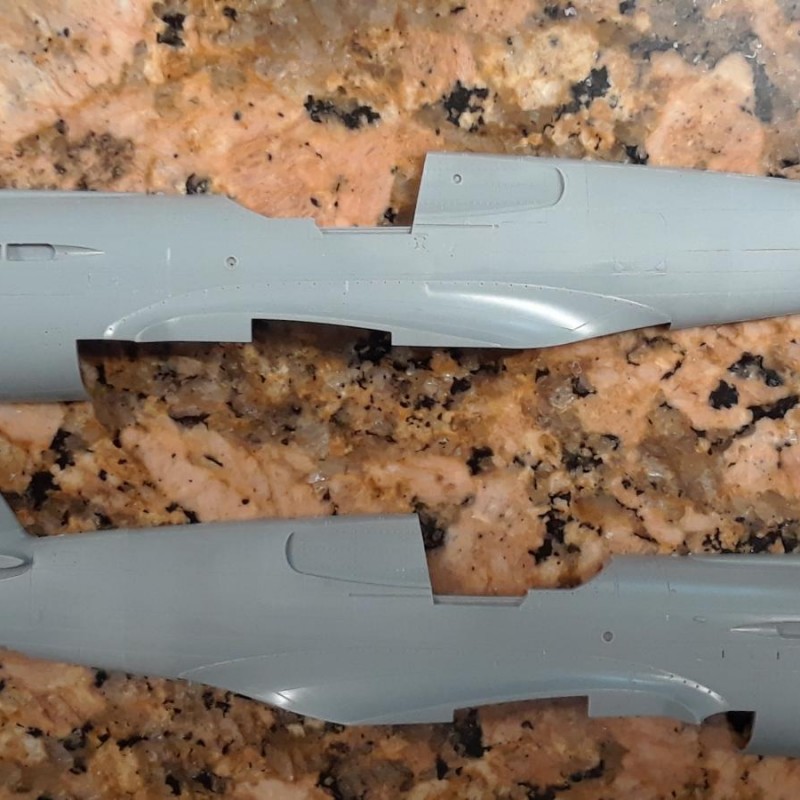
1. Forward fuselage part.
2. Rear fuselage part.
3. Forward fuselage parts.
4. Rear fuselage parts.
I have read a lot of comments, some very colorful, on the web about the fuselage join on the Hasegawa P-40 kits. I had no problem. Here is how I handled it. I removed the locator pins and sanded the edges flat slightly, which also removed any mold ejector pin marks. The vertical stabilizer is molded off center to the left, so I overhung the vert. stab and rudder of the right fuselage half off the edge of my granite slab. The forward and rear fuselage parts were glued, as well as, the parts for the window glazing cut out rear of the cockpit. I re-scribed all the horizontal lines, as the ones farthest top and bottom were slightly mismatched.
-

1. Offset vertical stabilizer creates a step. Overhang off flat surface or place fuselage parts on styrene sheet the same thickness as step.
2. Align this horizontal line.
3. Glue flush to fuselage side surface, not the table surface. There will be a gap on top edge, which will be filled with styrene strip.
4. Granite slab.
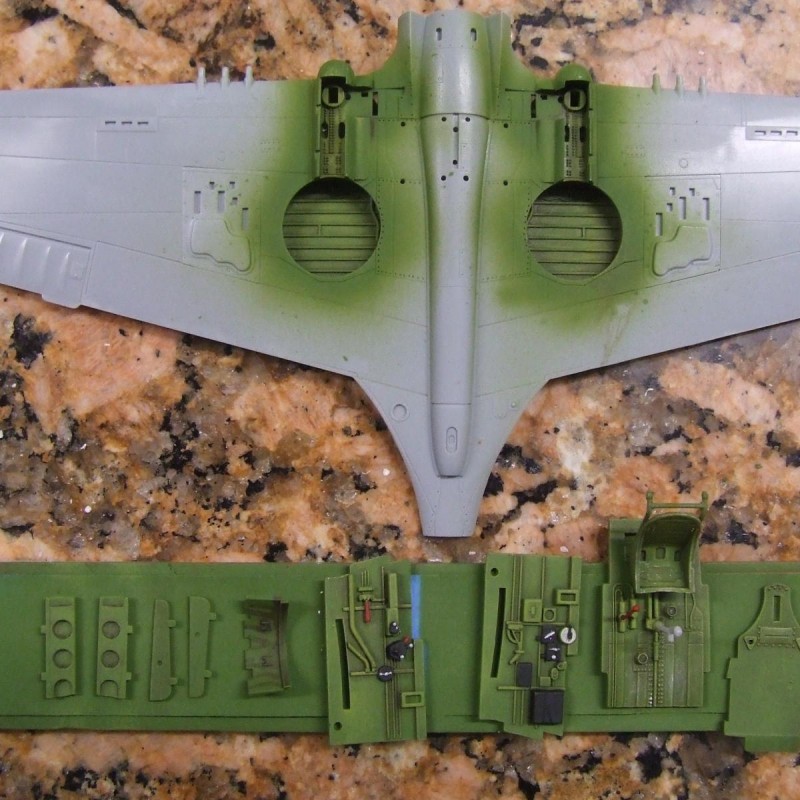
The wheel wells and cockpit were painted and weathered with washes and dry brushed highlights. I use a paint mixing stick with painter's tape, sticky side up as a holder to airbrush and paint individual colors.
-

1. Paint mixing stick with painter's tape, sticky side up.
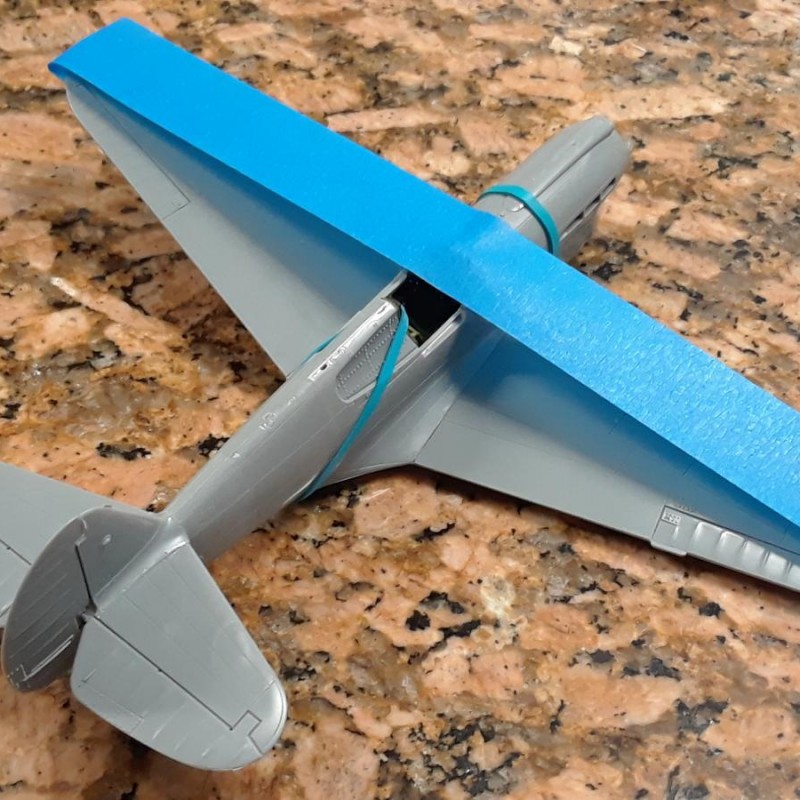
I glued the wing to fuselage, checking the dihedral and put aside to dry. The fuse to wing join did not need any filler.
-

1. Styrene strip to fill gap.
Olive Drab topside and Neutral Gray underneath.
Next time, "this shark be smilin' arrgghh".