Here are some pictures showing the difference between the two models.
I will describe them as I go.
This first photo shows the doors and how much different they are. The military version is on the left, and the civilian on the right. You can also see the cabin windows are arranged differently, and the military kit has a large cargo door visible as an outline. This deleted two of the side windows.
The civilian plane has a small crew entry door close to the cockpit as well. This front door is not present on the military version kit.
-
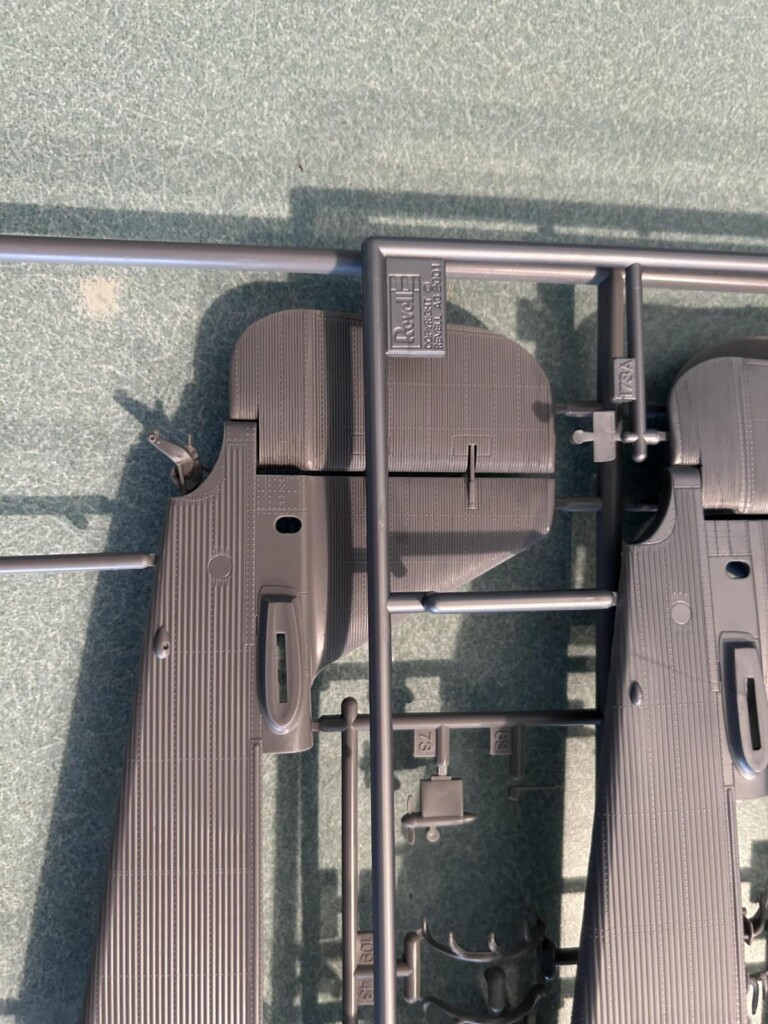
1. Tail wheel versus tail skid
2. military
3. civilian
The military kit is again on the left, with the civilian version on the right side. Here you can see how the military plane used a tail wheel, while the earlier civilian model had a tail skid.
-
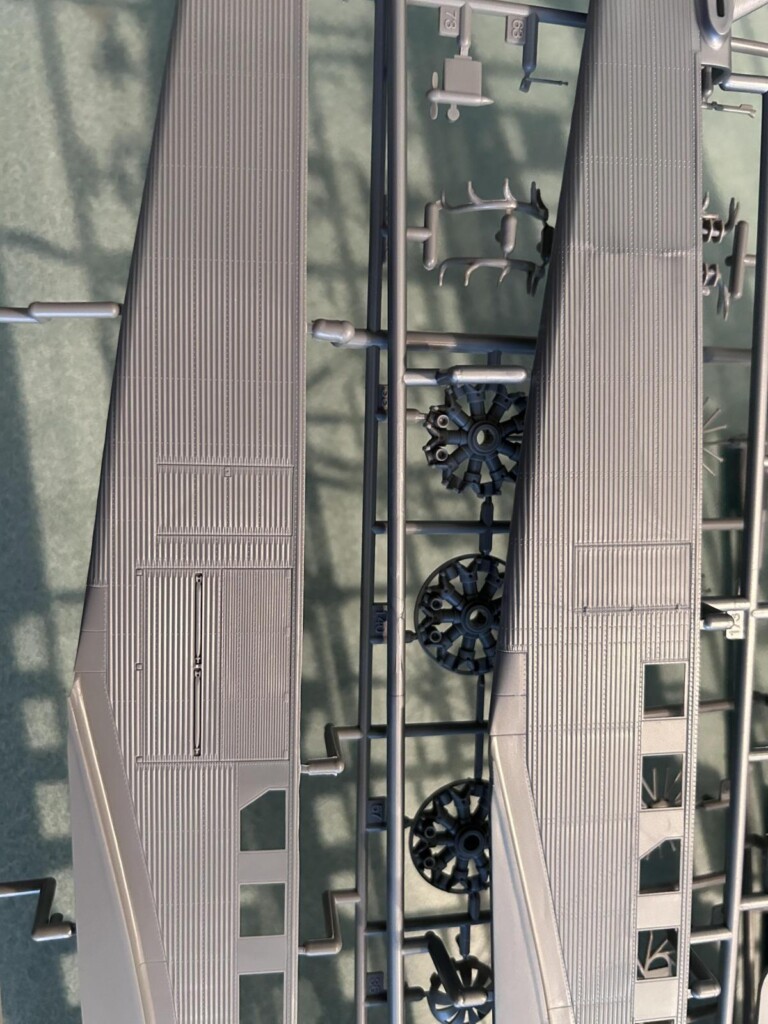
1. civilian
2. military
3. large cargo door outline
This next photo again has the military plane on the left, with the civilian on the right. I have shown the outline of the large cargo door that can be cut apart and displayed opened up. The military plane has two less cabin windows on the Starboard side of the fuselage because of the cargo door.
This time things are reversed. The civilian plane is now on the left side.
You can see how the airframe structure is present on the military version of Tante Ju, while the civilian form has been covered with upholstery.
This theme will carry on throughout the rest of the fuselage...
You can also see the large cargo door, on the military plane, with a simulated plywood veneer.
The military plane is now back on the left side. You can see the bare uncovered airframe very well on the parts that will eventually be the roof part of the fuselage / cabin areas. The civilian plane also has a row of lights running right down the center, along with more upholstery coverings.
-
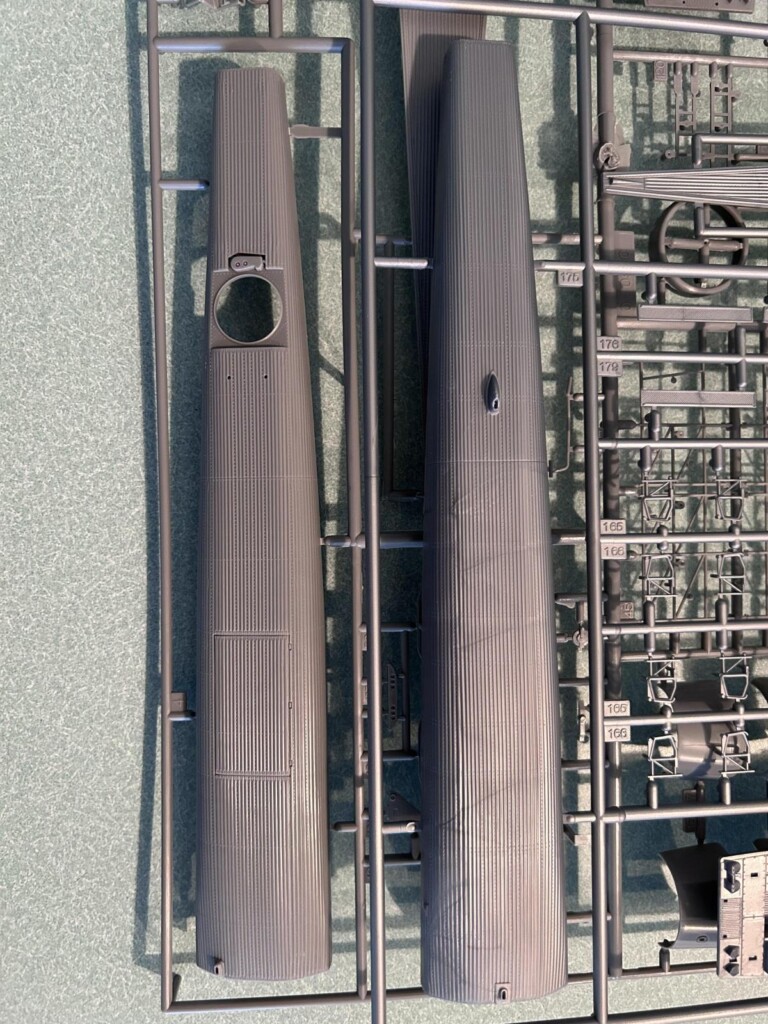
1. military
2. civilian
3. gunner position
4. roof vent
In the next picture we can see the outside of the upper fuselage decking. Here the military plane is again on the left side. It has an open area where the dorsal gunner would have been standing.
The civilian plane has a cabin vent molded in.
-
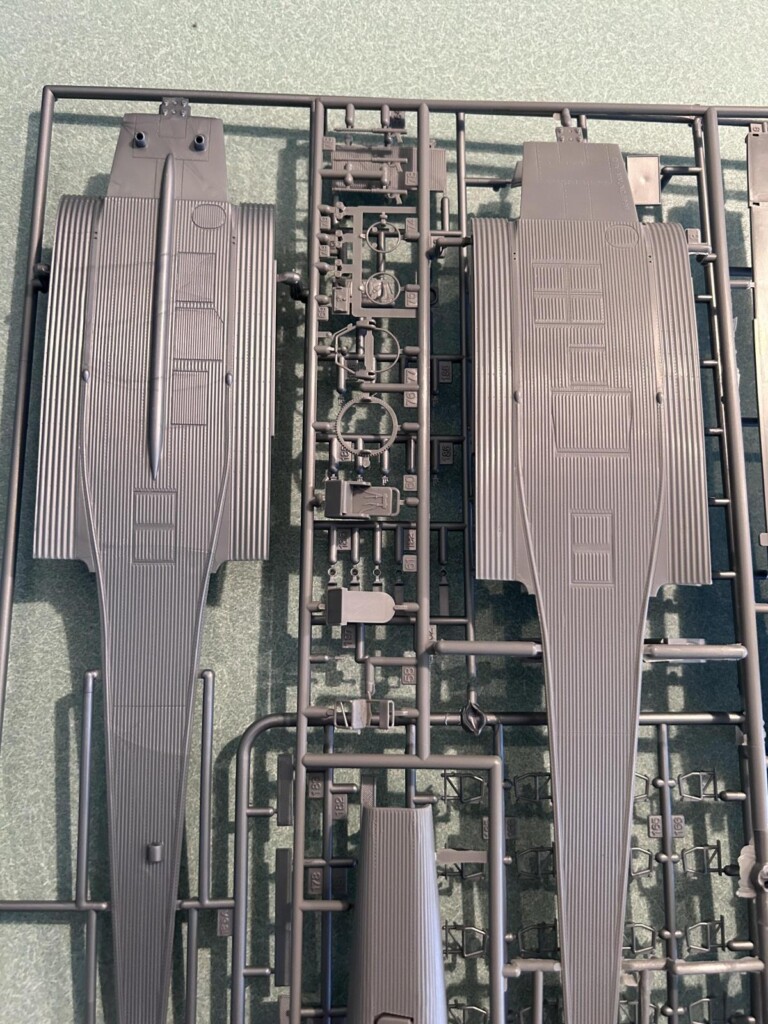
1. civilian
2. military
3. vent
This time around the civilian plane is on the left side of the picture. This shows the bottom side of the fuselage. The civilian plane has a large ridge that runs down the center of the fuselage and also something that looks like some sort of vent. keep in mind the restroom / "toilet" would have been back here... I'm just saying... 😉
The civilian plane is on the left this time. It has some areas sectioned off as if they were private or semi private seating areas. These short walls are depicted as molded into the floors. I don't think they extend all the way to the ceiling.
While the military version has a smooth floor... more room for cargo.
-
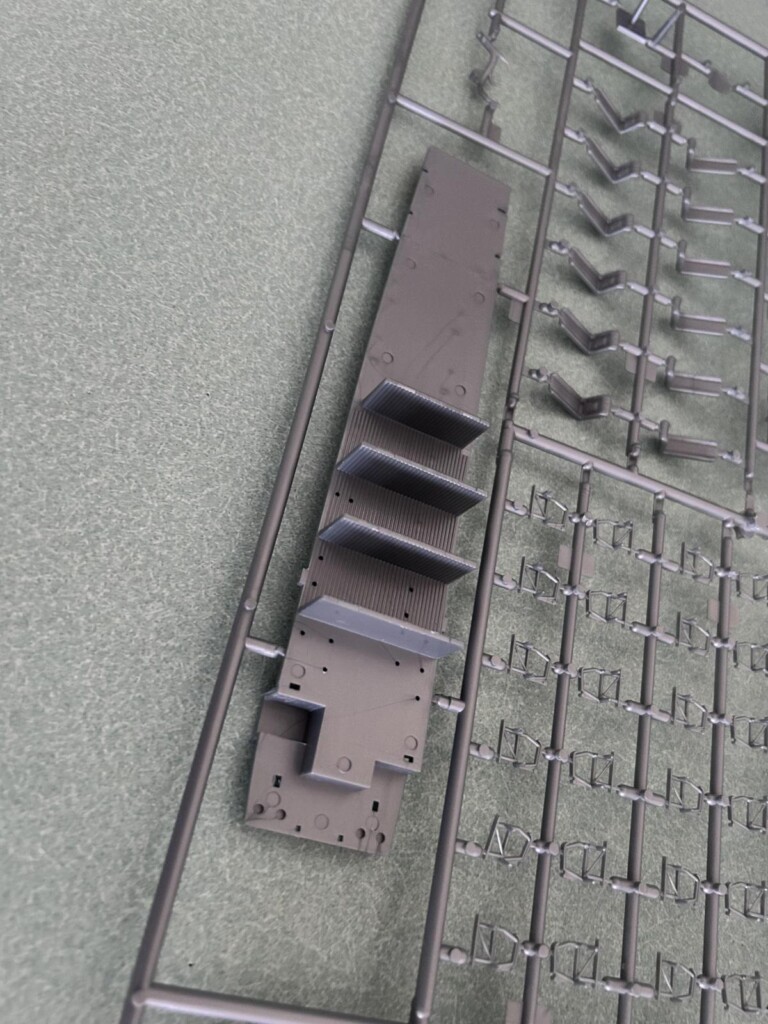
1. seats
2. seats
3. short cabin walls
Here you can get a better look at these short walls... and all of the passenger seats. Which look more comfortable than what was in the "simplified" military version.
These are the two dedicated plastic trees that contain the necessary parts to make the civilian conversion from the standard military kit.
Now you can understand why I decided to wait until I got one of these true civilian kits.
This is the plastic tree for the military version. Notice the absence of the seats and other parts...
These are the seats which are molded in several parts for the civilian version. You are to glue them in a different arrangement if you want to build a smoker or a non smoker version.
These next two photos show more details of the upper fuselage deck cover for the civilian plane. I wanted to show the amount of work involved that would have been necessary to make an accurate model.
This last picture shows everything that came in the sealed box...
I have to finish up several builds before I can get back to work on this project.
George R Blair Jr (@gblair)
Maybe by the time I start working on this one, you could join me and build yours too ?
Thankfully I saved the part I cut out of the ceiling where the rear / dorsal gunner is located. So I should be able to glue it back in place with a little work, then built that model as it was originally intended... as a military plane.
A Spanish Civil War plane sounds like a good subject for this one... or possibly if I can locate the markings for the one that is in the museum where
Spiros Pendedekas (@fiveten)
lives... that would be another good one to make.
John
John vd Biggelaar (@johnb)
sent me some excellent pictures of the Ju-52 in the museum he visited several years ago as well.
So the final choice of markings for the military version will be a hard choice to make.
In true "Iron Werke" fashion, I will be building both kits at the same time now...
As always, comments are encouraged.
Thanks for stopping by.
As always, comments are encouraged.