I had just started this kit and was using Jim's Squadron book, "F6F Hellcat In Action' for reference when I read about his passing. Then Louis Gardner proposed this group build and here I am. Thanks Louis
@lgardner!
For it's age (1977 tooling), Otaki's 1980 reboxing is quite good and easy to construct. I was going to build this Hellcat right out of the box as is with the addition of UltraCast resin wheels only and no other changes. But wouldn't you know, I decided to backdate it to an early F6F-3 and, as usual, fell right down into the rabbit hole.
Here's my progress so far:
-

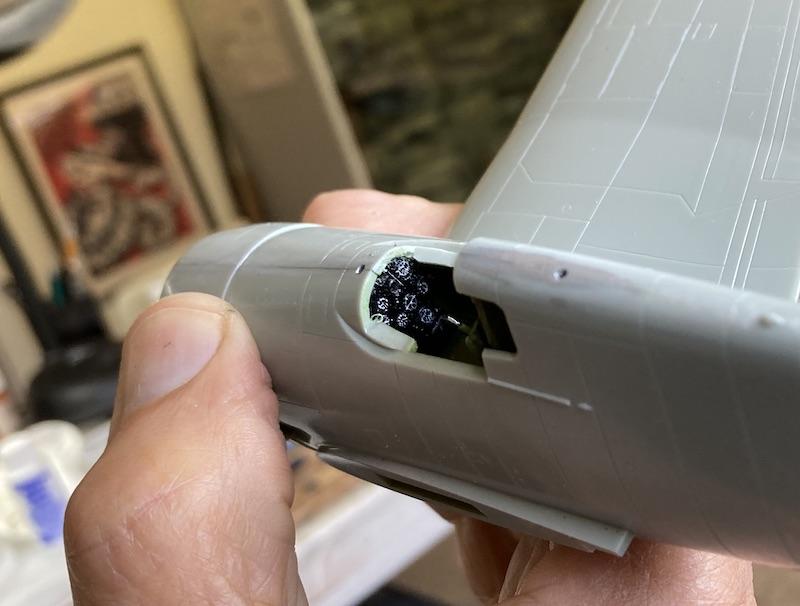
1. AirScale instrument dials
-

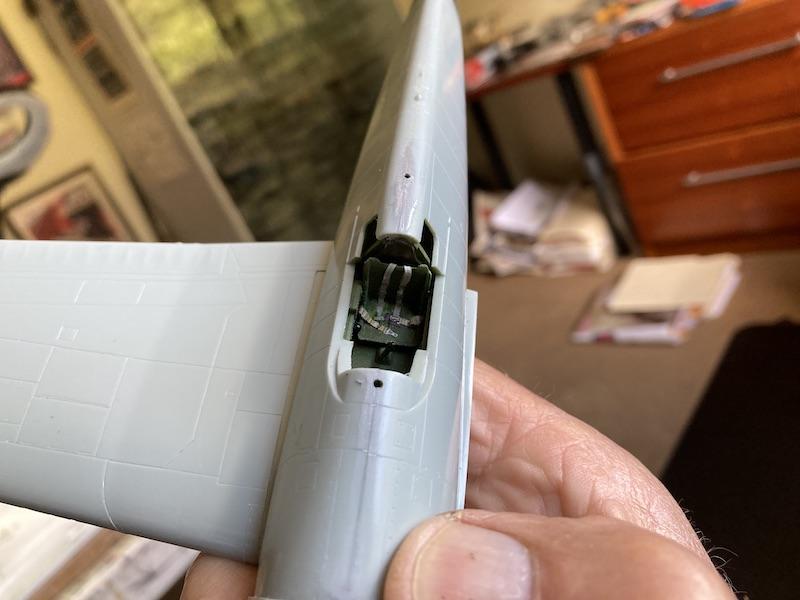
1. Eduard PE Navy belts applied to kit seat.
The kit cockpit is almost imaginary but with some Eduard PE belts and AirScale instrument decals I managed to upgrade the front office a bit.
-

1. yeah, I know, the bulb is too big
Other than a one piece, too thick, closed early style canopy along with side rear window panes moulded in place, that’s it for the Otaki clear sprue. Wingtip nav lights are moulded in place on grey styrene. Actual Hellcat nav lights consisted of a bulb and a clear plexiglass cover. I removed these from the wingtips and replaced them with my own. I used small lengths of clear sprue cut to fit, a drilled hole where the “light bulb” goes filled with color of choice and glued this piece back into position. Followed by a few minutes of sanding and polishing to get the contour of the clear “plexiglas” just right.
Otaki moulded the proper exhaust vent openings but no stacks which creates a noticeable void, so I made my own using drilled out styrene rods trimmed and glued together.
I also drilled out the three ID lights on the bottom on the bottom of the fuselage and will lens them over with Kristal Clear later.
-

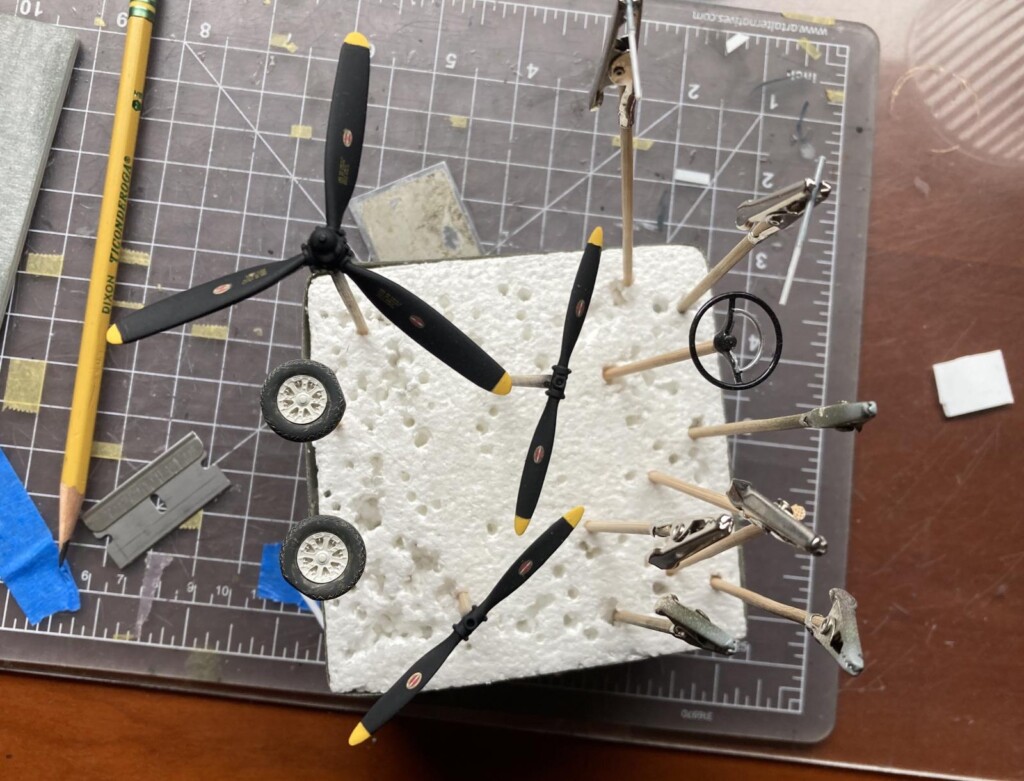
1. these two props belong to a Curtiss-Wright Jeep.
2. wing gun barrels soon
to be trimmed
3. VW steering
wheel
4. F6F prop and wheels
Props and wheels.
Onwards and forwards!