ICM B-26C Invader, 1/48th scale USAF

Started by Chuck A. Villanueva · 102 · 2 years ago
  • Profile Photo
    Chuck A. Villanueva said 2 years, 4 months ago:

    Thanks Spiros, it was good to get this done and to the finish line.

    Thanks John, I missed the smell of paint in the morning.

    Now to go over the airframe with some chipping using a silver pencil on leading edges, high wear areas around the walkways.

    I was able to get uneven and some blotchiness by over spraying panels randomly over the top and around the engines with NATO Black and Flat Black for repainted or repaired body panels.

    Now time remove the masks, starting at the rear gunners compartment. Including the RH rear side window.

    The the masks are removed from landing lamps under the wings.

    And now for the glass nose. I was holding my breath here as Eduards masks are usually don't get fussy pulling them of any panel, but yet I had this crazy vision of carefully removing the mask from the glass and the darn part falls off, or breaks. I carefully started with the lower glass nose panel first.

    But thankfully that did not happen and removing the masks were normal as usual around the nose.

    And finally the canopy masks were removed without incident as well.

    The glass looks great, crystal clear and excellent view into the cockpit and bombardiers station.

    Next up is the landing gear.

    More to follow.

  • Profile Photo
    Spiros Pendedekas said 2 years, 4 months ago:

    Looking great, my friend @uscusn and closer to the finish line!

  • Profile Photo
    John vd Biggelaar said 2 years, 4 months ago:

    Beautiful progress, Chuck @uscusn.
    The transparant parts do indeed look nice. Giving a great view on the itnerior.

  • Profile Photo
    George R Blair Jr said 2 years, 4 months ago:

    Looks awesome, Chuck (@uscusn). The masking for the cowlings was well done, and the results show it was clearly worth the extra effort. The decals look awesome. I always hate working with a black background for the decals since any silvering will be accentuated, but no problem with yours. It is really cool to look through the canopy and see your well-detailed interior. Home stretch now..

  • Profile Photo
    Chuck A. Villanueva said 2 years, 3 months ago:

    Thanks Spiros, hope to finally wrap this one up soon.
    John, I was really happy that the masks worked out perfectly, No residue and the framing well defined as I hope once the masks were removed, especially that prominent clear nose.
    Thanks George, that took some planning in creating the scalloping on the cowls and the rear section of the engine nacelles. Those came out fine, a little uneven around the cowlings. But then these were painted in the field.

  • Profile Photo
    Chuck A. Villanueva said 2 years, 3 months ago:

    Strapped back in to start assembling the landing gear. Starting with the nose gear strut assy.


    The strut and components have painted Vallejo steel. Carefully remove the components. The ICM nose gear is not as solid or sturdy compared to Monograms struts. Most of the weight is in the nose, so hopefully it will withstand a long shelf life over the next few years.

    Once assembled, Molotow chrome pen is used to apply on the oleo strut.

    Then the nose gear is installed in the nose wheel bay. Fit is good though not as positive as the Monogram kit. Will let it set overnight.

    Next Interior Green is airbrushed on the main gear doors.

    While the paint dries, I will install them into the gear bays before installing the main gear.

    A little wash is applied to the inner doors.

    Then installed into each wheel bay. Similar process in how the Monogram kit is assembled.

    Next is to start assembling the main gear.

    As with the nose gear. The components have been painted steel as well. The main struts again feel a bit flimsy.

    They multi part strut is assembled. Unlike the Monogram kit which are 1 piece solid sturdy struts. Will leave the wheels off for now.

    Both struts are then installed with in the gear bays. A little fiddly on each side, not exactly precise as on the Monogram kit. A wiggle here and a wiggle there until I finally got them to settle properly.

    Finally all 3 struts have been installed, will let set overnight before attaching the wheels. And so nice that I have enough weight in the nose, as she sits properly on her struts.

    next up attach the wheels then work on the bomb bay,
    Here is the resin nose wheel.


    More to follow.

    1 additional image. Click to enlarge.

  • Profile Photo
    John vd Biggelaar said 2 years, 3 months ago:

    Some great work done on the landing gear, Chuck @uscusn
    The wheel does look great as well.

  • Profile Photo
    Spiros Pendedekas said 2 years, 3 months ago:

    All looking great and gradually coming together nicely, my friend @uscusn!

  • Profile Photo
    Chuck A. Villanueva said 2 years, 1 month ago:

    Thanks John, not as sturdy as the Monogram kit, due to the more scaled thickness of the struts and soft plastic. It does wiggle a bit on the shelf. Time will tell.

    Thanks Spiros, always with your encouragement.

    Now back after a bit of a hiatus and finish this.

    First the struts have set and though the gear legs are not as sturdy as the Monogram kit, slight wiggle. I may have to place it on more solid surface to display, a shelf that does not shake too much.

    Now to re load the bomb bay after knocking the bombs out with all the handling.

    The kit prop blades are painted and tipped with the yellow warning markings. And then gloss coated to apply the markings. The prop hubs are Vallejo Aluminum

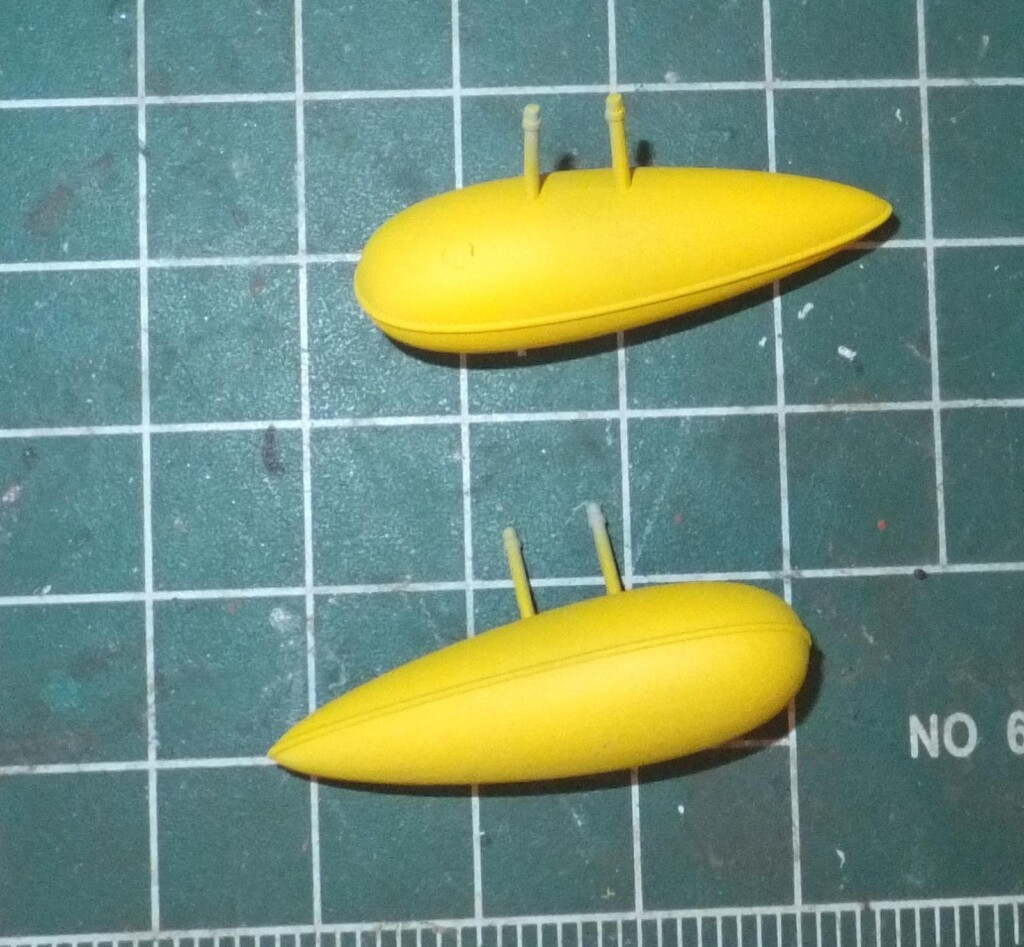
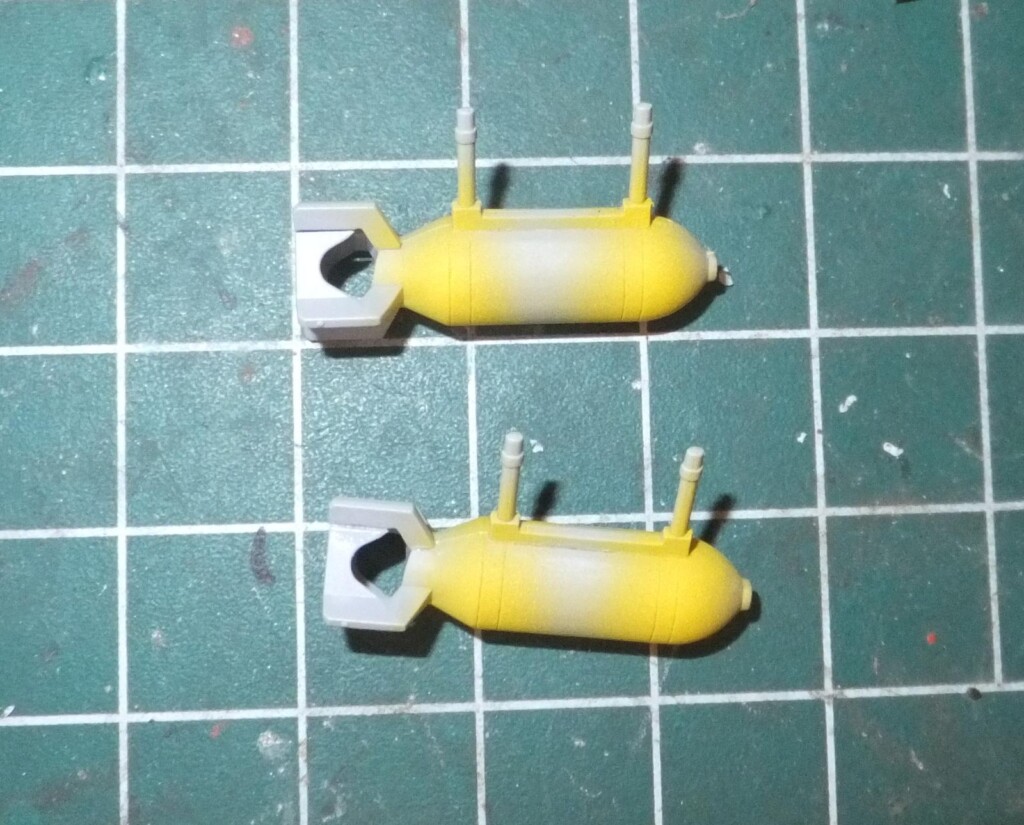
    Next the drop tanks are painted Tamiya Yellow as well as the bombs for the stripes.

    Drop tanks are applied with a wash to show fuel spills and leakage, then attached to the hard point next to the engine nacelle. The fit is a bit loose, so a bit of patience to hold them for a minute as the cement sets so they will not lean over to either side.

    At this time I attach the main and nose gear wheel assemblies. These are Squadron resin wheels.

    A bit of wash on the inner doors and then attached them in place on either side of the weapons bay.

    Using cyano cement to attach to the spindles and making sure they are 90 degrees as once set when placed on the shelf. A bit of patience will assure this and also the weight part of the wheel is flushed with the ground. I am so guilty not doing this too many times.

    Now to attach the bomb bay doors.

    The ICM Invader is just as heavy as the Monogram Invader despite the softer lighter plastic. The center of gravity has been achieved, no tipping and rests on its nose gear. Still will have to worry over time of the gear not failing.

    After painting the bombs Olive Drab, masks are removed to reveal the Yellow stripes. These will be installed on the outer hard point station.

    The distinctive football antenna is mounted just aft of the gunners window.

    And finally the props are decaled and attached to the prop bosses in front of the engines,

    That's that she is done. 2 year project

  • Profile Photo
    Spiros Pendedekas said 2 years, 1 month ago:

    Congratulations, my friend @uscusn! A wonderful, very realistic model of the iconic Invader. The good ICM kit tackled by your skills produced this fantastic result. It was a joy to follow your detailed thread.
    Well done!

  • Profile Photo
    Tom Cleaver said 2 years, 1 month ago:

    The yellow drop tanks are actually notification they are full of napalm. It's one of the "interesting but not well known" facts of the Korean War they used these tanks that way. The yellow bombs are notification they are "thin case" high explosive. In both cases "fragile when handled" - be careful!

    This is looking really nice - the hard work is paying off with an excellent result. ICM did a good job with their B-26 series.

  • Profile Photo
    John vd Biggelaar said 2 years, 1 month ago:

    This is an amazing Invader, Chuck @uscusn
    Just on display, I think the struts are strong enough.
    It was a pleasure to follow this thread and see your skills being used to get this kit build beautifully.