Thanks John, not as sturdy as the Monogram kit, due to the more scaled thickness of the struts and soft plastic. It does wiggle a bit on the shelf. Time will tell.
Thanks Spiros, always with your encouragement.
Now back after a bit of a hiatus and finish this.
First the struts have set and though the gear legs are not as sturdy as the Monogram kit, slight wiggle. I may have to place it on more solid surface to display, a shelf that does not shake too much.
Now to re load the bomb bay after knocking the bombs out with all the handling.
The kit prop blades are painted and tipped with the yellow warning markings. And then gloss coated to apply the markings. The prop hubs are Vallejo Aluminum
Next the drop tanks are painted Tamiya Yellow as well as the bombs for the stripes.
-

1. Painted with Tamiya Yellow
-
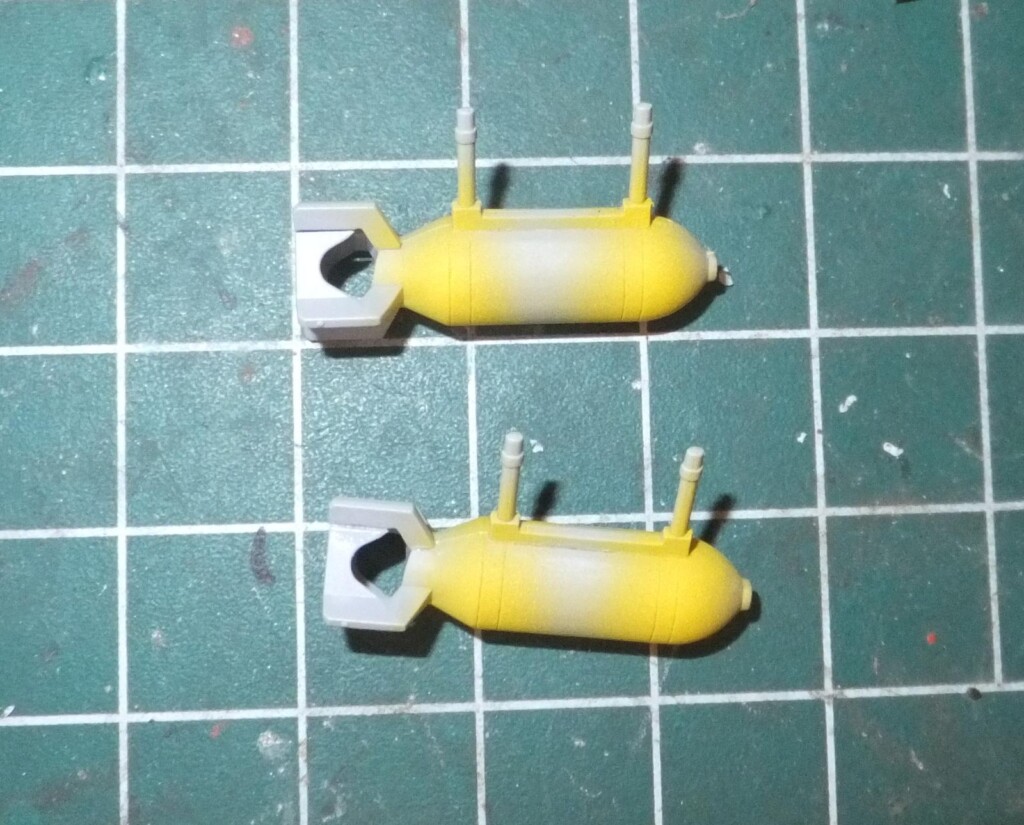
1. Bombs painted yellow then will have the stripes masked off and painted OD
Drop tanks are applied with a wash to show fuel spills and leakage, then attached to the hard point next to the engine nacelle. The fit is a bit loose, so a bit of patience to hold them for a minute as the cement sets so they will not lean over to either side.
At this time I attach the main and nose gear wheel assemblies. These are Squadron resin wheels.
A bit of wash on the inner doors and then attached them in place on either side of the weapons bay.
Using cyano cement to attach to the spindles and making sure they are 90 degrees as once set when placed on the shelf. A bit of patience will assure this and also the weight part of the wheel is flushed with the ground. I am so guilty not doing this too many times.
Now to attach the bomb bay doors.
The ICM Invader is just as heavy as the Monogram Invader despite the softer lighter plastic. The center of gravity has been achieved, no tipping and rests on its nose gear. Still will have to worry over time of the gear not failing.
After painting the bombs Olive Drab, masks are removed to reveal the Yellow stripes. These will be installed on the outer hard point station.
The distinctive football antenna is mounted just aft of the gunners window.
And finally the props are decaled and attached to the prop bosses in front of the engines,
That's that she is done. 2 year project