Thanks Spiros, Just methodically getting this project together, first ICM kit, some challenges, but that's the fun part.
Thanks Erik, yes several ongoing projects.
It has been awhile in fact a month working on the ICM Invader, so a bit of an update.
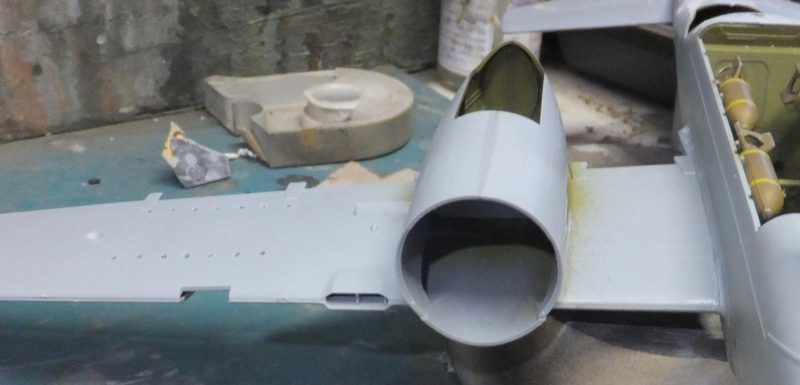
Will be working on the nacelles.
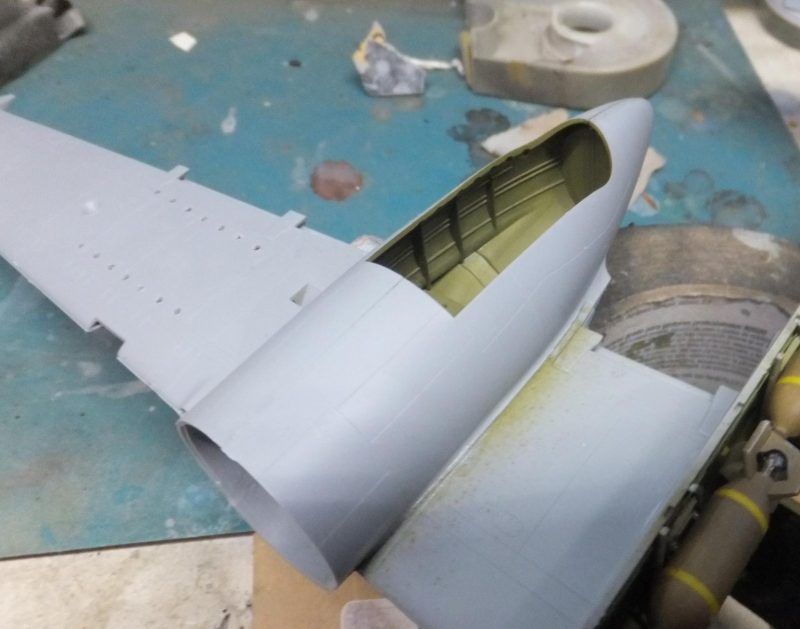
Normally these interior bits would have been already pre painted Interior Green, but at the start I had ran out as there was a lot to paint IG. Figured I would just get to this point and then paint whatever needed to get painted. Rear and front wheel bay walls.
The forward wall is attached within the LH side of the engine/wheel bay nacelle.
Then the rear wall is attached. I then assemble the other side.
At this point I then airbrush interior green.
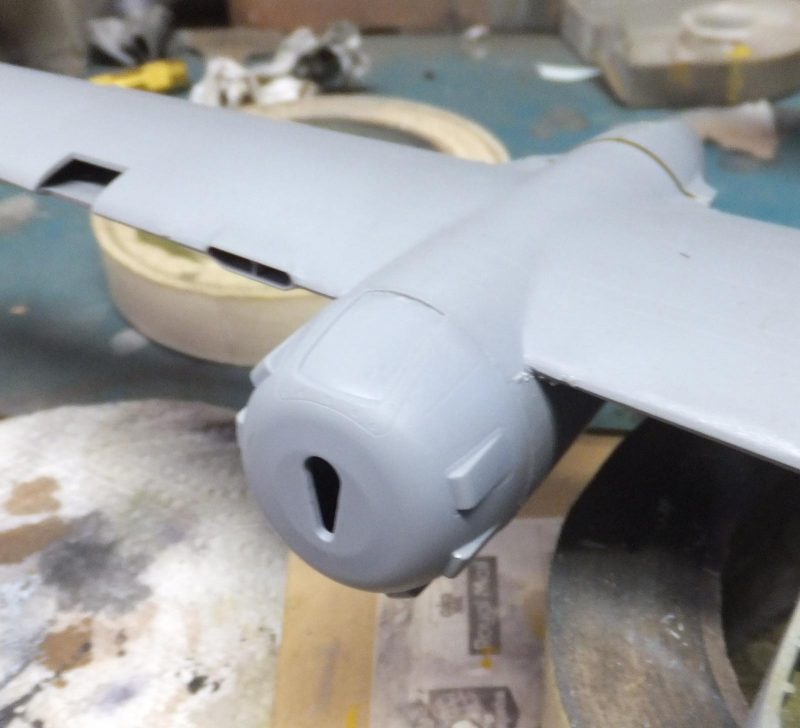
The nacelles assembled without any problems. Good alignment and the details are good.
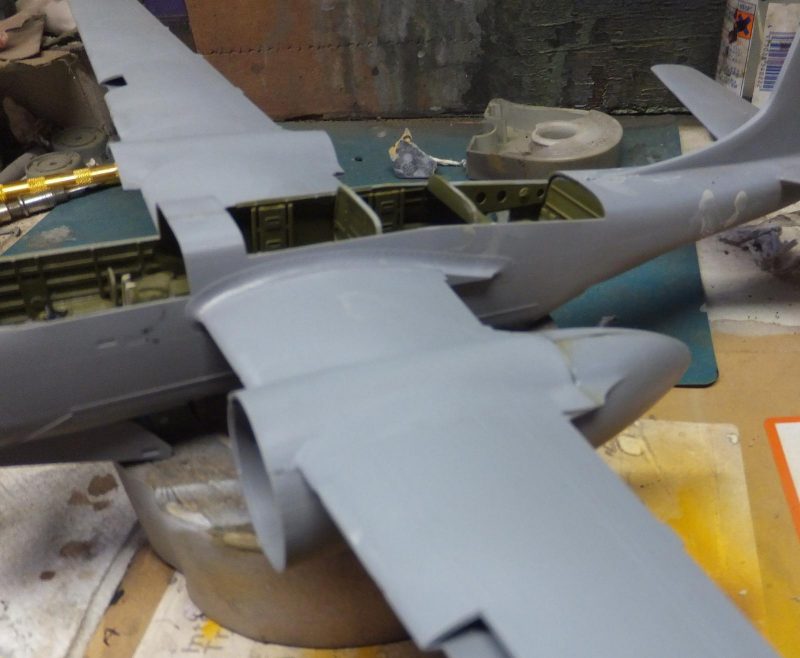
Attaching them to the wings not so great but nothing terrible. The lower join to the wing is good.
-
1. Contact point is good here
-
1. Bad angle but contact point is good here as well.
However the top rear join to the wing does have a bit of a gap.
-
1. The top rear join to the wing a bit of a gap
-

1. Filler will take care of this gap
Both nacelles have good contact points under the wing. But a gap on top at the rear join.
While talking about filler. I work on the rear lower fuselage seam with some Tamiya putty.
Also some putty on the horizontal stabs as well.
The cavernous engine nacelles allow for some nose weight to keep the nose down. Some lead fishing weights will do the trick. Kept in place with Super glue.
-
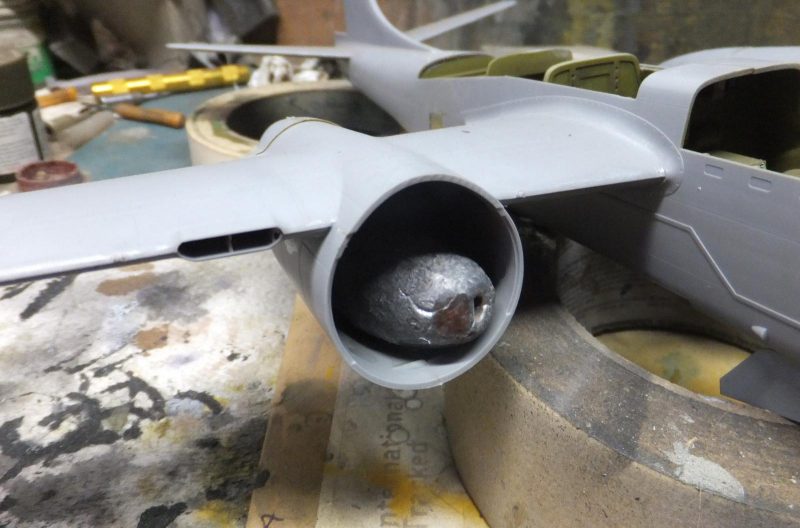
1. Large lead weight fits with room to spare.
-
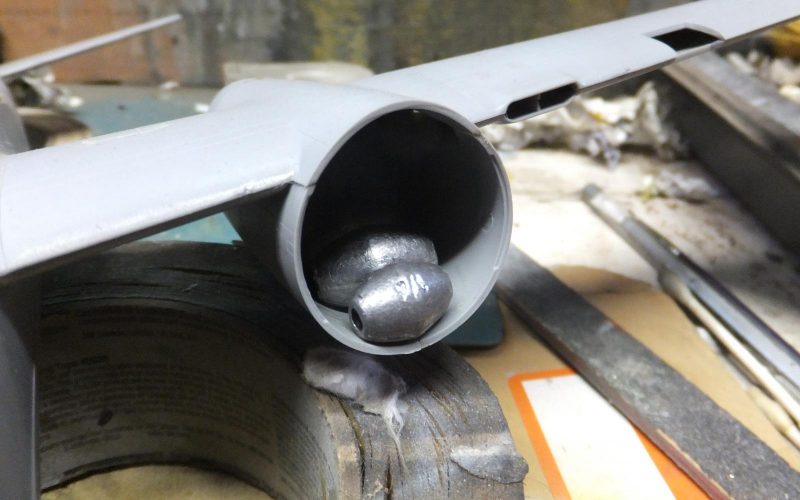
1. Several barrel fishing weights fill the LH side nacelle
Once the cement set, the forward engine fire walls are installed.
These are just a bit wide not much and not much for locating pins. Just the engine locating slot facing in the correct position is the best way to have them installed correctly.
-
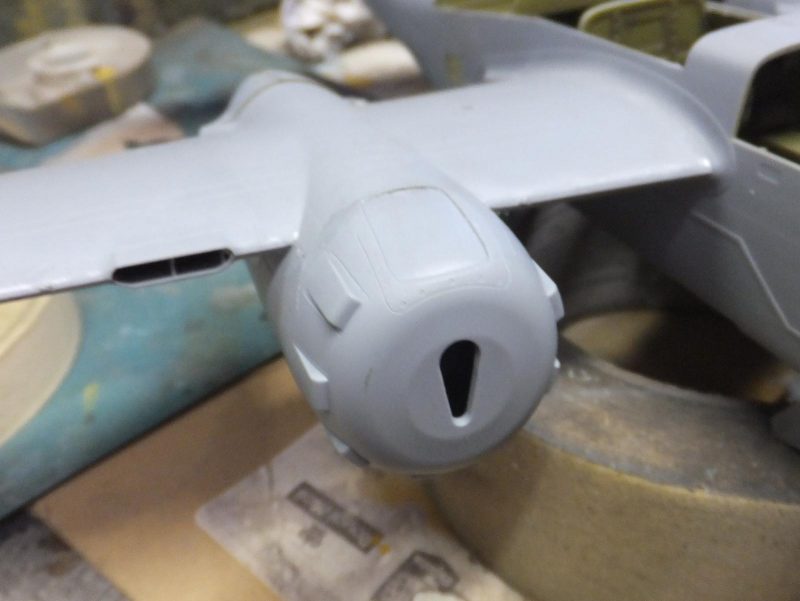
1. Engine locating slot, in correct position
-
1. No locating pins just a butt fit, check for correct position
Once they are on, the Invader is taking shape.
Next up to install the glass on the nose and the gunners scope in the rear compartment.
more to follow.