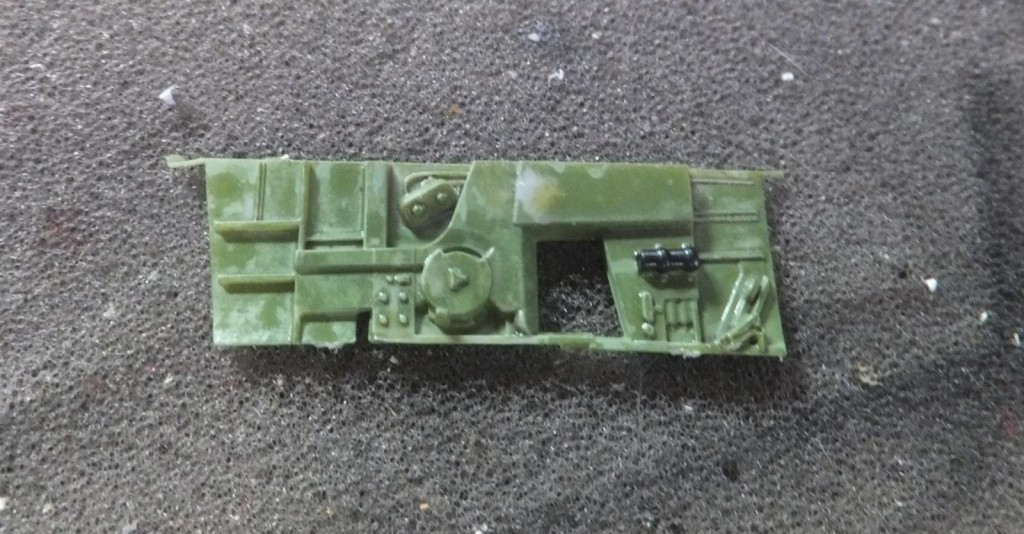
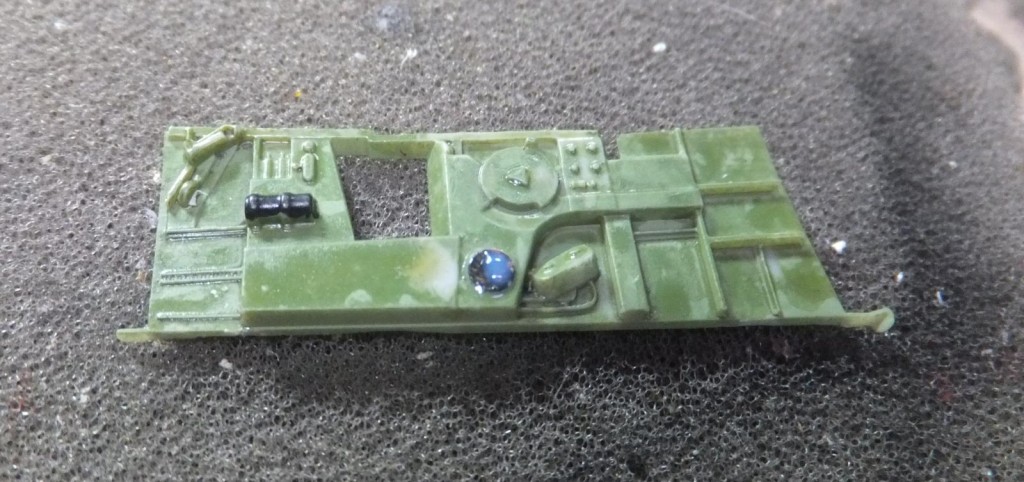
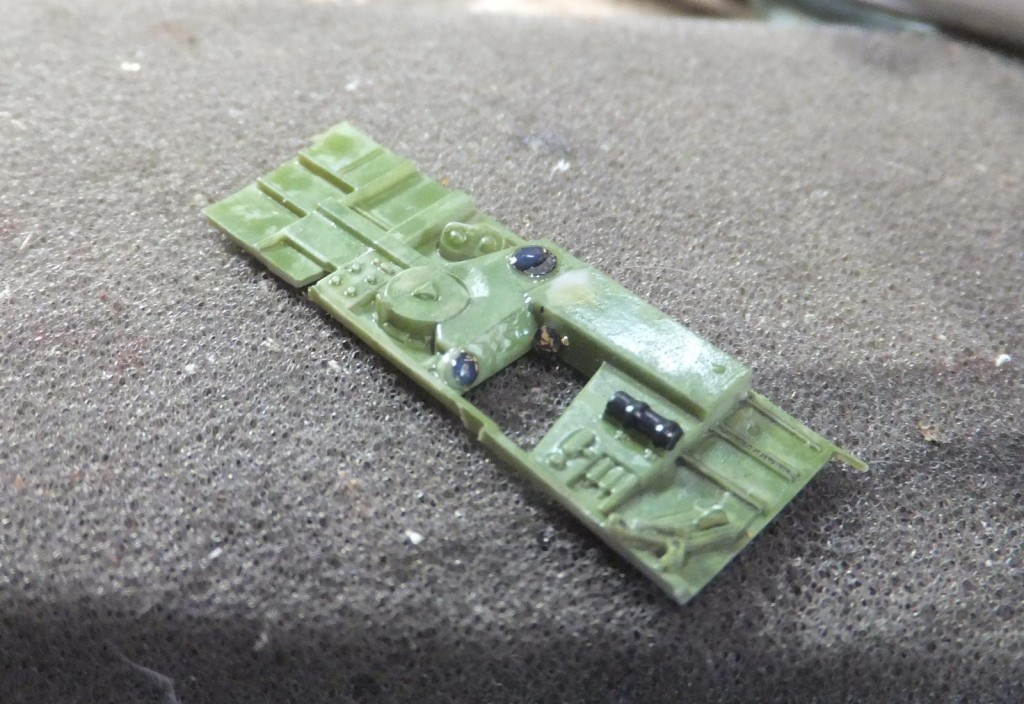
This session will finally get the pilots cockpit assembled. But first lets start on the LH side interior panel.
The LH is more decal, PE and one plastic part to attach., The clear coat has been set to accept decals. The Mission Models Interior Green gets blotchy with a coat of future.
-

1. Lifecolor Gloss Black
2. Clear coat applied
3 PE discs painted Gloss Black are first attached to the interior panel.
-

1. PE disc 1
2. PE disc 2 will attach here
3. PE disc 3 here
-

1. Pe disc 2
2. PE disc 3
That's it for the PE bits, now some decals. First a panel is applied and a dial is applied on PE disc1. Also the control indicator is attached.
Next the only plastic bit is attached right above the lever panel.
At this time a drop of Micro set is applied to each decal to let it settle into the nooks and crannies.
Both side panels are completed. Now to start to assemble the pilots cockpit.
Starting with the cockpit floor. Already highlight with wear points with silver pencil and a wash. The control stick boot is painted Khaki Drab.
Next is the rudder pedals. Nicely detailed with the N. American emblems on the pedals. Nice touch, hard to see.
Next is the forward bulkhead. Before attaching a wash is applied
Now the LH side panel is attached aligning with the front bulkhead.
Now to attach the rear bulk head. Again aligning the floor and LH side panel. And always test fitting with the LH fuselage half.
Right before I assemble the RH side panel, I paint the control stick ZCG and a gloss black grip.
Now the RH side panel is attached. So far so good. Nothing falling off, being careful with the handling. Also the rear seat armor plate and headrest is installed as well. The upper plate is Nato Black with a Brown headrest.
Finally the control stick is installed. And the next step is to assemble the Instrument panel and install it.
More to follow.